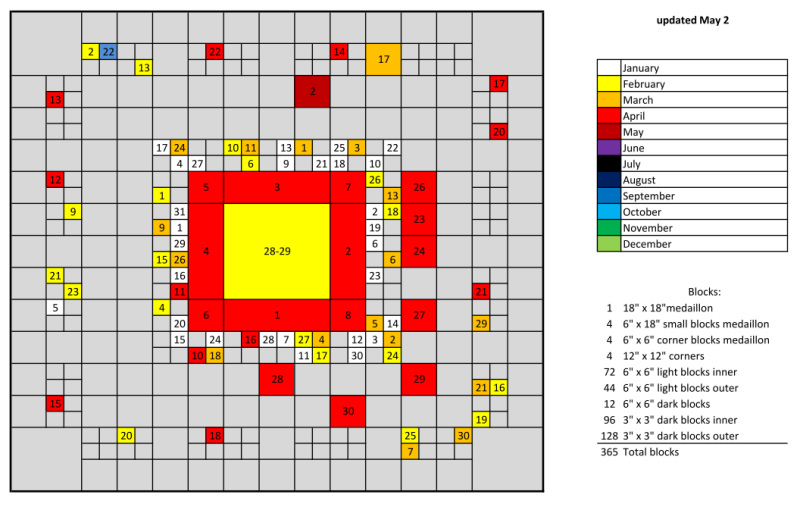
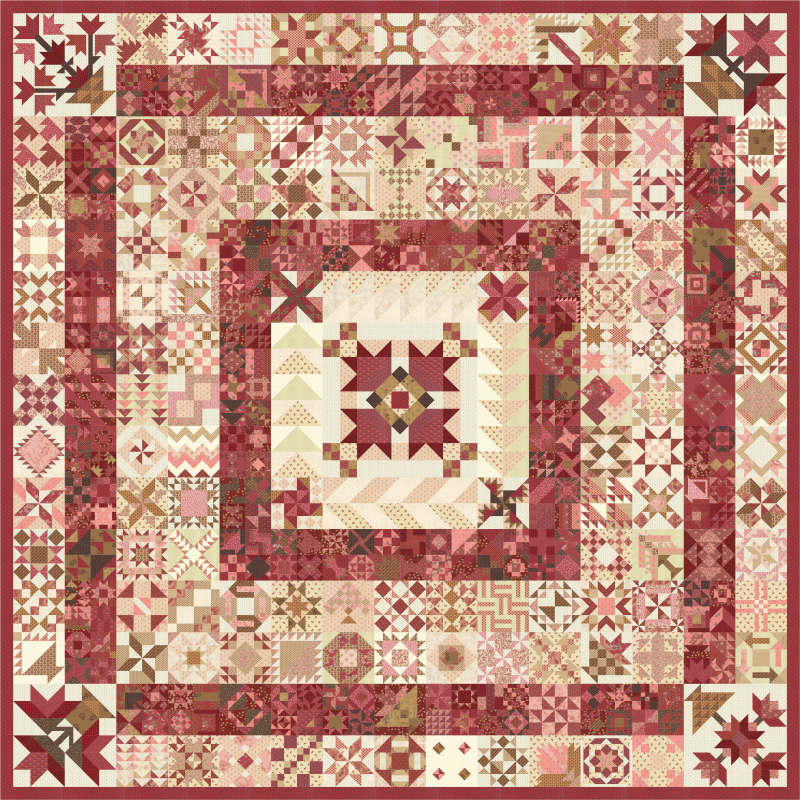
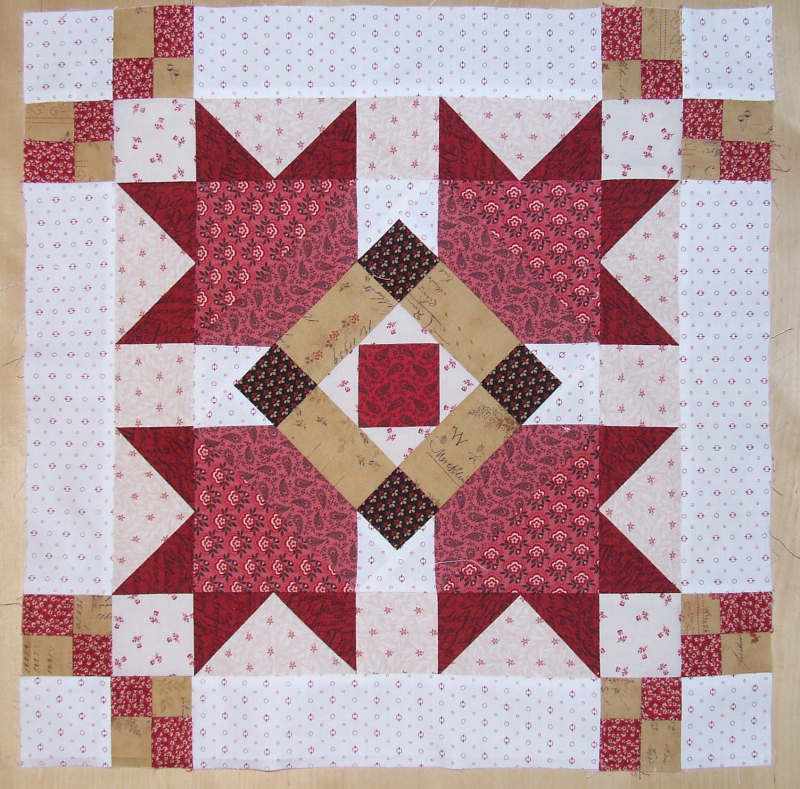
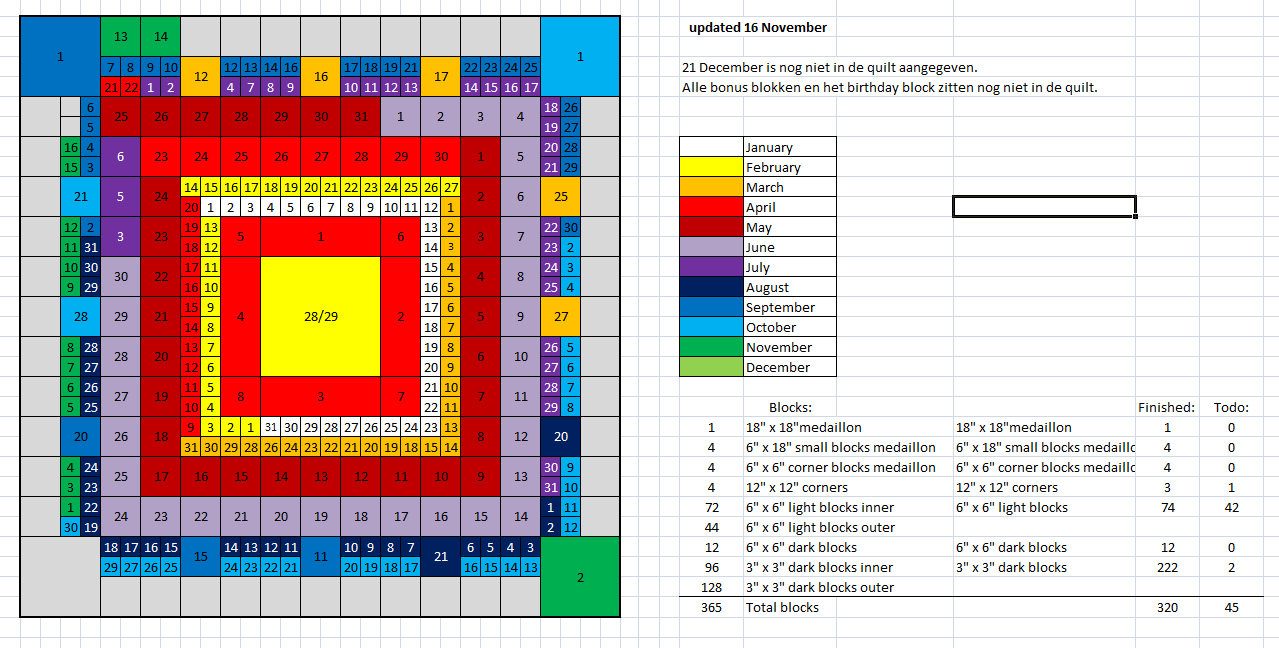
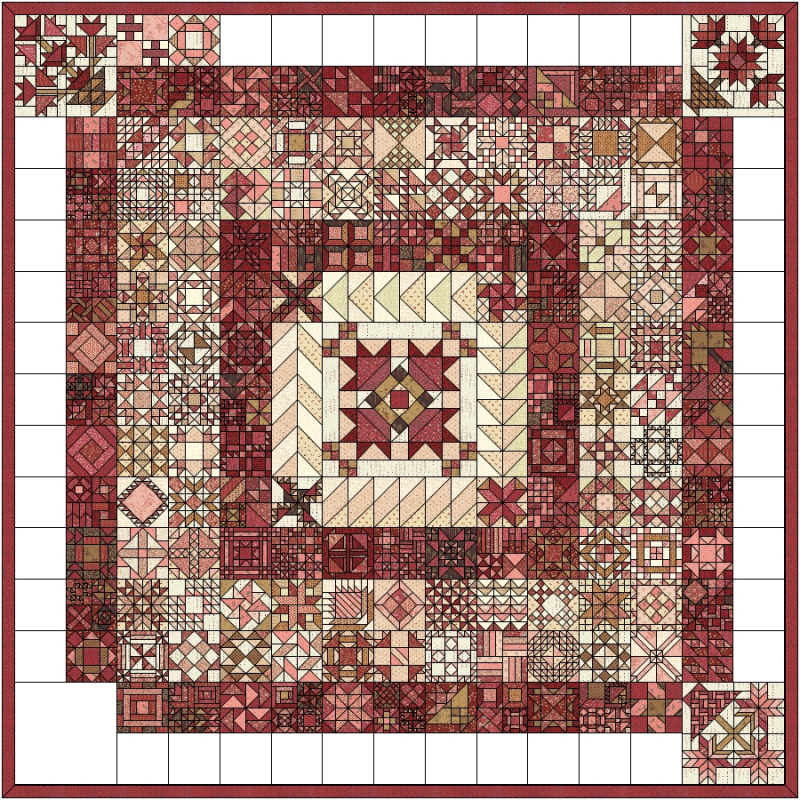
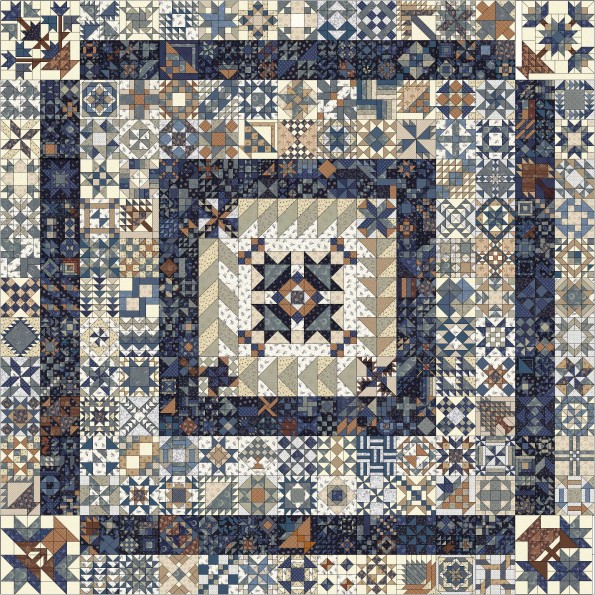
 I thought it would be incredibly fun to participate in the 365 Challenge. In this challenge, you receive a new quilt block pattern via email every day for a year. All the blocks together form a beautiful quilt measuring about 2.40 by 2.40 meters (including a border). I thought it would be incredibly fun to participate in the 365 Challenge. In this challenge, you receive a new quilt block pattern via email every day for a year. All the blocks together form a beautiful quilt measuring about 2.40 by 2.40 meters (including a border).The templates, rotary cutting, and foundation patterns for the challenge can be downloaded here. The patterns are conveniently grouped into one file. You can easily view the file on your tablet, saving paper. If you want to use the paper piecing patterns, you only need to print those pages. You can also download an Excel file with the placement of the blocks. For EQ7 users, there is a project file with the released blocks, which is regularly updated. If you find the original design too labor-intensive, the smaller design with many of the original blocks might be for you. you can find it on the website. |
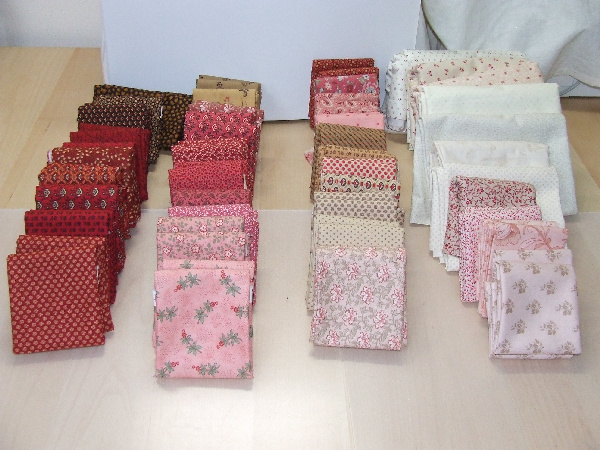
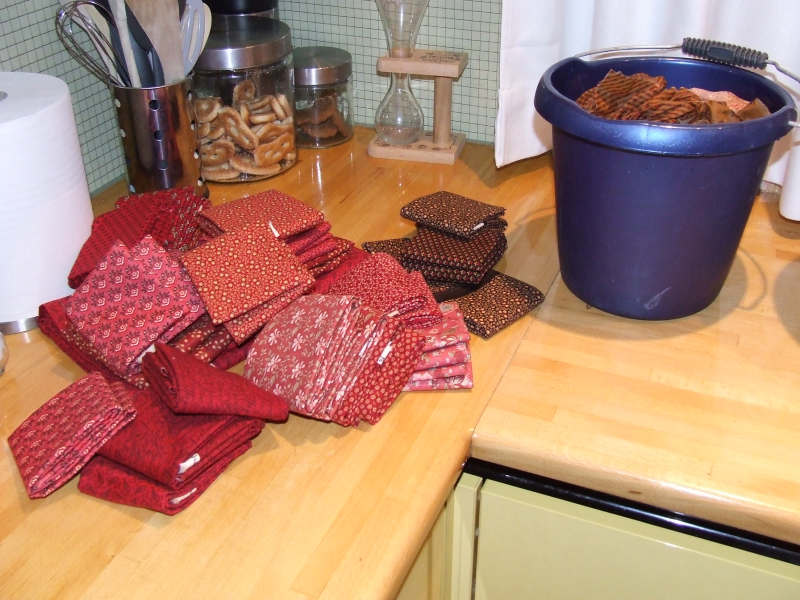
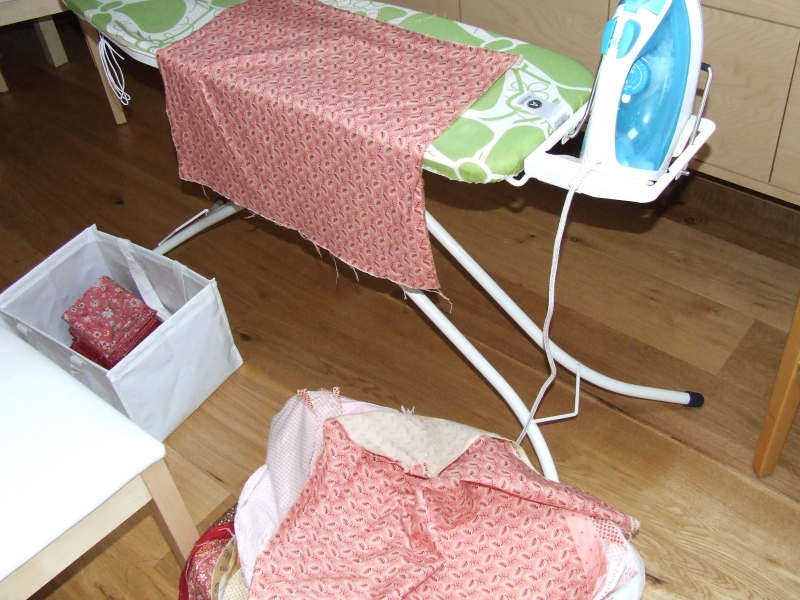
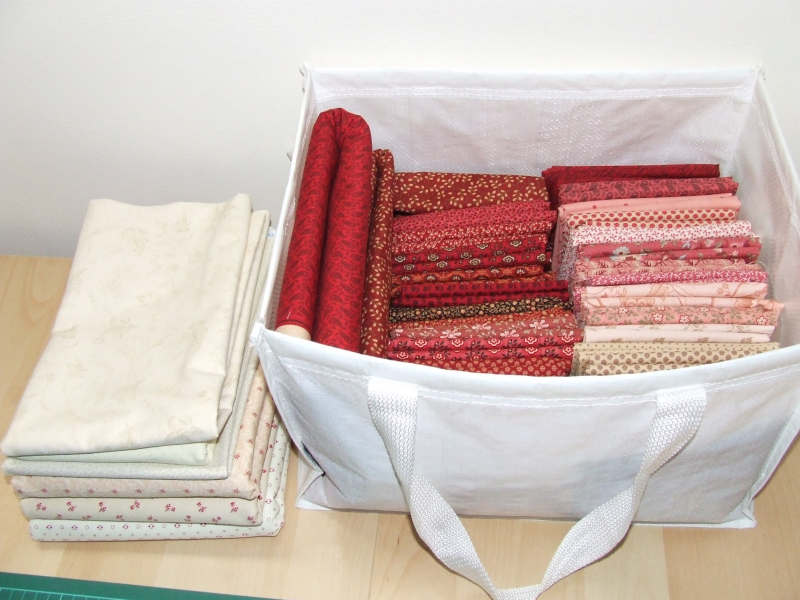 All fabrics are neatly ironed. Now I can finally start with the blocks. I am about 21 blocks behind, so it's time. All fabrics are neatly ironed. Now I can finally start with the blocks. I am about 21 blocks behind, so it's time.Besides the emailed blocks, I will also start with the center piece and the four outer large corners. I want to make all of them from the same fabric, and there are fairly large areas in them. If I make them first, I avoid running out of the right fabric later on. |
 There are various techniques to cut and sew the fabrics in a block to the correct size. For this quilt, two techniques could be applicable: There are various techniques to cut and sew the fabrics in a block to the correct size. For this quilt, two techniques could be applicable:
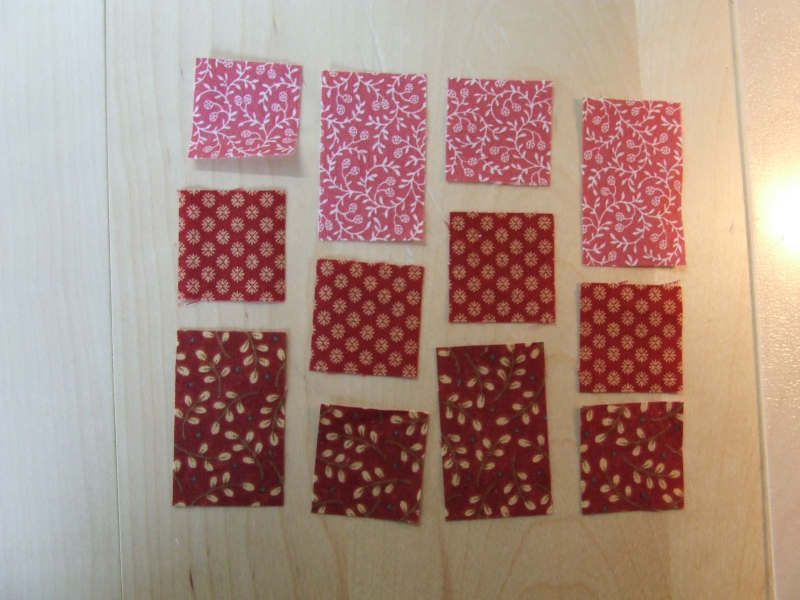
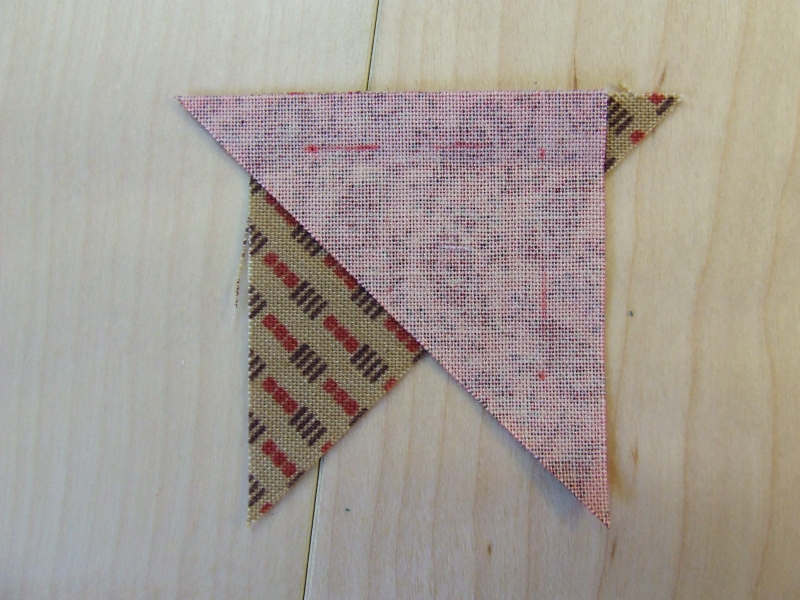
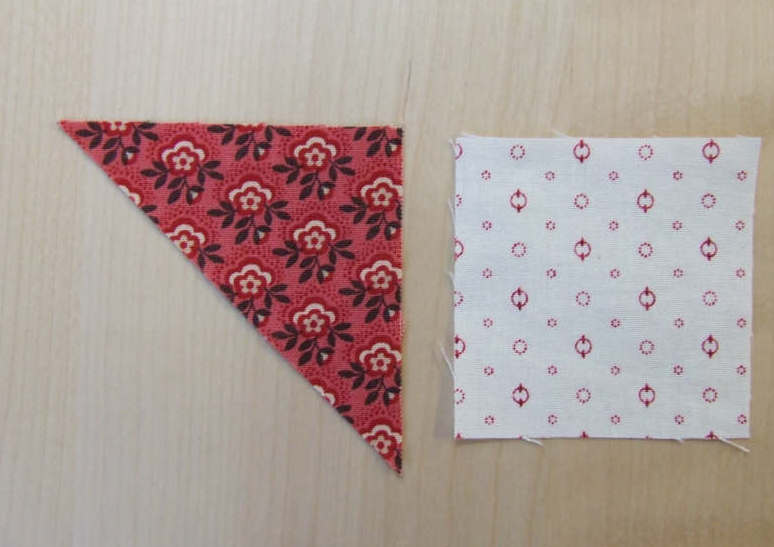
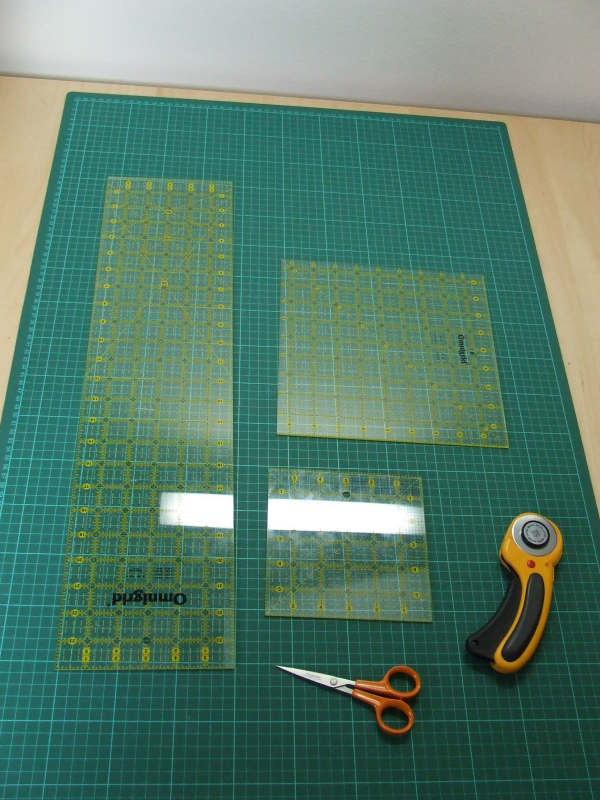
I choose to use the second technique, with the rotary cutter. This technique is also known as rotary cutting. We need a large cutting mat, transparent plastic rulers, and a rotary cutter. A small sharp-pointed pair of scissors is also handy. Sometimes not all threads are cut, and you need to carefully cut the last threads with these scissors. By the way, this often means you need to replace your rotary cutter blade because it has become dull. |
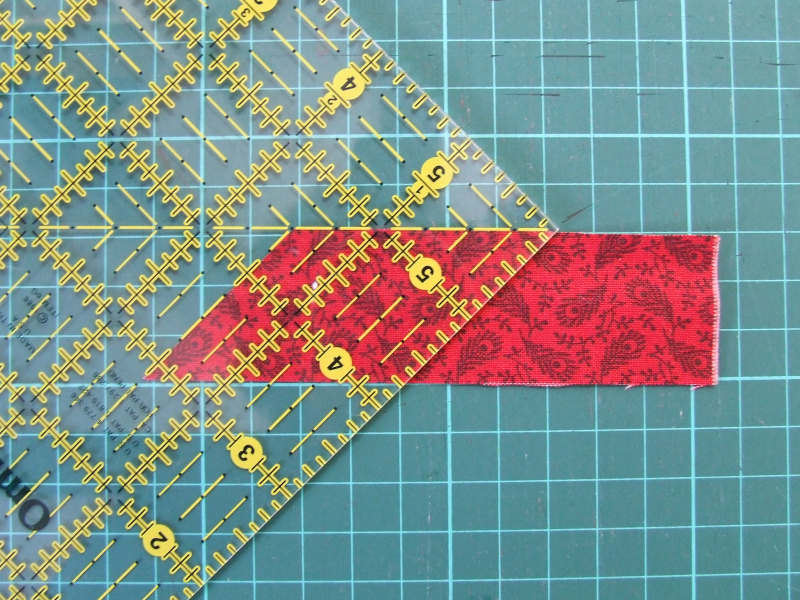
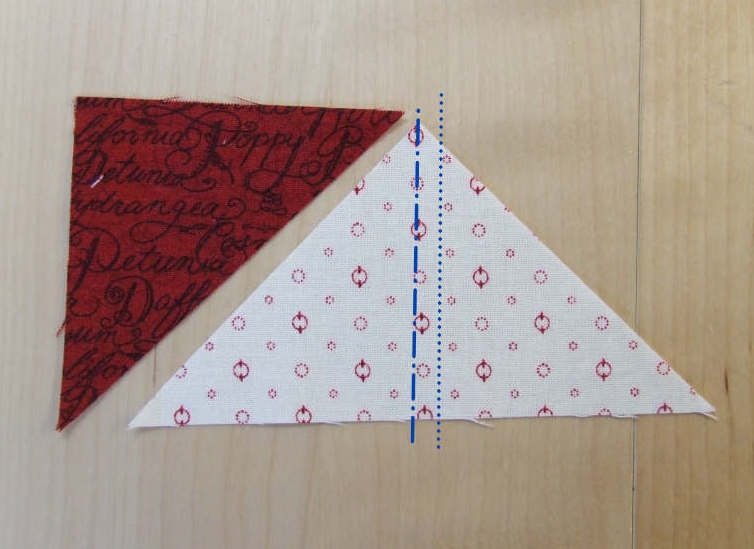
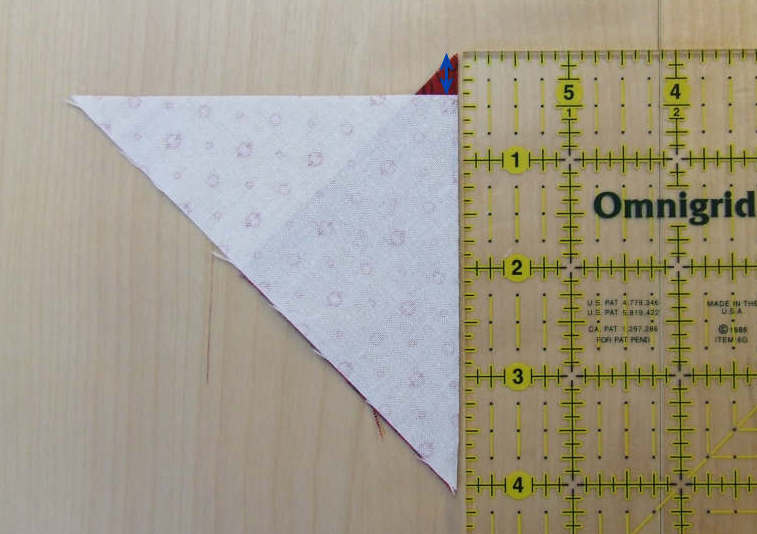
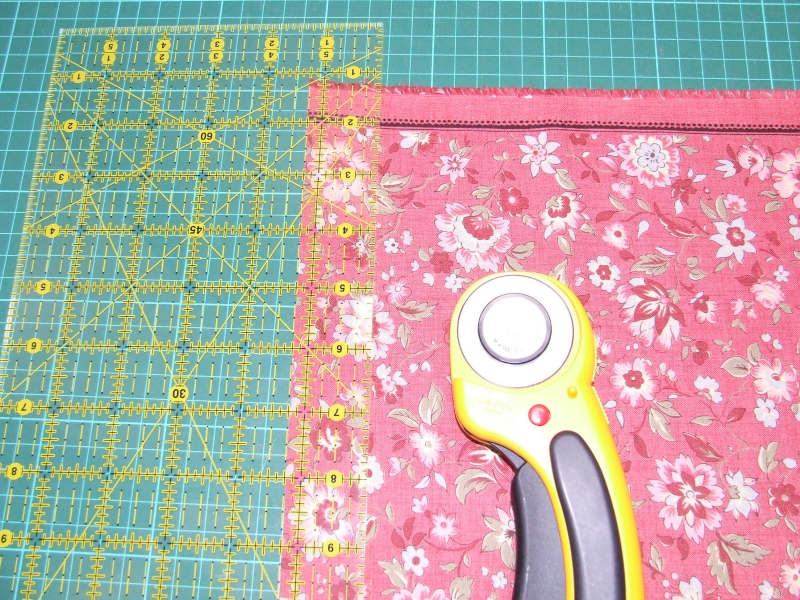 Working with the rotary cutter goes (for right-handers) as follows: Working with the rotary cutter goes (for right-handers) as follows:
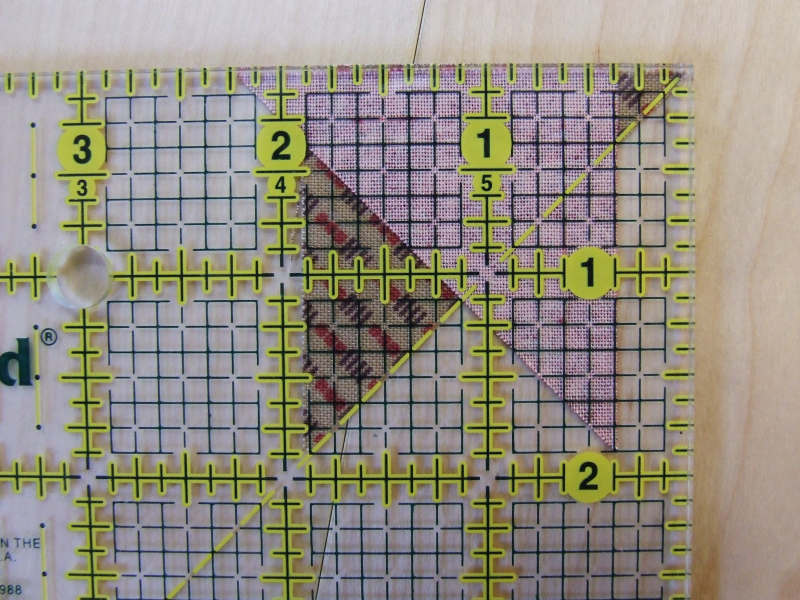
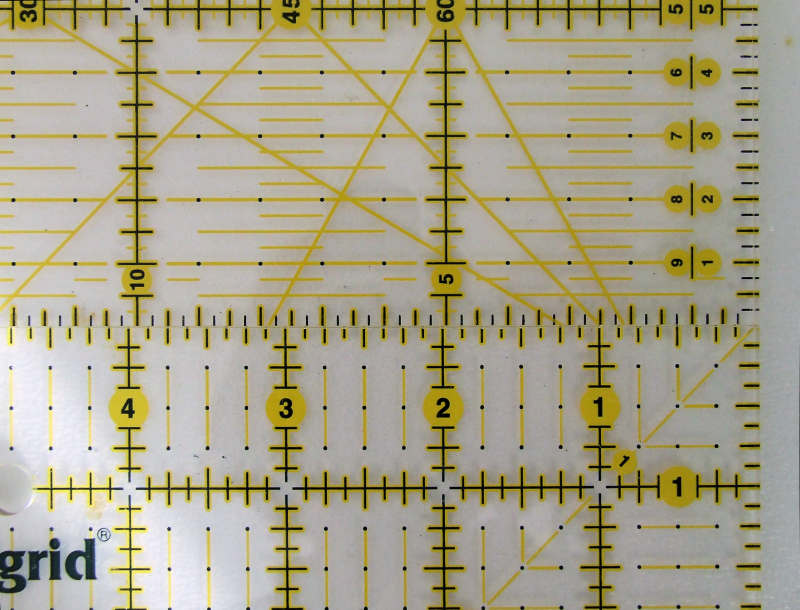
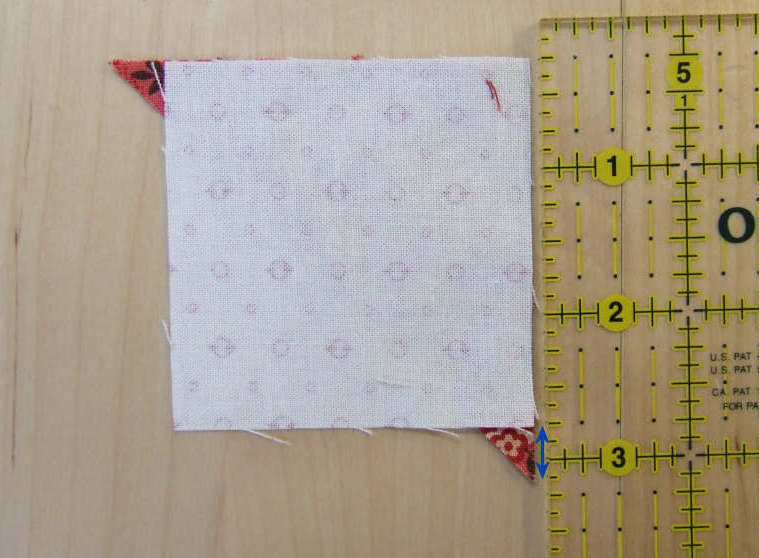
If you need a strip of, for example, 1.5 inches, then the ruler is placed 1.5 inches over the fabric. The fabric to the right of the ruler is the piece that remains. |
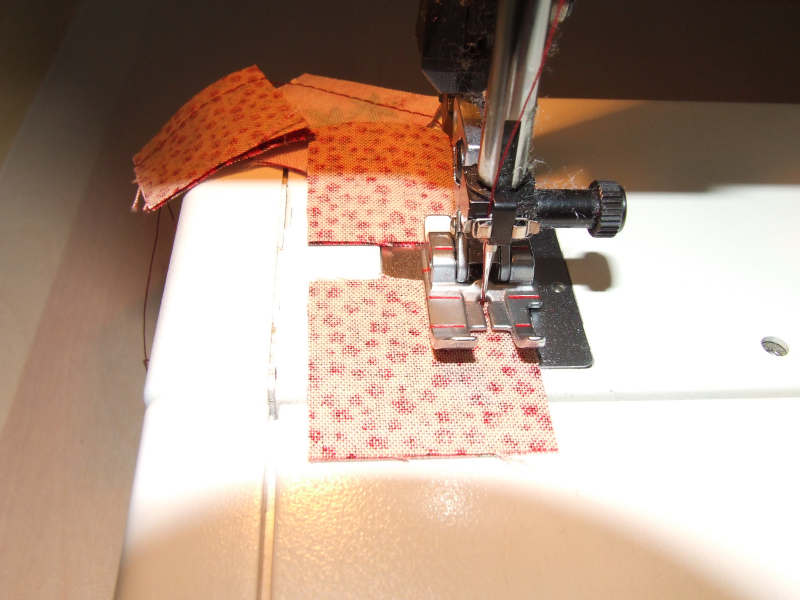
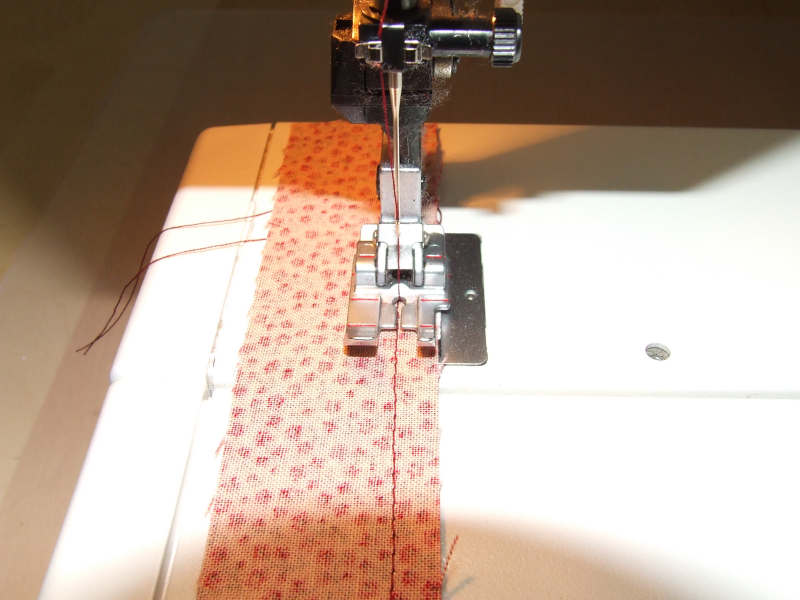 It's time, I can begin. It is very important to cut the blocks precisely and sew them neatly. I use a quilting foot on the sewing machine. That foot is exactly 1/4 inch wide, the same width as the seam allowances. If you let the edge of the fabrics run along with the quilting foot, you always have the correct seam allowance. It's time, I can begin. It is very important to cut the blocks precisely and sew them neatly. I use a quilting foot on the sewing machine. That foot is exactly 1/4 inch wide, the same width as the seam allowances. If you let the edge of the fabrics run along with the quilting foot, you always have the correct seam allowance. |
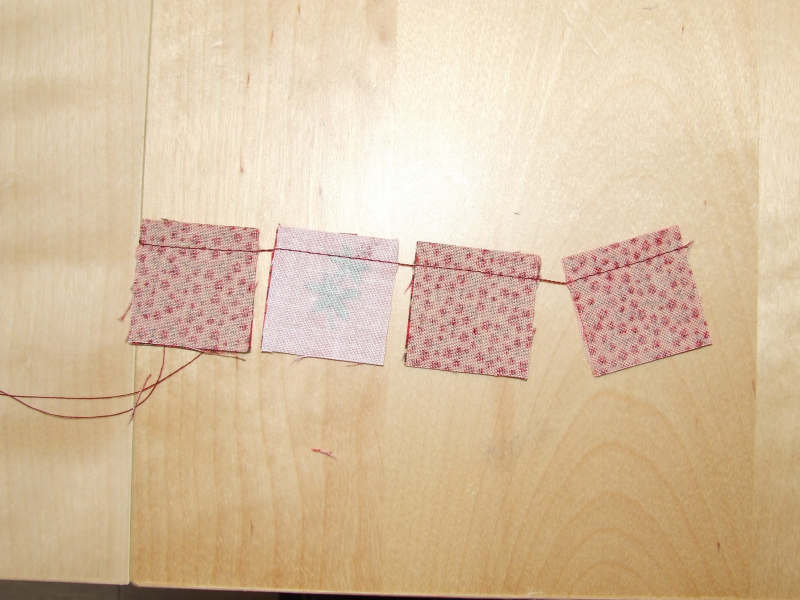
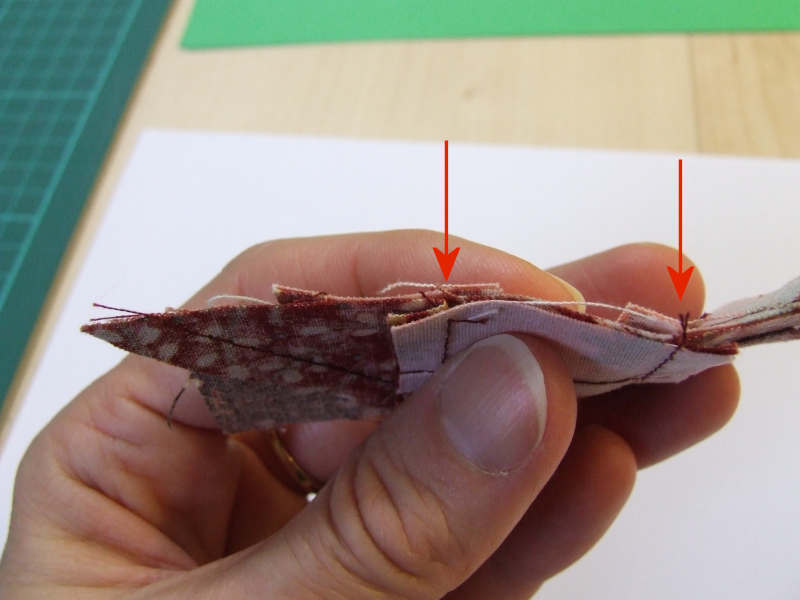
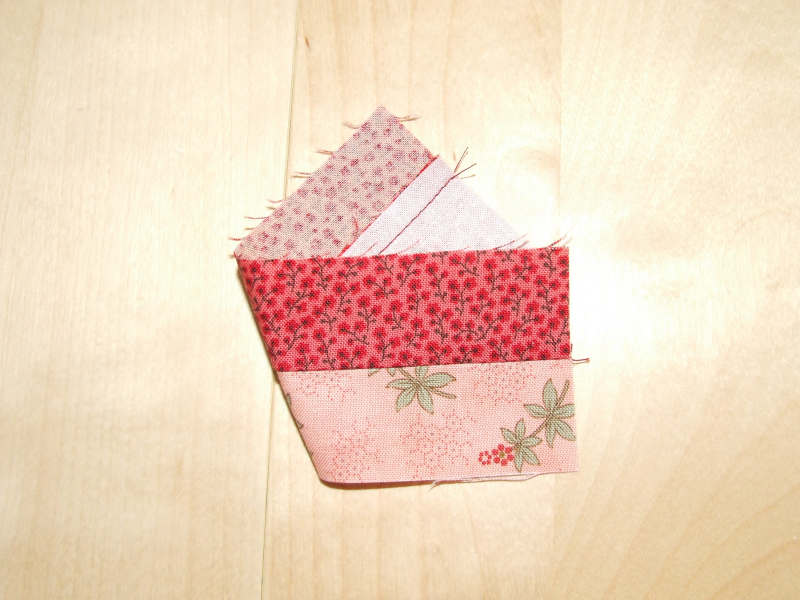 The seams are not finished or zigzagged. That would create too thick lumps. After the pieces are sewn together, the seam is pressed first, and then the pieces are pressed open. If possible, the seam is pressed towards the darker side. The seams are not finished or zigzagged. That would create too thick lumps. After the pieces are sewn together, the seam is pressed first, and then the pieces are pressed open. If possible, the seam is pressed towards the darker side. |
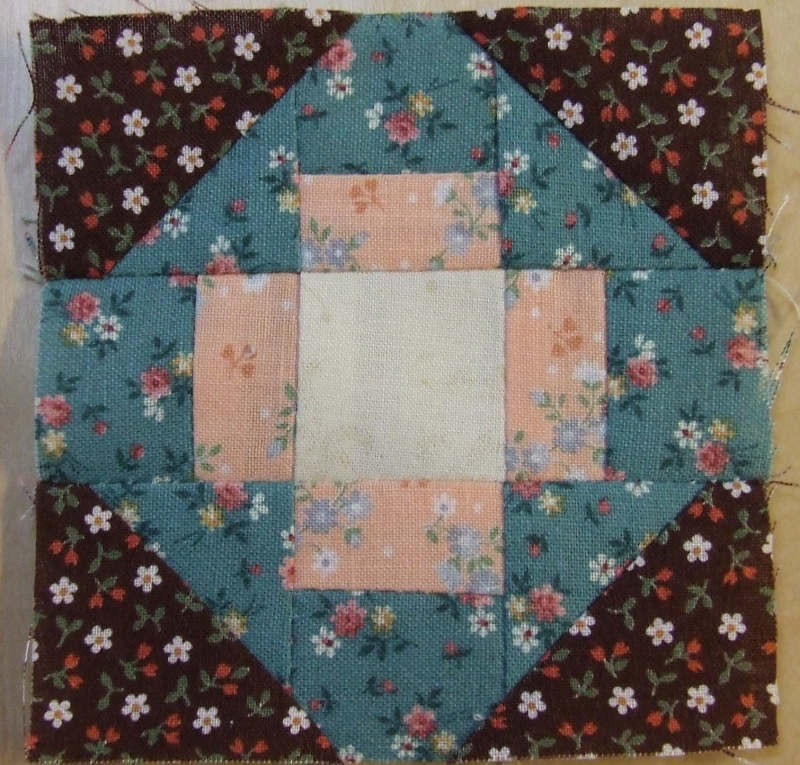
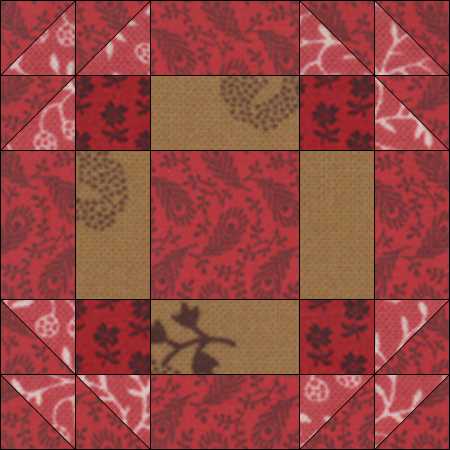
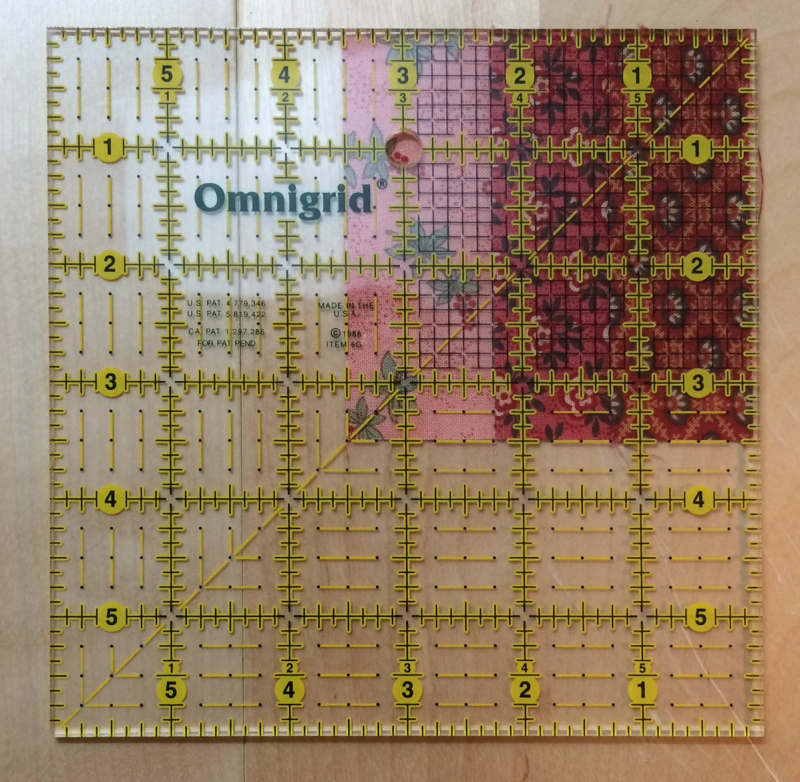 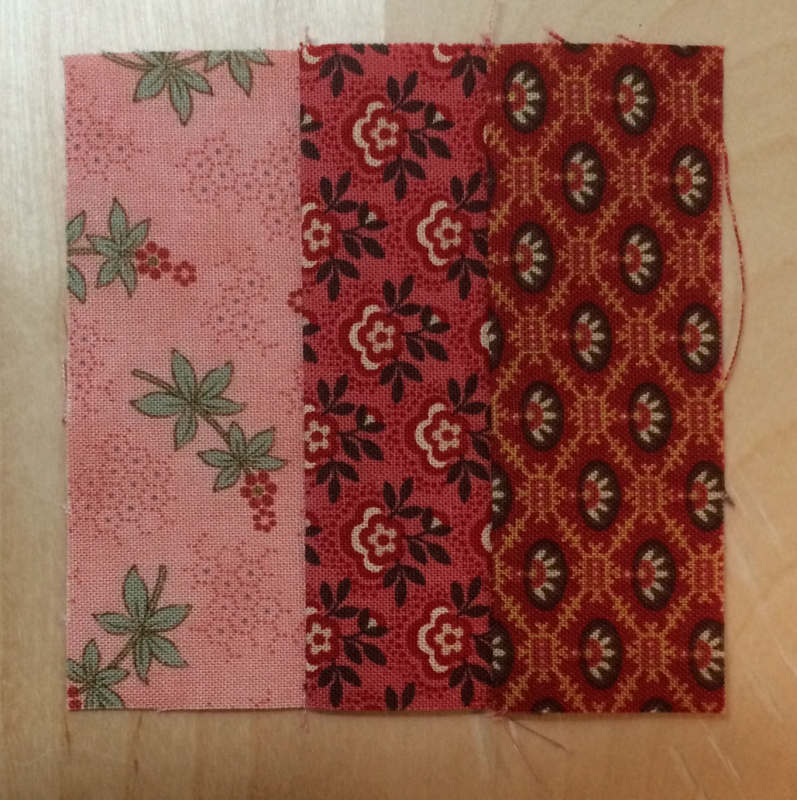 The first block is done. This block is somewhere in the inner dark-tinted ring. The quilt is very large. The smallest blocks are 3 inches square, which is about 7.5 by 7.5 cm. If all blocks deviate from the size, you will have problems sewing them together. All blocks are therefore measured. The first block is done. This block is somewhere in the inner dark-tinted ring. The quilt is very large. The smallest blocks are 3 inches square, which is about 7.5 by 7.5 cm. If all blocks deviate from the size, you will have problems sewing them together. All blocks are therefore measured. |
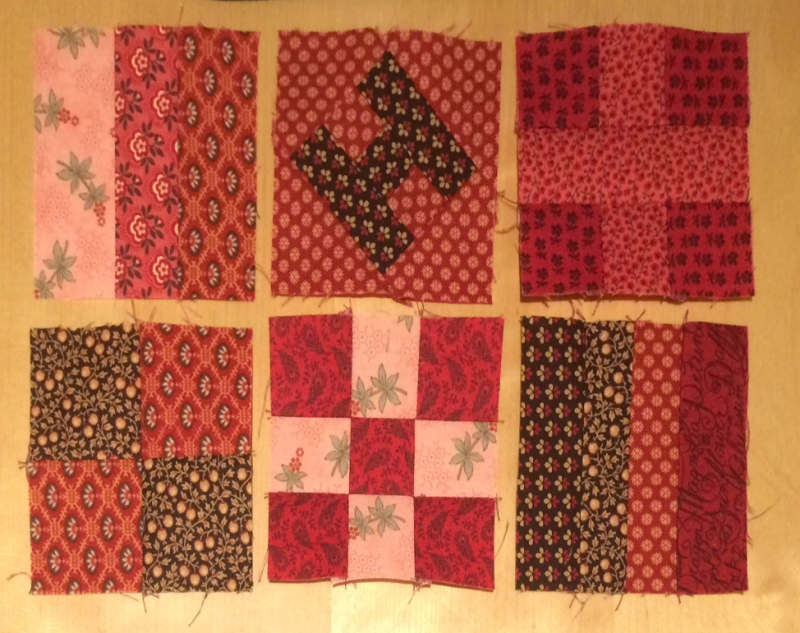 After a few hours of sewing, I have completed the first blocks. Keep working, and then I will be back on schedule. After a few hours of sewing, I have completed the first blocks. Keep working, and then I will be back on schedule. |
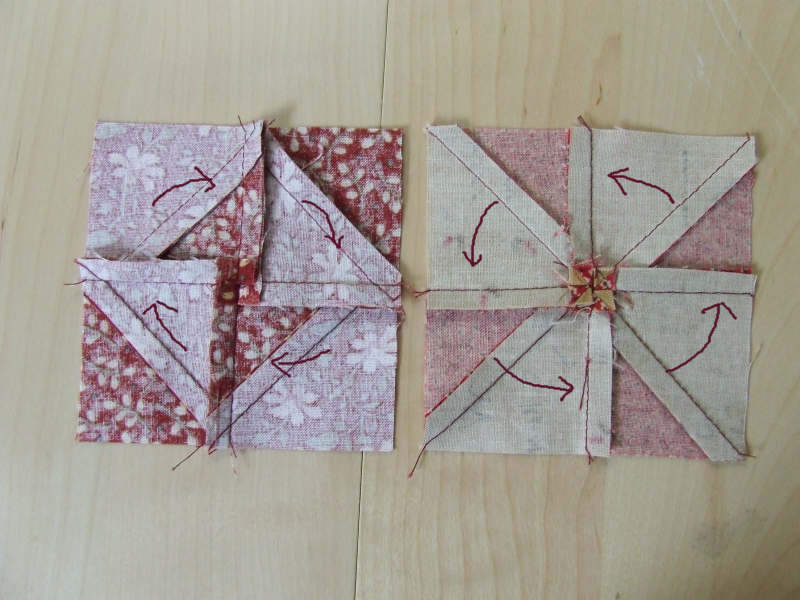
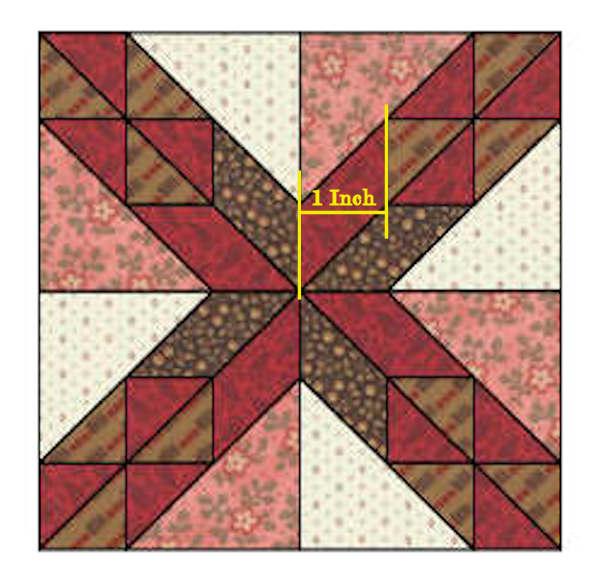
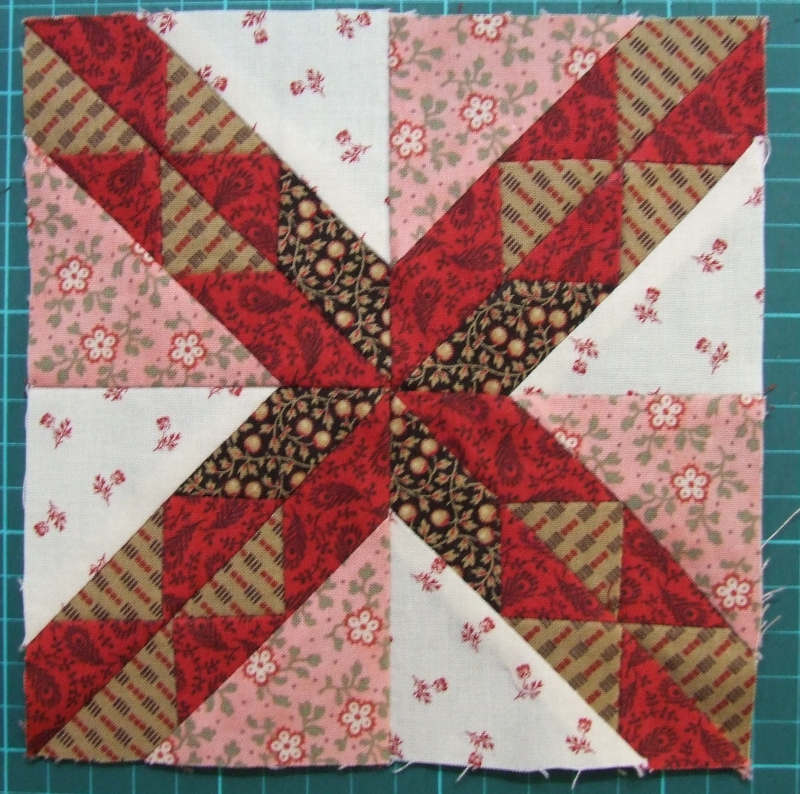
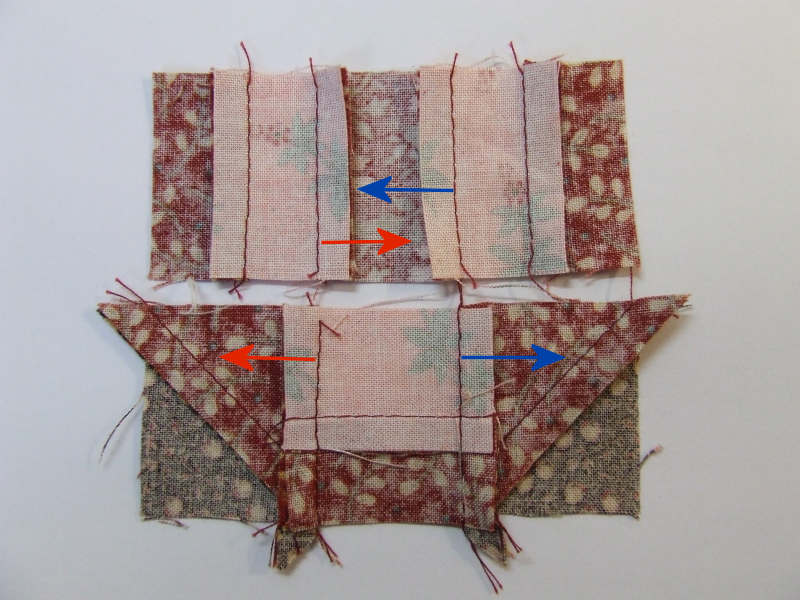
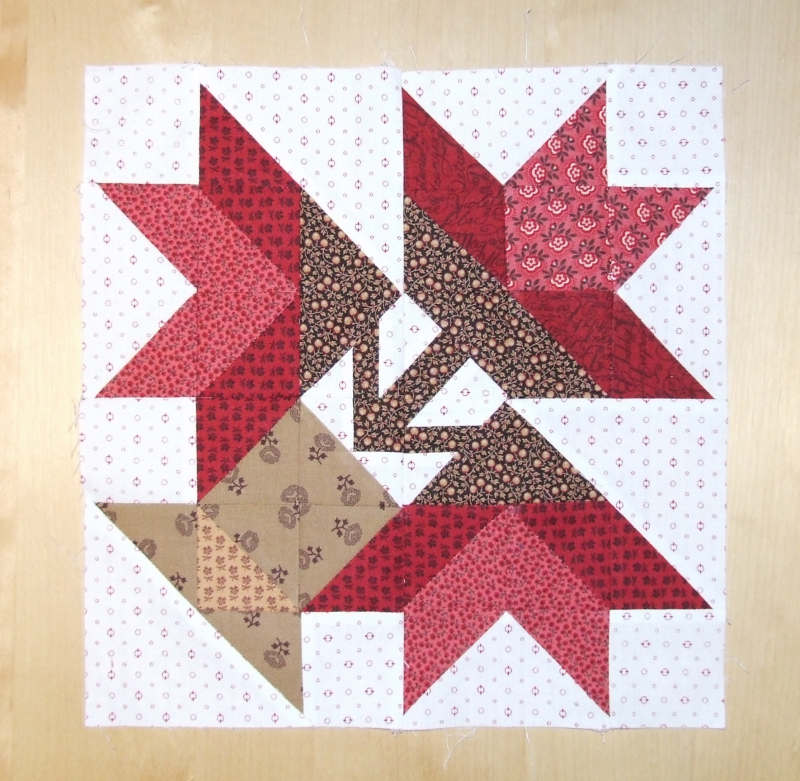
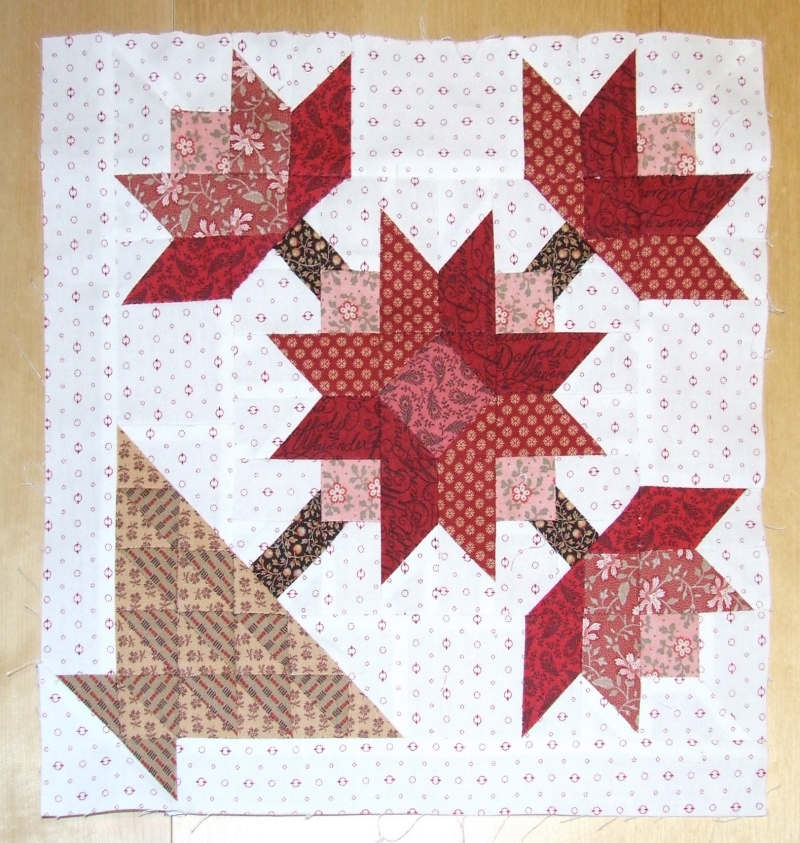
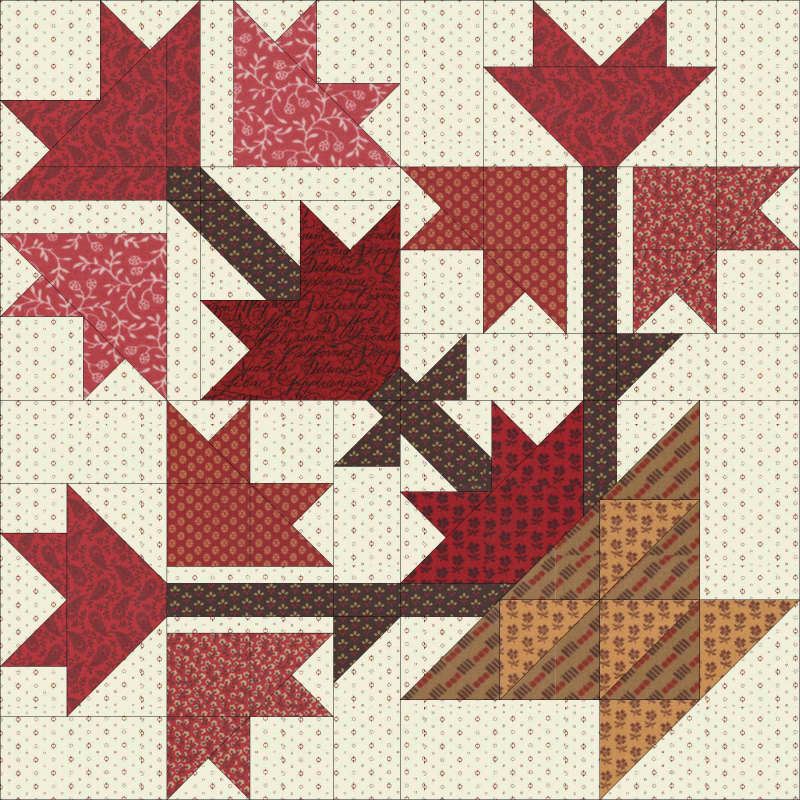 The last corner block contains several long, thin strips. It consists of quite a few components, making it a difficult block. I will assemble this block using paper piecing. Fortunately, EQ7 can easily create a paper piecing pattern. The last corner block contains several long, thin strips. It consists of quite a few components, making it a difficult block. I will assemble this block using paper piecing. Fortunately, EQ7 can easily create a paper piecing pattern. |
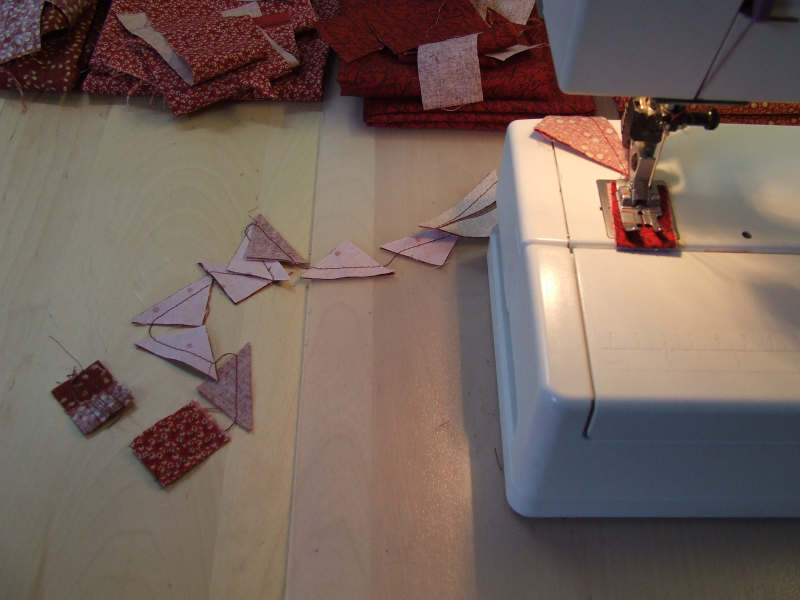
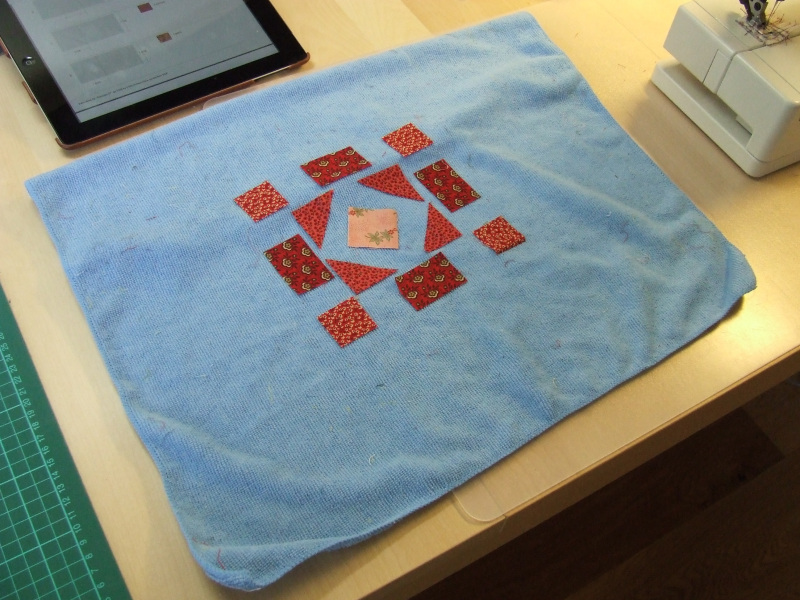
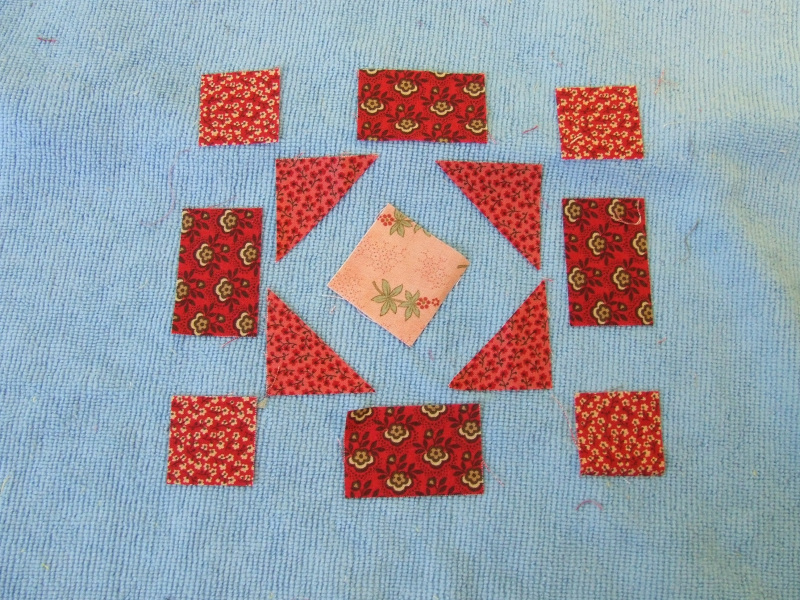
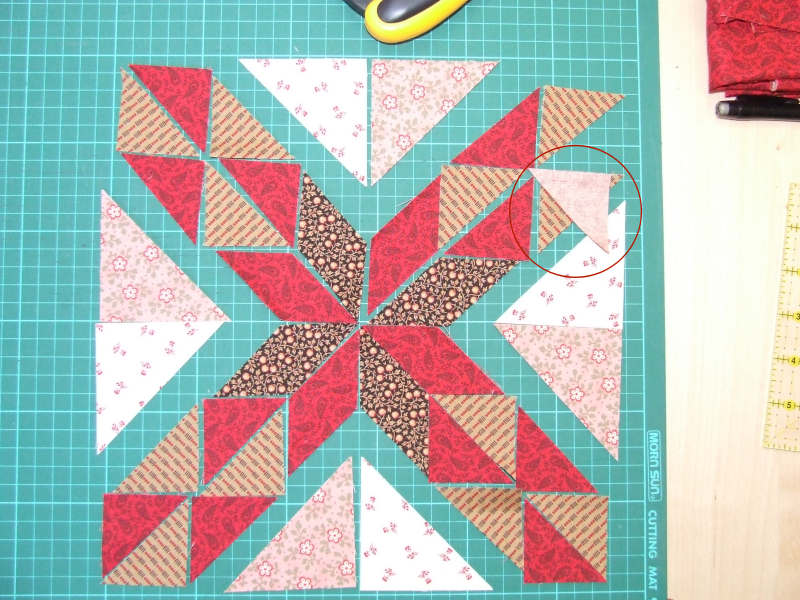
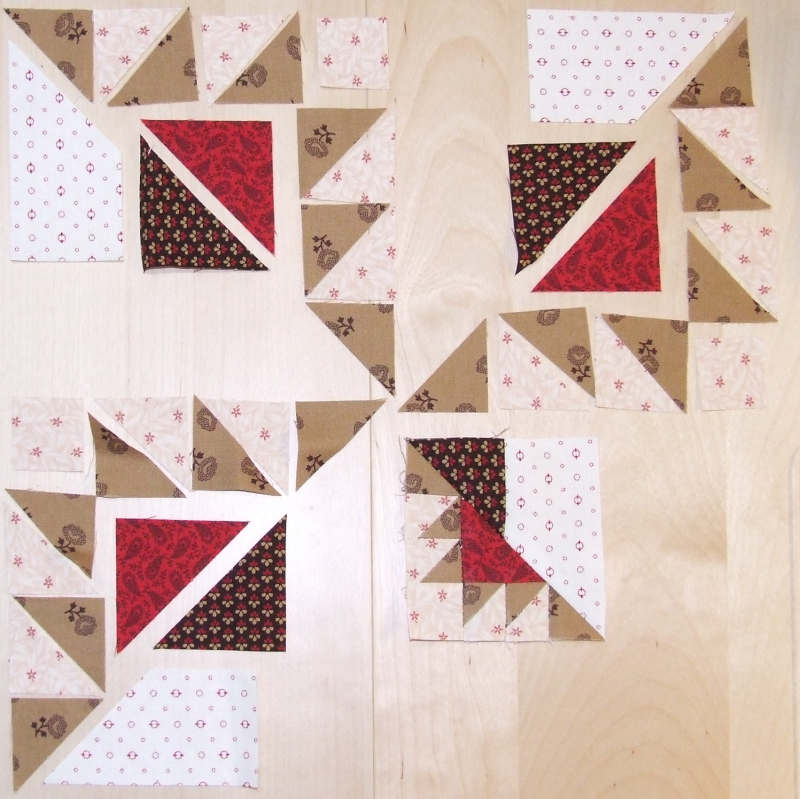
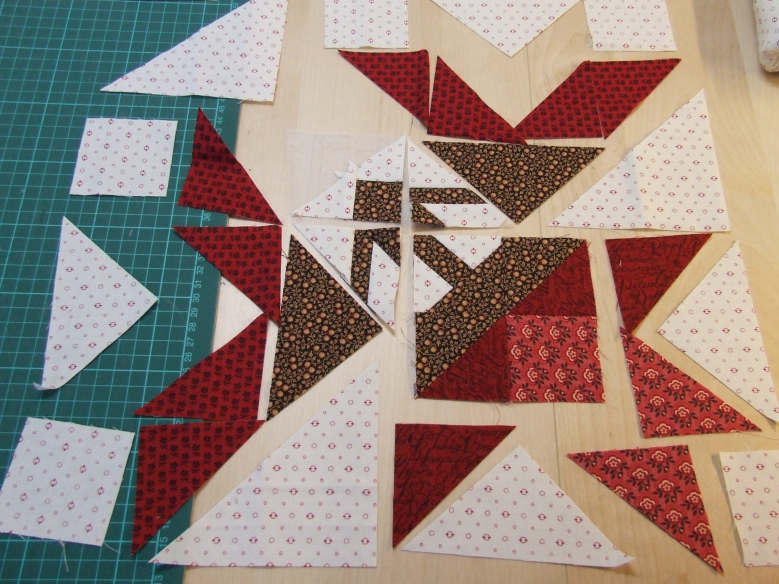
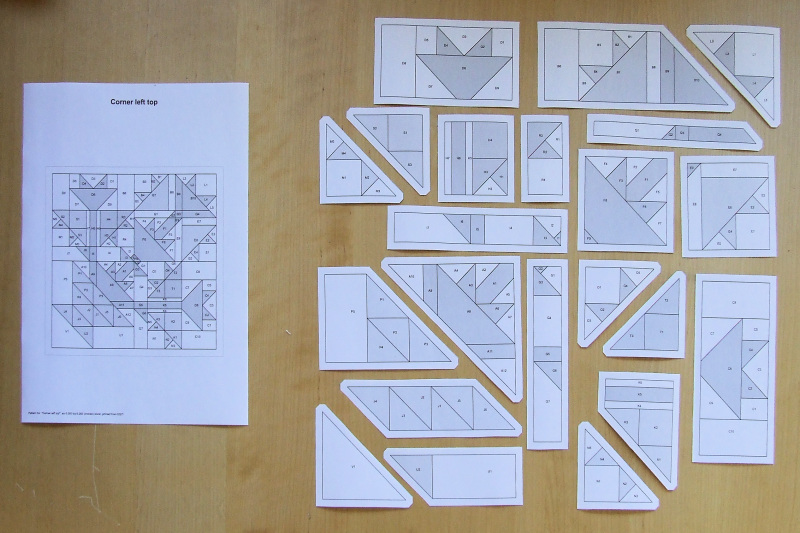 I won't trace the pattern onto tea bag paper or similar, but will sew directly on the printer paper. That works fine. First, I cut out the components and lay them out in the pattern. This way, I can better see where each piece should go. By the way, the pattern is printed in reverse, but that doesn't matter in this case. I won't trace the pattern onto tea bag paper or similar, but will sew directly on the printer paper. That works fine. First, I cut out the components and lay them out in the pattern. This way, I can better see where each piece should go. By the way, the pattern is printed in reverse, but that doesn't matter in this case. |
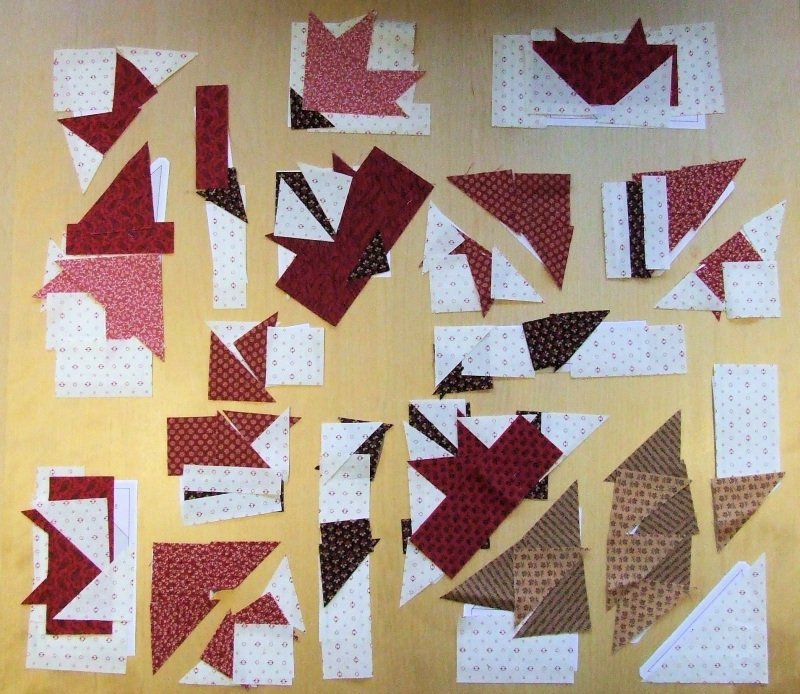 Cutting the pieces takes some work. When you see them laid out like this, it seems like the block will never come together. I'll just start somewhere. Cutting the pieces takes some work. When you see them laid out like this, it seems like the block will never come together. I'll just start somewhere. |
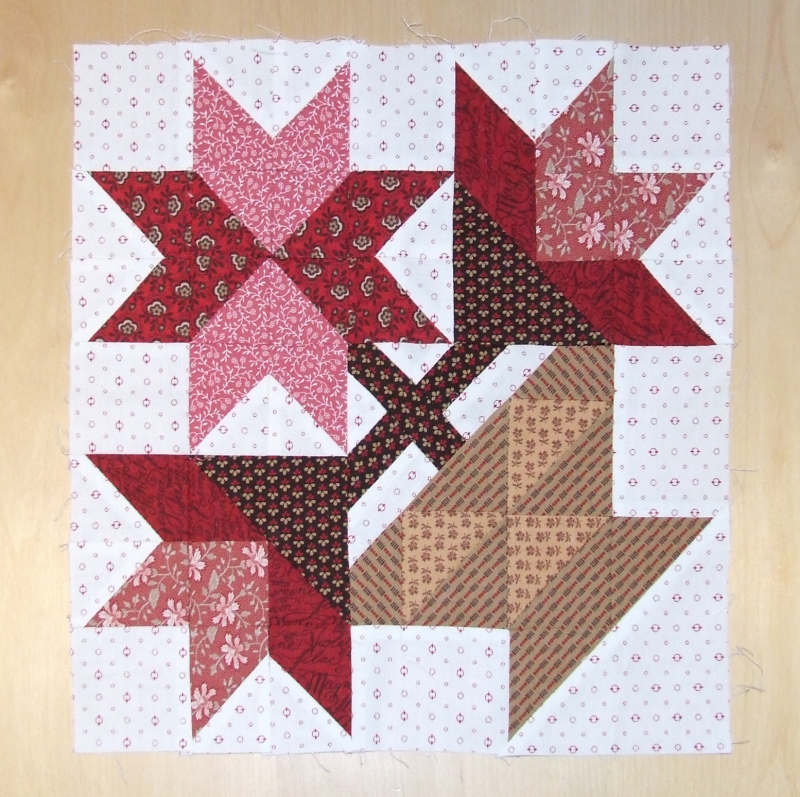
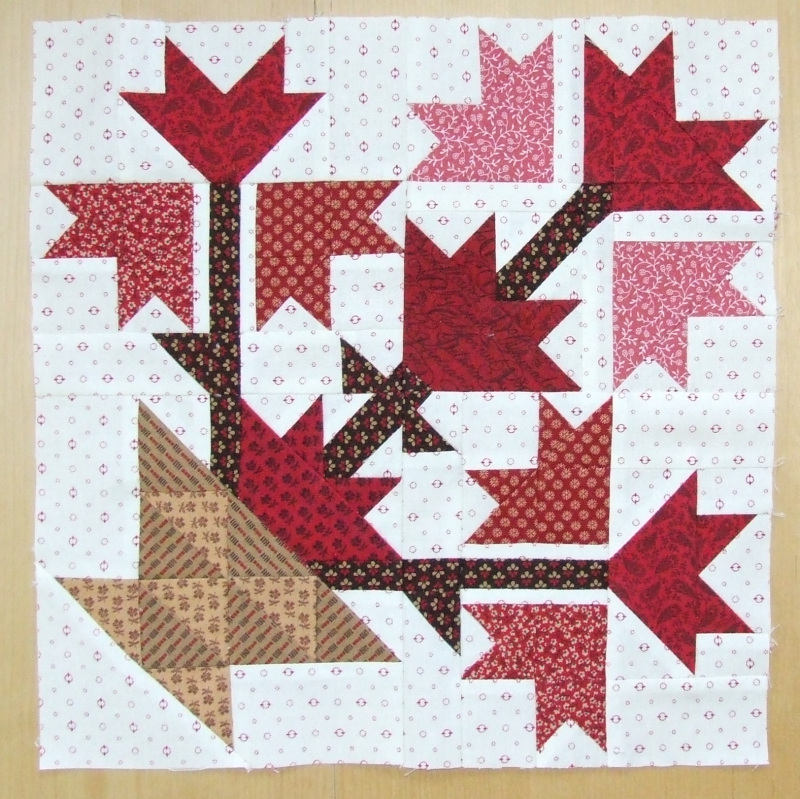 It takes a day of puzzling, frequent use of the seam ripper, and some grumbling. But then it's done—the last and most difficult corner. All the special blocks are now finished, and I'm completely caught up with the small blocks. I've also made a birthday block (twice), the January 1 bonus block, the January 2 alternative, and the Valentine's block. In total, 73 out of the 365 blocks are now done. It's starting to come together. The outer dark border contains 12 six-inch blocks. These are the blocks I will make now. It’s possible that other patterns will be chosen than those currently in the design, but that doesn’t bother me too much. It takes a day of puzzling, frequent use of the seam ripper, and some grumbling. But then it's done—the last and most difficult corner. All the special blocks are now finished, and I'm completely caught up with the small blocks. I've also made a birthday block (twice), the January 1 bonus block, the January 2 alternative, and the Valentine's block. In total, 73 out of the 365 blocks are now done. It's starting to come together. The outer dark border contains 12 six-inch blocks. These are the blocks I will make now. It’s possible that other patterns will be chosen than those currently in the design, but that doesn’t bother me too much. |
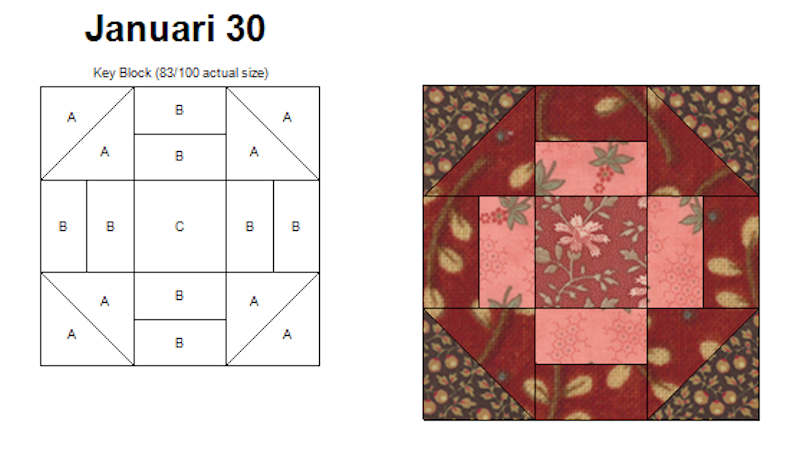
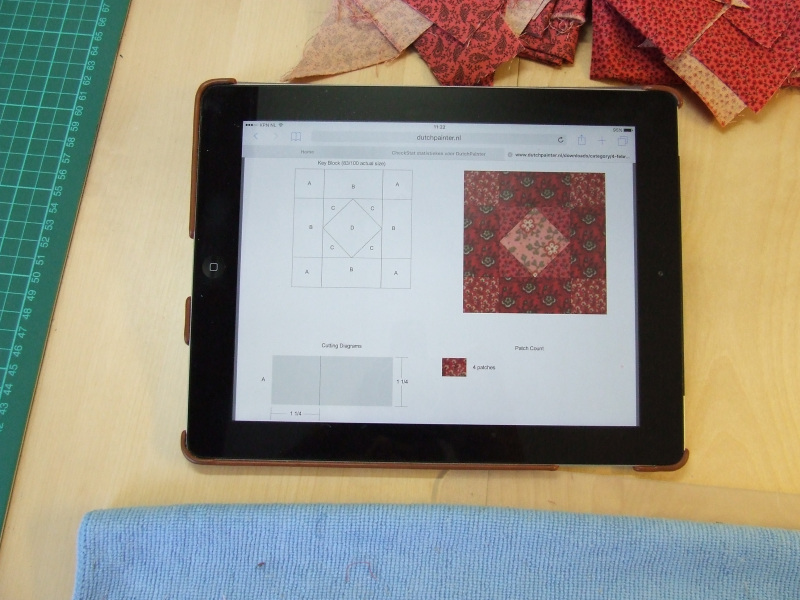 When making complex blocks, it’s useful to have an example on hand. I use EQ7, and instead of printing the cutting instructions and such, I make a PDF. I can then open the PDF on a tablet. The tablet is nice and small, and I can quickly grab it or set it aside. This way, I avoid many paper examples that I only use once. It's cheaper and also better for the environment. All the published blocks of the 365 Challenge can be found here as PDFs. When making complex blocks, it’s useful to have an example on hand. I use EQ7, and instead of printing the cutting instructions and such, I make a PDF. I can then open the PDF on a tablet. The tablet is nice and small, and I can quickly grab it or set it aside. This way, I avoid many paper examples that I only use once. It's cheaper and also better for the environment. All the published blocks of the 365 Challenge can be found here as PDFs. |
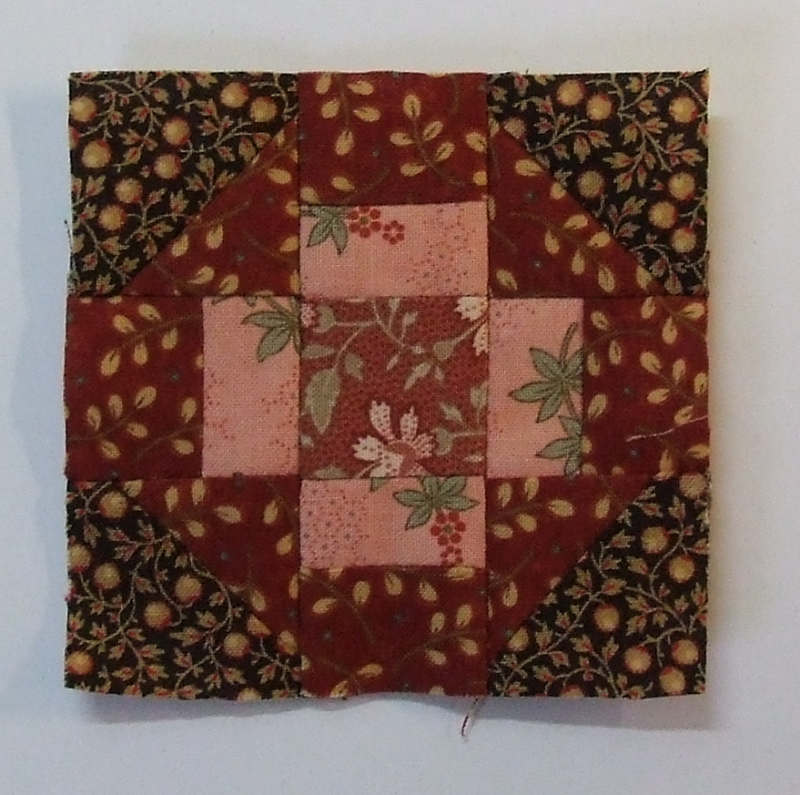
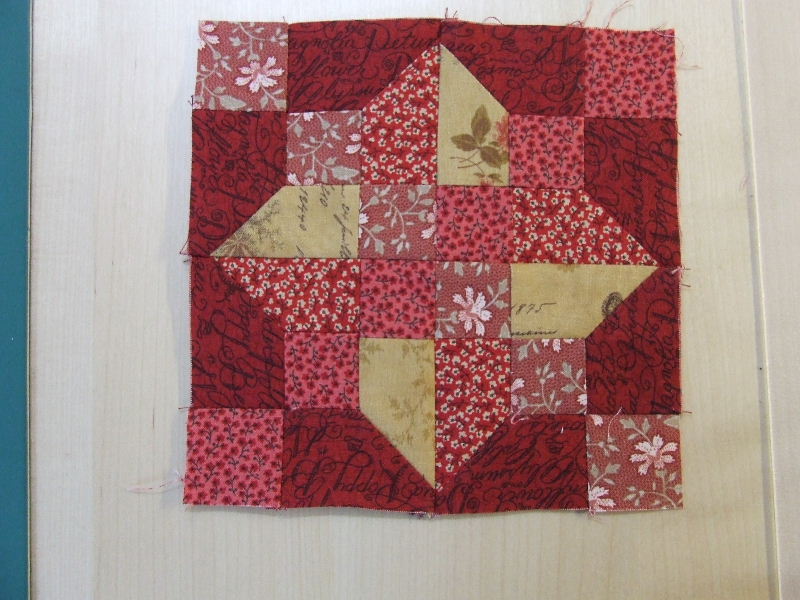 I started with the 12 dark six-inch blocks. These are a bit less finicky and fun to do. I encountered something I hadn't seen with the small dark three-inch blocks—a set-in corner. It seems difficult but is probably manageable. I started with the 12 dark six-inch blocks. These are a bit less finicky and fun to do. I encountered something I hadn't seen with the small dark three-inch blocks—a set-in corner. It seems difficult but is probably manageable. |
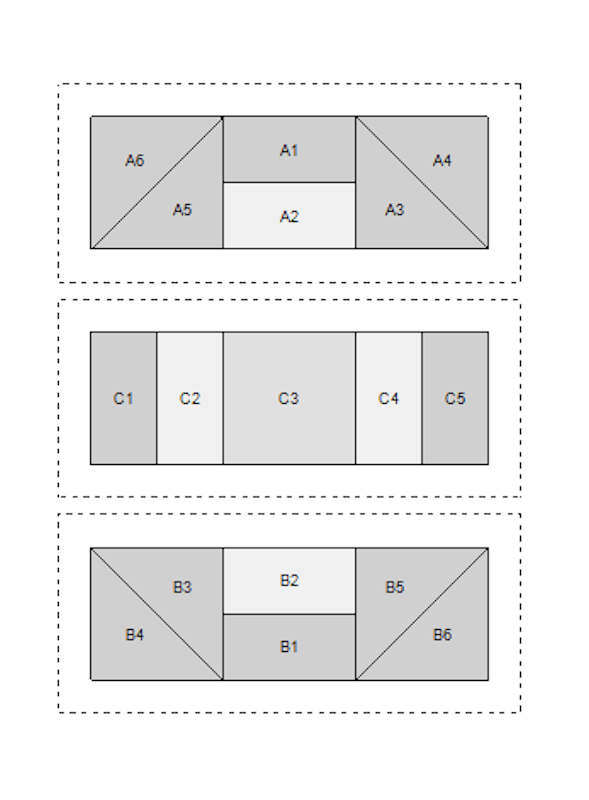
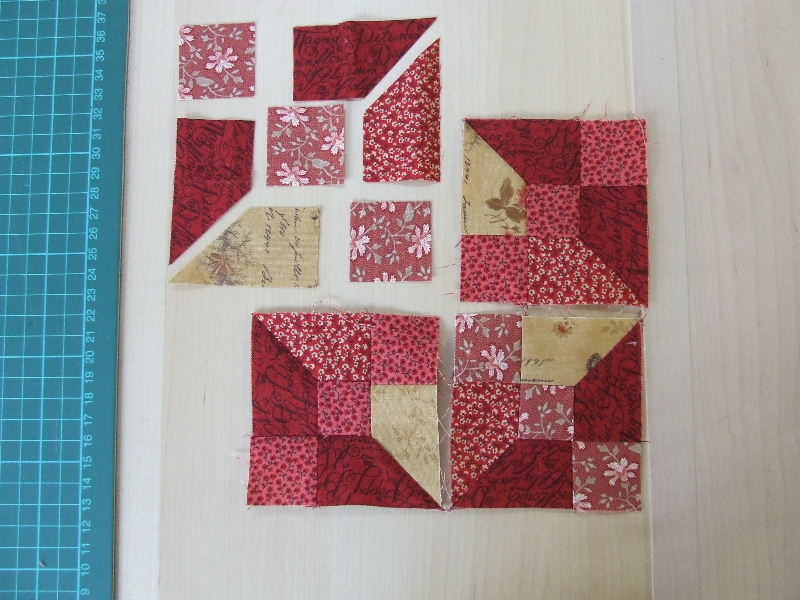 Often, you can divide blocks into small parts. This block is one of them. It immediately looks less complex. If you still find a set-in corner difficult or have never done one, you can read in the article inset corner quilt block about it. Maybe it will help you. Often, you can divide blocks into small parts. This block is one of them. It immediately looks less complex. If you still find a set-in corner difficult or have never done one, you can read in the article inset corner quilt block about it. Maybe it will help you. |
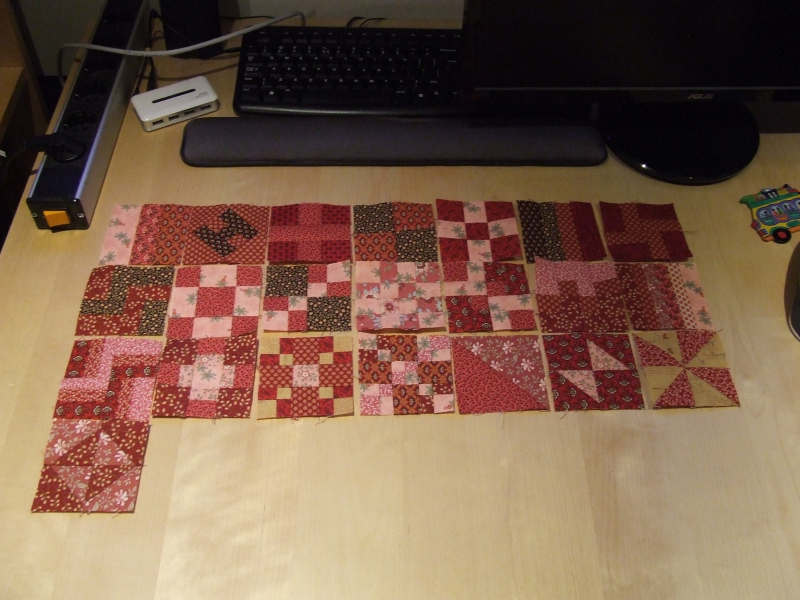
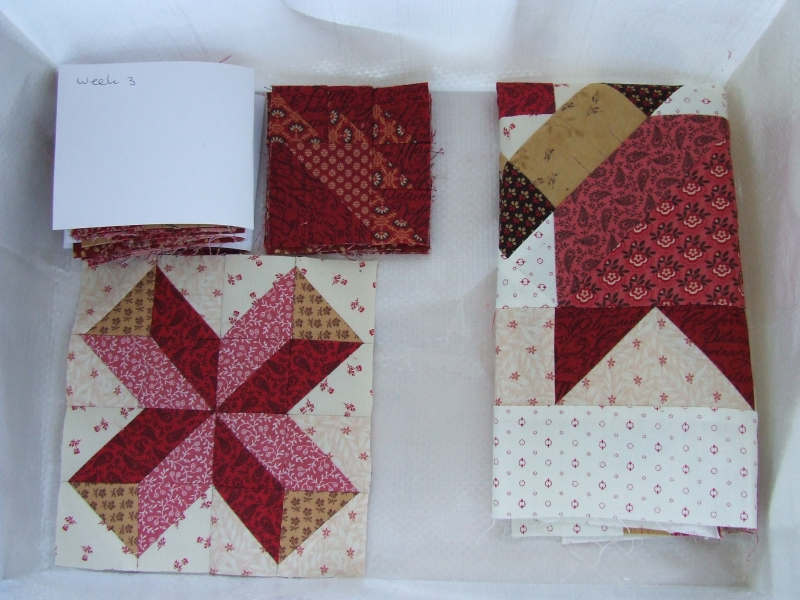
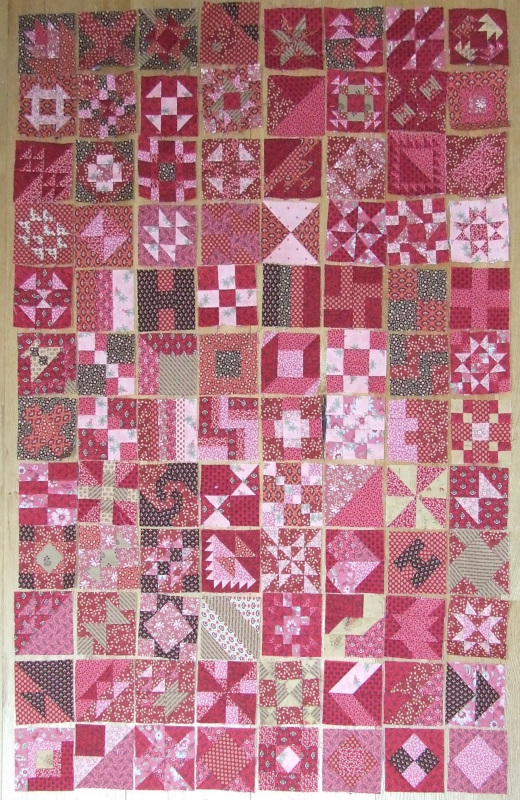
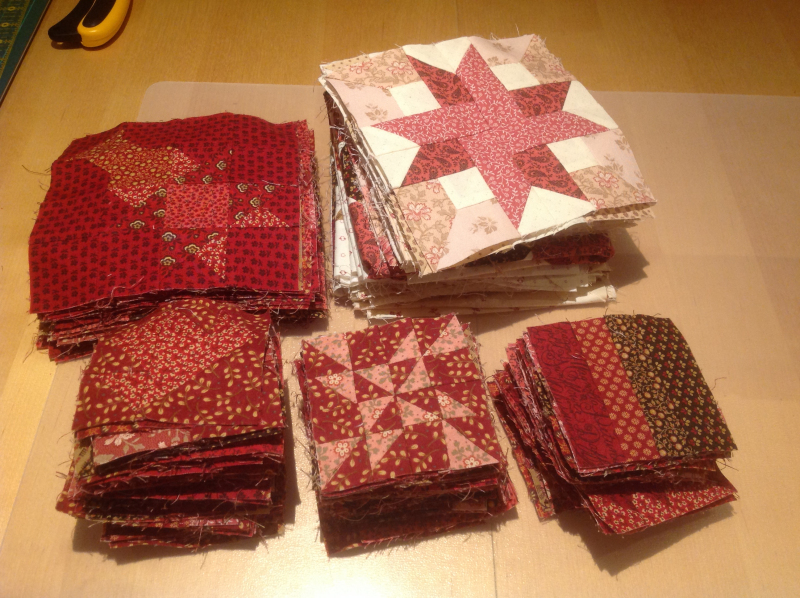
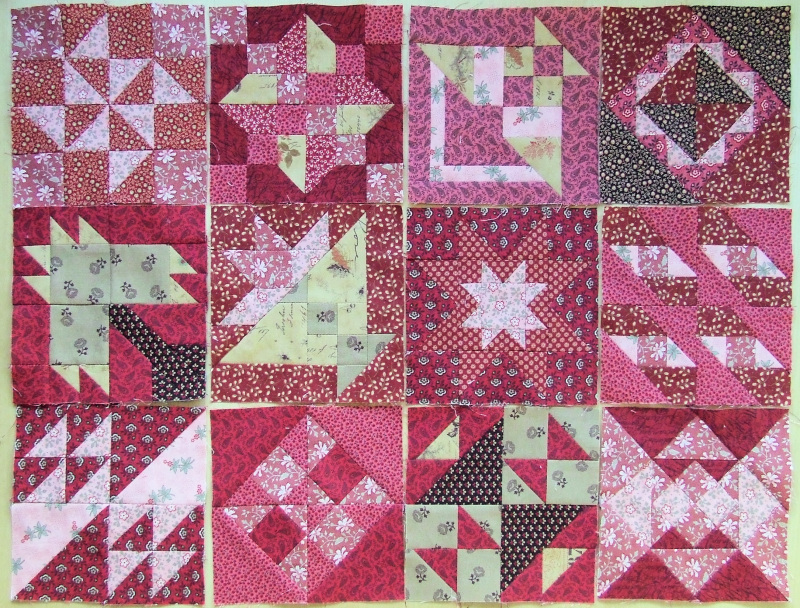 The dark six-inch blocks are done. There are some tricky pieces here and there, but generally, they are manageable. The blocks are coming along nicely. All the separate blocks are done. The only blocks left to make are the three-inch dark blocks and six-inch light blocks. It looks nice with all the blocks together. The dark six-inch blocks are done. There are some tricky pieces here and there, but generally, they are manageable. The blocks are coming along nicely. All the separate blocks are done. The only blocks left to make are the three-inch dark blocks and six-inch light blocks. It looks nice with all the blocks together. |
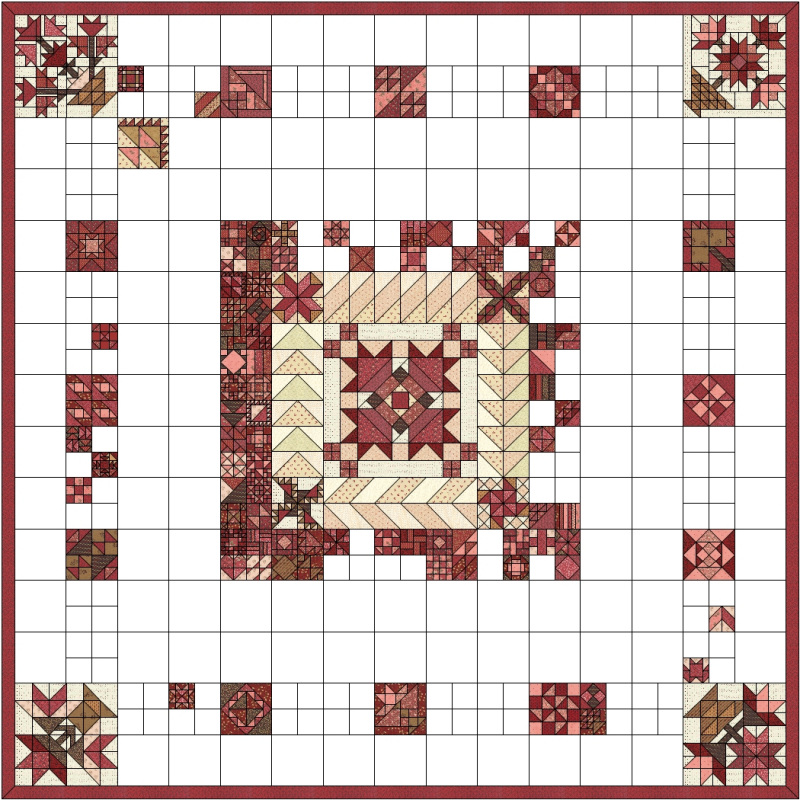 I now have 103 blocks done. I'm curious how it will look when assembled. With EQ7, I can create an image of the quilt. You can see it's starting to come together. I now have 103 blocks done. I'm curious how it will look when assembled. With EQ7, I can create an image of the quilt. You can see it's starting to come together. |
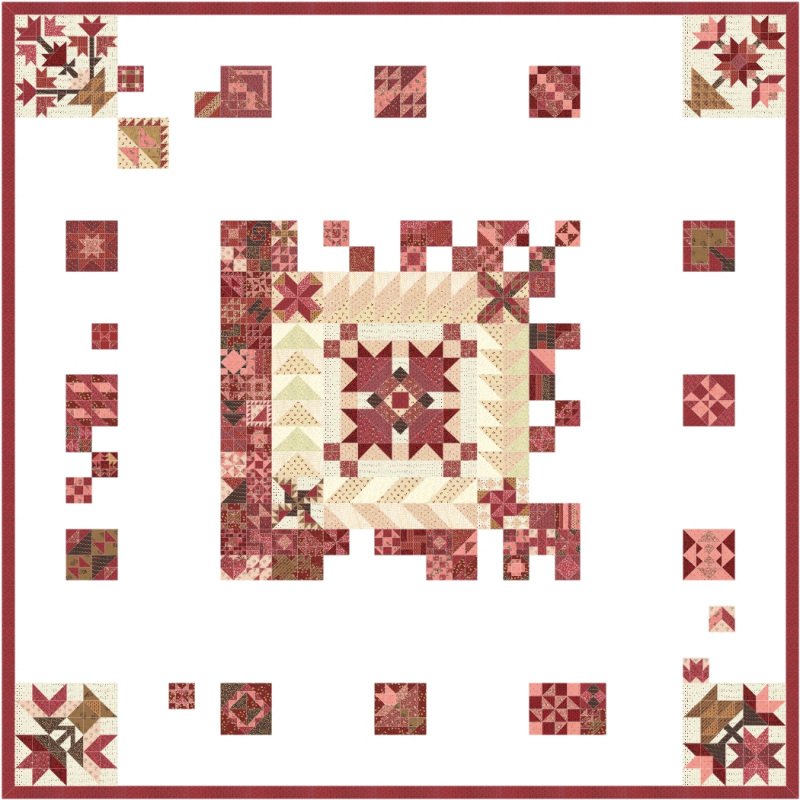 Some of the blocks are not in the original design. I still don't know how exactly I will arrange the blocks, so I just placed them somewhere. It's more about the idea. Some of the blocks are not in the original design. I still don't know how exactly I will arrange the blocks, so I just placed them somewhere. It's more about the idea. |


