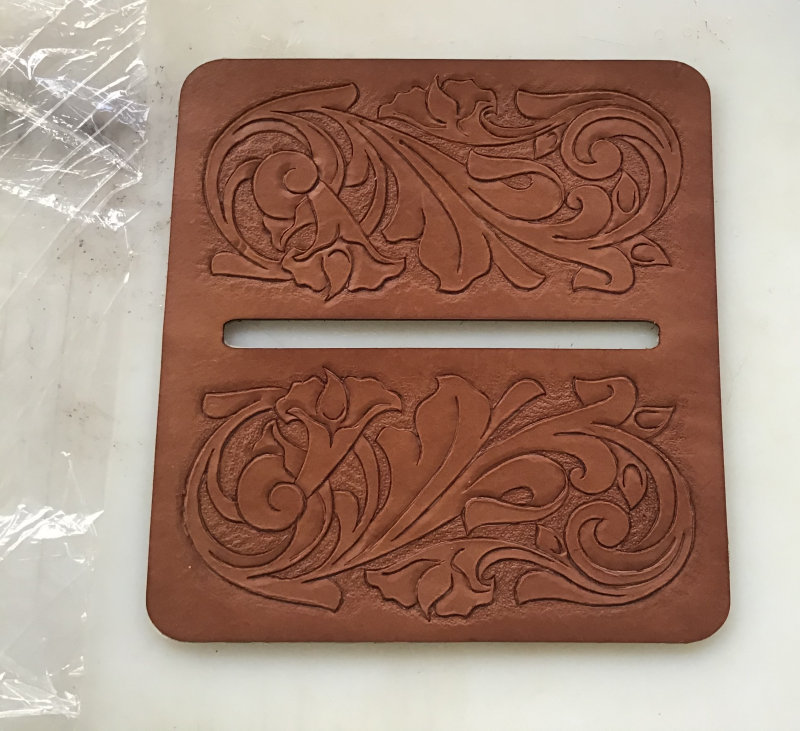
| I start by moistening the leather. The water needs to soak in for a bit. Then I lay a piece of plastic wrap over the leather, with the pattern on top. I trace the pattern onto the leather with a sharp tool so that the lines are imprinted on the leather. Then, I cut along the lines with a sharp knife, a so-called "swivel knife." |
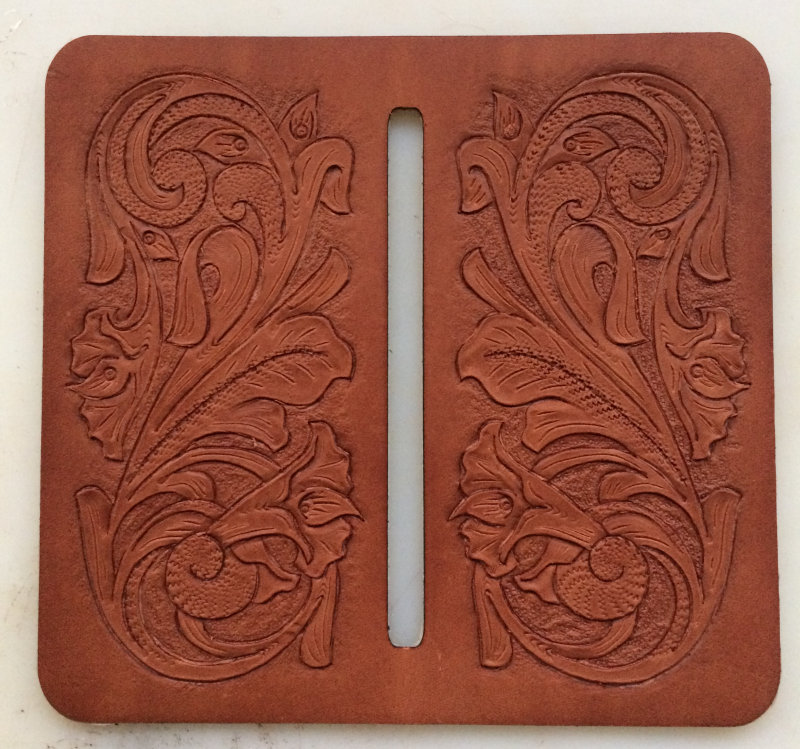
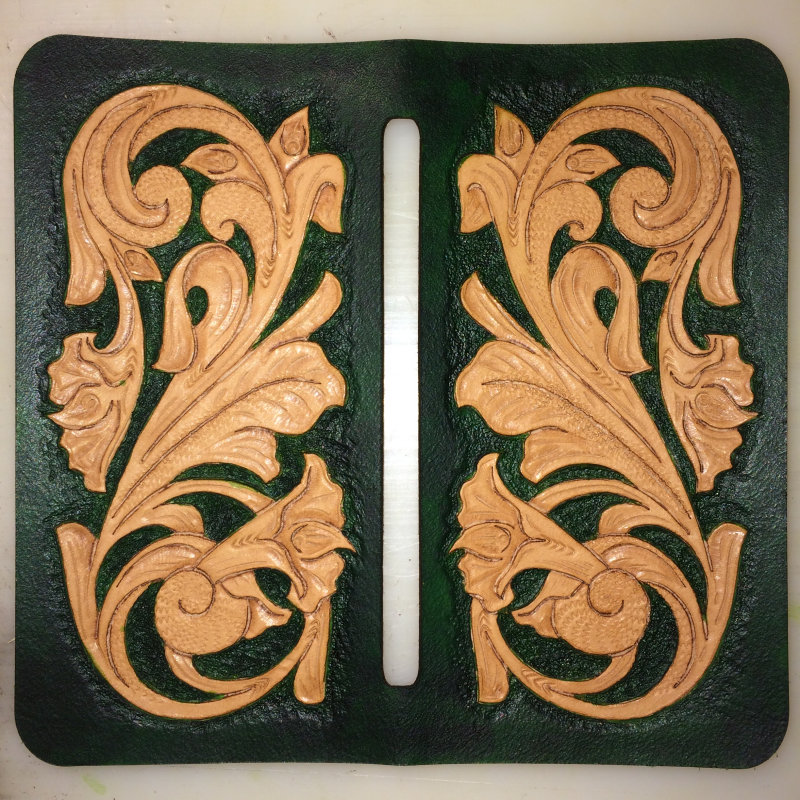
| Once all the edges are cut, I use a special tool, a beveler, to hammer them inward on the correct side. Bevelers come in various sizes and shapes. You place them on the cut line and hammer them with a plastic maul so that one side of the cut line is pressed down. This makes the pattern emerge nicely. In this photo, I've already further worked on the pattern. Decorations have been added with stamps in the shape, and the background has been pushed down further. All this is to make the shape stand out better later. The leather is kept moist during the process because stamping won't work on dry leather. You can't imprint dry leather. |
| The leather begins to dry, and you can now see the pattern beautifully emerging. It appears as if it's sitting on top of the rest of the leather. |
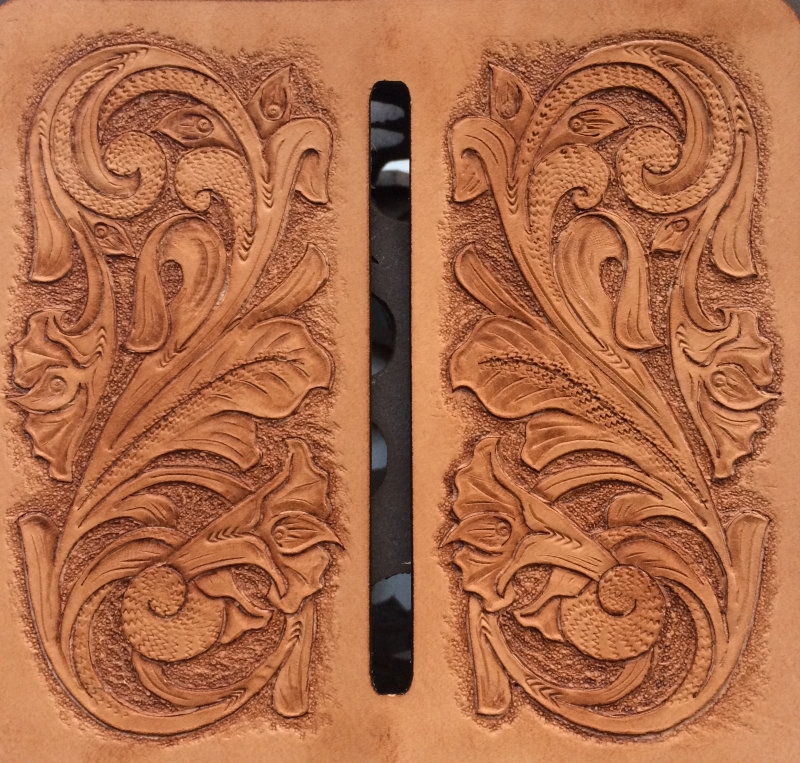
| Once the leather is fully dry, the background is painted dark green. The wallet is for Liza, and green is her favorite color. It's a meticulous job, as mistakes cannot be corrected. I use a small brush to carefully reach the smallest areas. Once the painting is done, the piece of leather must dry thoroughly again. After drying, the leather is covered with a layer of Tan-Kote for protection.. |
| Finally, an antique effect is applied to the leather. This is best described as a kind of dark shoe polish that stays in all the crevices and hollows, creating a beautiful shadow effect. |
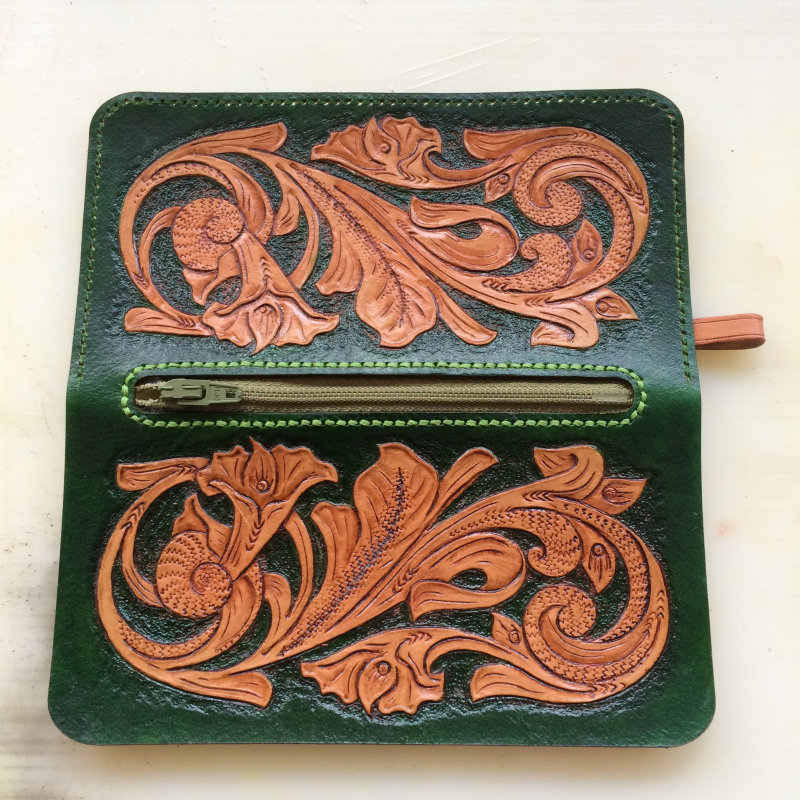
| Now it's time to assemble the wallet. Using a stitching prong, holes are made all around the opening for the zipper. Neatly spaced from the hole. Holes are also made on one half of the outer edge. The holes on the other half will come later when the wallet is glued together. |
| Once the zipper is neatly in place, both sides of the wallet are glued together with very narrow double-sided tape. This is to prevent the sides from shifting during sewing. The holes are pierced again with a stitching prong, so that the holes also go through the leather at the back and the wallet can be sewn. The sides are neatly sewn together. The edges of the leather are polished smooth, and the wallet is finished. |
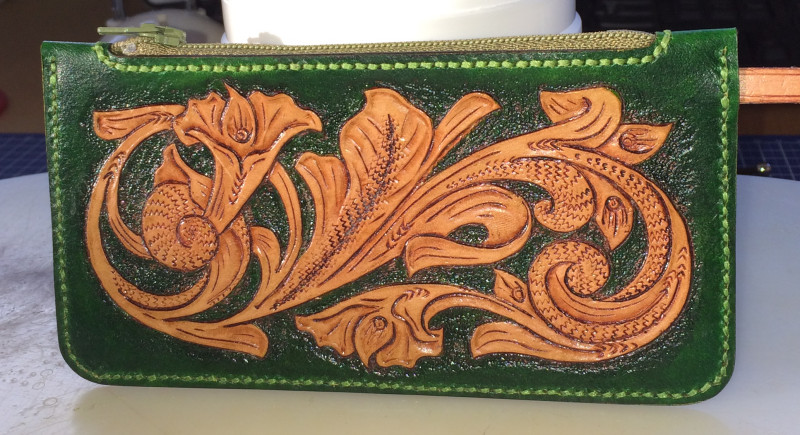 I have a piece of harness leather and I want to make a wallet out of it. Let's see if I can manage.


