The holder is easy to make yourself. You'll need the following:
- A scrap piece of wood
- Some round wooden sticks of various thicknesses
- A piece of adhesive felt
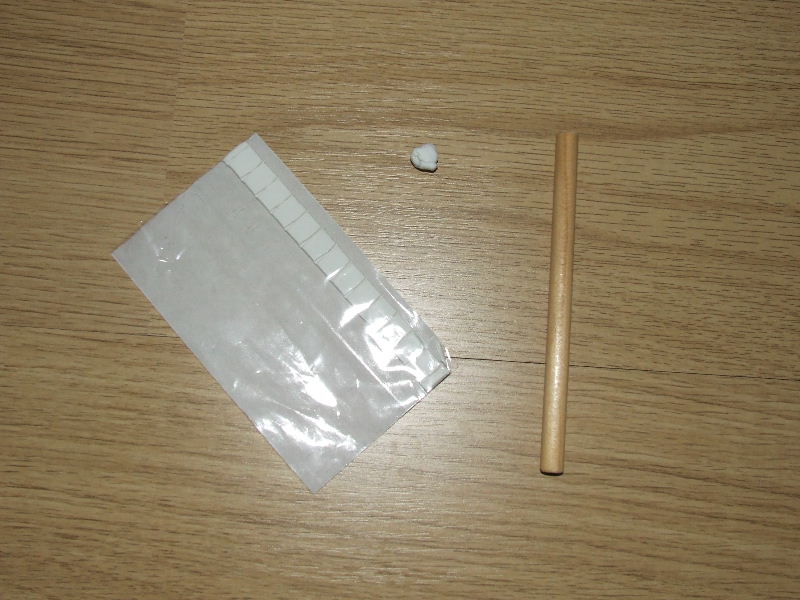
- Putty
- A drill with bits matching the thicknesses of your wooden dowels.
|
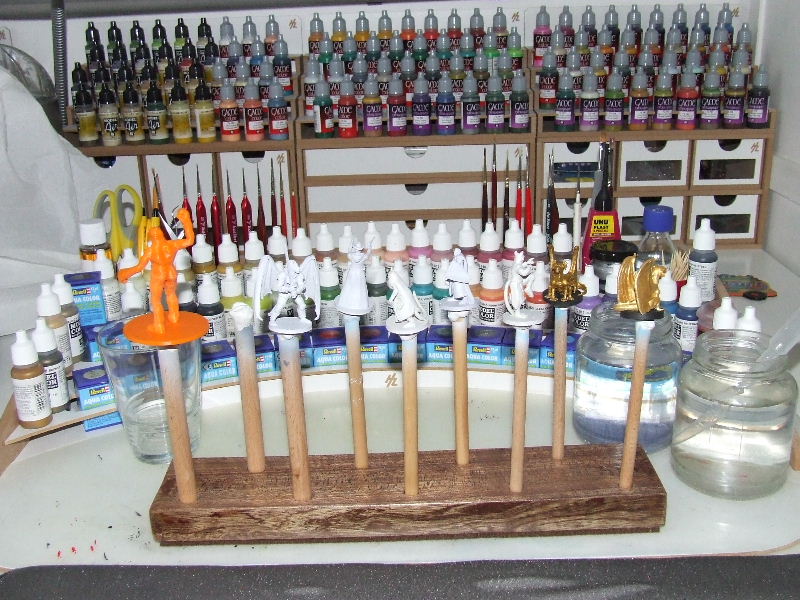
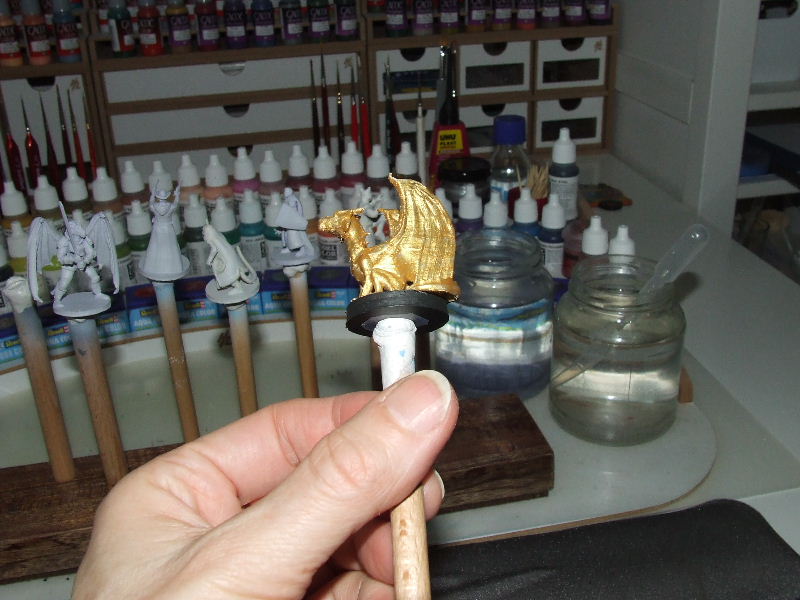
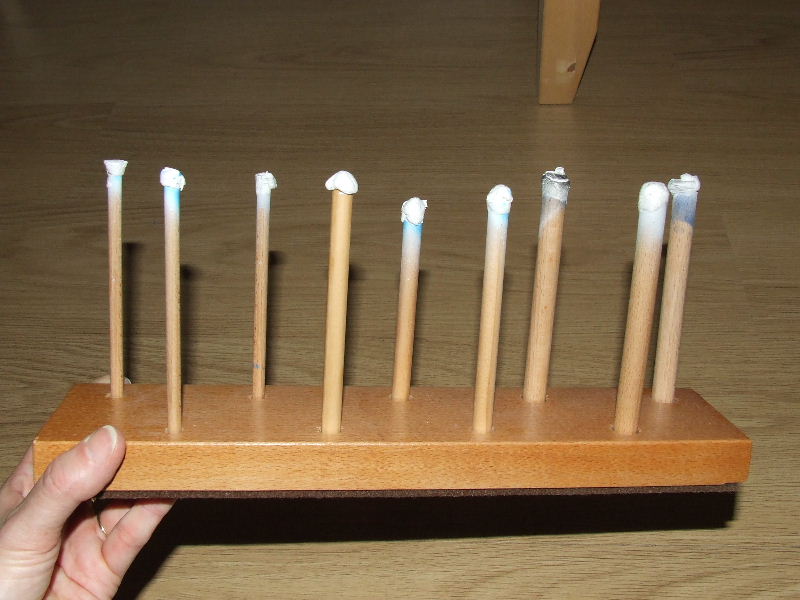
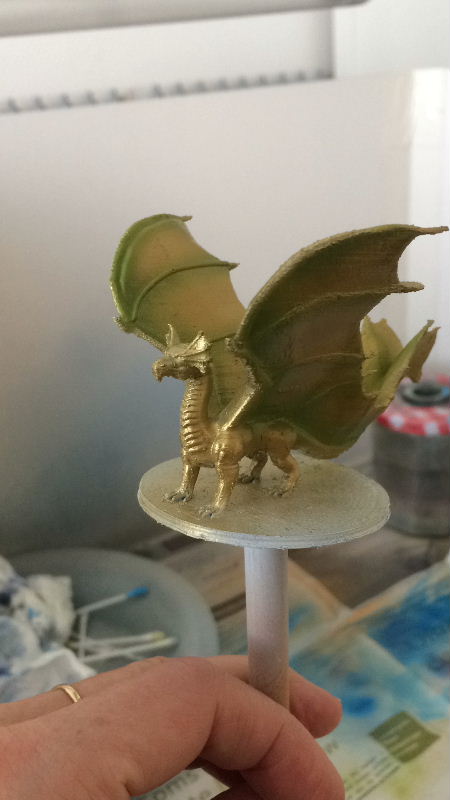
| The large block with the holes serves as a holder for sticks with putty on them. With the putty, you temporarily attach a miniature to the top of the stick so that you can paint it easily. |
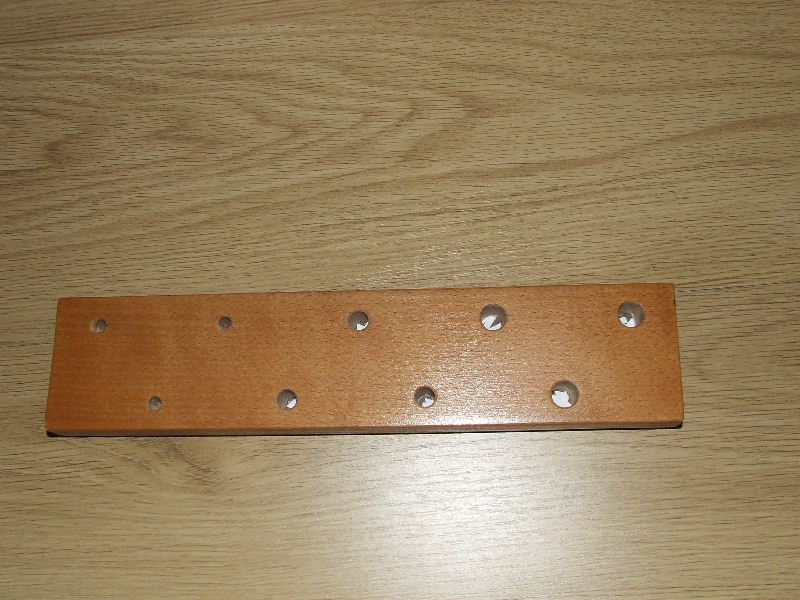
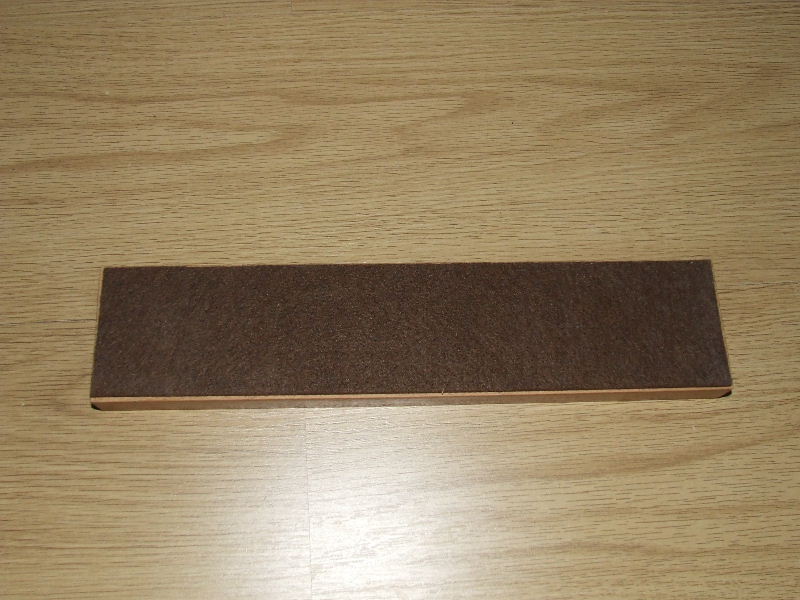
| The block is a random piece of wood. It needs to be thick enough to ensure that the sticks stand upright neatly. My block is 2 cm thick, 7 cm wide, and 32 cm long. As you can see in the first photo, I've made two rows of sticks, but you can also use a narrower board and make just one row. I drilled holes all the way through the block. The holes are evenly spaced across the block, approximately 1 cm from the edge, with a spacing of 7 cm between them. I drilled the holes all the way through, but if you have very thick wood, you can choose not to drill all the way through. If you drill all the way through, like I did, make sure that your sticks don't fall through the bottom of the block when you lift it to move it. You can attach a thin piece of some material to the bottom. |
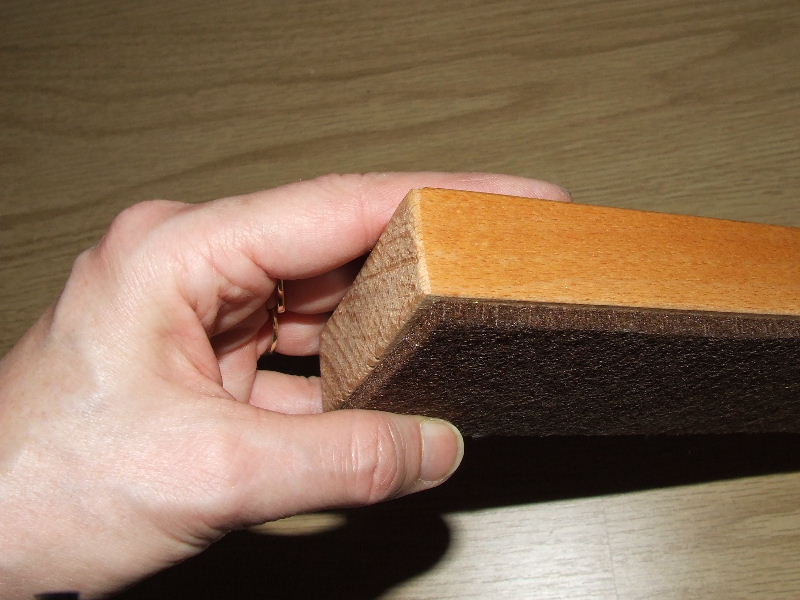
| I've personally stuck thick felt underneath. This prevents the sticks from falling through the block and also reduces scratching on my table. The felt is slightly smaller than the block itself and about 2 mm thick. It has a self-adhesive layer, making it easy to apply. To prevent my sticks from sticking to this layer when I insert them into the block, I sprinkled a little flour and then tapped out the excess flour. You can also insert a small piece of paper. |
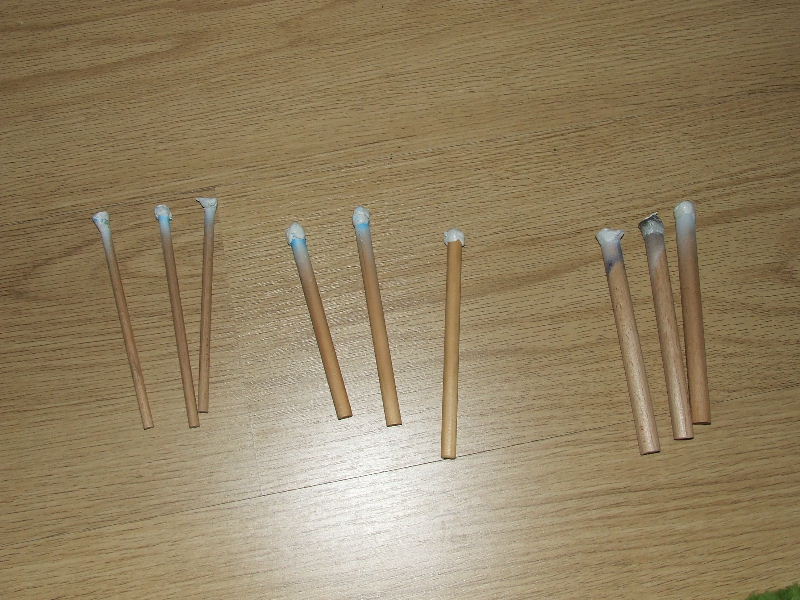
| The thickness of the sticks depends on what you want to paint with them. I made sticks with diameters of 6, 8, and 10 mm. The sticks are 13 cm long, which felt comfortable for me. You can adjust the length according to your preference. I made three sticks per size. The holes you see in the block are also 6, 8, and 10 mm. If a stick doesn't fit perfectly into the hole, you can either widen the hole slightly with a drill bit one size larger (this is easier if you haven't drilled all the way through) or use a round or half-round file to enlarge the hole slightly. |
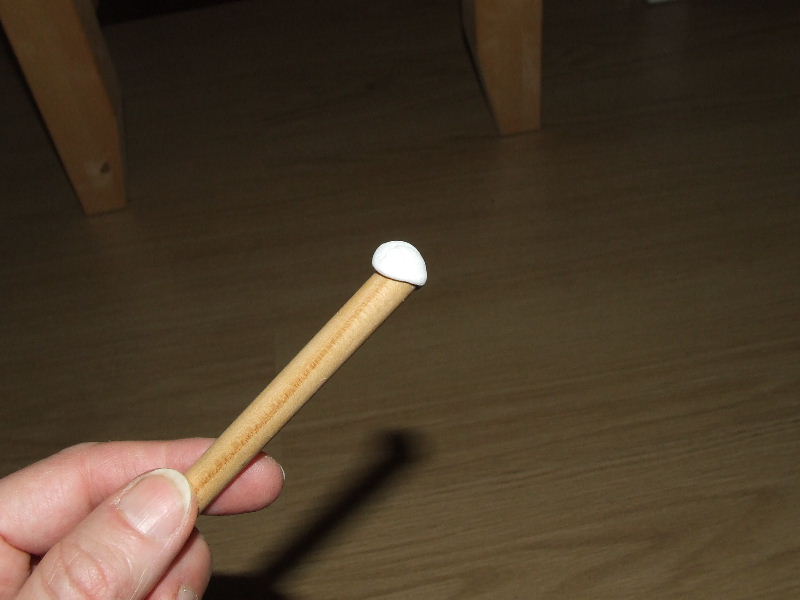
| On the sticks, I attached a small piece of putty. After a while, the putty may lose some of its stickiness, so you may need to knead it again to make it soft and pliable, and stick better. If it still doesn't stick well, you can simply attach a new piece of putty. |
| Altogether, making the holder isn't very labor-intensive. The sticks with putty make painting much easier and also serve as a convenient holder for drying miniatures, especially if you've airbrushed them. |
| I hope you find this idea useful. I'm certainly very happy with it. |


