You'll need the following to make these finger protectors:
- A piece of leather. I used very supple leather, but if you don't have that or can't get it, you can also get a piece of chamois leather. Most supermarkets sell that with the cleaning supplies.
- A piece of sturdy thread, iron thread, or strong polyester thread. If you don't have this, you can also use sewing thread. Thread it double through the needle in that case.
- A needle that goes through your leather. Most haberdasheries sell sets with different leather needles. There's bound to be one that suits you.
- Scissors that cut through your leather. If you're using thin leather or chamois leather, you don't need very special scissors.
- The pattern that you can download here.
- Tape to stick the pattern onto the leather. Masking tape also works fine.
|
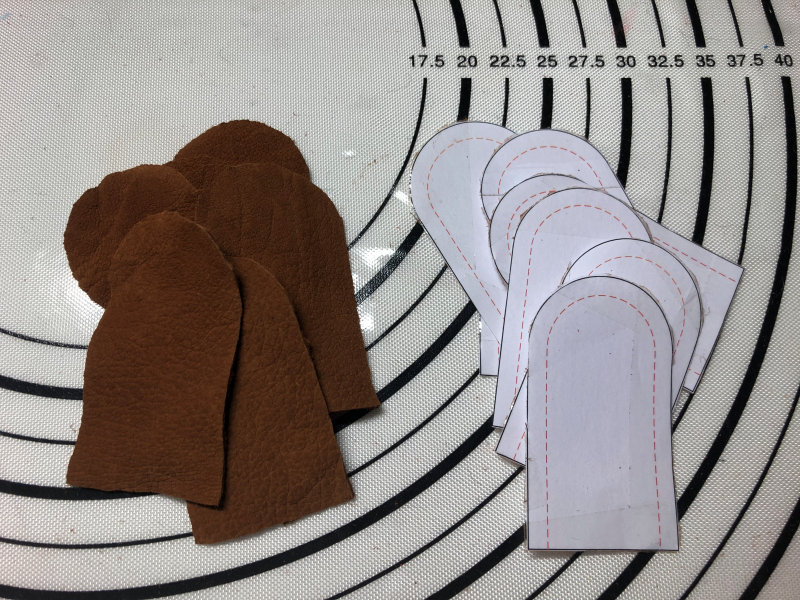
| On the pattern, you'll find 4 shapes. The narrowest shapes are for the protector around your finger, the largest ones are for the protector around your thumb, which is usually a bit bigger. If you have very large hands, you can print the pattern a bit larger (most printers allow you to indicate by how much percentage the page should be enlarged). You can also just cut a bit more seam allowance. The leather doesn't really stretch, so measure your shape before cutting it out of the leather and take into account that the leather will also go around the sides of your fingers. I'm making two sets here, that's why you see 8 shapes. If you're making just one set, you'll only have 4 shapes if you've done it right. |
Secure the leather with tape or masking tape. It doesn't have to be very neat, as long as the cut-out shapes are well attached to the leather so they don't come loose or move during cutting.
|
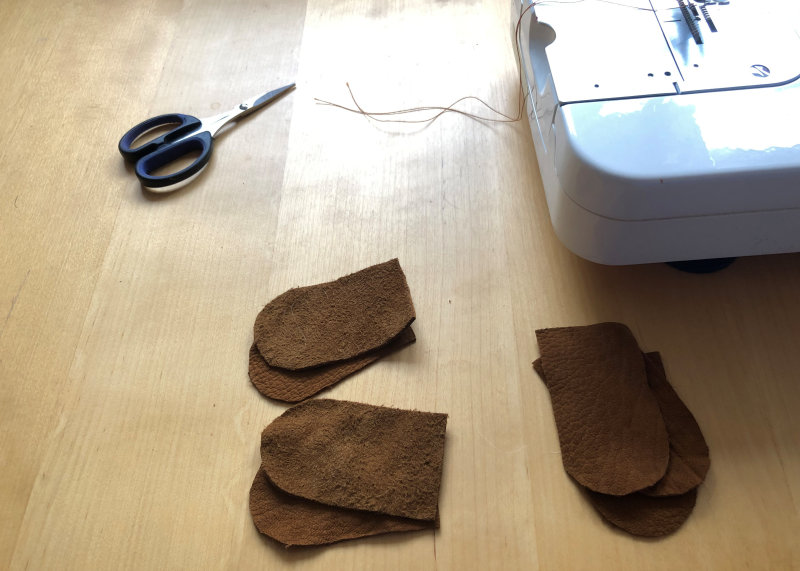
Cut out the shapes neatly. A seam allowance is already indicated on the pattern, so unless you want to make the finger protectors larger, you can cut directly next to the pattern. You now have 2 sets of shapes, put the sets together.
|
Now sew the shapes together. Do this with the right sides of the leather together. You can do this with a sewing machine, and if you don't have one, by hand. Use sturdy thread, or if you don't have that, a double thread.
|
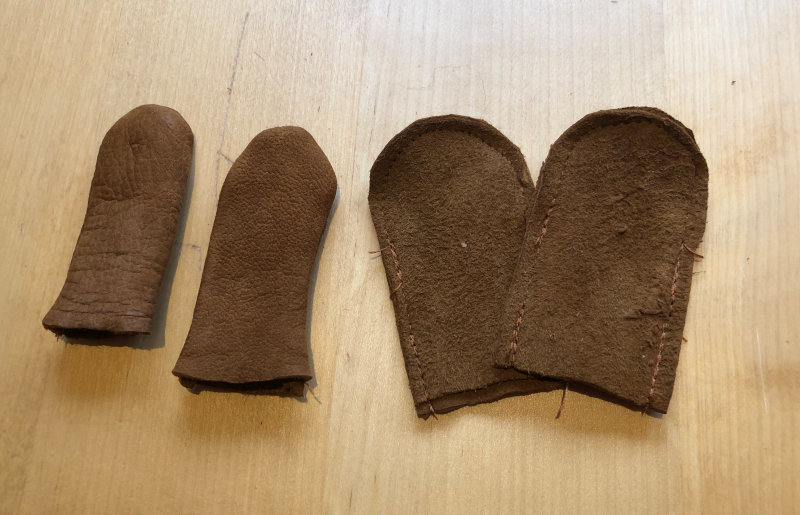
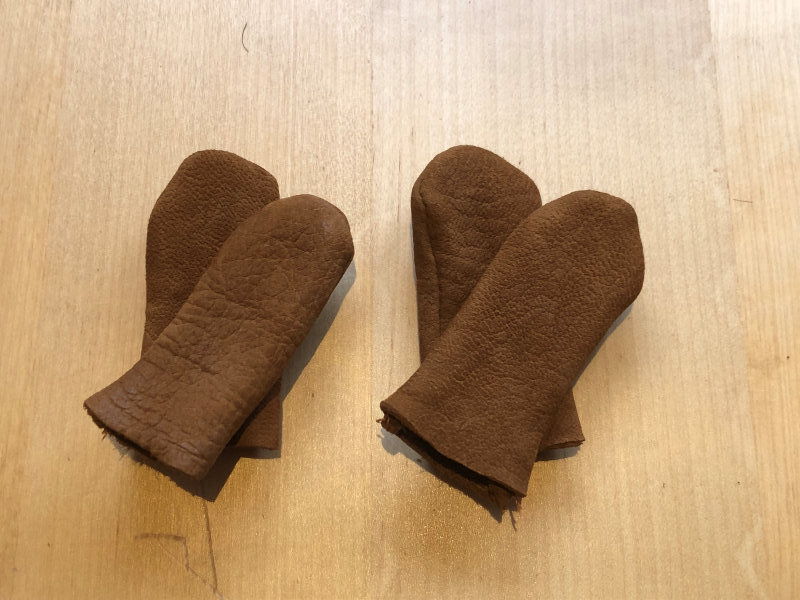
Here you see both sets. They have both been sewn together. The left protectors have already been turned inside out. So now the seam is on the inside. Note: these are 2 sets. There's only one set on the pattern, but of course, you can make as many as you want.
|
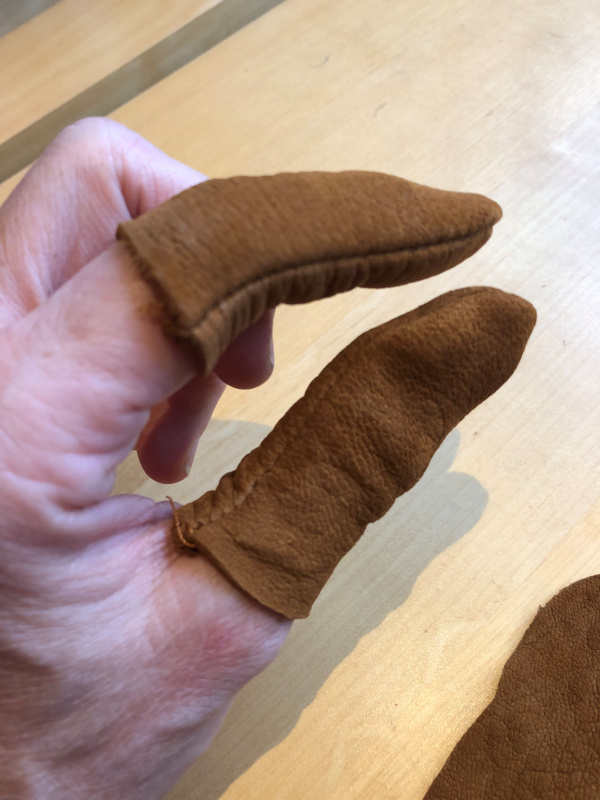
This is what the sets look like when both protectors have been turned inside out.
|
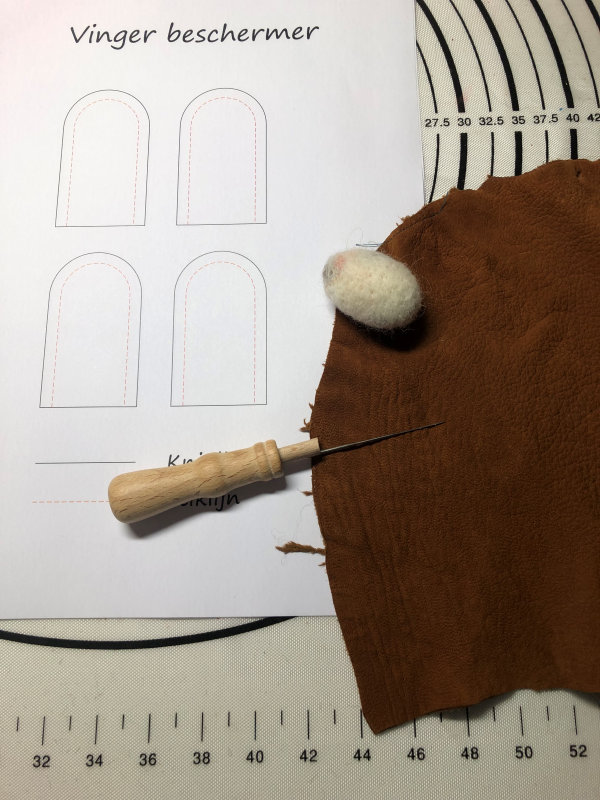 I've noticed that I often prick my fingers while needle felting. A couple of finger protectors seem handy. I still have a small piece of supple leather, so I'll make them myself.
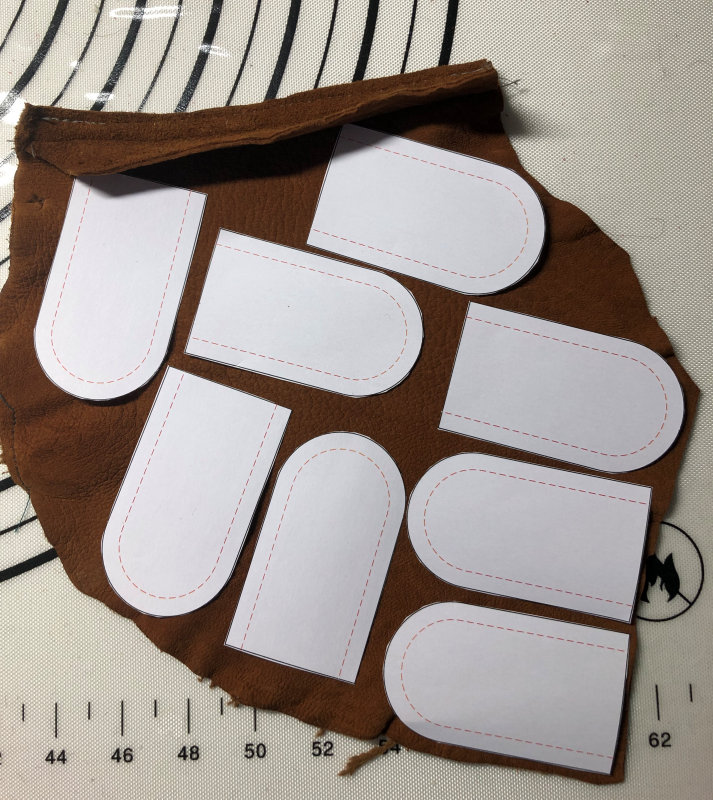 On the pattern, you'll find 4 shapes. The narrowest shapes are for the protector around your finger, the largest ones are for the protector around your thumb, which is usually a bit bigger. If you have very large hands, you can print the pattern a bit larger (most printers allow you to indicate by how much percentage the page should be enlarged). You can also just cut a bit more seam allowance. The leather doesn't really stretch, so measure your shape before cutting it out of the leather and take into account that the leather will also go around the sides of your fingers. I'm making two sets here, that's why you see 8 shapes. If you're making just one set, you'll only have 4 shapes if you've done it right.
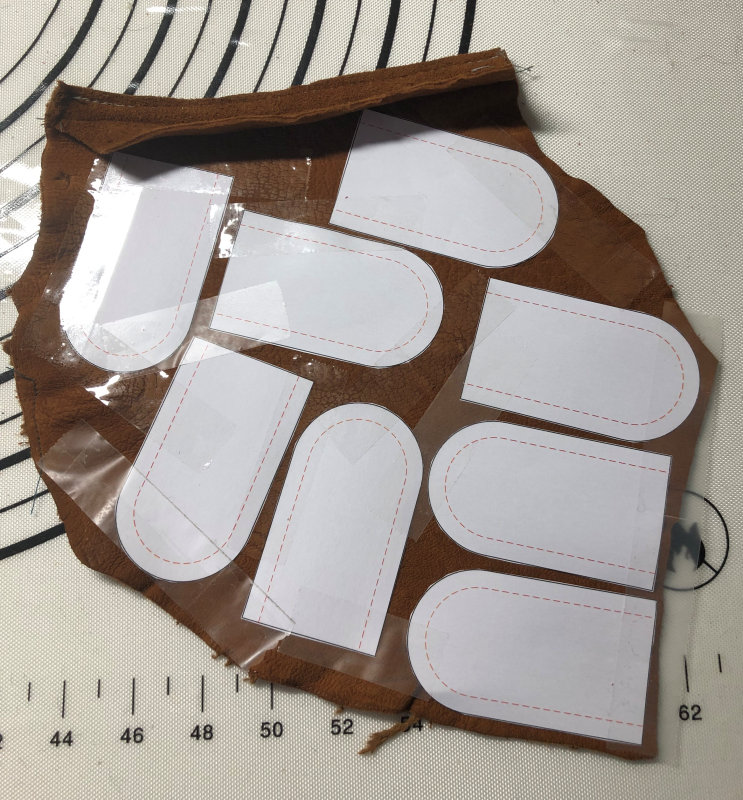 Secure the leather with tape or masking tape. It doesn't have to be very neat, as long as the cut-out shapes are well attached to the leather so they don't come loose or move during cutting.