Here's what you'll need:
- A stopper for the two ends of the cord to go through
- 2 caps to conceal the knot at the end of the cord
- A very small piece of reinforcement for the buttonholes
- Matching thread
- A piece of fabric about 45 cm x 45 cm for the outside,
- A piece of fabric about 45 cm x 45 cm for the (here red) inside,
- A circle of about 25 cm in diameter of sturdier felt for the compartments inside,
- About a meter of cord
|
Step 1:
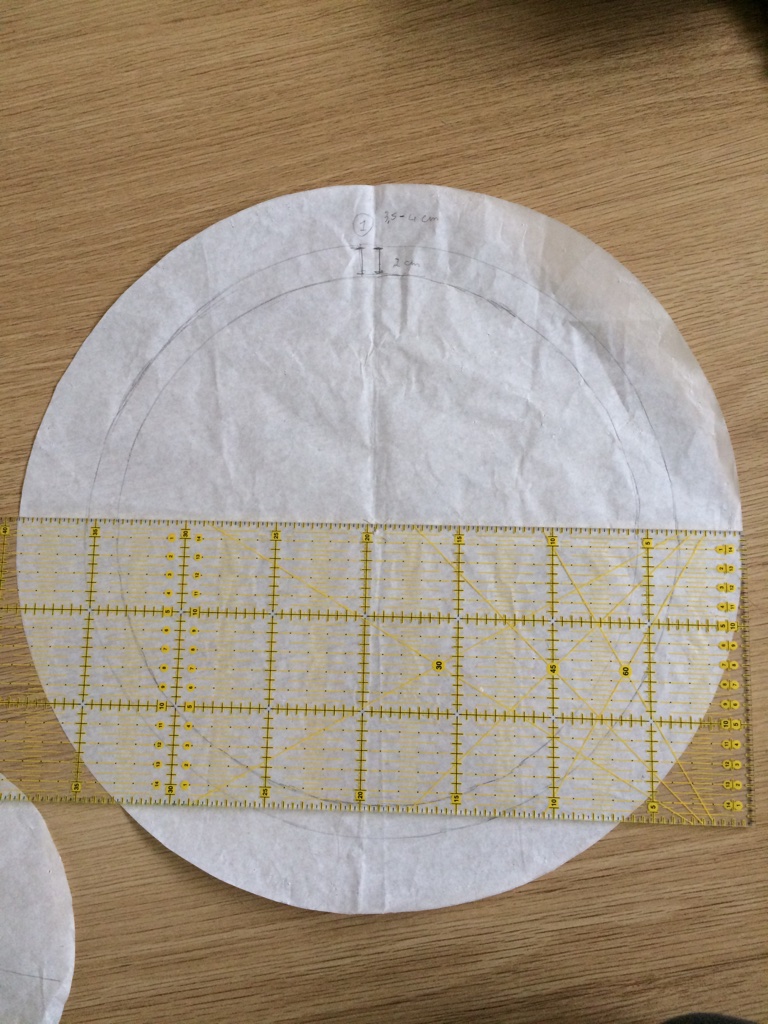
Trace the pattern from the photo next to this one onto pattern paper. The circle has a diameter of about 40 cm.
Place the pattern on the 2 pieces of fabric about 45 x 45 cm. Pin the pattern in place and cut out the circles with a seam allowance of about 0.5 cm. |
Step 2:
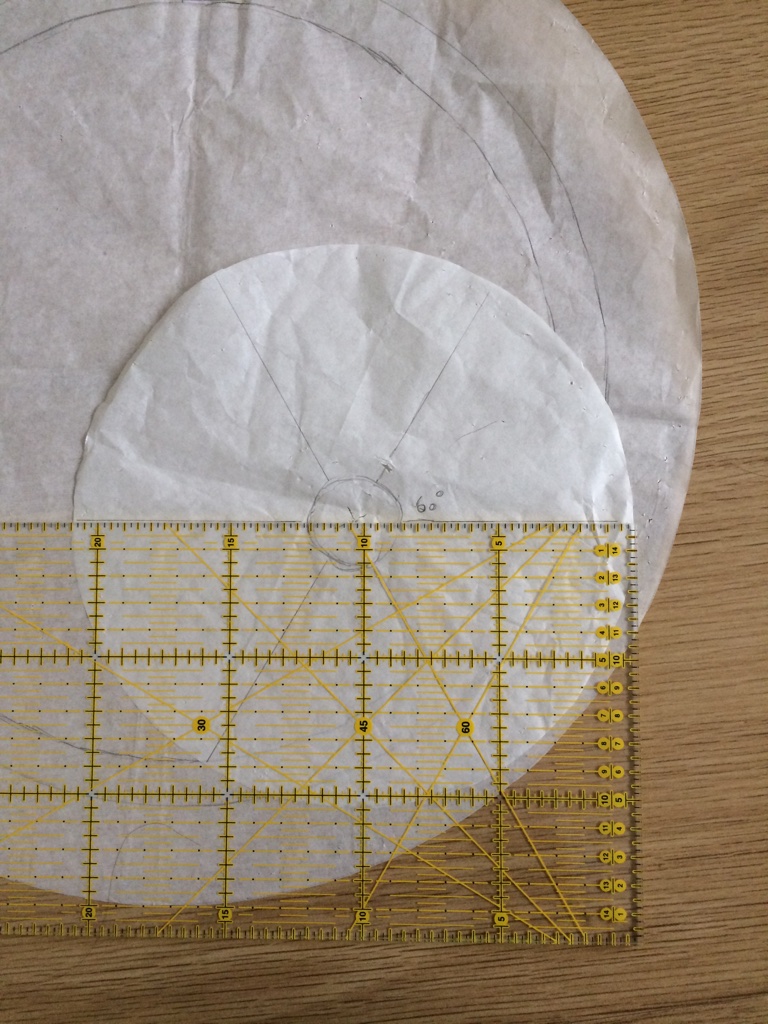
Trace the pattern of the smaller circle from the photo next to this one onto pattern paper. The circle has a diameter of about 21 cm. Pin the pattern onto the thick felt and cut it out. You don't need to consider a seam, the felt doesn't fray and doesn't need to be finished. |
Step 3:
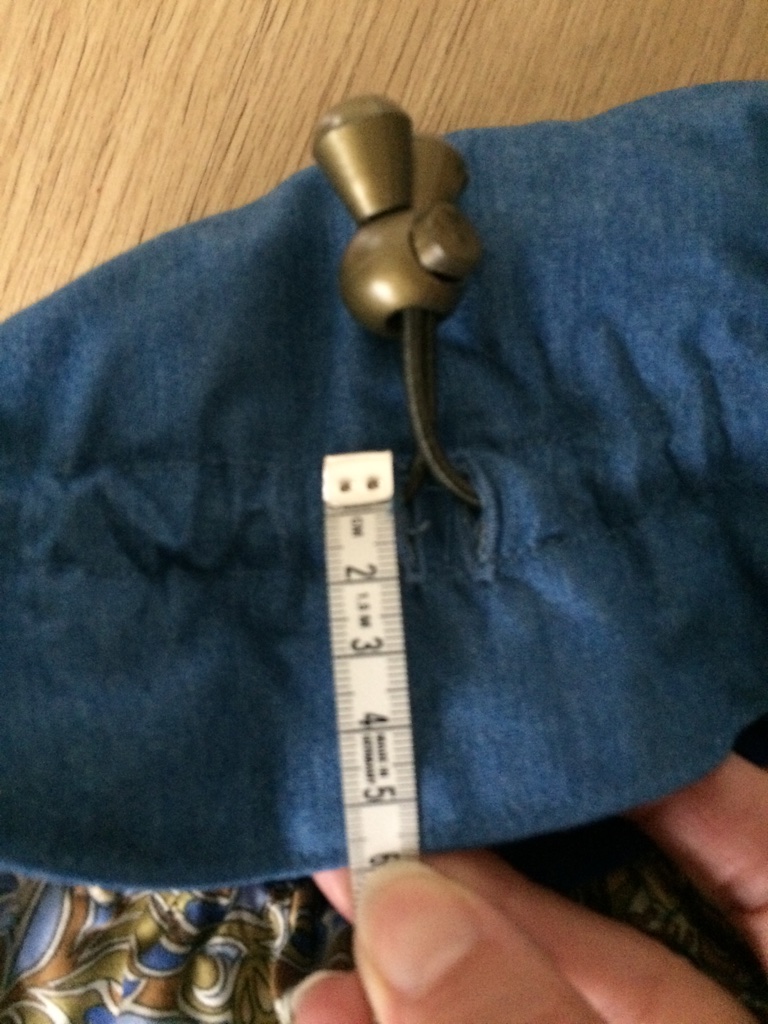
Make 2 buttonholes in the fabric you want to use for the outside. In the photo next to this one, that's the denim, or the photo at the very top the black velvet.
The buttonholes should be about 4.5 to 6.5 cm from the outer edge of the fabric. This is indicated on the pattern in step 1 in the photo.
Iron some fusible interfacing behind the piece of fabric where the buttonholes will go to stiffen it. Don't forget to open the buttonholes with a seam ripper before moving on to the next step. |
Step 4:
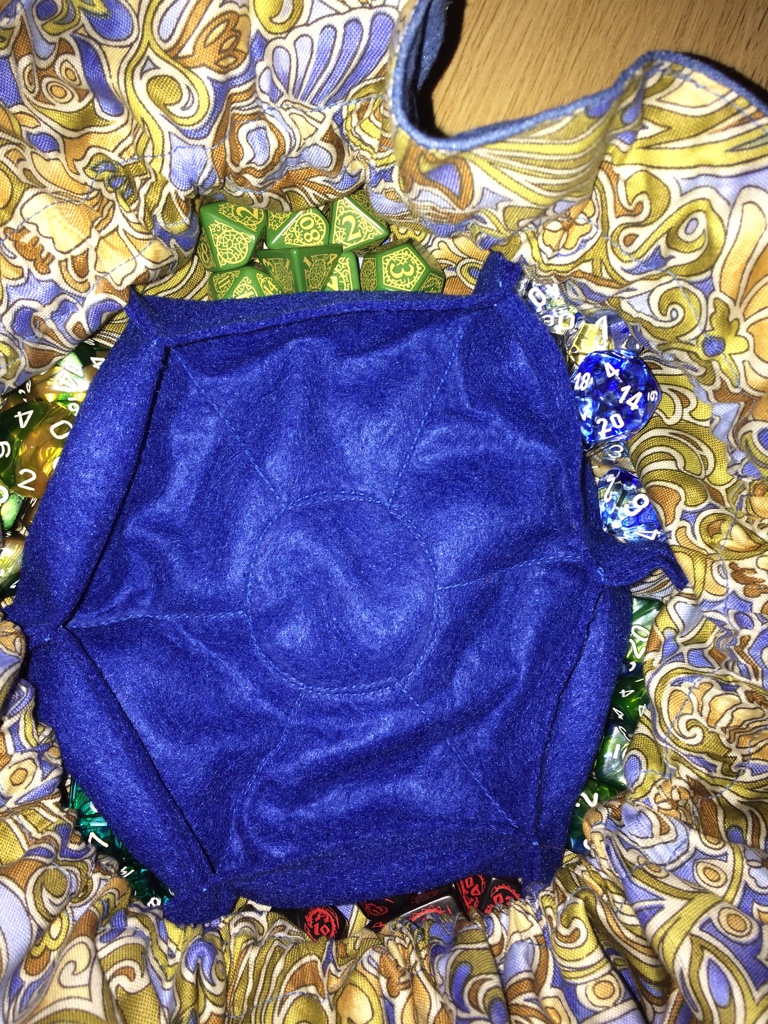
Place the thicker felt on the right side of the fabric you want to use for the inside. Make sure the centers of both circles are exactly on top of each other. Mark the lines with chalk as they are also drawn on the small pattern in step 2. You can make these lines easily. There are 3 lines going through the center, the angle between the triangles created this way is always 60 degrees.
Then draw a small circle around the center. The circle has a diameter of about 5 cm. Sew the felt onto the fabric over the lines through the center. Always turn at the end of a line and go back to the center over the same line. You can also sew back to the small circle, sew a piece of circle, and then sew the next line from the circle. This is how I did it as you can see in the photo next to this one.
Which method you use is not so important, you hardly see anything of this later on.
|
Step 5:
Now place both large circles with the right sides exactly on top of each other and stitch a small seam along the outer edge. The felt is between these two circles. Leave a small seam open to turn the fabric.
Turn the fabric and neatly sew the last bit closed by hand.
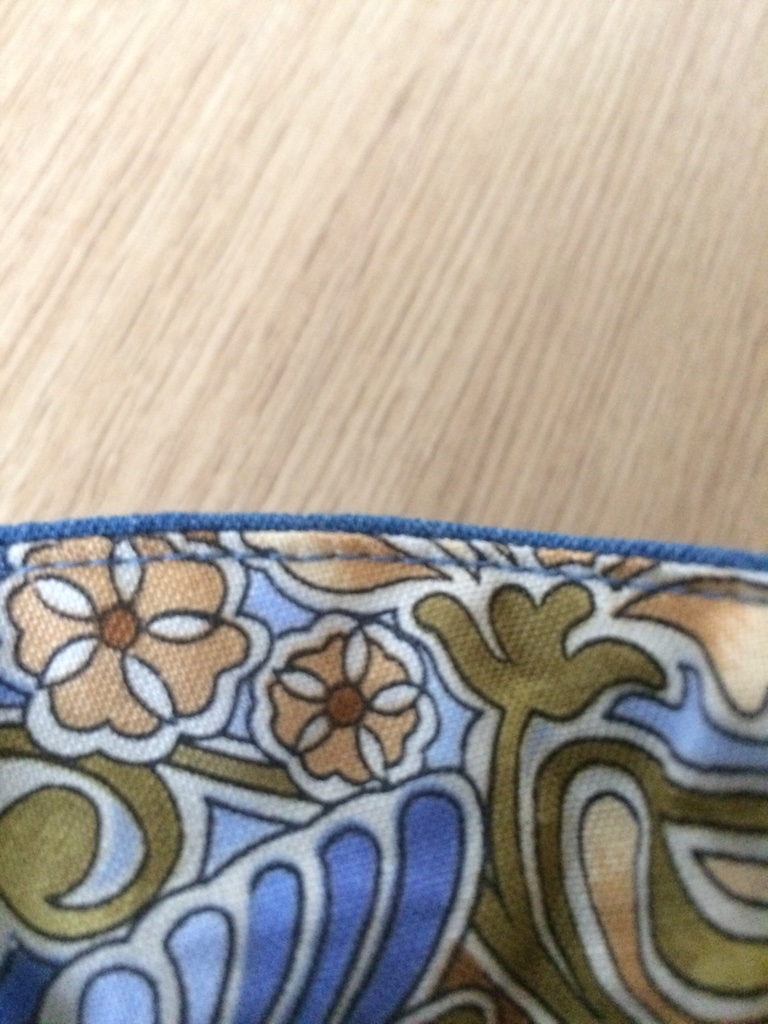
Now sew close to the outer edge of the circle that has formed. This seam will remain visible, so do this as neatly as possible. |
Step 6:
Mark both circles on your fabric with chalk. It's best to do this on the side that will later become the inside, so it will be least visible if there are any chalk residues left. The two buttonholes should fall within the 2 circles.
Sew both circles so that a tunnel is created. Try to keep the distance between the circles as equal as possible everywhere.
Thread one end of the cord through the stopper, and then thread the cord through the tunnel using a safety pin. Detach the safety pin and thread the cord back through the stopper. Slide the end caps over the cord, one on each side. Tie a knot in the ends and pull the knob into the end caps.
|
Step 7:
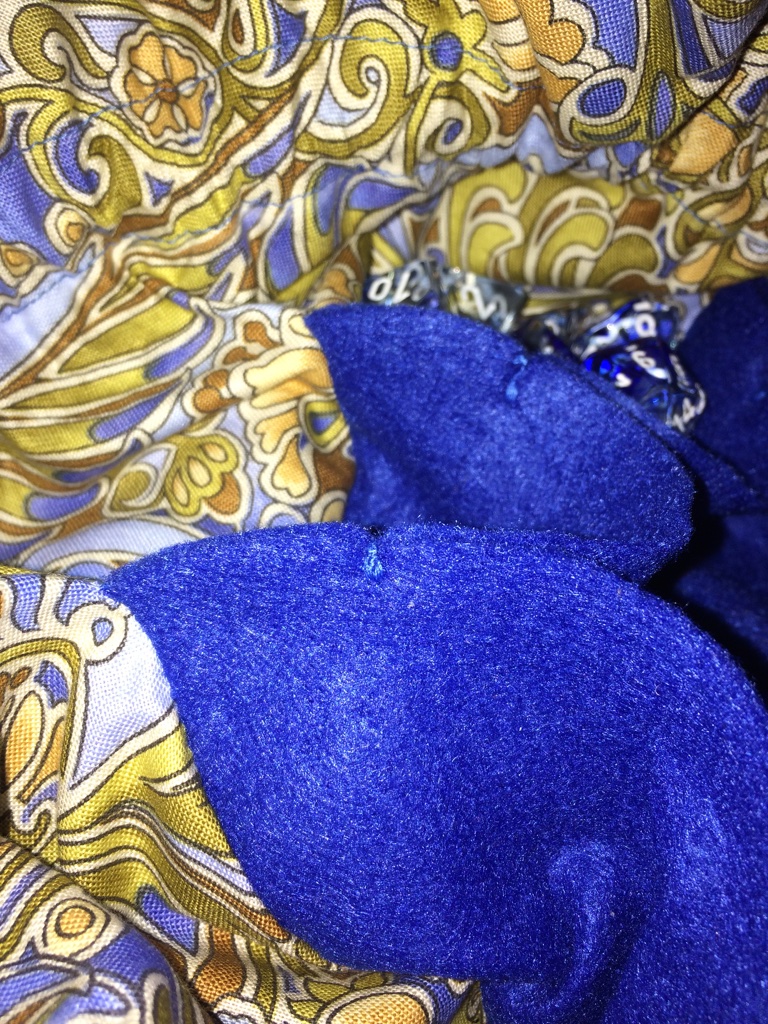
Inside your bag, always take the felt of 2 "compartments" together and secure them with a few stitches. This will give your compartments a bit more shape and keep the dice better in their own compartment. |
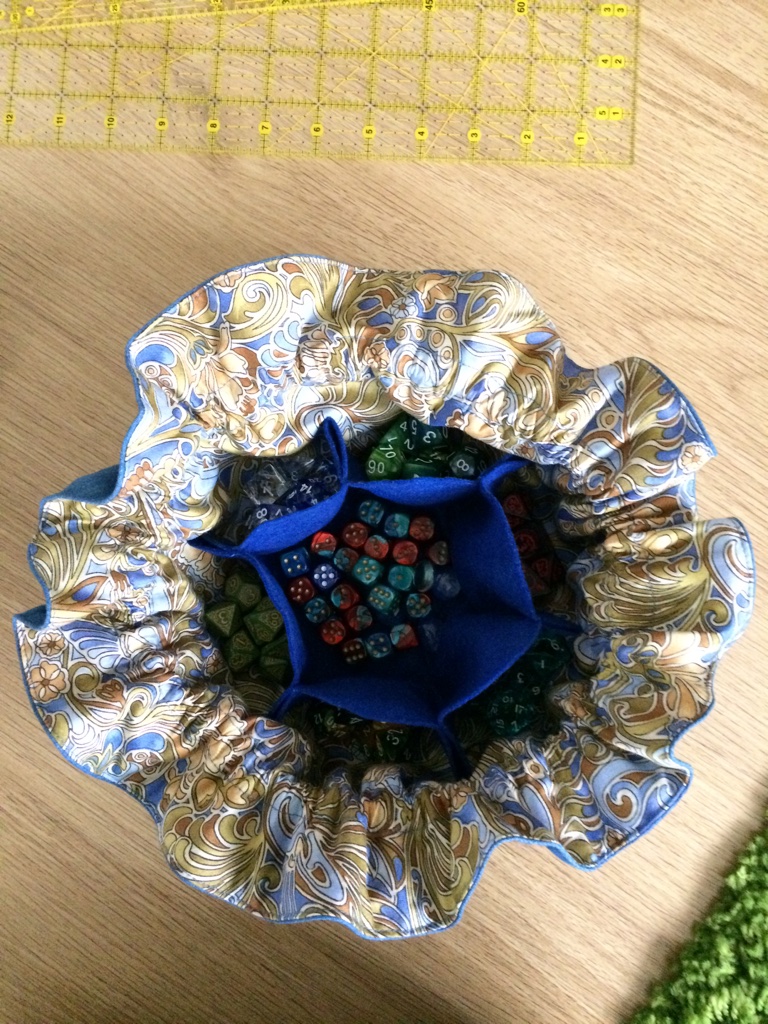
Your dice bag is ready. When you pull the cord, the fabric will automatically close over the compartments so that your dice won't mix together.
|
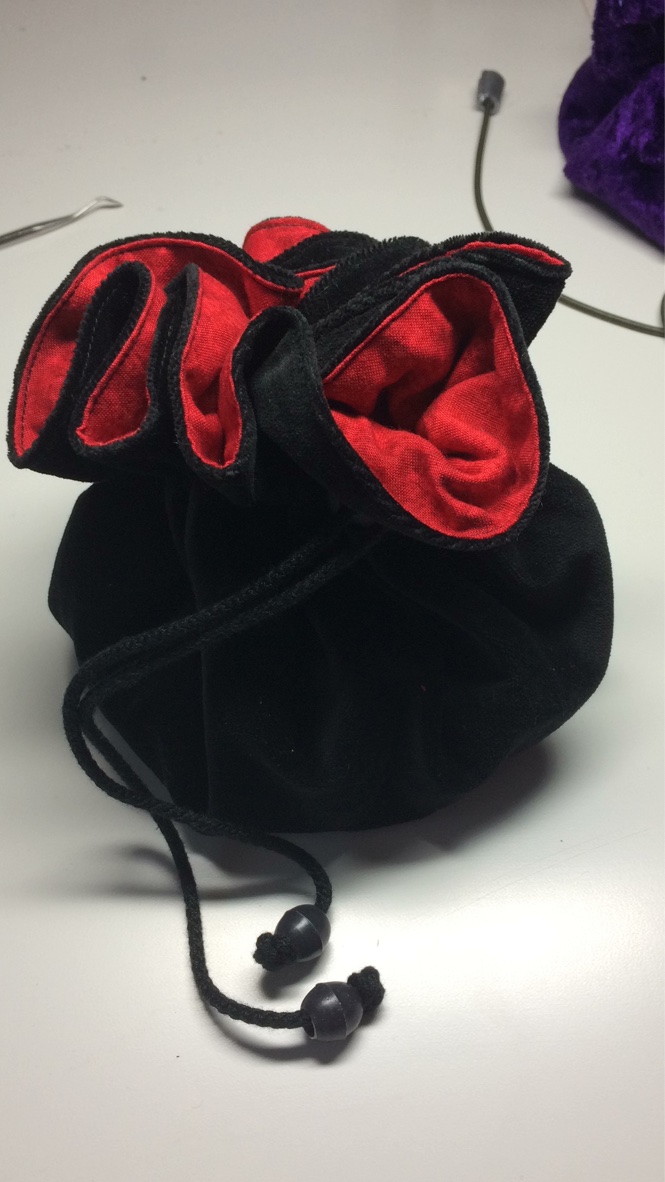 ou can easily make this dice bag with compartments inside yourself. I use it for Dungeons & Dragons, but you can also use it to store other items like jewelry or makeup..


