Some blocks have many small pieces made up of two triangles. You can cut all those triangles one by one, but there are also methods to do this quickly with the sewing machine. I explain exactly how that works in the article quick triangles on the sewing machine.
|
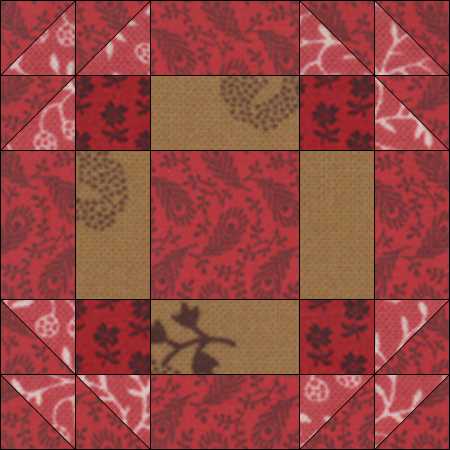
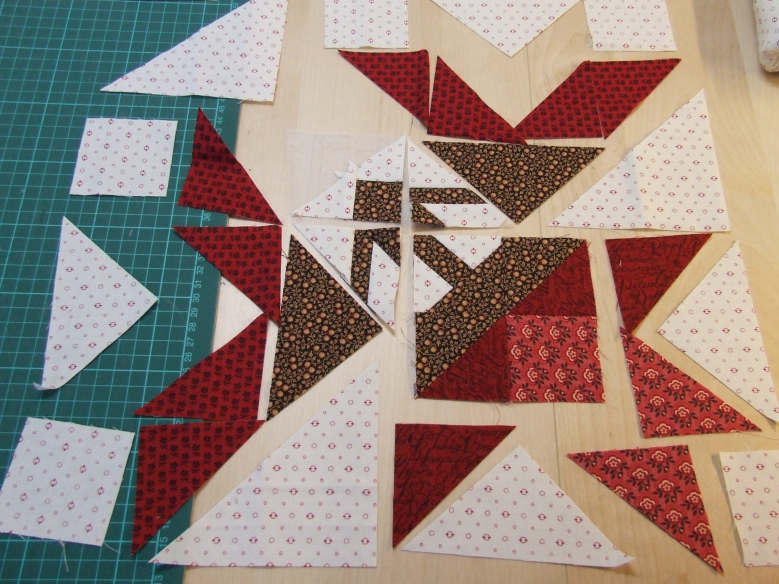
The pile of pieces is slowly getting bigger. All the blocks from the center are finished, and I’m starting with the four corners of 12" by 12". The corners are beautiful but quite complicated. I use the rotary cutting instructions from EQ7 and no templates. Then you sometimes have to sew different-sized triangles together, or triangles to squares. You always have to be careful how you place the pieces together.
|
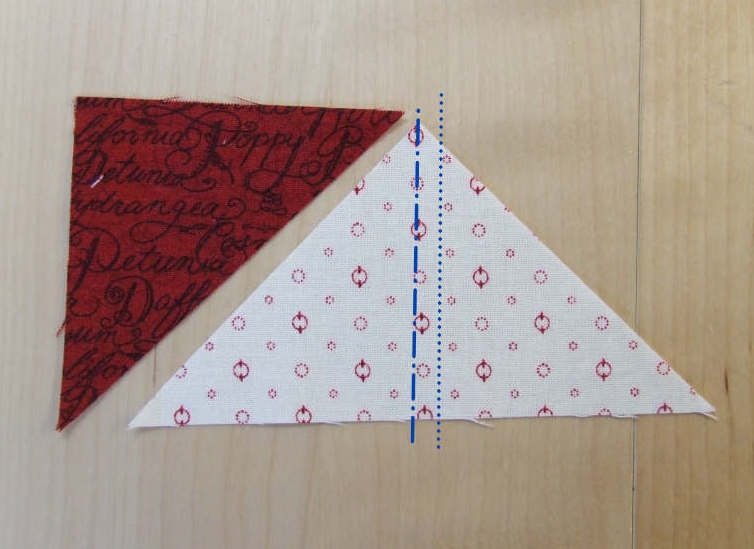
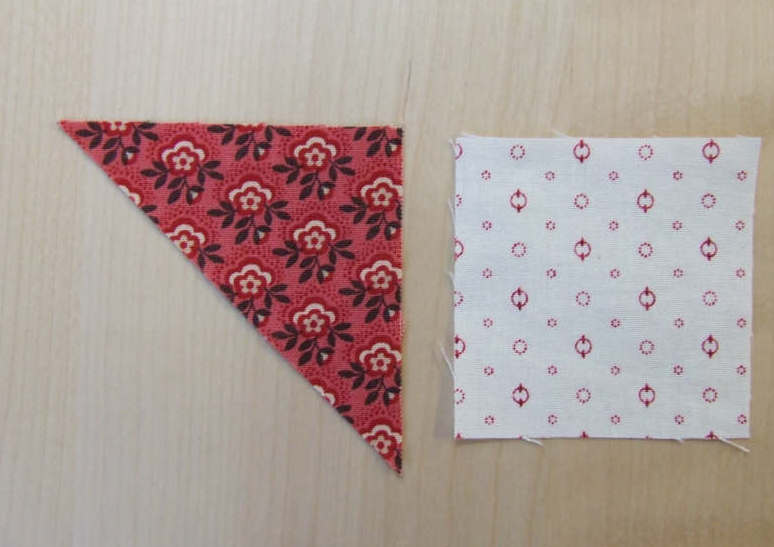
Actually, it’s not that difficult. If you look carefully. When you have exactly the same shaped pieces, you usually place the pieces right sides together. The corner points then match. In the case next to it, I’m going to sew a small triangle of, for example, a flying geese to the large one. I then sew two triangles of different sizes together. Because they are oriented differently, the sides that come together aren’t the same length. The red piece comes with its longest side to one of the shorter sides of the light piece. If you look closely, you can actually see the white piece as two triangles sewn together. The left blue line indicates the sewing line. The right blue line is the seam allowance. The piece would miss a bit of seam allowance, but at the bottom left, the white piece is equal to the red one. So, you place those corners together.
Another trick is to lay matching corners together. The small triangle has two 45-degree corners on the side to be sewn. The large triangle has one right angle and a 45-degree angle on the side to be sewn. The matching angles are the 45-degree angles. So, you place those neatly together.
|
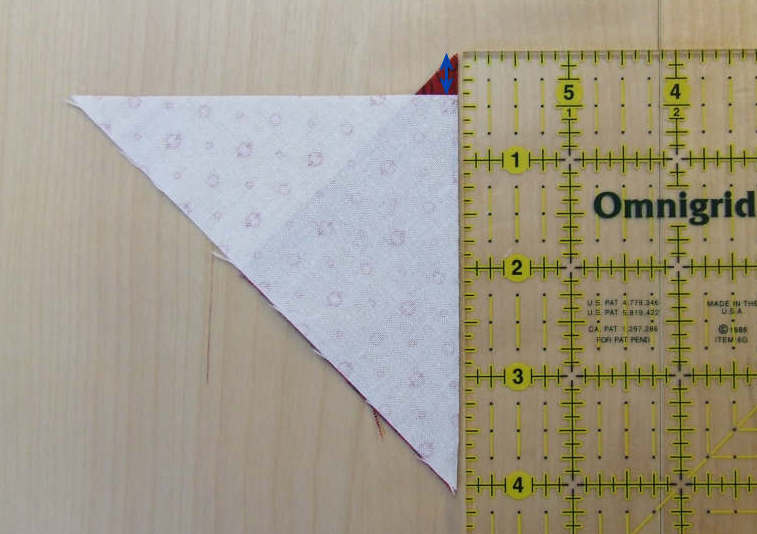
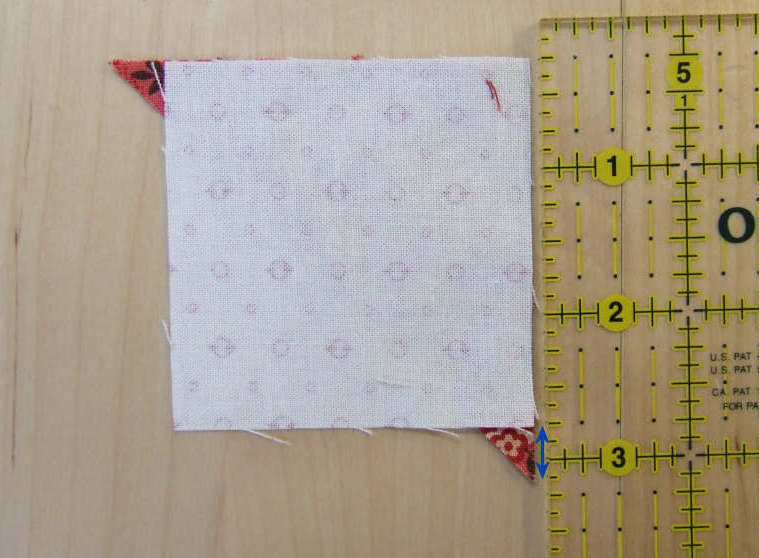
I’ve turned the pieces 45 degrees here so you can see the tip of the red fabric sticking out. That tip is 3/8 inch long. That 3/8 inch comes from the seam allowance that isn’t there because we don’t have two separate triangles but actually two triangles sewn together.
|
When you sew a triangle and a square together, you have a similar problem. The sides that have to be sewn together aren’t the same length. Now you have to pay attention to the type of corners. The square, of course, has four right angles. The triangle has one right angle and two 45-degree angles. The triangle and the square must be placed with the right angles together
|
Again, there are points left over, as you can see. These points are also 3/8 inch long.
|
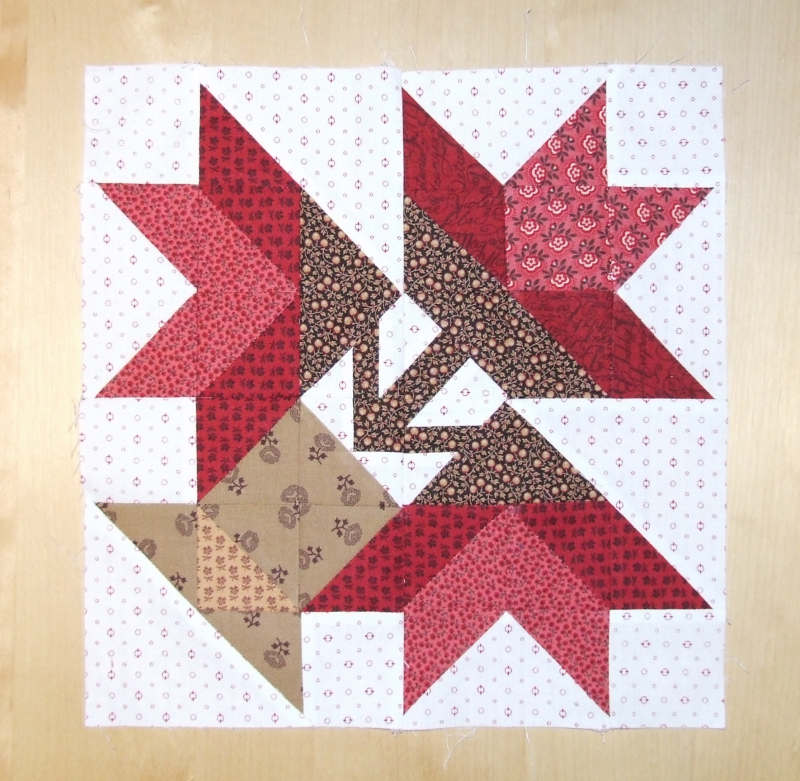
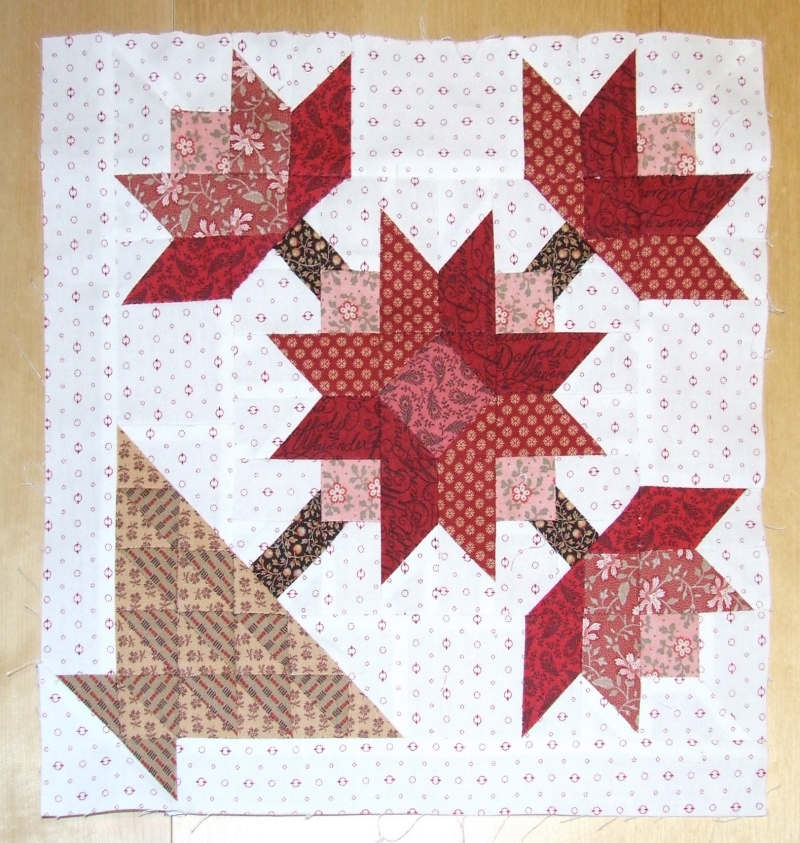
| After struggling for a while and frequently using the seam ripper, I finally finished the first corner. It's not perfect, but I find it good enough. |
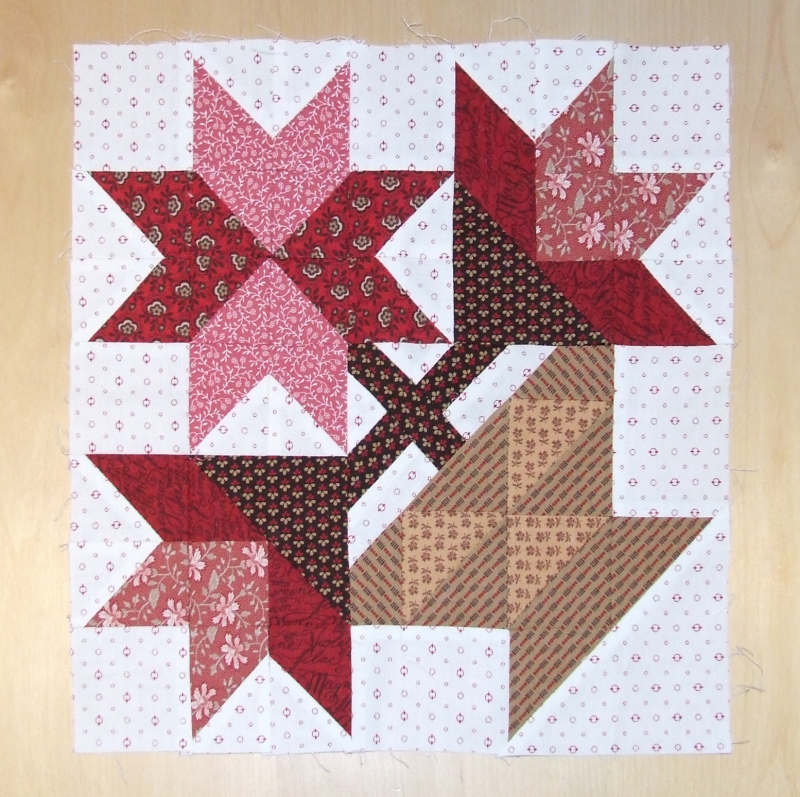
The second corner is also finished. The large flowers stand out beautifully against the light background..
|
For the third corner, I use a combination of rotary cutting and paper piecing. Especially for the middle part, paper piecing is very handy.
|


