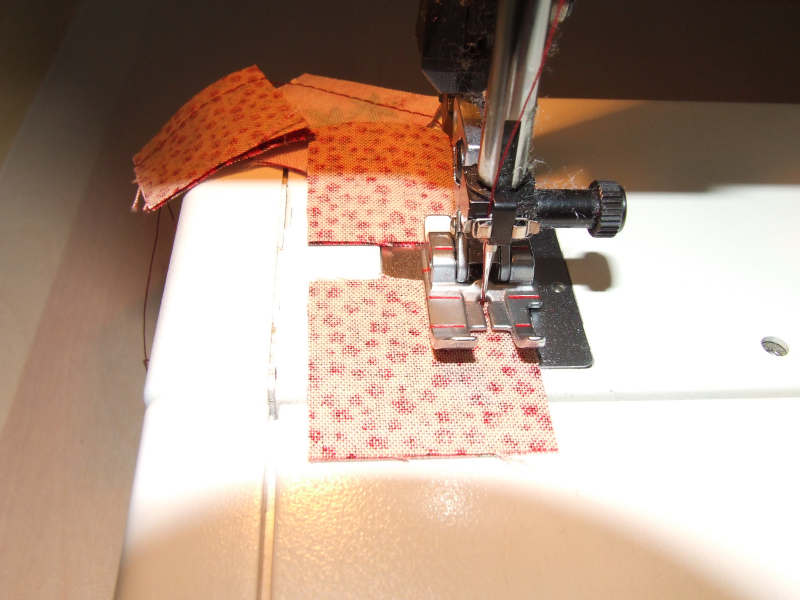
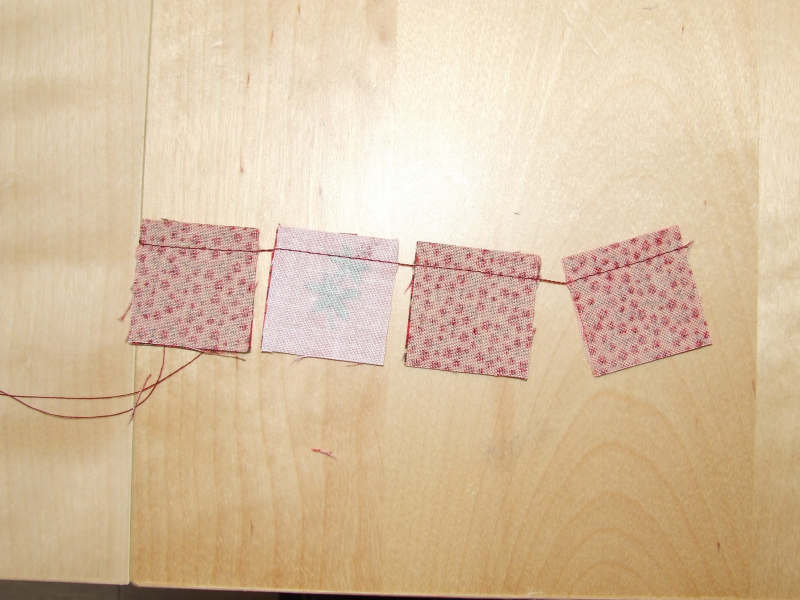
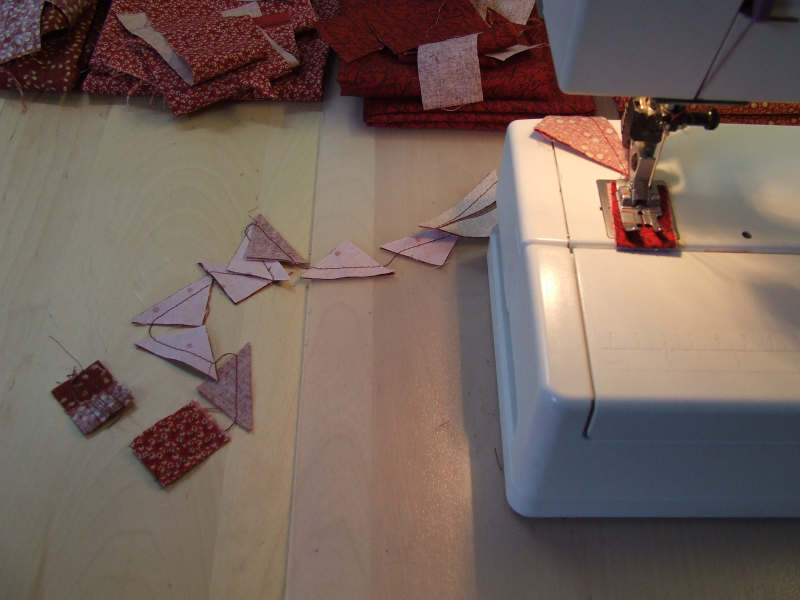
| When many small pieces need to be sewn, a lot of thread is wasted at the beginning and end of each block. You can save thread by using chain piecing. With chain piecing, you start sewing the next seam immediately after you have sewn two pieces together. |
| This creates a whole chain of sewn-together pieces with very little thread between them. Besides being economical, it also sews much faster. It's definitely worth it. |
Another way to save thread is to start and end on a scrap piece of fabric. This scrap only needs to be slightly larger than your foot. The method is very simple. When you start sewing, you begin with a scrap piece. You leave this under your sewing machine foot. Then you sew your pieces together using the chain technique. When you can no longer continue chain piecing, you take a second scrap piece and end with it. You leave this scrap under your sewing machine foot again. It's ready for the next piece you will sew.
|
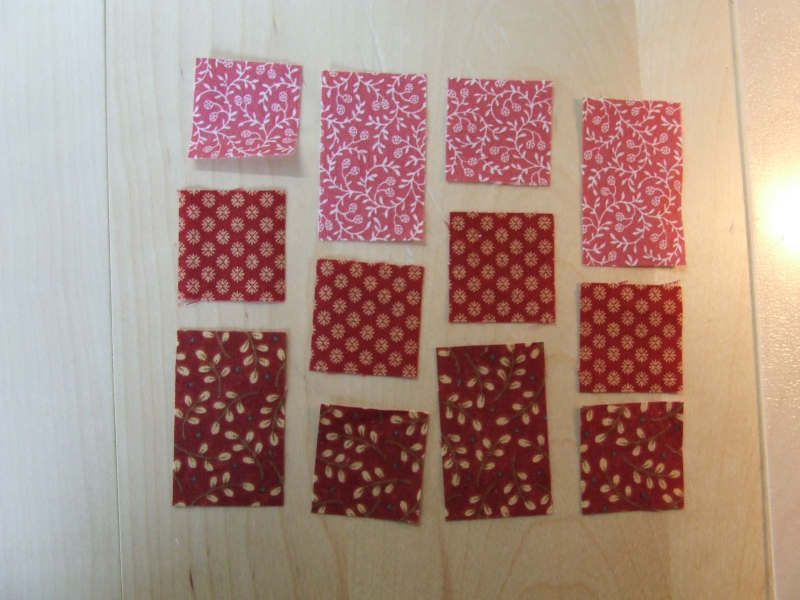
With the more difficult blocks, you can lose track. It's helpful to lay out all the pieces first before you start sewing. You immediately see if you have all the pieces and if they are the right size. Unpicking very small pieces is not fun.
|
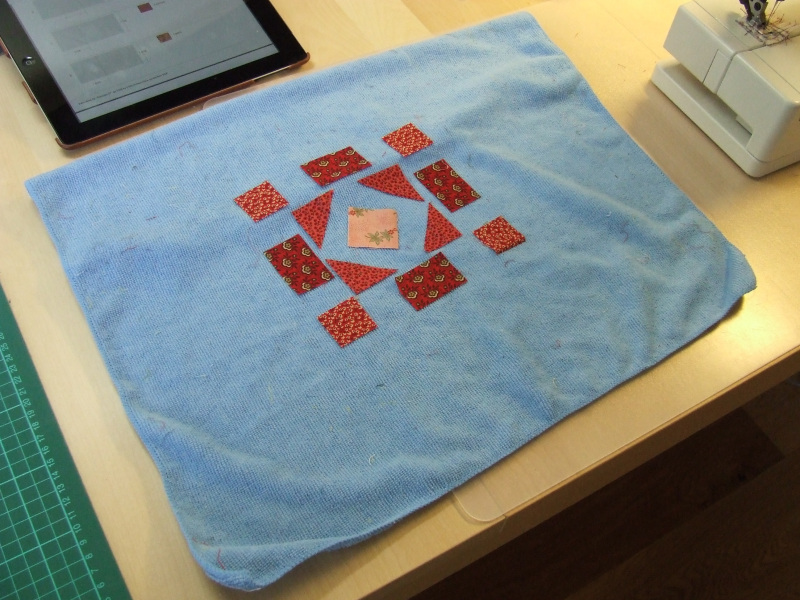
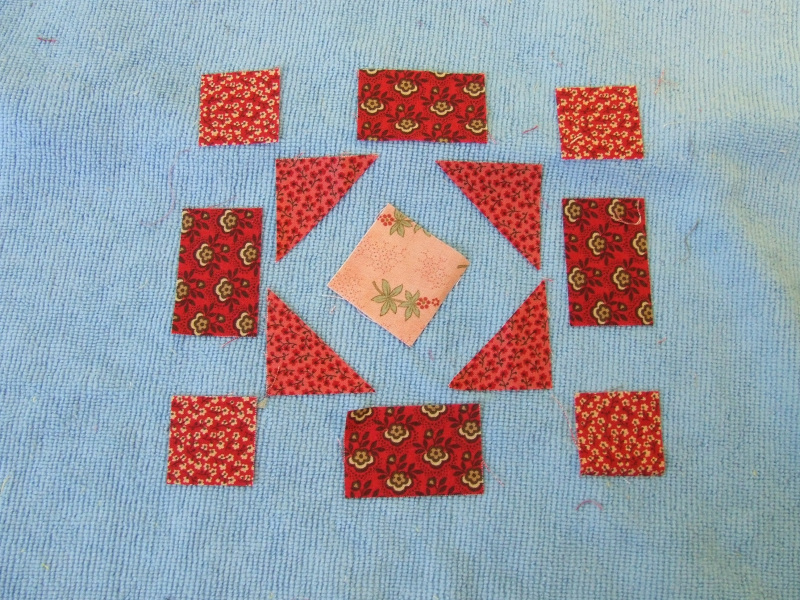
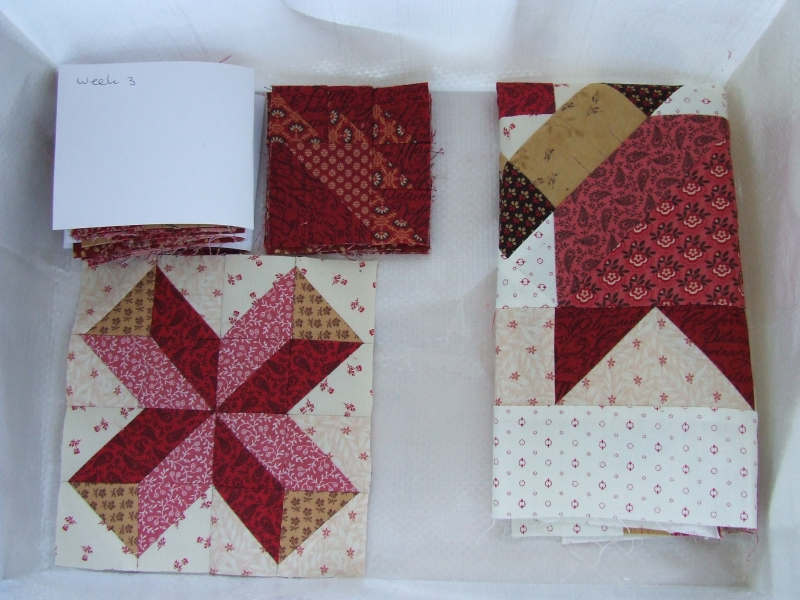
If you have cut the pieces for a new block and you can't or don't want to start with them right away, you can store them in various ways. You can, for example, put all the pieces of one block in a sleeve. You can also pin them to a piece of cardboard with some needles. I personally lay them on a cheap plastic household cloth. These cloths can be bought in many places and are not expensive. I bought the largest one I could find. It is 50 by 60 centimeters. The cloth is made of polyester (70%) and polyamide (30%). The fabric feels rough, and the pieces just seem to stick to it.
|
You can pick up the cloth and move it without the pieces falling off. If you don't have much space, you can attach such a cloth to the wall.
By laying the pieces in the right place on the cloth, you can easily see if you have cut all the parts. If you always put the pieces back in the right place between the various steps of assembling, the chance of making mistakes is much smaller.
|
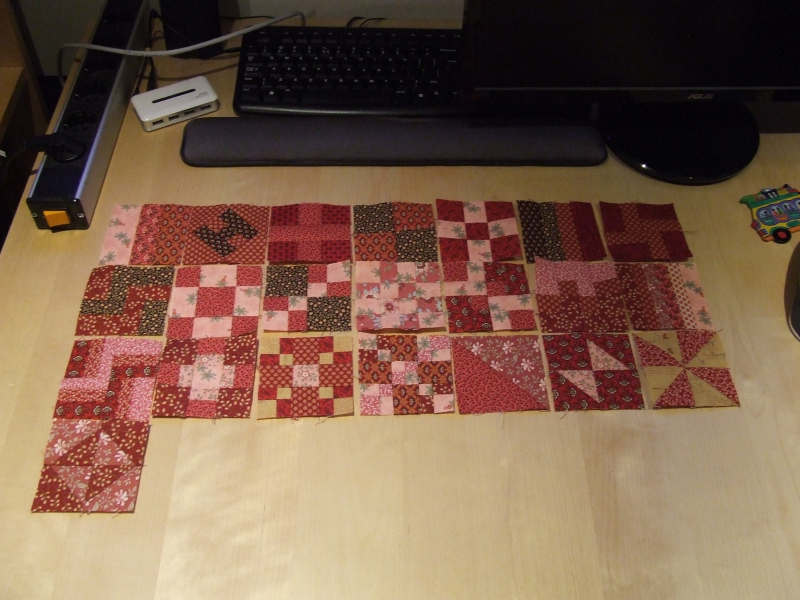
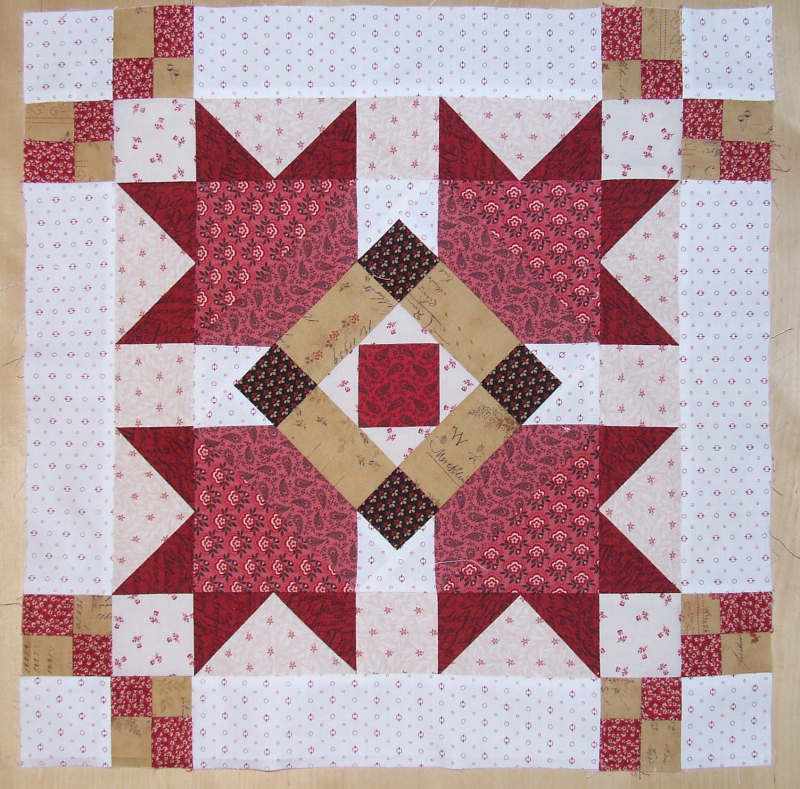
After three weeks, quite a few pieces are done. A beautiful sight. Only 345 pieces to go...
|
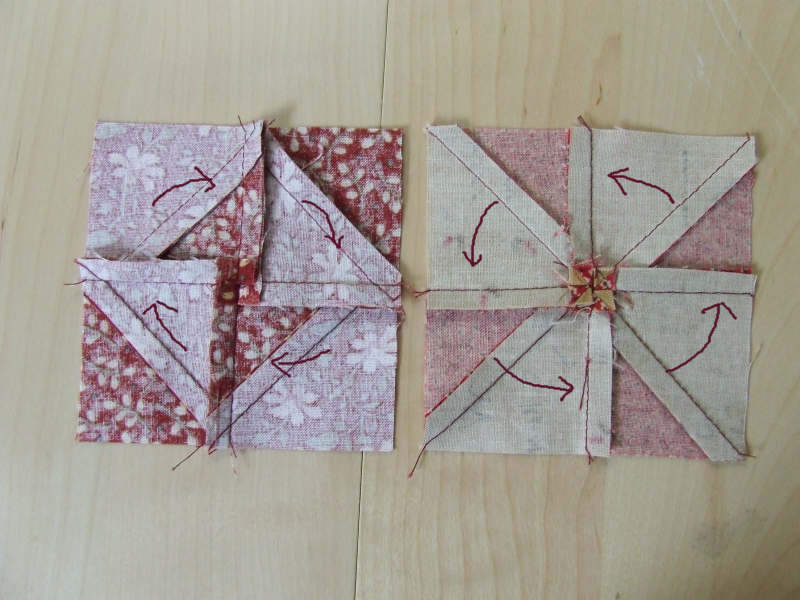
With stars, like the last three pieces in the photo above, there can be quite a lump in the middle. That won't look nice later, and if your stitching pattern happens to go over such a piece, it will be difficult to sew it neatly.
To make these center pieces a bit less thick, you can carefully unpick the seam in the middle and then press it slightly differently. You don't need a seam ripper for this, it's just a tiny piece, and if you pull the fabric carefully, it often comes loose on its own.
Press the horizontal and vertical seams all in the same direction, like a circle. It doesn't matter whether you press clockwise or counterclockwise.
|


