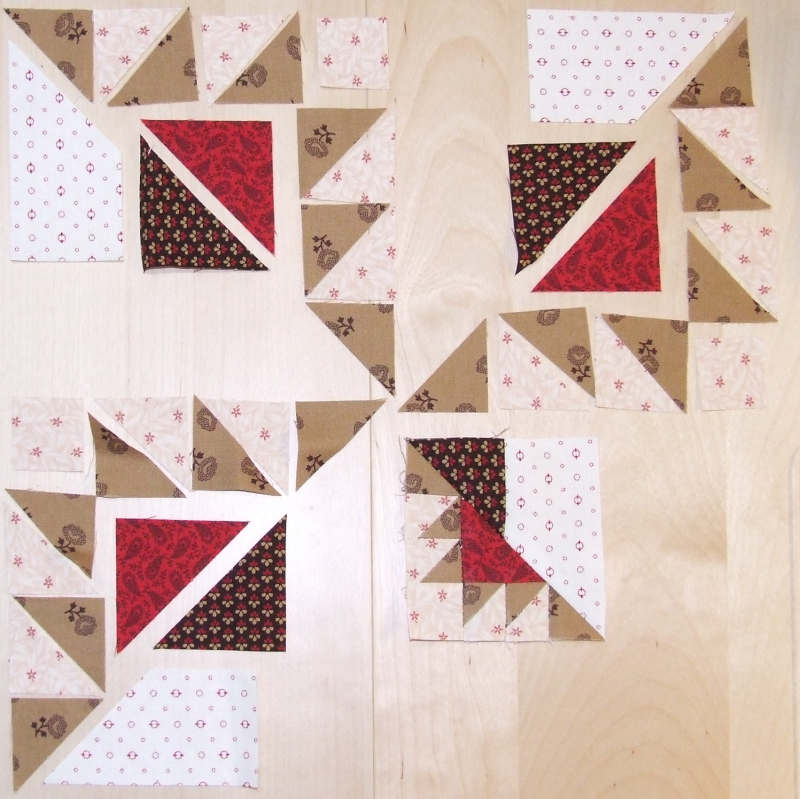
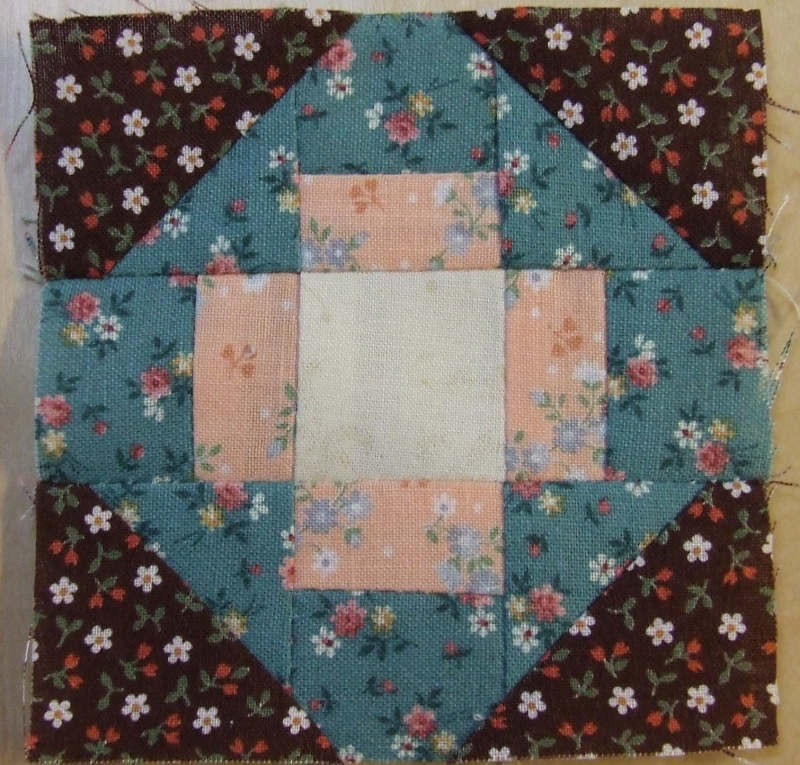
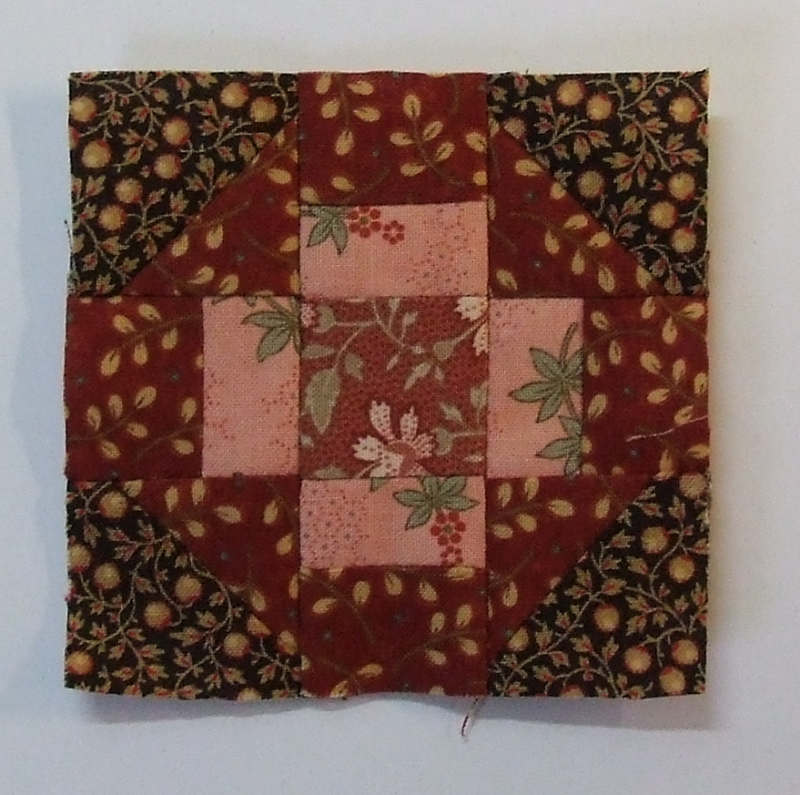
Calculating the amount of fabric needed for a quilt like this is not easy. To illustrate, I have a picture of the cut pieces for one of the corners of the border around the medallion. The bottom right quarter is already assembled, and the other three corners are not. It seems like a very large block, but once assembled, it looks quite different.
|
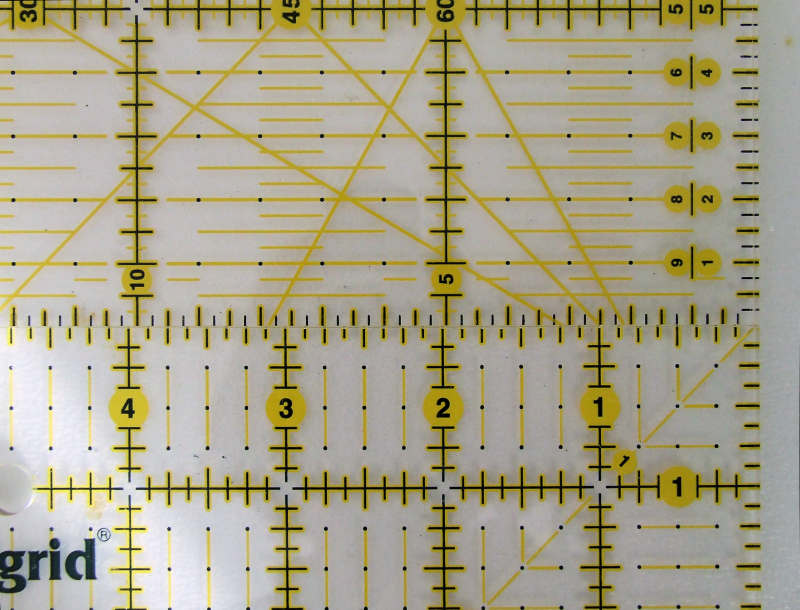
It’s very important to work very precisely. A small deviation and your block won’t come together neatly. The quilt is designed in inches, and to avoid mistakes when converting, it’s best to keep working in inches. An inch is about 2.5 cm, with an emphasis on “about.” As you can see in the accompanying photo, there’s still some difference. For clarity, the top ruler is in centimeters, the bottom in inches. With most techniques, all deviations add up, so each time 1 or 2 off quickly adds up to almost a centimeter in a block made up of many small pieces.
|
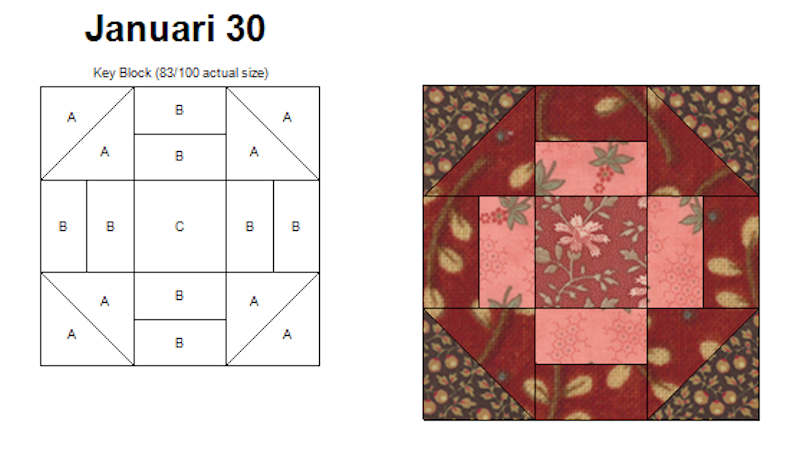
This can be very frustrating, especially with the 3-inch blocks. If you use the foundation patterns or paper piecing technique, you have a bit less chance of deviations. With this method, you use a (usually paper) base on which the pattern is indicated. You assemble your block on this base. I used this technique for the block of January 30.
|
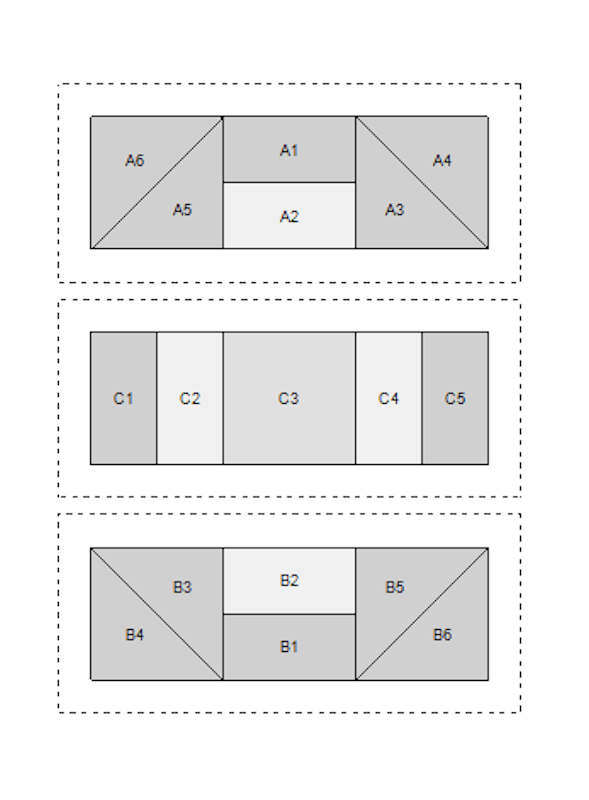
The foundation pattern for this block is made up of three separate parts. The pieces are cut a bit larger than usual. This gives a bit more leeway. Since the individual parts are trimmed to size after assembly, the outer dimensions of these parts are always correct.
|
I’ve written an article about the method, paper piecing or foundation patterns The technique is definitely worth trying out.
|
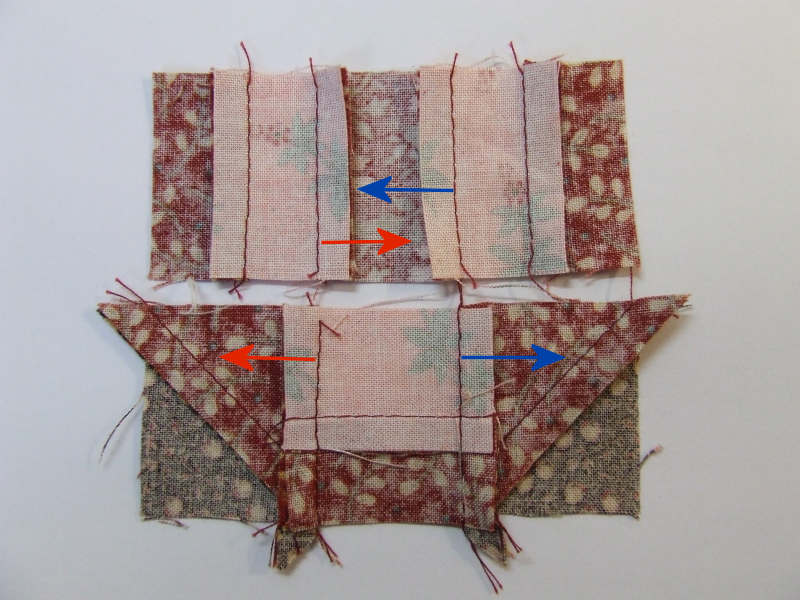
There are a few tricks to get nice blocks. When stitching the pieces together, it’s common to press the seam allowance to the darker piece. This way, the seam allowance shows through the least. However, there are two exceptions. If this results in two seams falling together, a very thick seam would be created. Not nice to sew through neatly. It’s better to press one of the seams towards the lighter side. Another reason to press a seam to the other side is so that you can “butt” them. In the two parts next to each other, the colors are chosen so that the seams can indeed be pressed towards the light side, and yet these of both parts point in opposite directions.
|
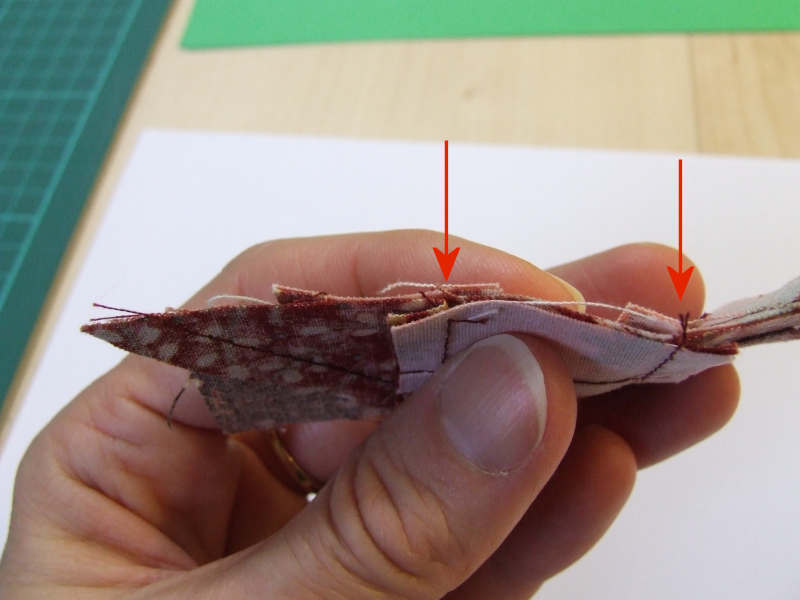
When you lay the parts right sides together, you can let the two seams butt against each other at the red arrows. You can feel through the fabric that they are correctly aligned if you gently push and try to slide them. The seams kind of hold each other because they butt against each other. The same applies to the seams at the blue arrows. You can see in the photo next to the red arrows how the seams are positioned relative to each other when both parts are laid together.
|
After sewing them together, your seams are neatly butted against each other. If you haven’t sewn the parts together very neatly yourself, the seams won’t butt neatly against each other due to the size difference between the parts. So, it’s not a guarantee for perfect seams.
|


