
")
")
Page 4 of 4
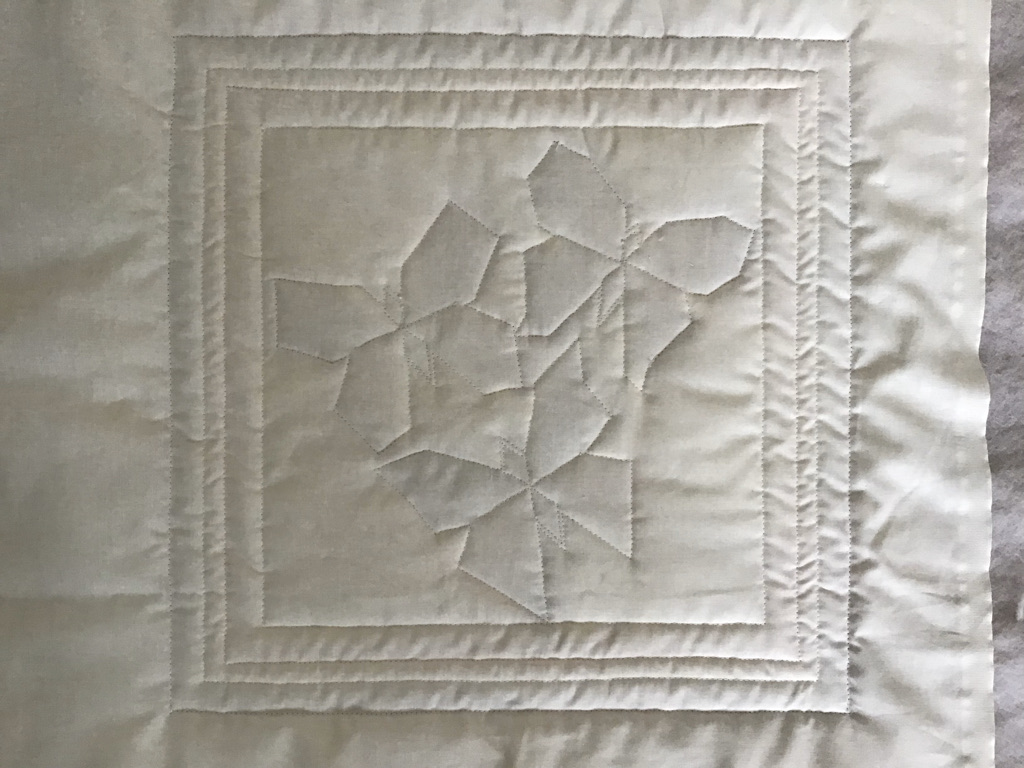 On the back, you can clearly see where the layers are stitched together. You can, of course, do this differently if you prefer. On the back, you can clearly see where the layers are stitched together. You can, of course, do this differently if you prefer. |
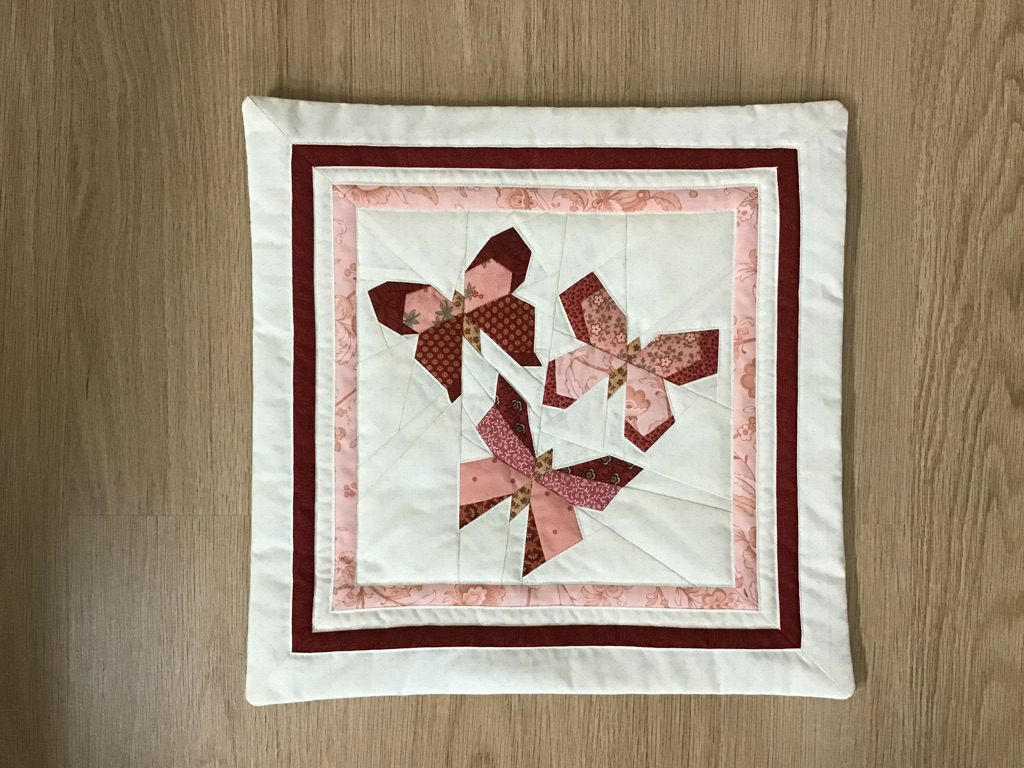
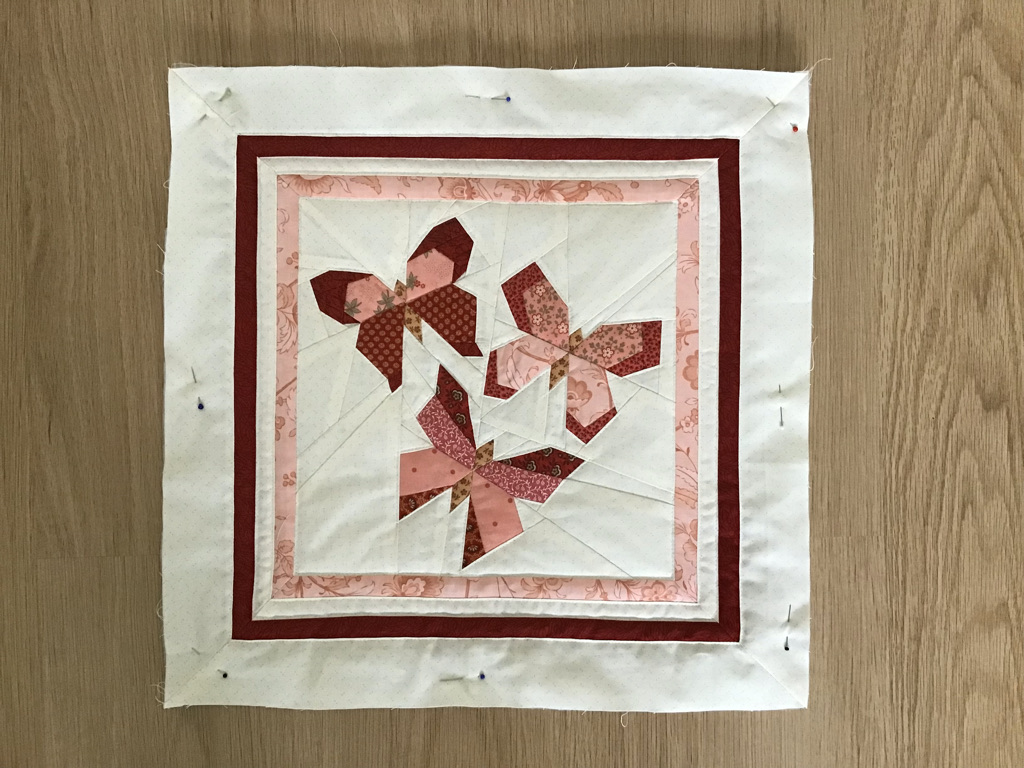 If I'm satisfied with the stitching, I pin the edges of the three layers together again and trim the block to the correct size, 16 1/2 inches or 41 cm. The half inch or 1 cm is the seam allowance. If I'm satisfied with the stitching, I pin the edges of the three layers together again and trim the block to the correct size, 16 1/2 inches or 41 cm. The half inch or 1 cm is the seam allowance. |
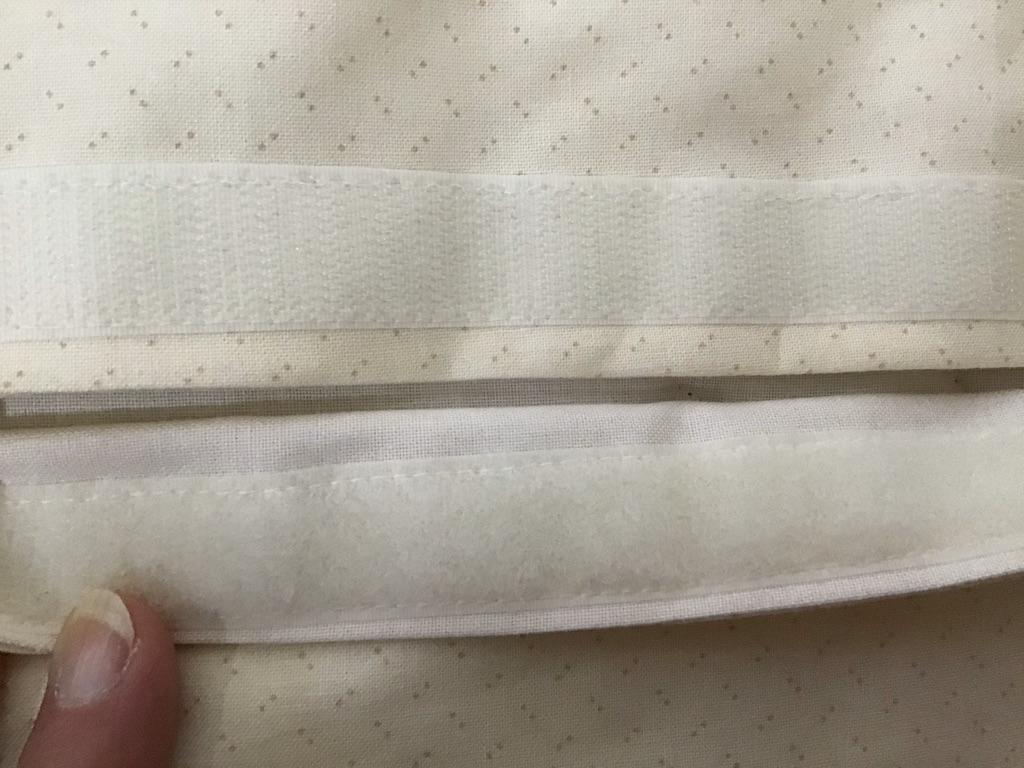 For the back, I take a piece of fabric the same as the light fabric on the front. I cut the fabric into 2 pieces, with one piece slightly larger than the other. I used 2 layers of fabric, but if you don't have this, one layer is enough. I sewed a strip of Velcro to the pieces. For the back, I take a piece of fabric the same as the light fabric on the front. I cut the fabric into 2 pieces, with one piece slightly larger than the other. I used 2 layers of fabric, but if you don't have this, one layer is enough. I sewed a strip of Velcro to the pieces. |
 Place the pieces with Velcro on top of each other, then place them on the quilted front with the right sides together. You can now sew around the entire block with a 1/4 inch or 1/5 cm seam allowance. After sewing all around, you can turn your pillow right side out, and it's finished. Place the pieces with Velcro on top of each other, then place them on the quilted front with the right sides together. You can now sew around the entire block with a 1/4 inch or 1/5 cm seam allowance. After sewing all around, you can turn your pillow right side out, and it's finished. |
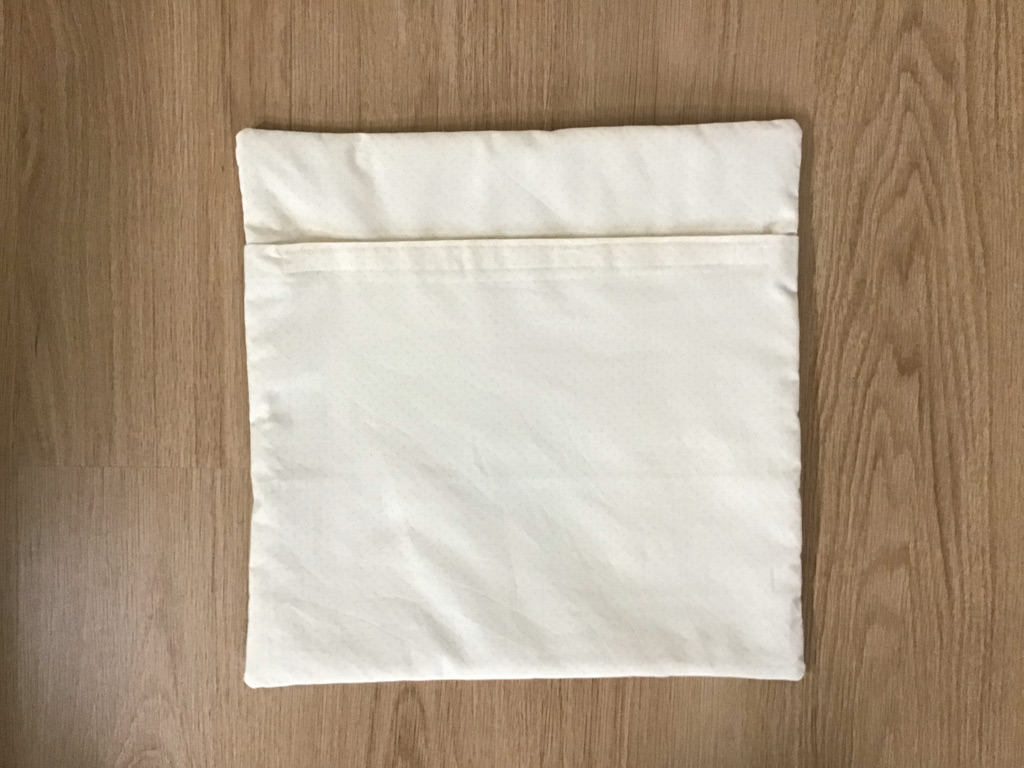 The back can be opened with the Velcro so that a cushion can be inserted. The back can be opened with the Velcro so that a cushion can be inserted. |
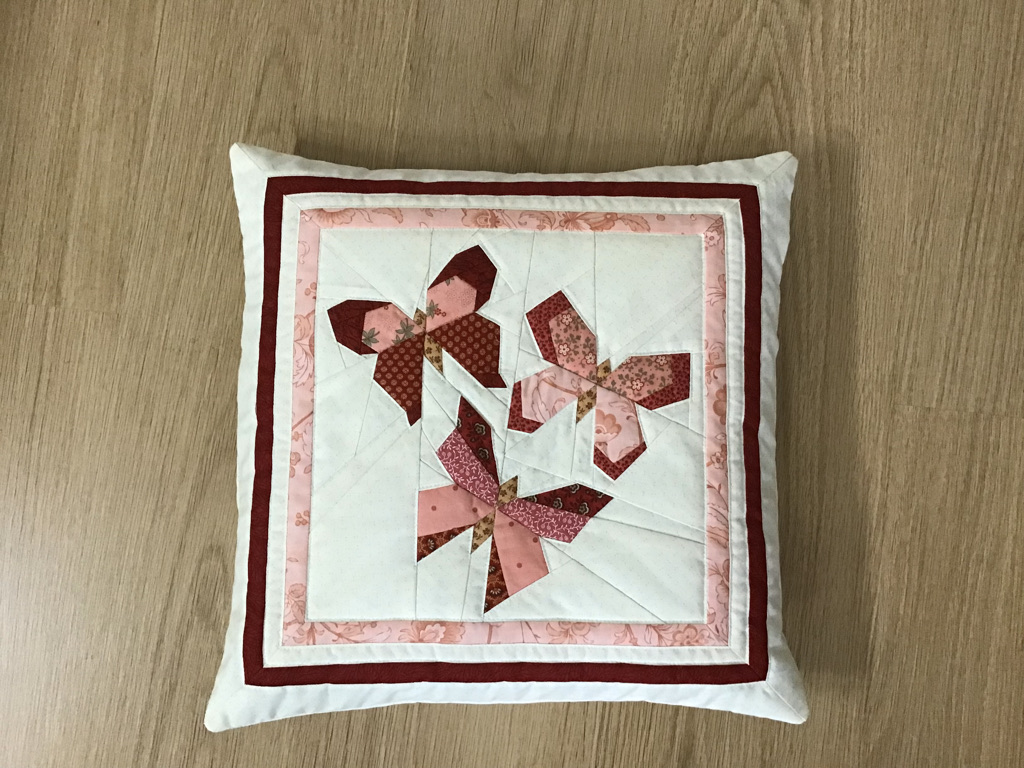 The pillow is now finished. The pillow is now finished. |
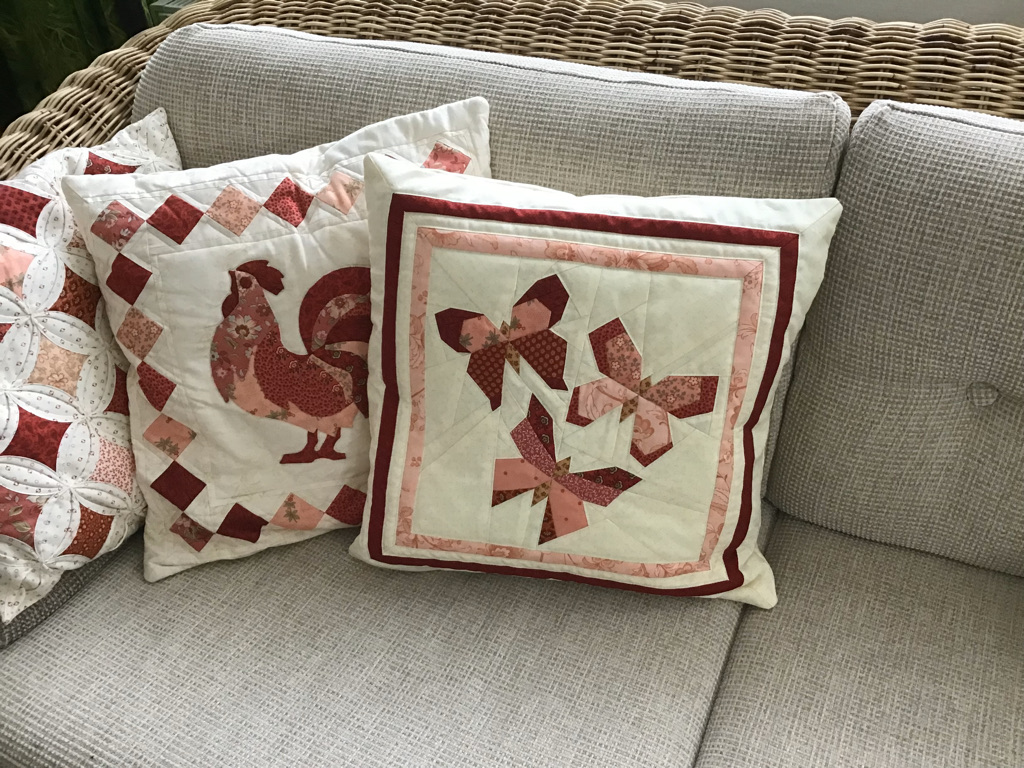 Nice on the couch with the other pillows made from the same fabric scraps. Nice on the couch with the other pillows made from the same fabric scraps. |