
")
")
Page 3 of 4
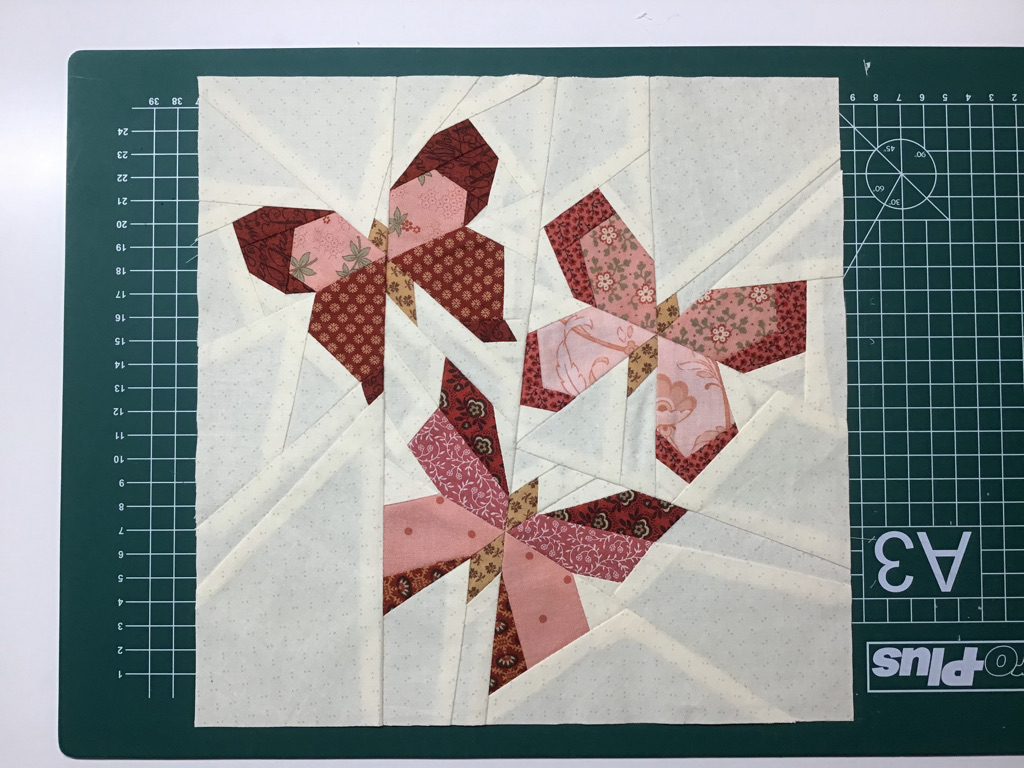 Once you have sewn all the parts together and followed the pattern correctly, you should have a block that is 11 1/2 inches square. If your block is slightly larger or smaller, that's not a problem; you can adjust for that in the outer white border. It's important that your pattern is nice and square. If necessary, trim it slightly with a rotary cutter and a long ruler. Once you have sewn all the parts together and followed the pattern correctly, you should have a block that is 11 1/2 inches square. If your block is slightly larger or smaller, that's not a problem; you can adjust for that in the outer white border. It's important that your pattern is nice and square. If necessary, trim it slightly with a rotary cutter and a long ruler. |
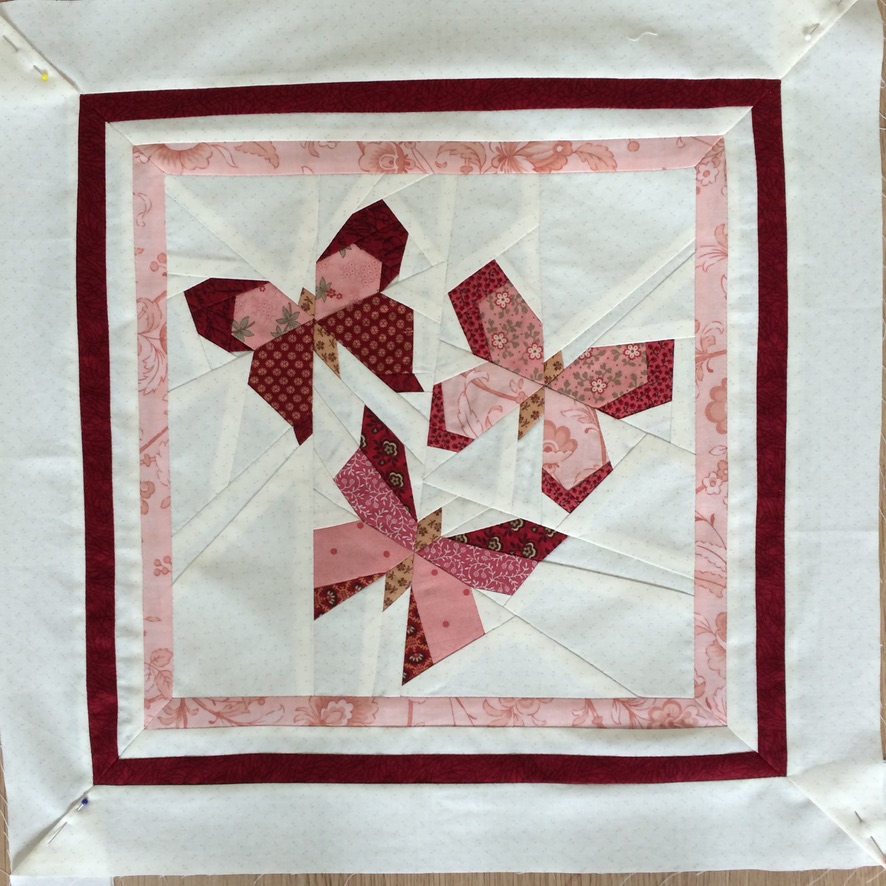 Once the centerpiece is done, you can add the borders. I made diagonal seams, but if you find that too difficult, you can also use borders with straight corners around the centerpiece. The thin borders are 1/2 inch wide. Since you need a 1/4 inch seam allowance on both sides, use 1-inch wide strips for this. The outer border is 1 inch wide, so use 1 1/2 inch wide strips for it. Adjust the width of the outer light border if your center block ended up slightly larger or smaller. Once the centerpiece is done, you can add the borders. I made diagonal seams, but if you find that too difficult, you can also use borders with straight corners around the centerpiece. The thin borders are 1/2 inch wide. Since you need a 1/4 inch seam allowance on both sides, use 1-inch wide strips for this. The outer border is 1 inch wide, so use 1 1/2 inch wide strips for it. Adjust the width of the outer light border if your center block ended up slightly larger or smaller. |
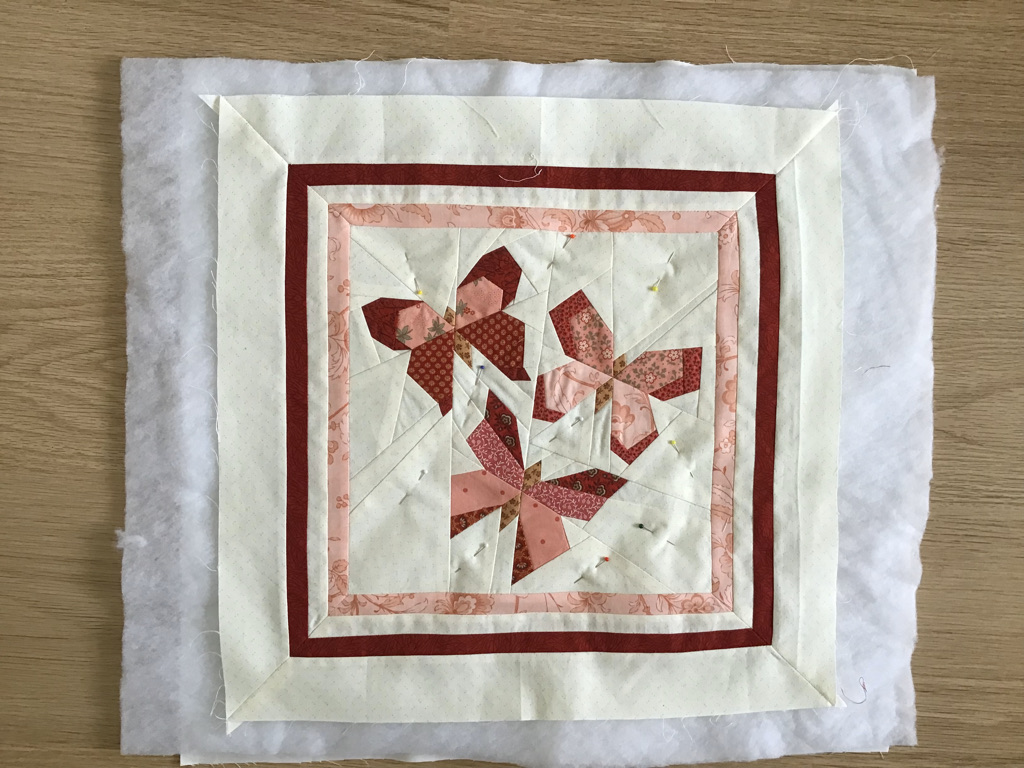 After attaching the borders and trimming the entire block to the correct size, 16 1/2 by 16 1/2 inches, the whole thing can be quilted. I used a plain piece of cotton as the back. The batting is not too thick fiberfill, but other batting materials are also good. Layer the three pieces, with the fiberfill or other batting between the two fabric layers. After attaching the borders and trimming the entire block to the correct size, 16 1/2 by 16 1/2 inches, the whole thing can be quilted. I used a plain piece of cotton as the back. The batting is not too thick fiberfill, but other batting materials are also good. Layer the three pieces, with the fiberfill or other batting between the two fabric layers. |
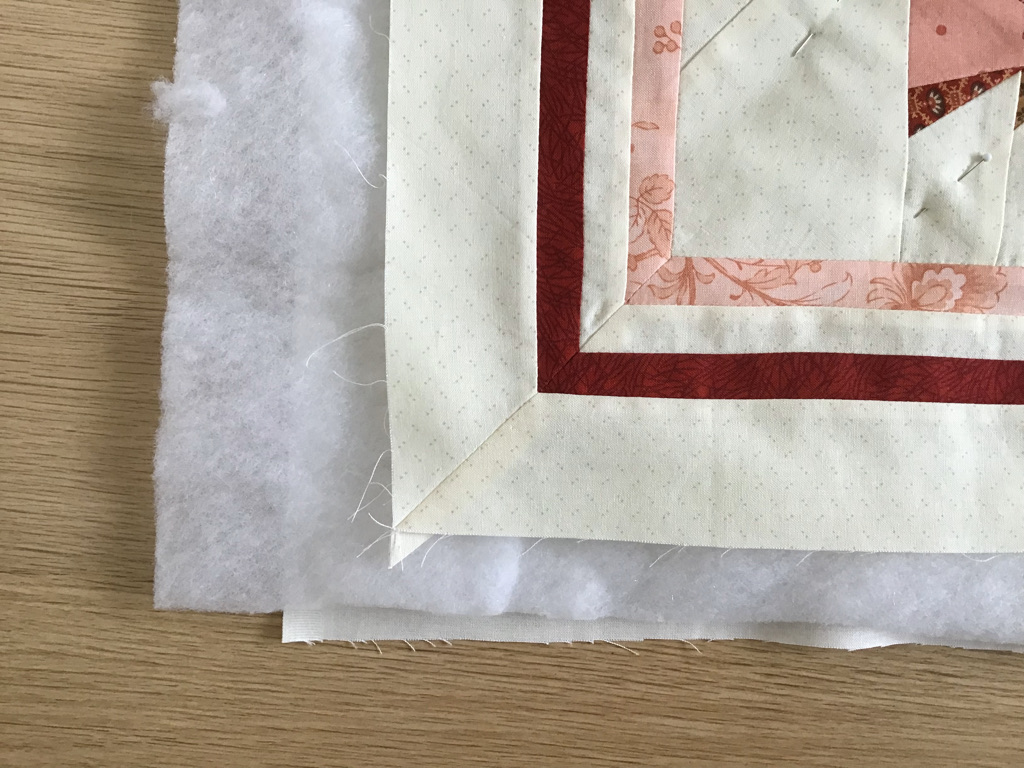 The right sides of the fabric should be on the outside. I have the quilted block on top. The right sides of the fabric should be on the outside. I have the quilted block on top. |
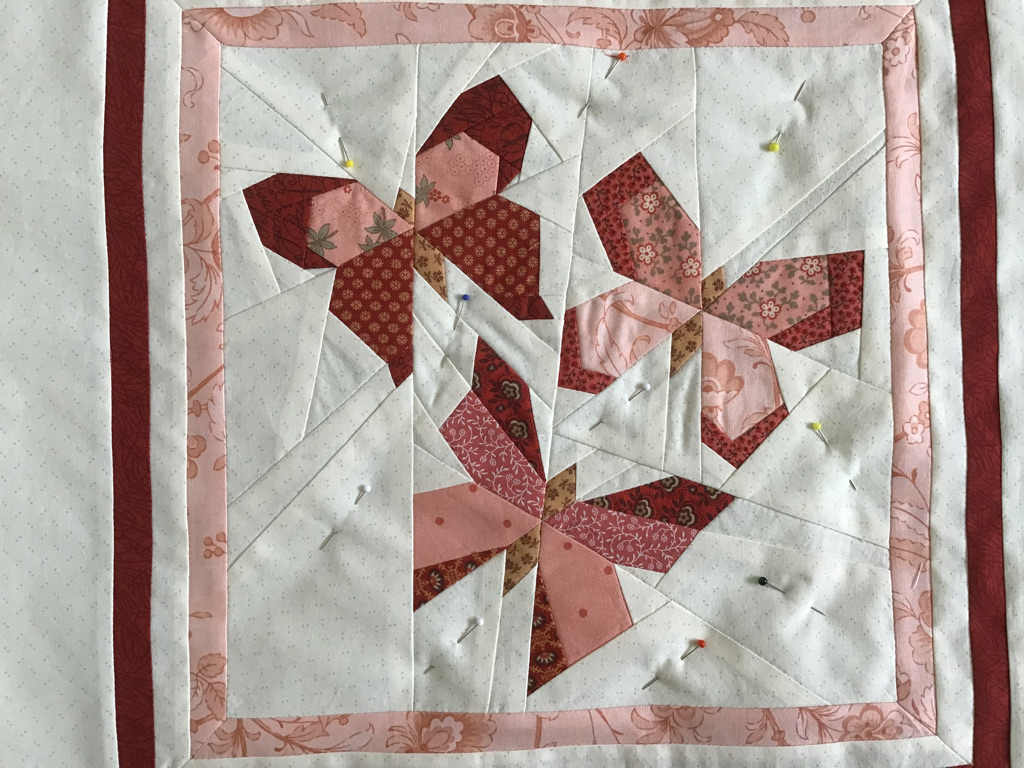 Before sewing the three layers together, pin them together at several spots. Before sewing the three layers together, pin them together at several spots. |
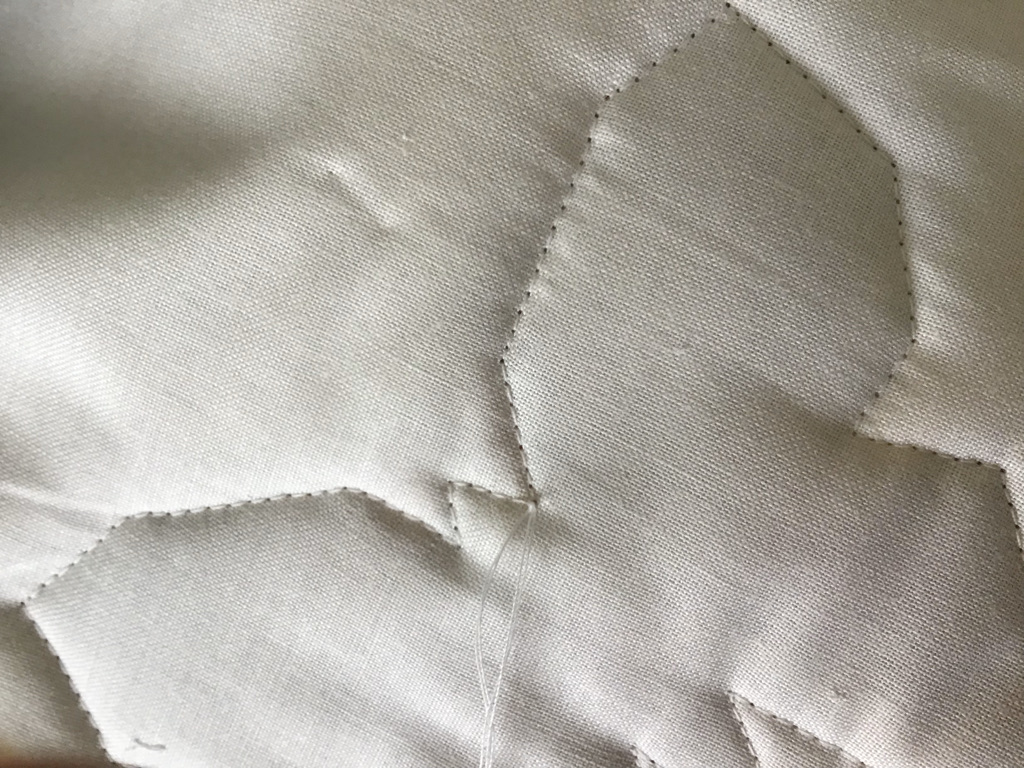 I stitch around the butterfly, which is called contour stitching. I pull the beginning and ending threads to the back. On the back, I tie a small knot and weave the thread ends into the batting. I stitch around the butterfly, which is called contour stitching. I pull the beginning and ending threads to the back. On the back, I tie a small knot and weave the thread ends into the batting. |
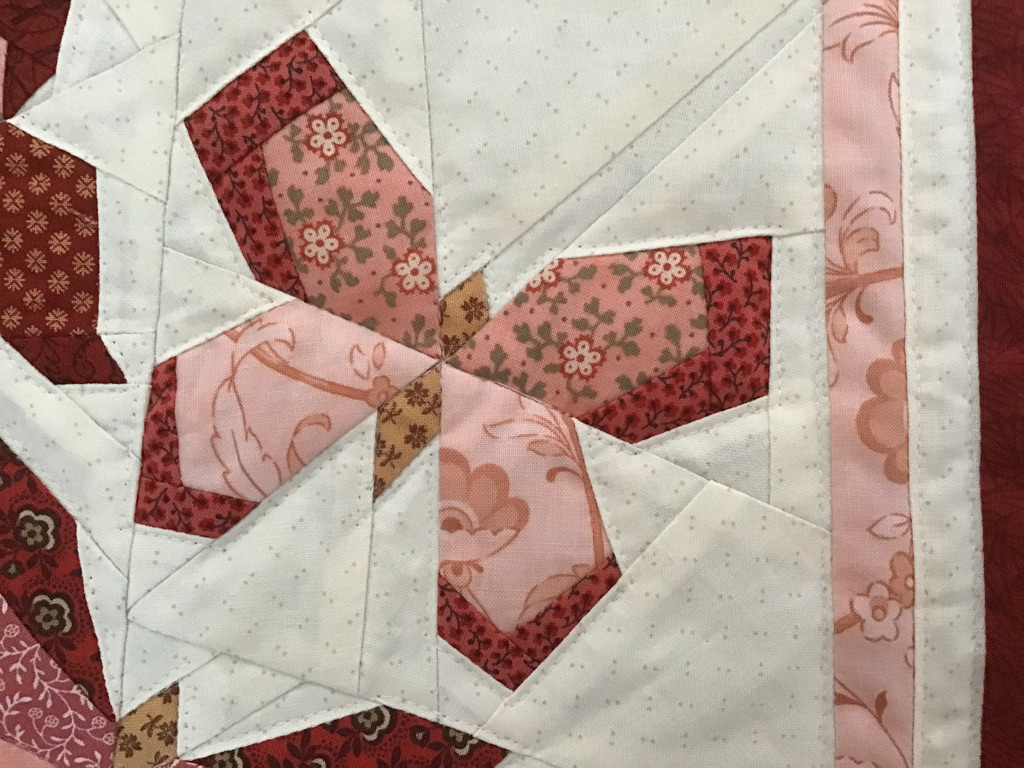 Here you can see that I stitched close around the butterfly. I also stitched the layers together along the colored borders on the light fabric. Here you can see that I stitched close around the butterfly. I also stitched the layers together along the colored borders on the light fabric. |