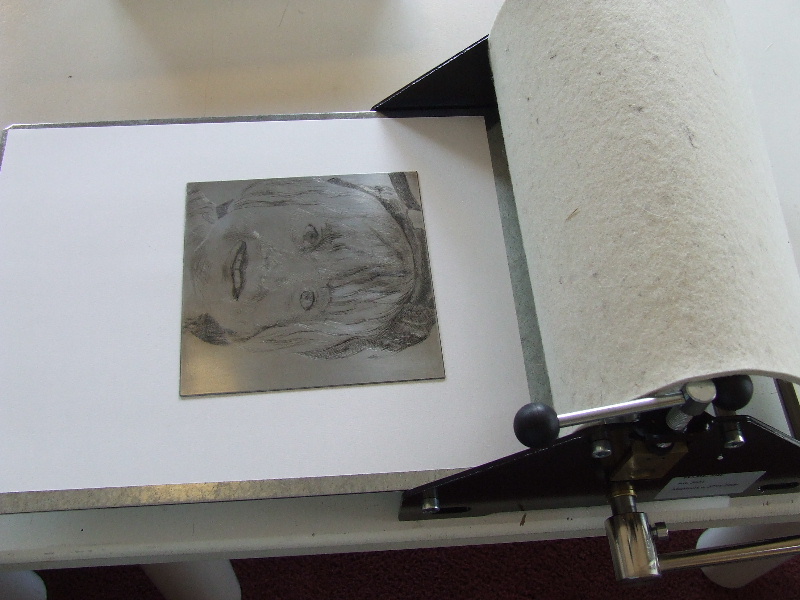
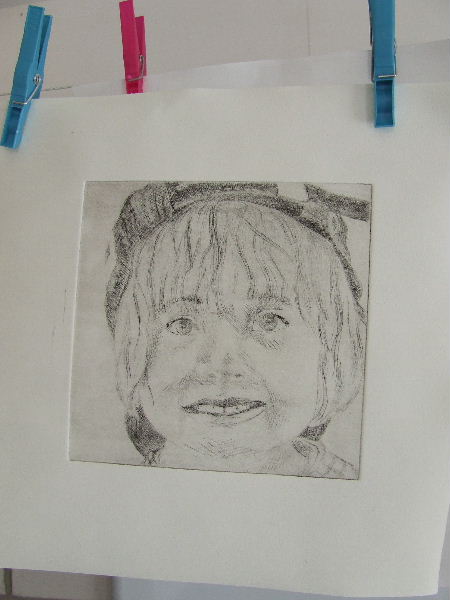
Here is a plate that is wiped and ready to be printed. The ink is mostly removed from the smooth surface and is well-set in the grooves. Now, you can take the etching paper from the water bath and blot it between the cheap paper you've prepared. Set up your etching press by placing the felt underneath and evenly tightening the handles on both sides. The press should be tight enough to apply good pressure on the paper but not so tight that the plate cannot be pressed under the roller.
|
Turn the press completely to one side and place the felt over the roller. Since the bottom of your etching plate will also get dirty while applying ink, it's useful to place a clean sheet of paper underneath your plate to keep the press bed clean. Replace this sheet occasionally to prevent your prints from getting dirty from leftover ink. Carefully and neatly place the wiped plate in the center of the press bed.
|
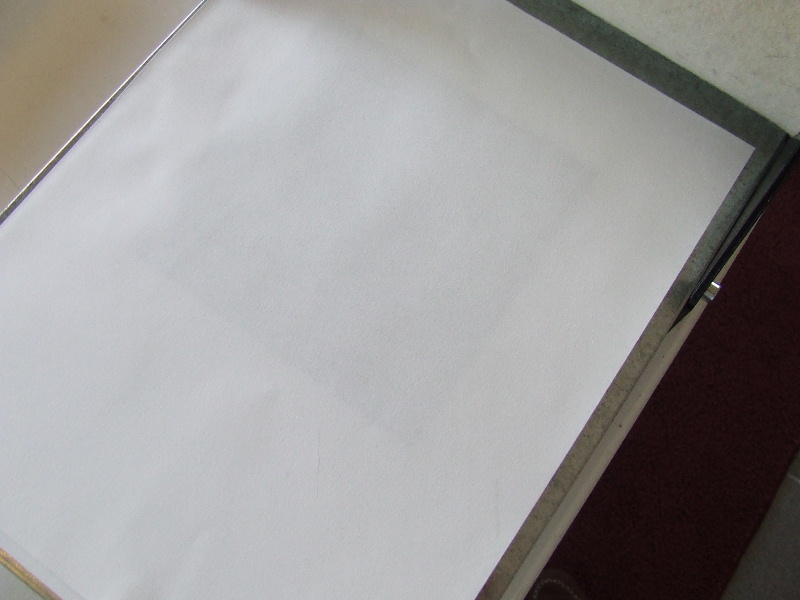
Lay the blot-dried etching paper over the plate without moving it. Do not move the sheet, as this will cause ink to transfer onto the etching paper.
|
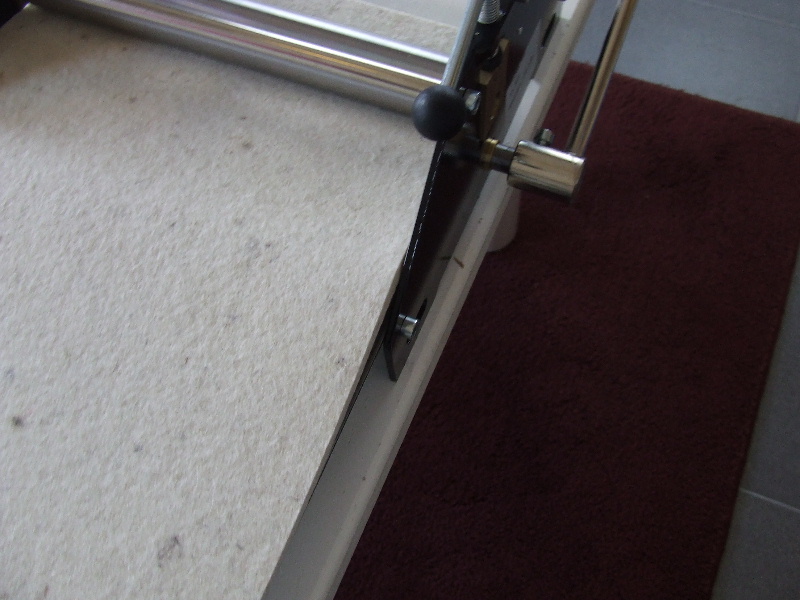
Finally, cover the paper with felt. Now, gently roll the plate through the press by turning the handle evenly. Avoid stopping halfway, as this will create a line in your print. Do not roll the plate back and forth under the press, as this can cause the setup to shift. Roll the plate through the press in one smooth motion. Once the plate is completely through, carefully lift the felt and then gently peel the paper from the plate.
|
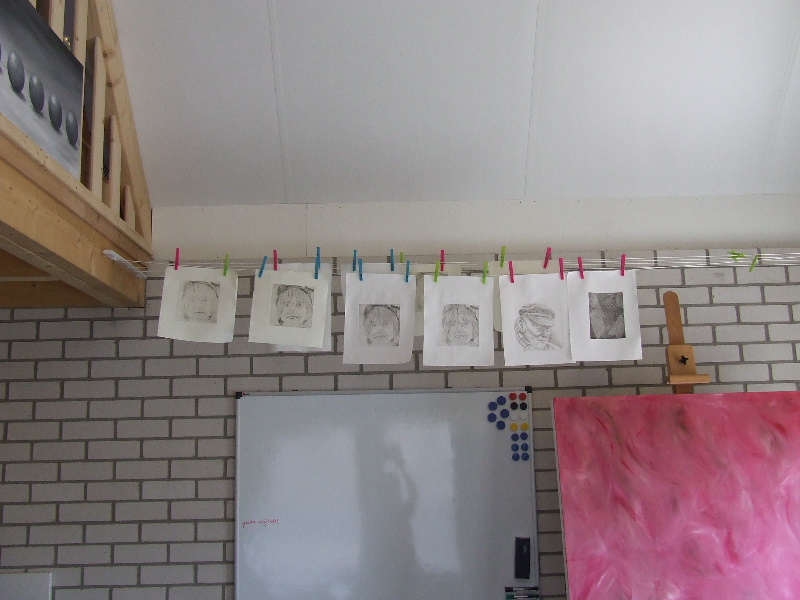
The print needs to dry, and the paper will still be damp. You can lay the prints flat on a table or the floor, but if you have limited space or want to make many prints, hanging them on a clothesline with plastic clips is a good idea.
|
I installed a clothesline high up for this purpose. Using a stool, I can hang the prints precisely on the line, keeping them out of the way and allowing me to continue printing.
|
For each print, the entire process of inking and wiping the plate must be repeated. It's an intensive hobby. After finishing all prints, clean the warming plate, your table, and the press thoroughly. The best cleaner is odorless turpentine, which is less smelly and more environmentally friendly. Don’t forget to remove the felt from under the roller; otherwise, it will get compressed where the roller presses on it, and next time, you'll have a lighter line at that spot. That would be unfortunate. I used zinc plates for this, but the procedure for copper plates or plastic covers is essentially the same. Etching ink is available in various colors, which can also be fun to experiment with.
|


