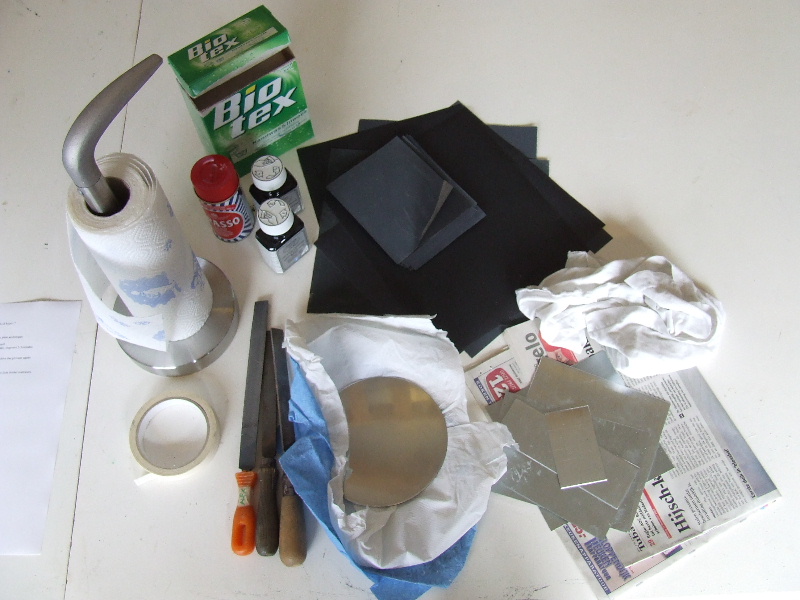
To prepare an etching plate for etching, you primarily need an etching plate, which can be either zinc or copper. Copper is slightly harder and lasts longer but is also more expensive. Here, I am working with zinc. Additionally, you will need a file, sandpaper in various grits, metal polish, a polishing cloth, etching ground with a soft flat brush, covering varnish with a flat brush, Biotex, and finally, an old newspaper. It's quite a list, but most of these items, except for the etching ground and covering varnish, are commonly found at home.
|
Zinc plates can be cut or sawn to size. This process always leaves the edges rough and sharp, which can damage your paper during printing and can also injure you. Therefore, these edges must be neatly beveled with a file.
|
Here you see a round-cut etching plate that has been smoothly filed. The edge is also beveled, meaning it is not perpendicular to the surface but at about a 45-degree angle, creating a smooth transition.
|
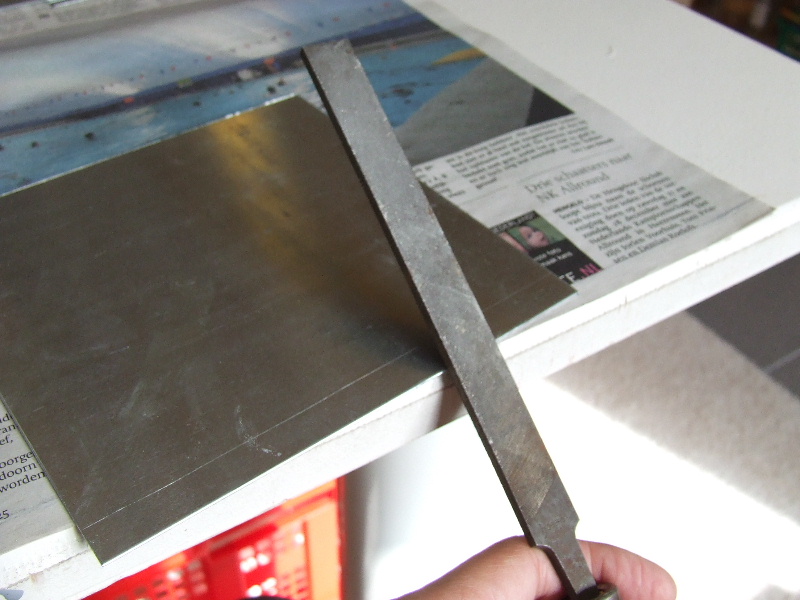
Bevel filing is done by holding your file at about a 45-degree angle while filing. Move the file up and down evenly. It works best if you place the plate on a table and let it stick out slightly. This way, you can hold the plate with one hand and file with the other. Be careful not to get the small metal particles in your eye.
|
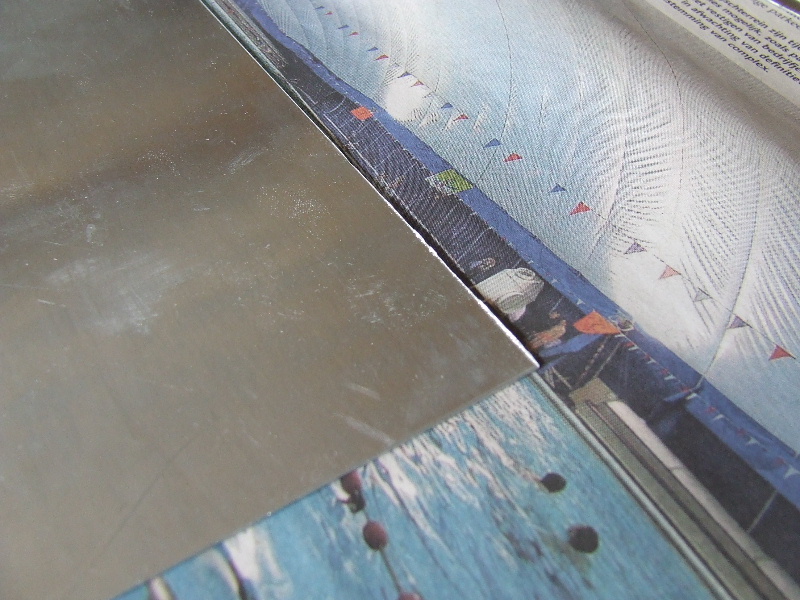
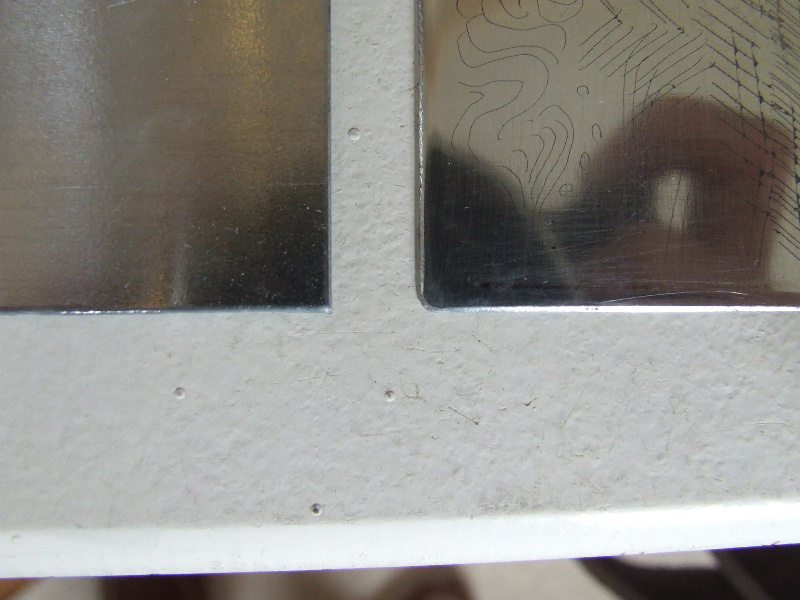
| On the left is a plate that hasn’t been filed, and on the right is a plate that has been neatly filed. Besides neatly beveling the edges, you should also round off the corners slightly. If the corner is too sharp, it can pierce the paper during printing, which would be a shame. Try to round all corners evenly. |


