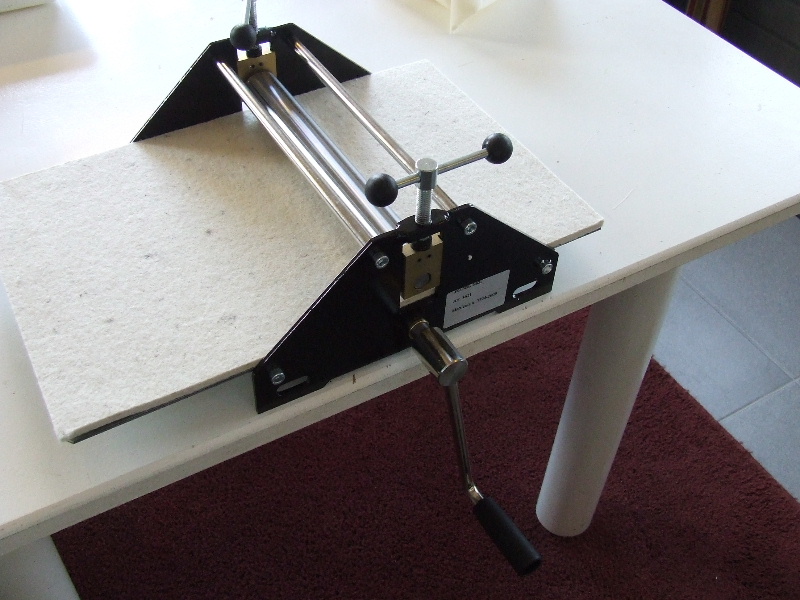
| Etching is a very enjoyable hobby, but the equipment for printing can be quite expensive. Therefore, I looked for affordable options to continue this hobby at home. To print an etching, you definitely need an etching press, which comes in various sizes and price ranges. I bought a reasonably cheap and handy table model. This press allows me to print etchings up to about A4 size. |
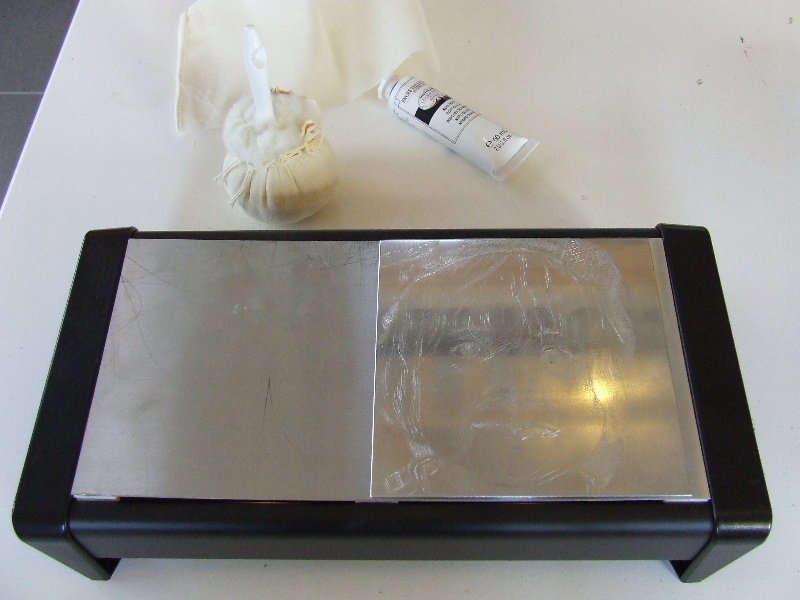
Besides an etching press, you also need a warming plate to slightly warm the ink and your etching plate. In some cases, the etching ground also needs to be warmed before application. Electric warming plates of a decent size can be quite expensive and must be easy to clean since ink is applied directly to the plate. As an alternative, I bought a wax warmer and replaced the top plate, which had holes, with a custom-cut zinc plate. Ensure that the plate doesn't completely cover the area where the tealights are placed.
|
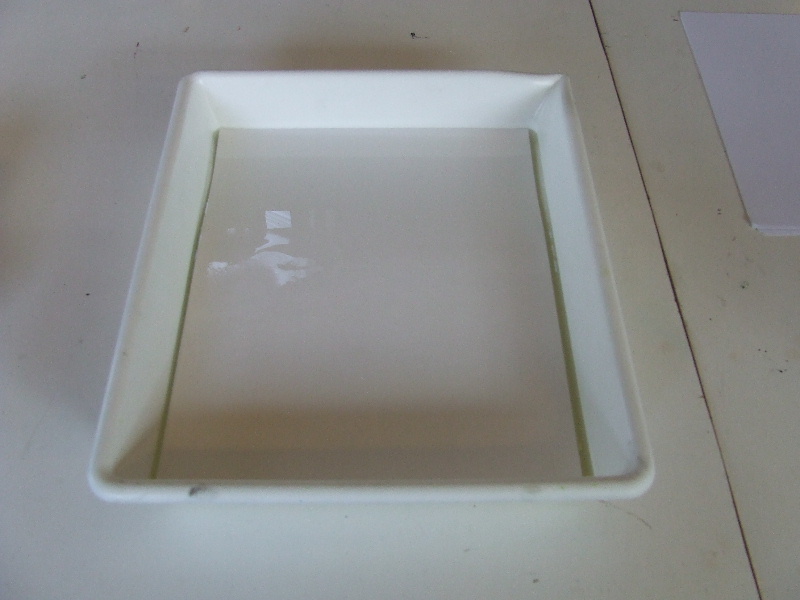
Printing the etching is done on dampened paper. You can soak the paper in plastic trays or in the sink if it's large enough. I use trays originally intended for photo printing. They come in various colors. The paper must lie flat in the tray and be completely submerged.
|
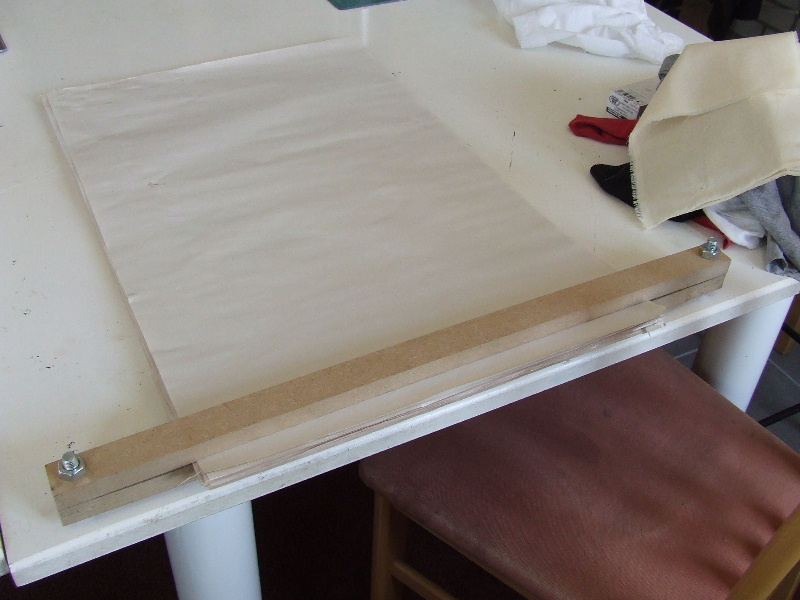
Before you can print the etching on paper, the damp paper must be blotted dry. The paper should remain moist but should not shine. You can conveniently do this by placing it between a stack of cheap paper, which can be reused many times. I made holes in the ends of two planks and threaded a bolt with a nut through them. Between these two planks, I clamp cheap paper. The paper I use is packing/moving paper, which you can buy at a hardware store. Very cheap and suitable. By clamping the sheets between the planks, they are also easy to store.
|
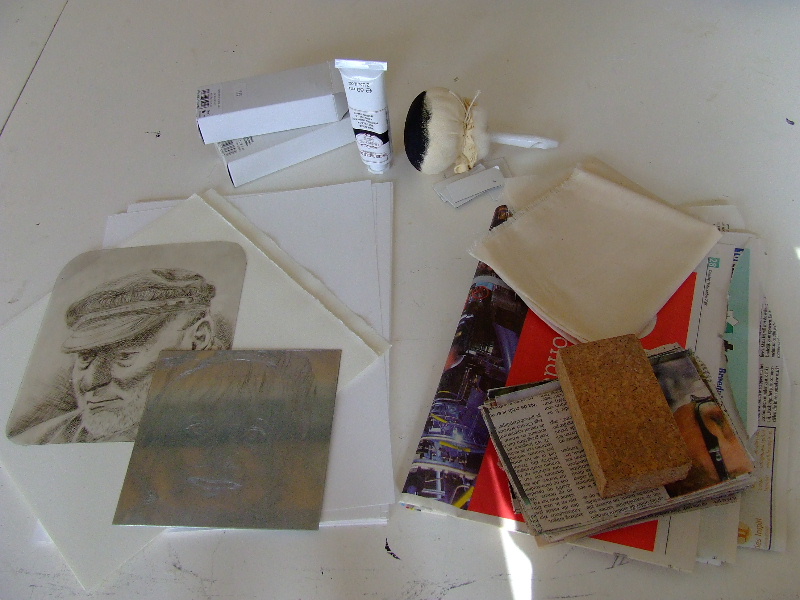
In addition to the mentioned necessities, you'll also need etching paper, etching ink, materials to apply the ink or to wipe the plate, and, of course, a plate ready to be printed. Printing can be messy, so also prepare a stack of newspapers and ensure you can wash your hands thoroughly without touching too much.
|


