Welcome at To be defined

Welcome at To be defined, a website filled with creativity. Here you will find numerous manuals in words and images on various subjects. On this page you can only see a selection. Choose from the menu on the left for more articles on your favorite topic.
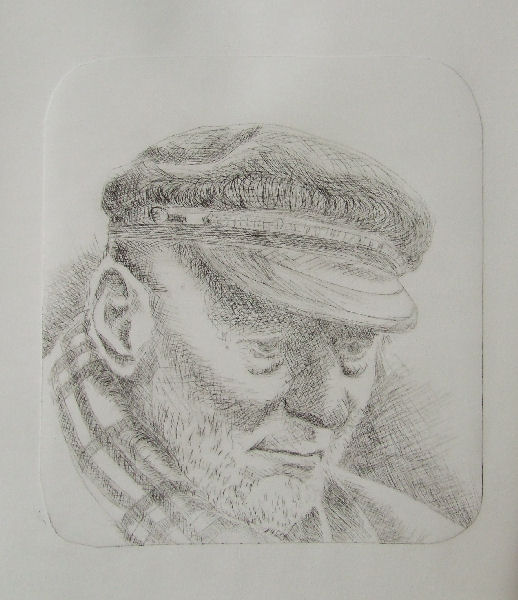
Old man - Intaglio printing on paper. 25*30cmEtchings are a form of intaglio printing. In intaglio printing, the ink that is in the grooves of the (etching) plate is transferred to paper using a press. Several intaglio techniques include etching and drypoint. The drypoint technique can be applied to various types of plate materials, although zinc or copper are commonly used. Another very cheap and simple method is scratching into plastic film, such as overhead projector sheets or clear glossy plastic covers.


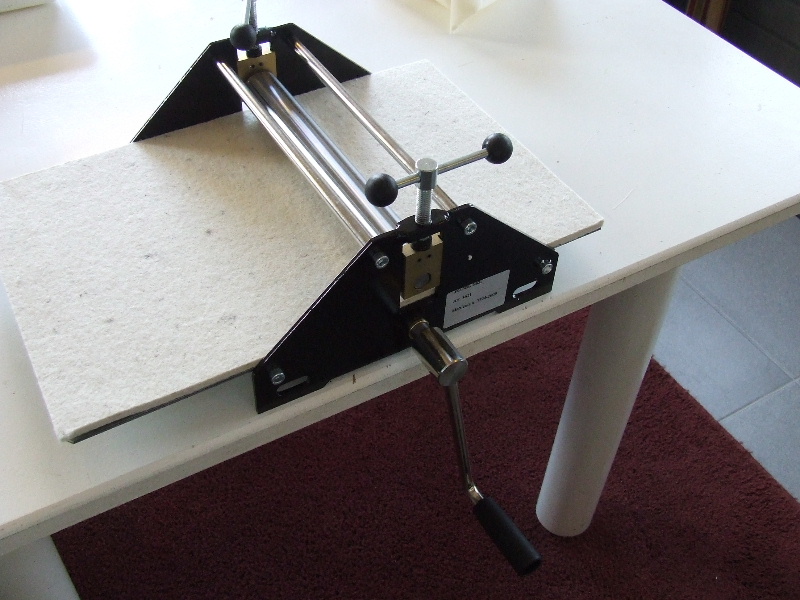
Etching press FOME, 26.8 x 42cmEtching is a very enjoyable hobby, but the equipment for printing can be quite expensive. Therefore, I looked for affordable options to continue this hobby at home. To print an etching, you definitely need an etching press, which comes in various sizes and price ranges. I bought a reasonably cheap and handy table model. This press allows me to print etchings up to about A4 size.
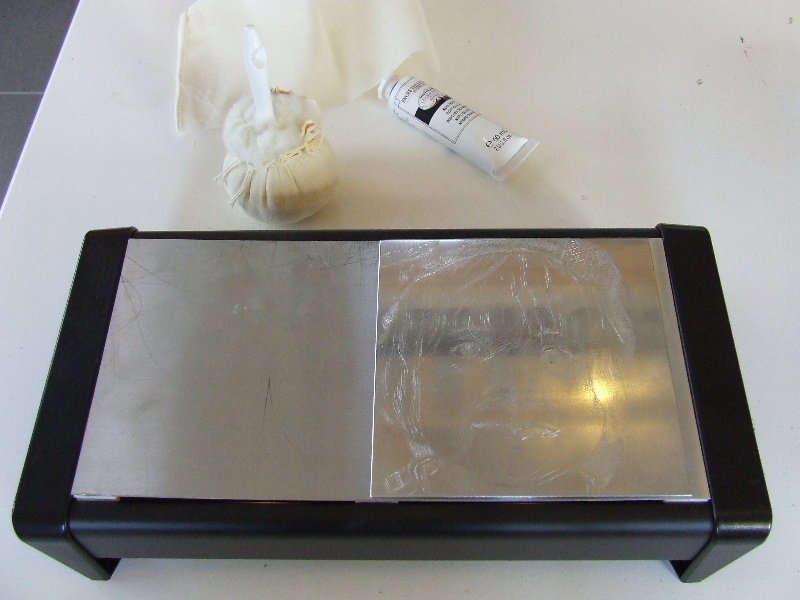
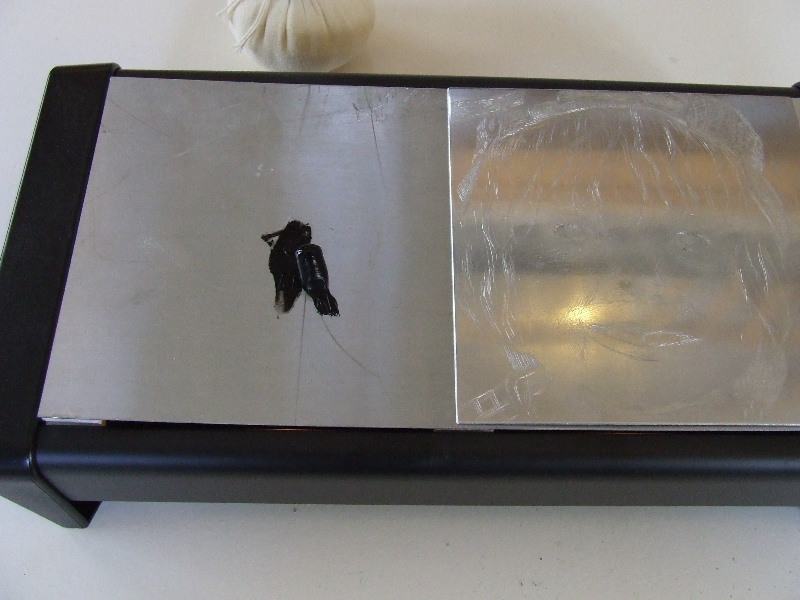
Warming plateBesides an etching press, you also need a warming plate to slightly warm the ink and your etching plate. In some cases, the etching ground also needs to be warmed before application. Electric warming plates of a decent size can be quite expensive and must be easy to clean since ink is applied directly to the plate. As an alternative, I bought a wax warmer and replaced the top plate, which had holes, with a custom-cut zinc plate. Ensure that the plate doesn't completely cover the area where the tealights are placed.


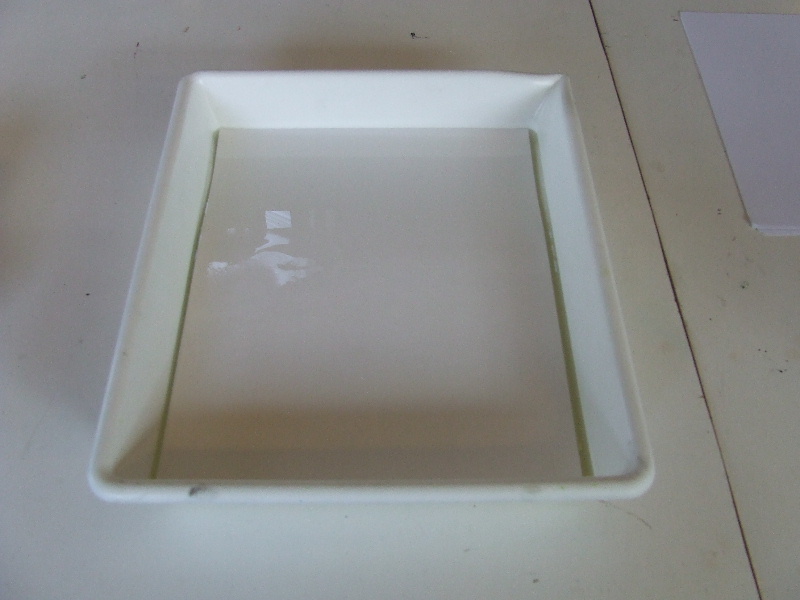
Plastic trayPrinting the etching is done on dampened paper. You can soak the paper in plastic trays or in the sink if it's large enough. I use trays originally intended for photo printing. They come in various colors. The paper must lie flat in the tray and be completely submerged.

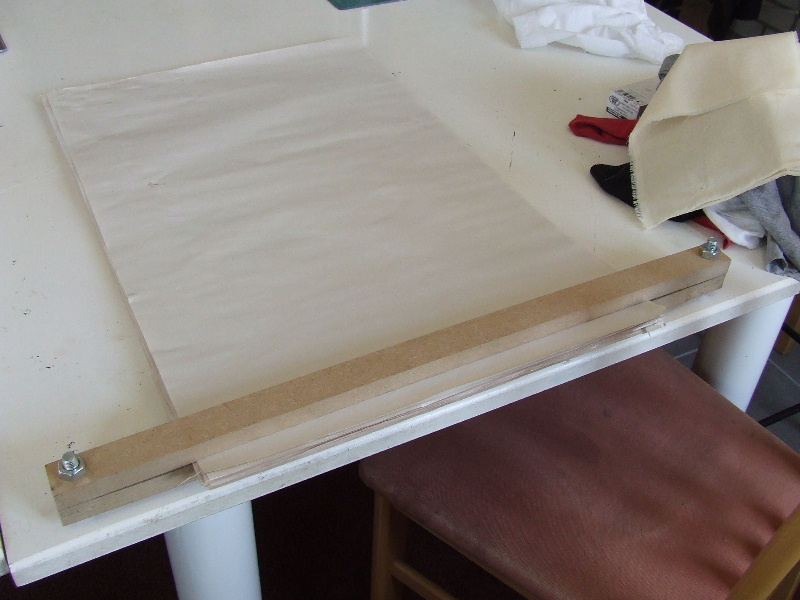
Sheets of cheap thin paperBefore you can print the etching on paper, the damp paper must be blotted dry. The paper should remain moist but should not shine. You can conveniently do this by placing it between a stack of cheap paper, which can be reused many times. I made holes in the ends of two planks and threaded a bolt with a nut through them. Between these two planks, I clamp cheap paper. The paper I use is packing/moving paper, which you can buy at a hardware store. Very cheap and suitable. By clamping the sheets between the planks, they are also easy to store.

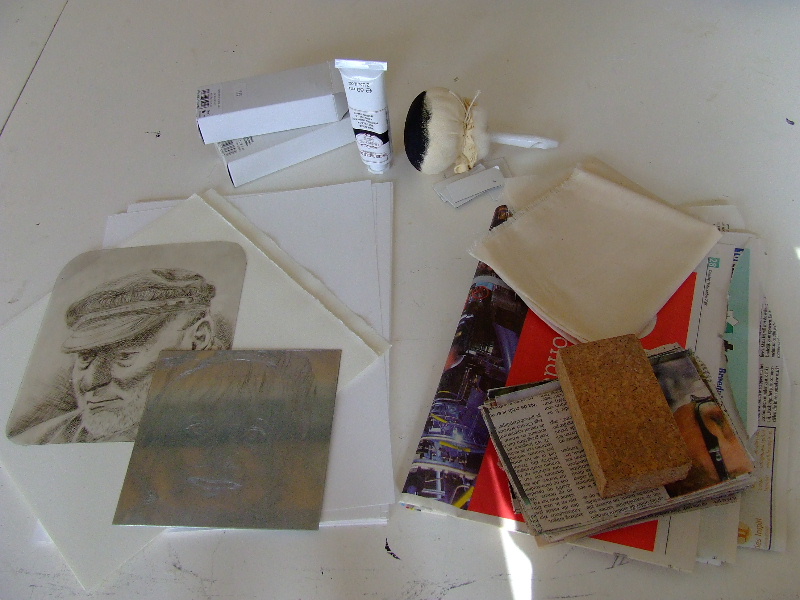
SuppliesIn addition to the mentioned necessities, you'll also need etching paper, etching ink, materials to apply the ink or to wipe the plate, and, of course, a plate ready to be printed. Printing can be messy, so also prepare a stack of newspapers and ensure you can wash your hands thoroughly without touching too much.


Heating inkOnce everything is ready for etching, start by soaking the etching paper in water. It's even better to do this an hour beforehand so the paper is nice and soft for printing. Then, warm the plate and squeeze some ink from the tube onto the plate. I also place the etching plate on the warming plate to heat it slightly, helping the ink flow into the grooves.


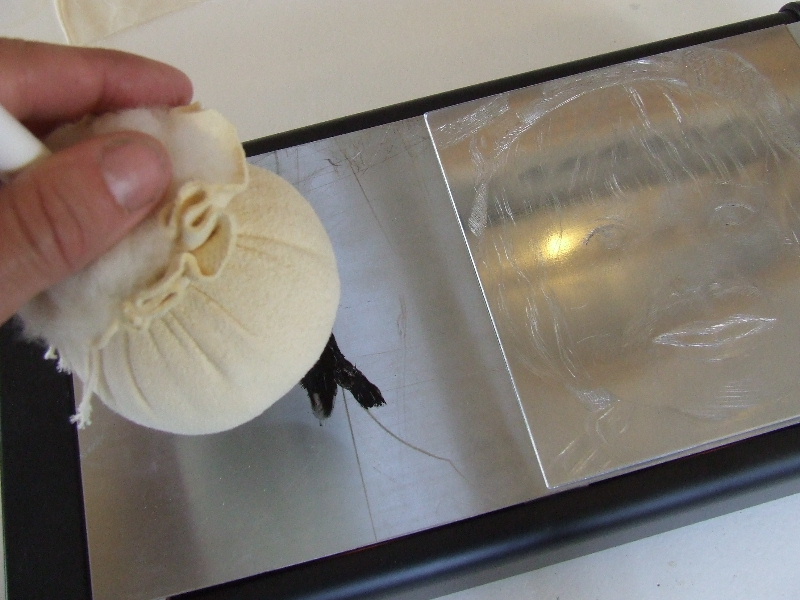
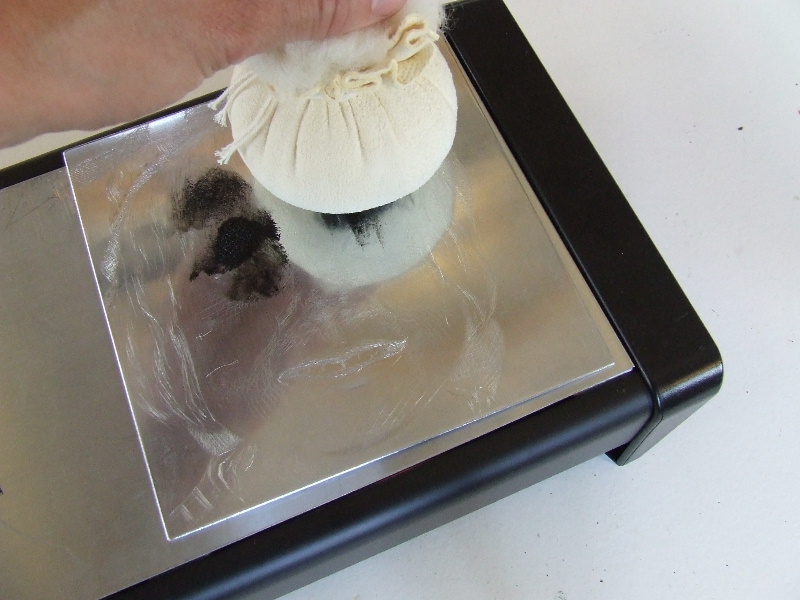
Using a tamponApplying inkYou can apply ink to the plate in various ways. I use a homemade tampon, but you can also use a piece of cardboard or a plastic spatula. Experiment to find what works best for you.


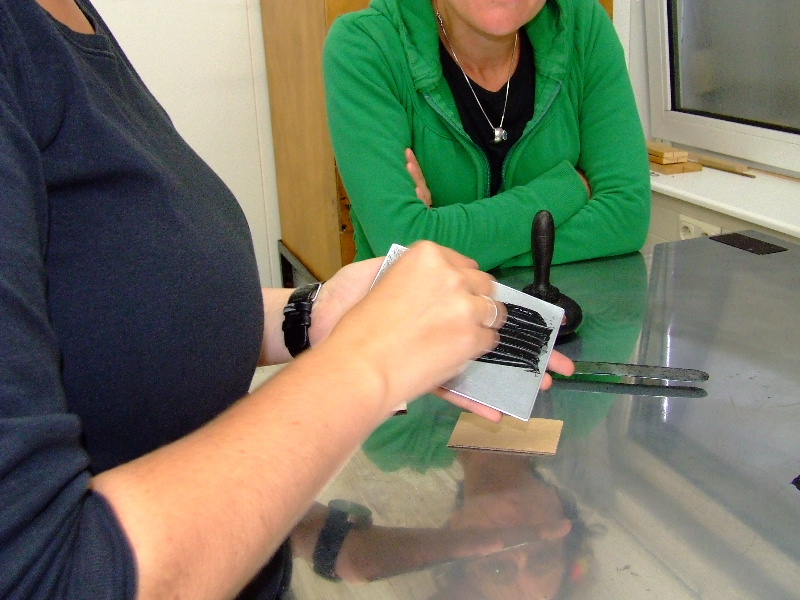
Applying Ink with a piece of cardboardHere, you see ink being applied with a piece of cardboard. The method of ink application is not crucial, as long as the plate is well covered and the ink is pushed into the grooves.


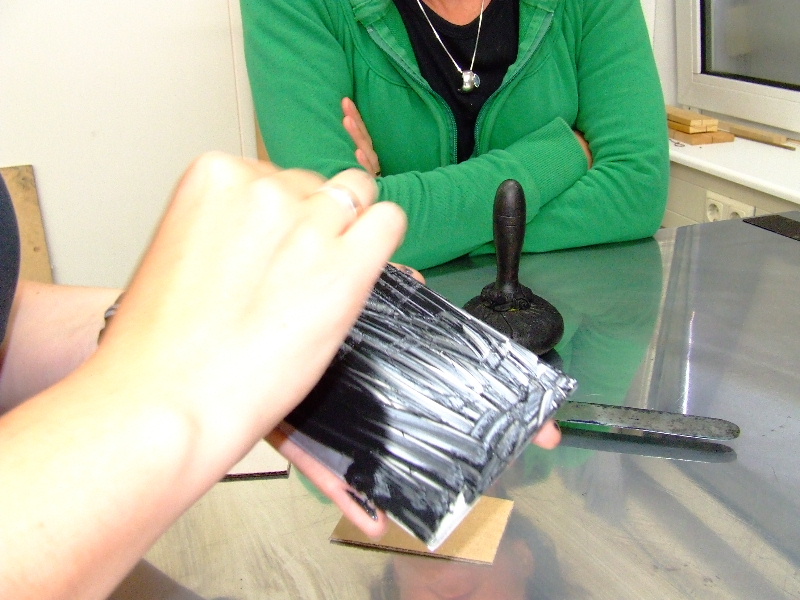
Cover the whole plateCover the entire plate with ink, including areas that should remain "white." Depending on how well you polished the plate, the white areas will stay truly white or turn light gray. By covering the whole plate with ink, the white or light areas will be consistently white or light after printing.


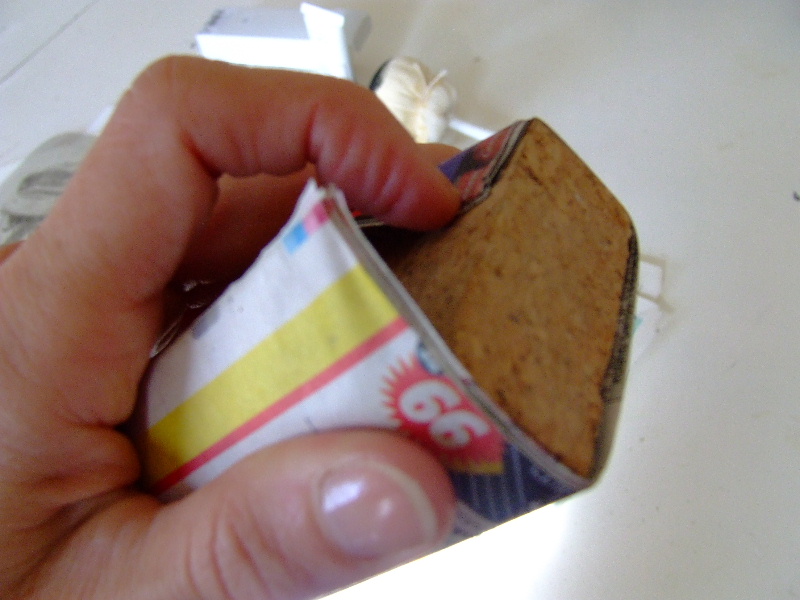
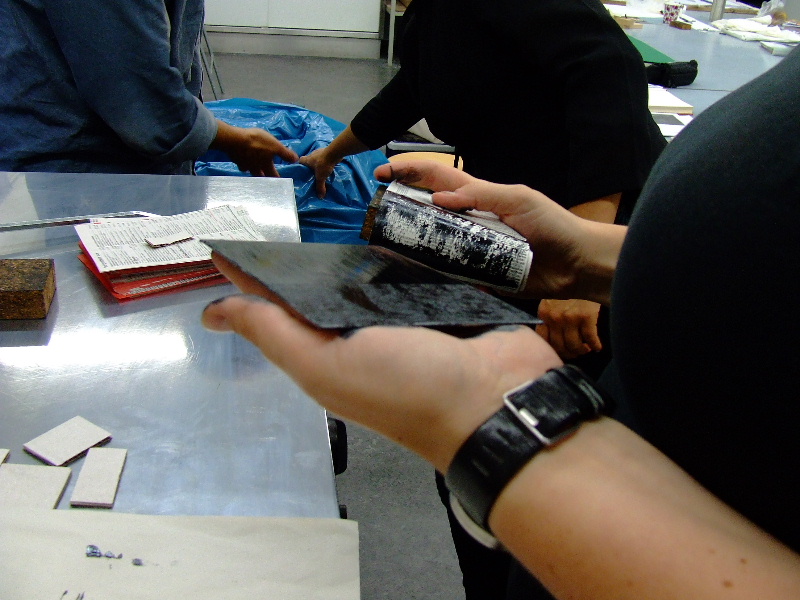
Paper around a piece of corkremove excess inkLike applying ink, wiping the plate can be done in different ways. It's easiest to remove most of the ink with old newspapers or tarlatan. Instead of tarlatan, you can also use cheesecloth. Here, you see ink being removed with newspaper pieces wrapped around a cork block. Finally, remove the last bit of ink with the palm of your hand.


the excess ink has been removedHere is how the plate looks when most of the excess ink is removed. The plate is not perfect yet; especially the top left and right areas still have too much ink. Ensure you always wipe the plates as consistently as possible before printing. This consistency helps produce nearly identical prints, which is a key advantage of intaglio printing, allowing you to create editions of multiple nearly identical prints.


Ready to be pressedHere is a plate that is wiped and ready to be printed. The ink is mostly removed from the smooth surface and is well-set in the grooves. Now, you can take the etching paper from the water bath and blot it between the cheap paper you've prepared. Set up your etching press by placing the felt underneath and evenly tightening the handles on both sides. The press should be tight enough to apply good pressure on the paper but not so tight that the plate cannot be pressed under the roller.


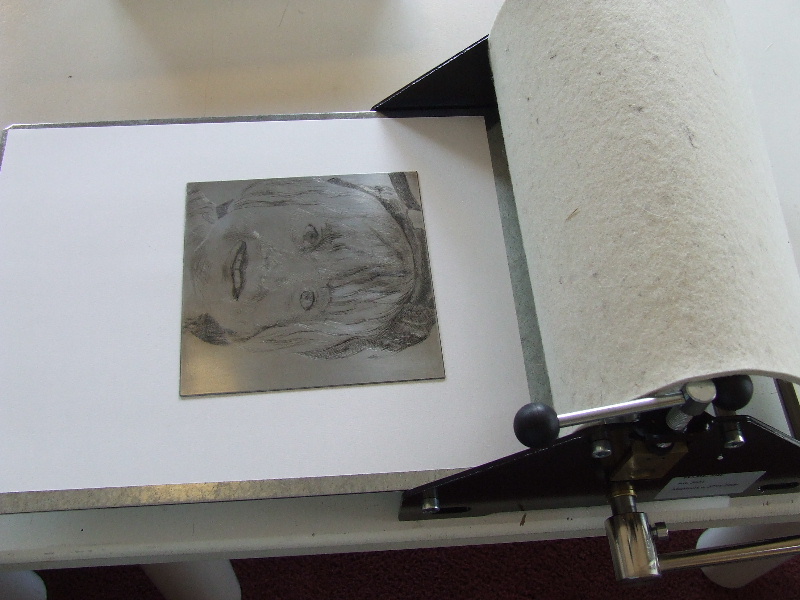
Place the etching plate on a clean sheetTurn the press completely to one side and place the felt over the roller. Since the bottom of your etching plate will also get dirty while applying ink, it's useful to place a clean sheet of paper underneath your plate to keep the press bed clean. Replace this sheet occasionally to prevent your prints from getting dirty from leftover ink. Carefully and neatly place the wiped plate in the center of the press bed.


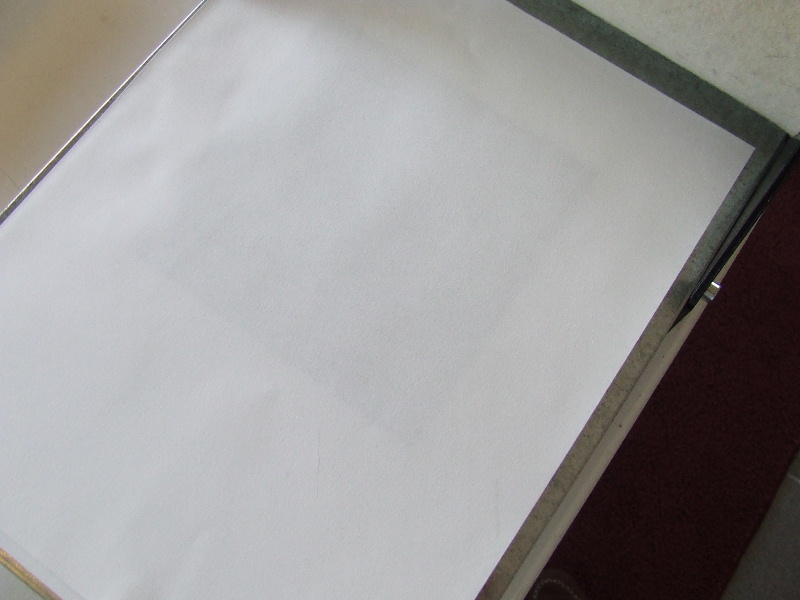
The etching paper over the plateLay the blot-dried etching paper over the plate without moving it. Do not move the sheet, as this will cause ink to transfer onto the etching paper.


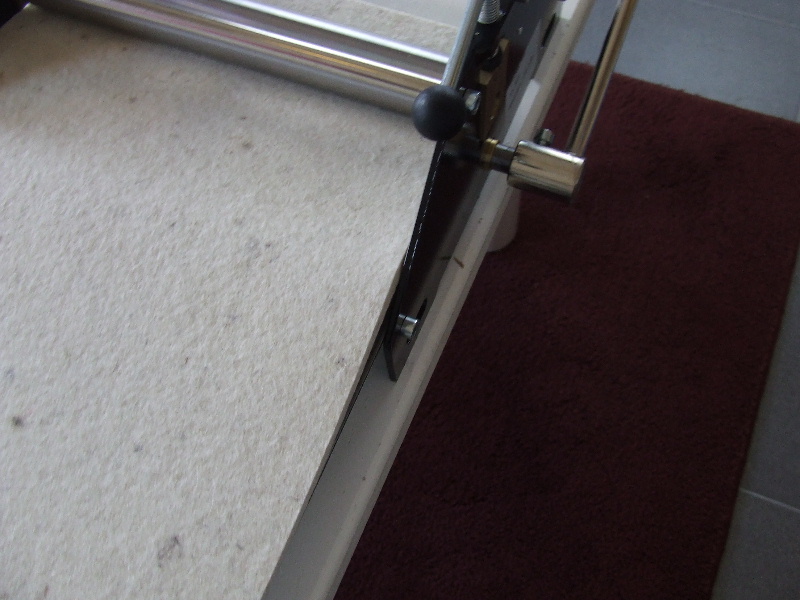
The felt over the paperFinally, cover the paper with felt. Now, gently roll the plate through the press by turning the handle evenly. Avoid stopping halfway, as this will create a line in your print. Do not roll the plate back and forth under the press, as this can cause the setup to shift. Roll the plate through the press in one smooth motion. Once the plate is completely through, carefully lift the felt and then gently peel the paper from the plate.


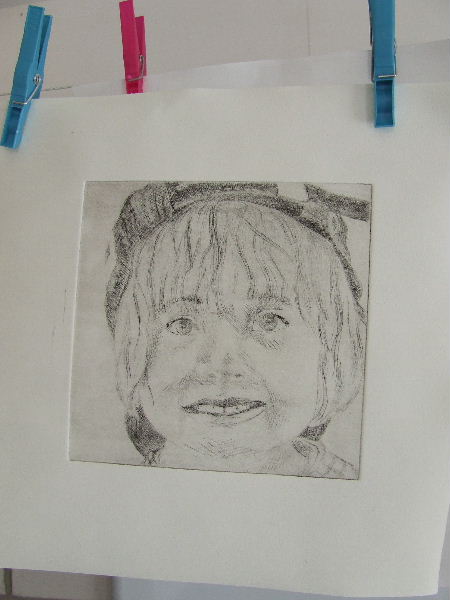
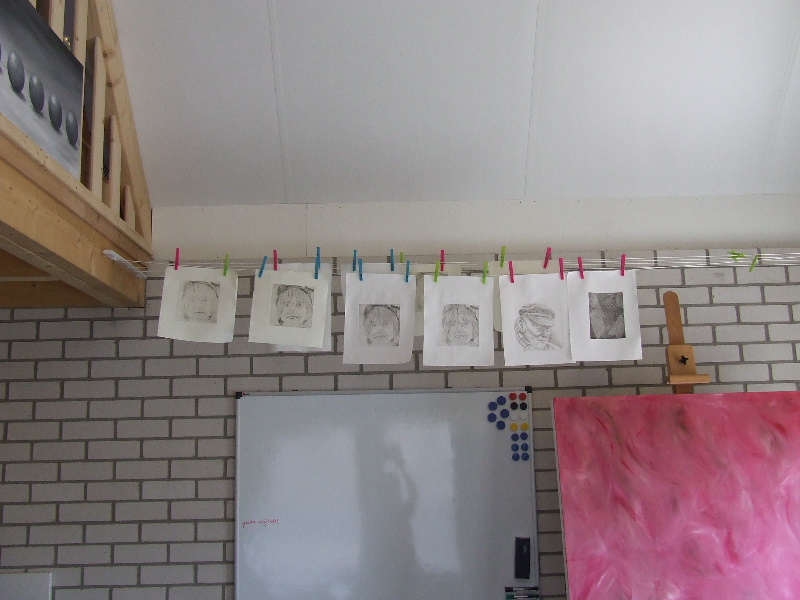
Hang the print to dryThe print needs to dry, and the paper will still be damp. You can lay the prints flat on a table or the floor, but if you have limited space or want to make many prints, hanging them on a clothesline with plastic clips is a good idea.


A series of prints hangs to dryI installed a clothesline high up for this purpose. Using a stool, I can hang the prints precisely on the line, keeping them out of the way and allowing me to continue printing.


For each print, the entire process of inking and wiping the plate must be repeated. It's an intensive hobby. After finishing all prints, clean the warming plate, your table, and the press thoroughly. The best cleaner is odorless turpentine, which is less smelly and more environmentally friendly. Don’t forget to remove the felt from under the roller; otherwise, it will get compressed where the roller presses on it, and next time, you'll have a lighter line at that spot. That would be unfortunate. I used zinc plates for this, but the procedure for copper plates or plastic covers is essentially the same. Etching ink is available in various colors, which can also be fun to experiment with.