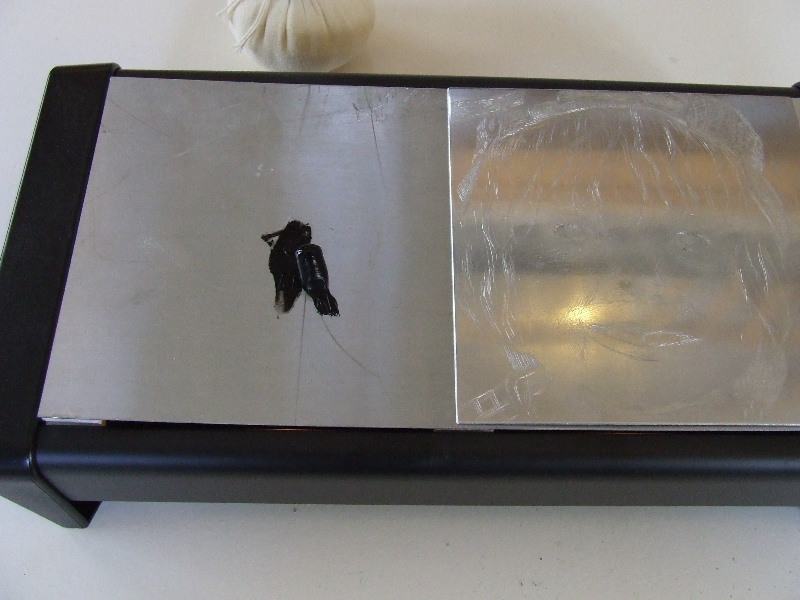
Once everything is ready for etching, start by soaking the etching paper in water. It's even better to do this an hour beforehand so the paper is nice and soft for printing. Then, warm the plate and squeeze some ink from the tube onto the plate. I also place the etching plate on the warming plate to heat it slightly, helping the ink flow into the grooves.
|
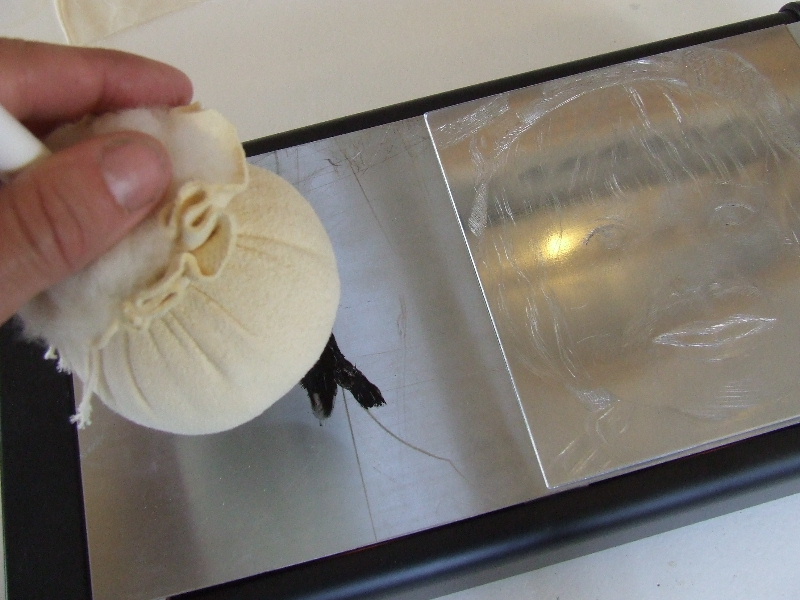
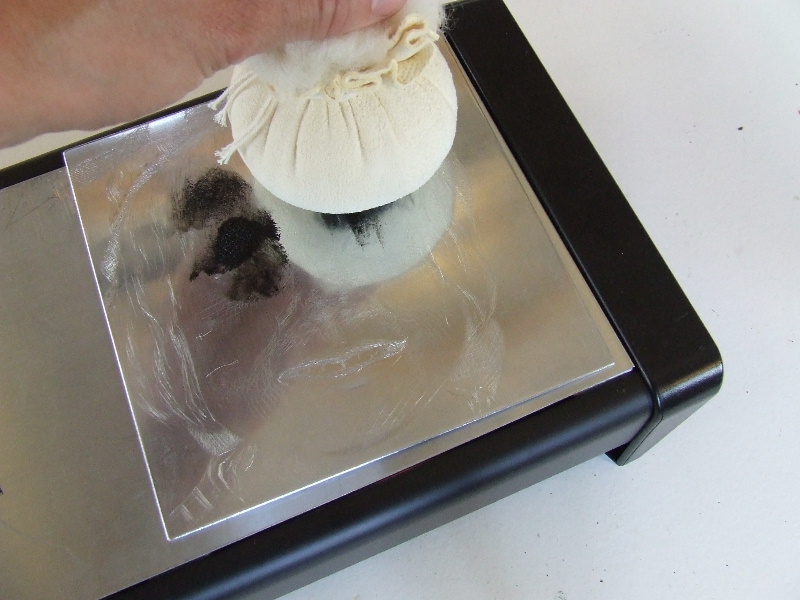
You can apply ink to the plate in various ways. I use a homemade tampon, but you can also use a piece of cardboard or a plastic spatula. Experiment to find what works best for you.
|
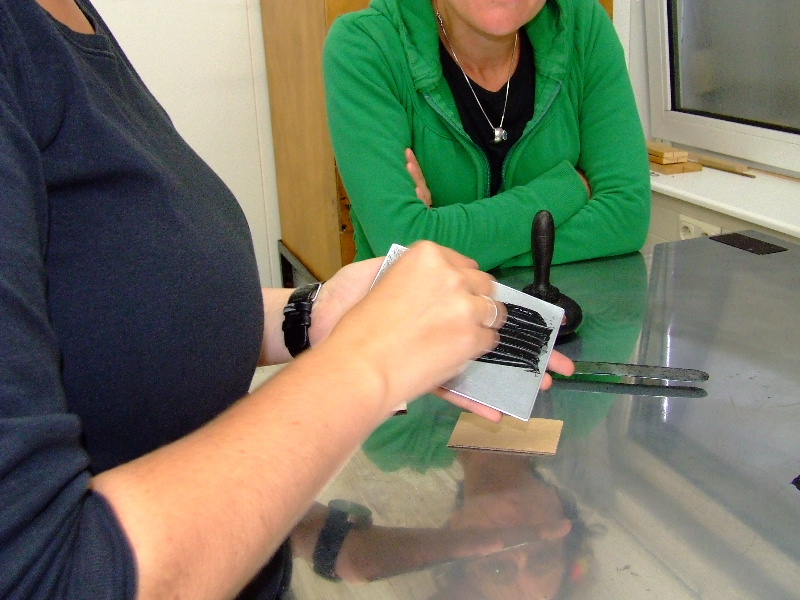
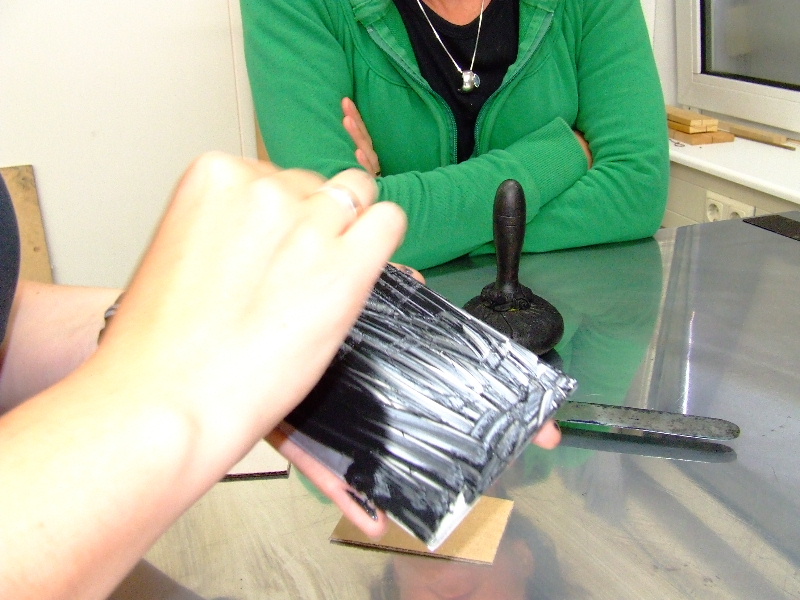
Here, you see ink being applied with a piece of cardboard. The method of ink application is not crucial, as long as the plate is well covered and the ink is pushed into the grooves.
|
Cover the entire plate with ink, including areas that should remain "white." Depending on how well you polished the plate, the white areas will stay truly white or turn light gray. By covering the whole plate with ink, the white or light areas will be consistently white or light after printing.
|
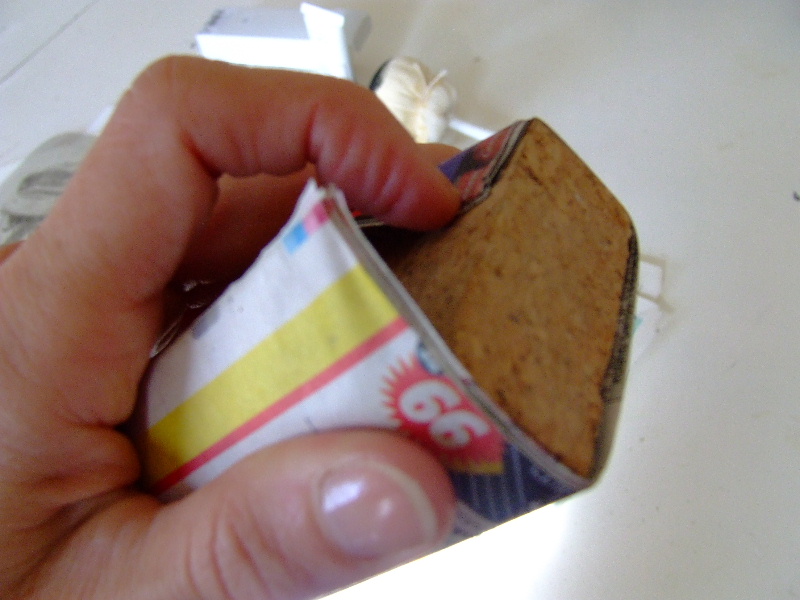
Like applying ink, wiping the plate can be done in different ways. It's easiest to remove most of the ink with old newspapers or tarlatan. Instead of tarlatan, you can also use cheesecloth. Here, you see ink being removed with newspaper pieces wrapped around a cork block. Finally, remove the last bit of ink with the palm of your hand.
|
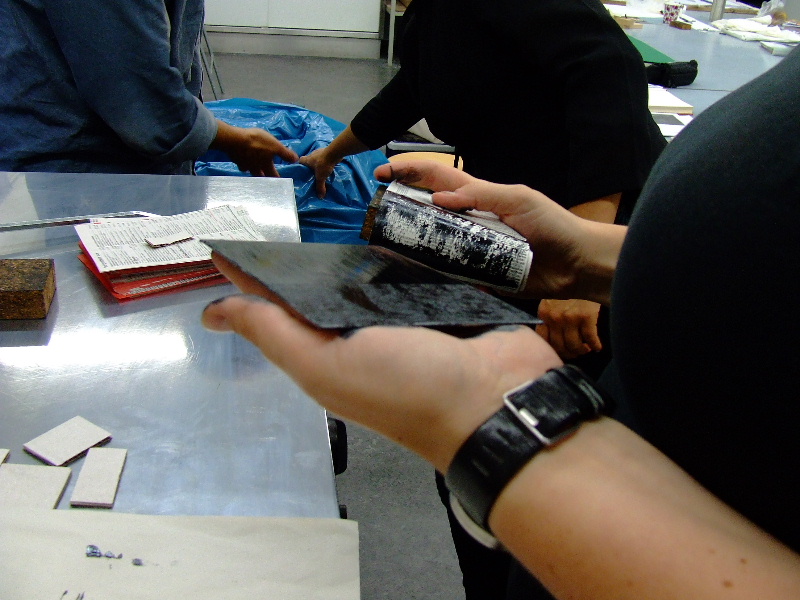
Here is how the plate looks when most of the excess ink is removed. The plate is not perfect yet; especially the top left and right areas still have too much ink. Ensure you always wipe the plates as consistently as possible before printing. This consistency helps produce nearly identical prints, which is a key advantage of intaglio printing, allowing you to create editions of multiple nearly identical prints.
|


