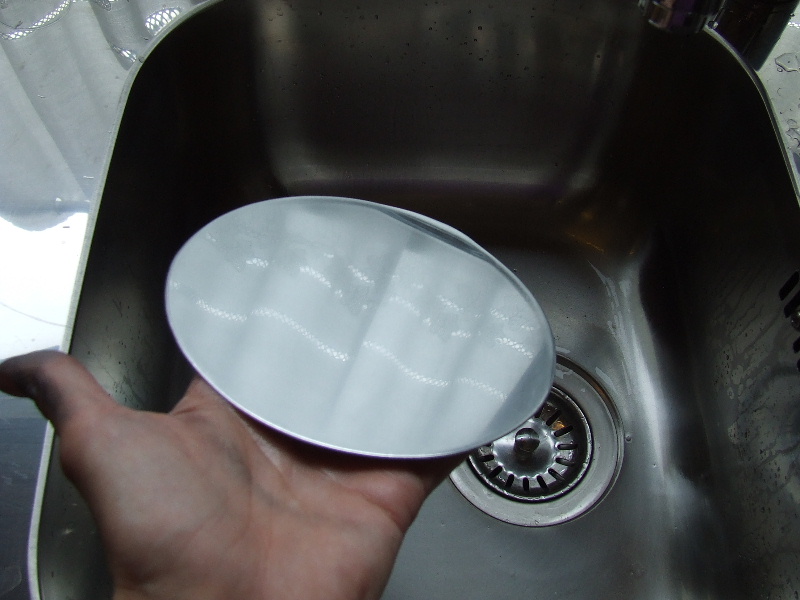
You can tell if the plate is grease-free by rinsing it with water. The water should run off evenly and not bead or form patches. If it does, clean the plate again until you’re satisfied. Then let the plate dry thoroughly.
|
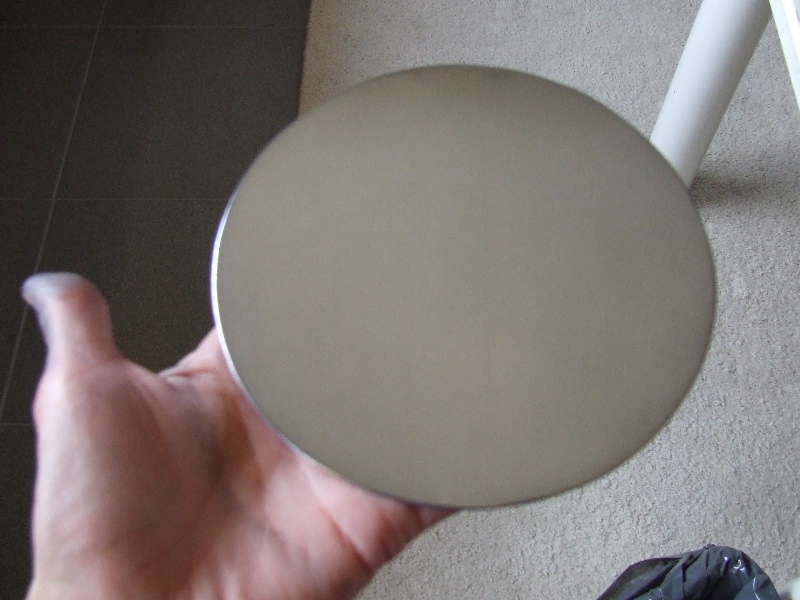
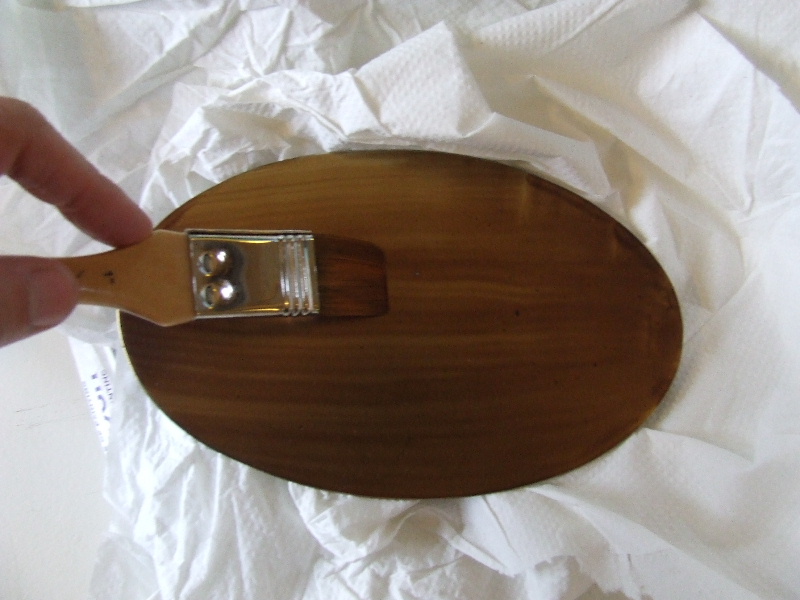
Because your fingers naturally have grease on them, you shouldn't touch the top of the plate anymore. Carefully lay the plate on your hand, supporting it only. Don’t grip the edges either. While applying the etching ground, you can hold the plate in your hand like in the photo or place it on a surface, which will likely get dirty.
|
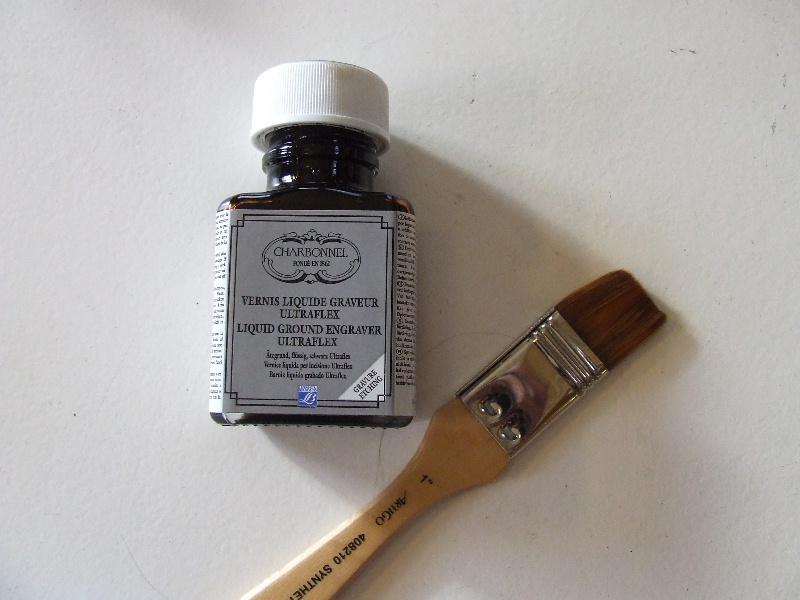
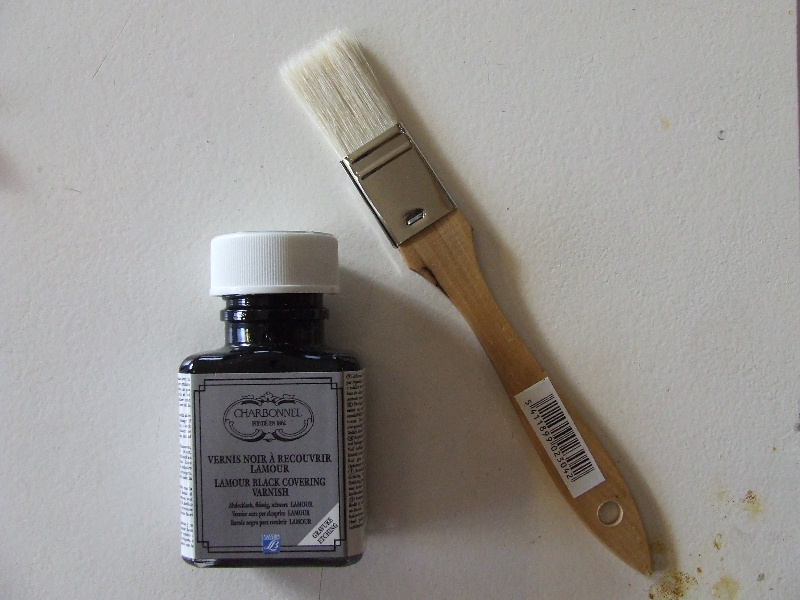
There are different brands of etching ground. Some must be warmed before application, requiring a controllable heating plate, which not everyone has. I use Carbonnel etching ground, which can be applied cold with a soft flat brush.
|
You only need to apply a very thin layer, as quickly and evenly as possible. Don’t press too hard with the brush; just gently and evenly brush the etching ground onto your plate. Let the plate dry calmly. Although your plate is now protected, this layer can’t withstand much, so handle it carefully. Any scratch in the etching ground will result in a scratch during etching.
|
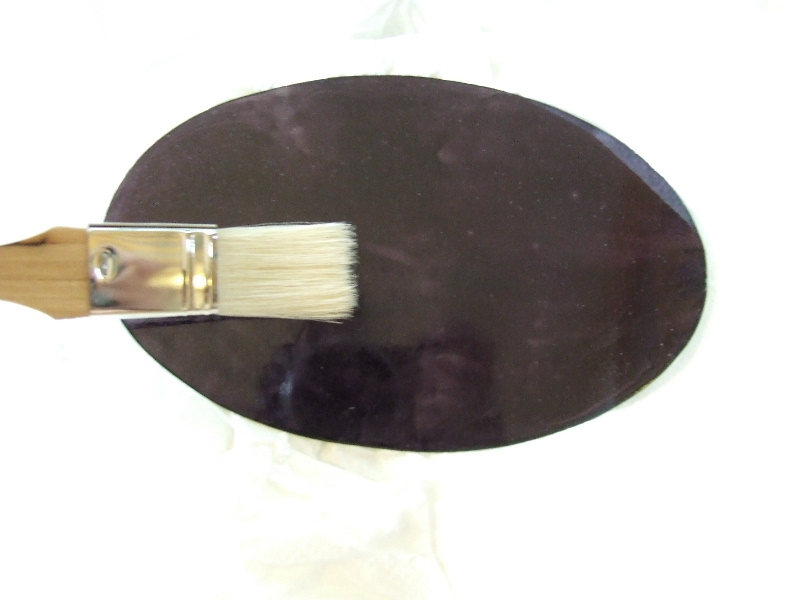
Once the etching ground is dry, you can carefully turn the plate over and apply covering varnish to the background. This varnish ensures that the entire plate isn't corroded during etching. I also use Carbonnel covering varnish. Apply the varnish cold with a flat brush, just like the etching ground. It’s best not to use the same brushes for etching ground and covering varnish. For the etching ground, use a slightly more expensive, softer flat brush. A cheaper brush is fine for the covering varnish.
|
The covering varnish is blacker and more glossy than the etching ground and provides better coverage. Don't mix them up; because the varnish is harder, it’s difficult to scratch your drawing into it. When applying covering varnish, make sure it doesn't get on the front of the plate. Instead of covering varnish, you can use a few layers of covering tape or crepe tape on the back. This is cheaper, but I find the varnish more pleasant to work with.
Once the covering varnish is dry, your plate is ready for use. You can now carefully scratch your drawing into the etching ground, etch the plate, clean it, and finally make multiple prints.
|


