Welcome at To be defined

Welcome at To be defined, a website filled with creativity. Here you will find numerous manuals in words and images on various subjects. On this page you can only see a selection. Choose from the menu on the left for more articles on your favorite topic.
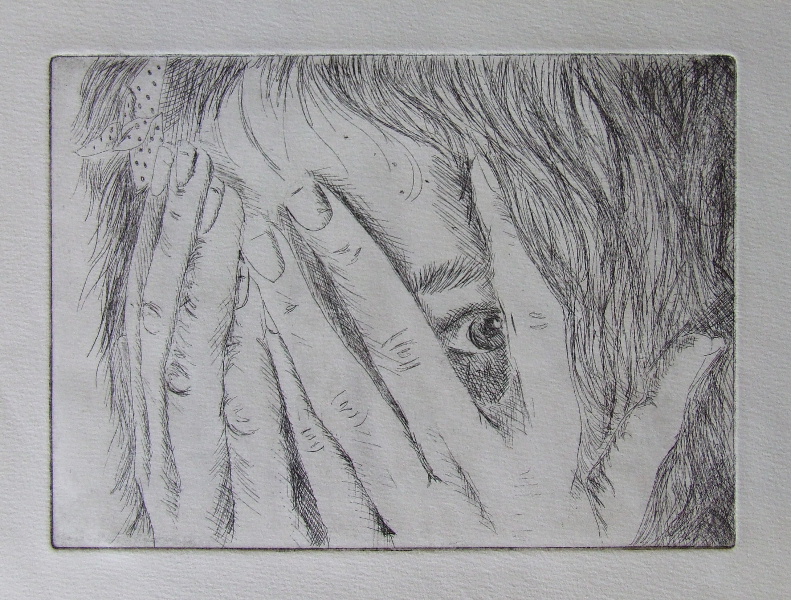
Lea, Etch, 18*12.5 cmEtching is a graphic technique. Although the process is very labor-intensive, it can yield beautiful results. Before you can create etchings, the etching plate must be prepared, which is an art in itself.


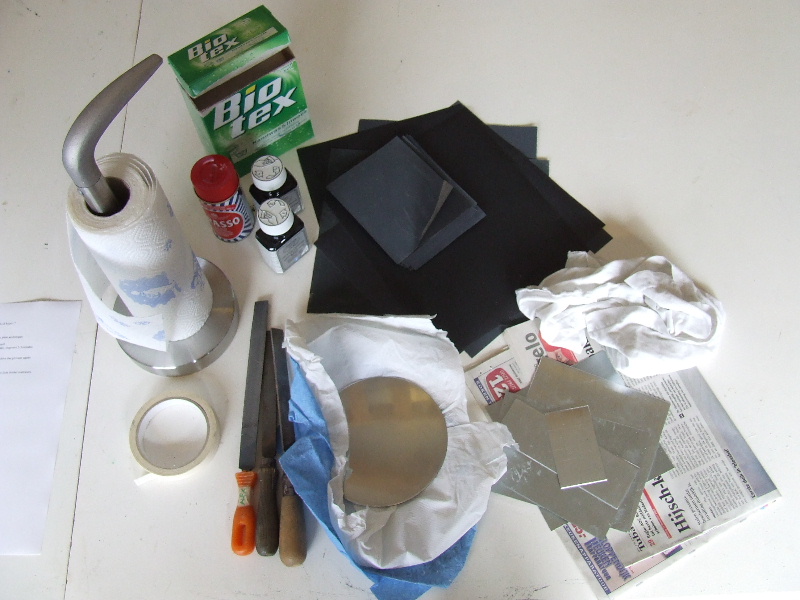
SuppliesTo prepare an etching plate for etching, you primarily need an etching plate, which can be either zinc or copper. Copper is slightly harder and lasts longer but is also more expensive. Here, I am working with zinc. Additionally, you will need a file, sandpaper in various grits, metal polish, a polishing cloth, etching ground with a soft flat brush, covering varnish with a flat brush, Biotex, and finally, an old newspaper. It's quite a list, but most of these items, except for the etching ground and covering varnish, are commonly found at home.


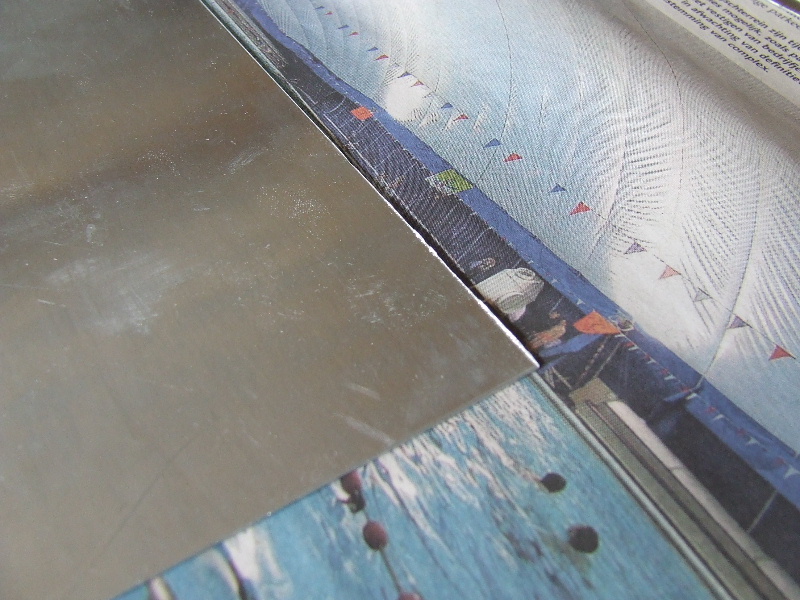
Rough edges on a freshly cut sheetZinc plates can be cut or sawn to size. This process always leaves the edges rough and sharp, which can damage your paper during printing and can also injure you. Therefore, these edges must be neatly beveled with a file.


A faceted filed round etching plateHere you see a round-cut etching plate that has been smoothly filed. The edge is also beveled, meaning it is not perpendicular to the surface but at about a 45-degree angle, creating a smooth transition.


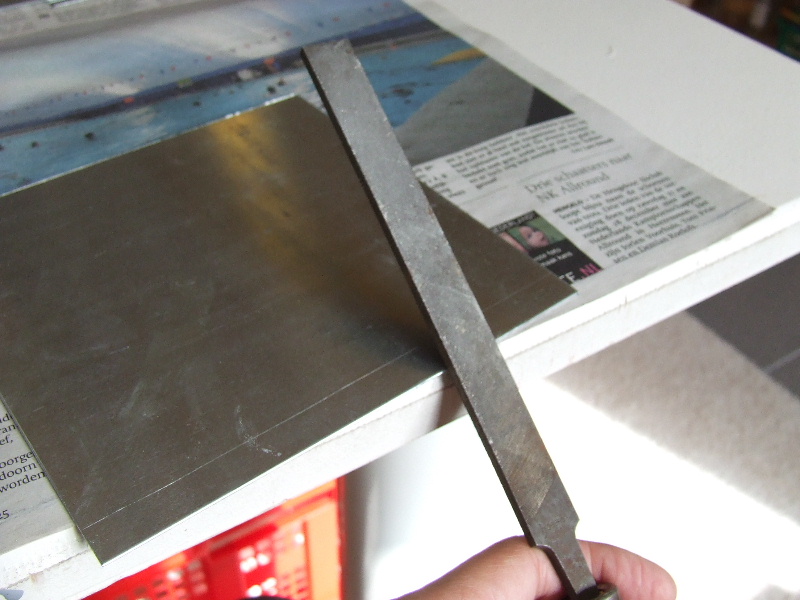
Keep the file at 45 degrees while filingBevel filing is done by holding your file at about a 45-degree angle while filing. Move the file up and down evenly. It works best if you place the plate on a table and let it stick out slightly. This way, you can hold the plate with one hand and file with the other. Be careful not to get the small metal particles in your eye.


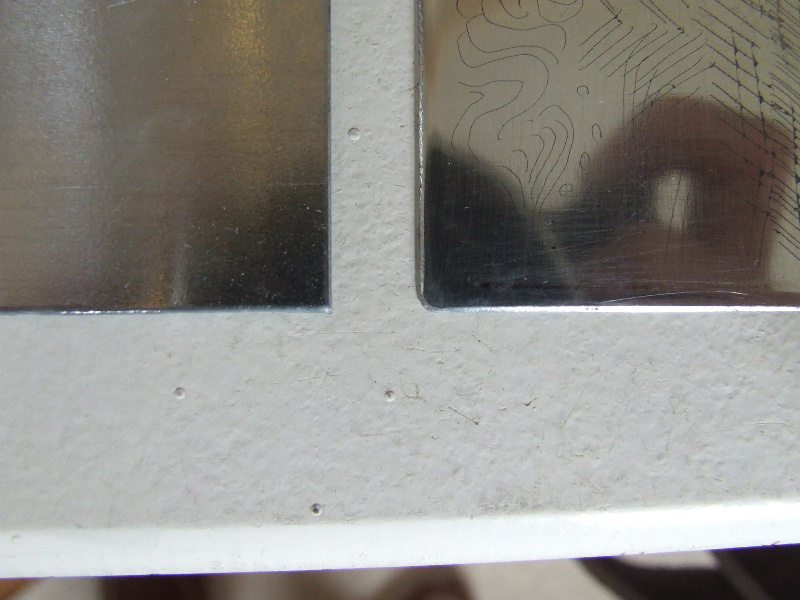
Round cornersOn the left is a plate that hasn’t been filed, and on the right is a plate that has been neatly filed. Besides neatly beveling the edges, you should also round off the corners slightly. If the corner is too sharp, it can pierce the paper during printing, which would be a shame. Try to round all corners evenly.

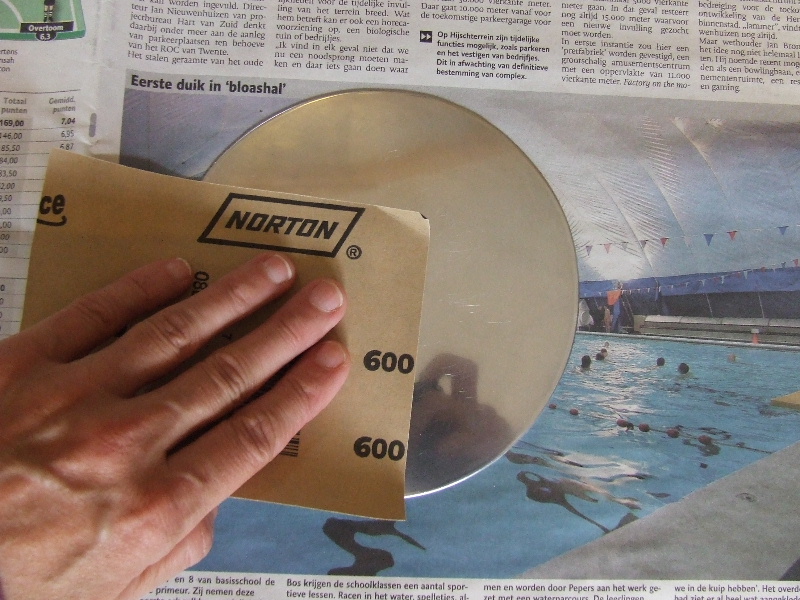
The first sanding round, grit 400-600After the plate has been cut to size and the edges beveled, it needs to be polished. The longer and more precisely you polish, the whiter the whites will be. There will always be some ink left in tiny, barely visible scratches. That's okay; some artists even choose not to polish the plate so precisely. Here, I’ve chosen to polish with three different grits. I start with the coarsest grit, 400-600. Whether you sand and polish the side edges of your plate is up to you. Some artists find it more beautiful, while others like the black outline that automatically appears when the edges aren’t polished.


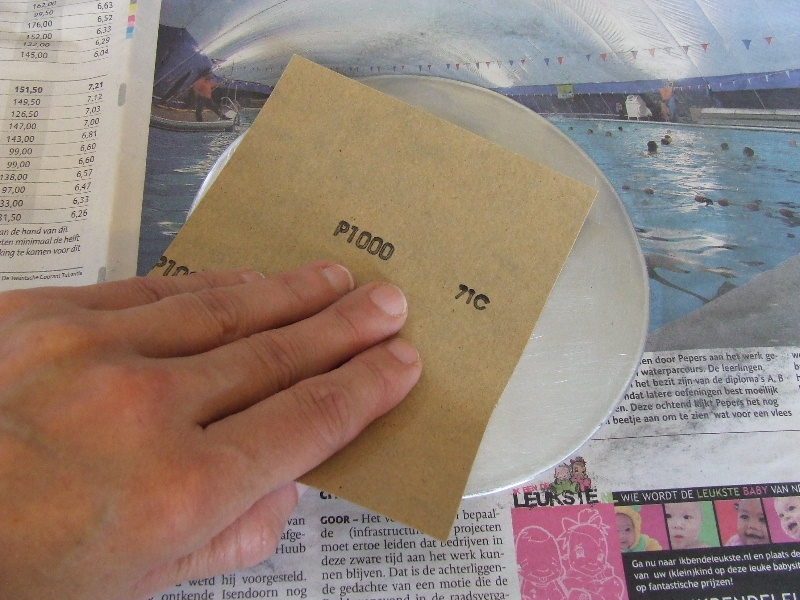
The second sanding round, grit 800-1000When I can't make the surface any smoother with the 400-600 grit, I switch to a finer sandpaper. I sand the entire plate again, always working in one direction. When I've finished that direction, I turn the plate 90 degrees and work in the other direction. Of course, you can also turn 45 degrees or sand in circles. Each method will create a slightly different effect in your final print. You just need to experiment. Although it’s best to wet the sandpaper for sanding, you can also sand dry. This saves some mess.


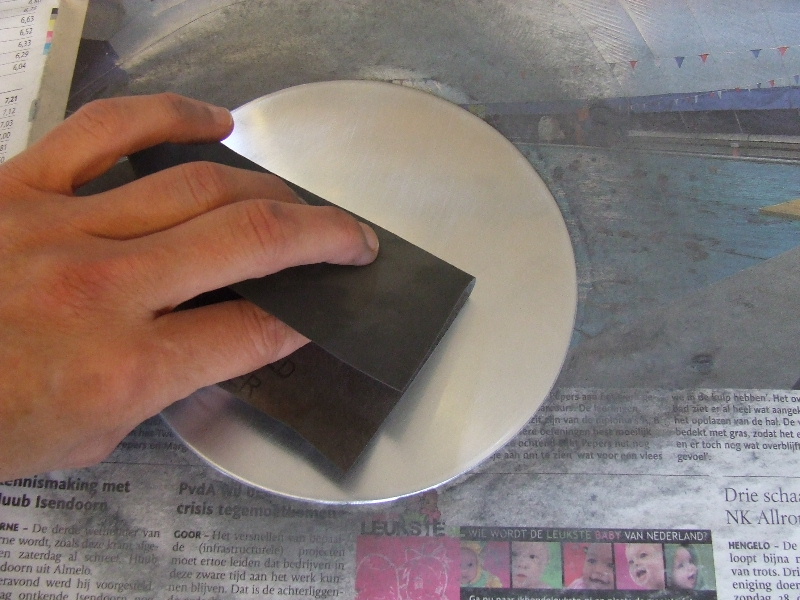
The last sanding round, grit 1200-1500Finally, I sand the entire plate one last time with an even finer grit. Here, I’ve chosen grit 1500, which is the finest I could find. You can get even finer grits, but they require some searching. Notice that I have an old newspaper underneath the plate, which gets very dirty. Be prepared for your work surface and hands to get quite messy during this task.


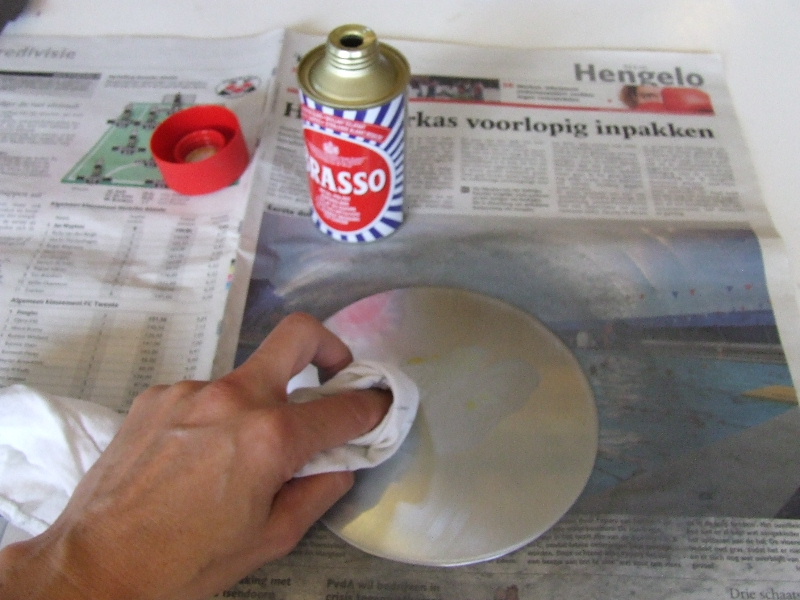
Polish with BrassoWhen I’m satisfied with the finest sanding, I polish the plate with metal polish. I use Brasso and an old cotton cloth. Old shirts and pajamas work great. Apply some Brasso to the cloth and rub until the plate first turns black and then shines clean. You can wipe off the last remnants of Brasso with a clean part of your polishing cloth.


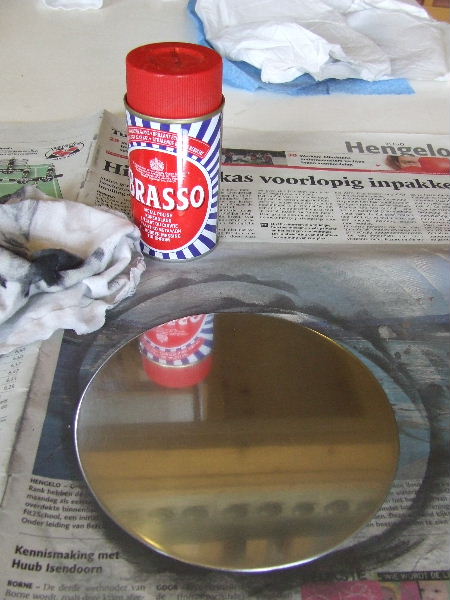
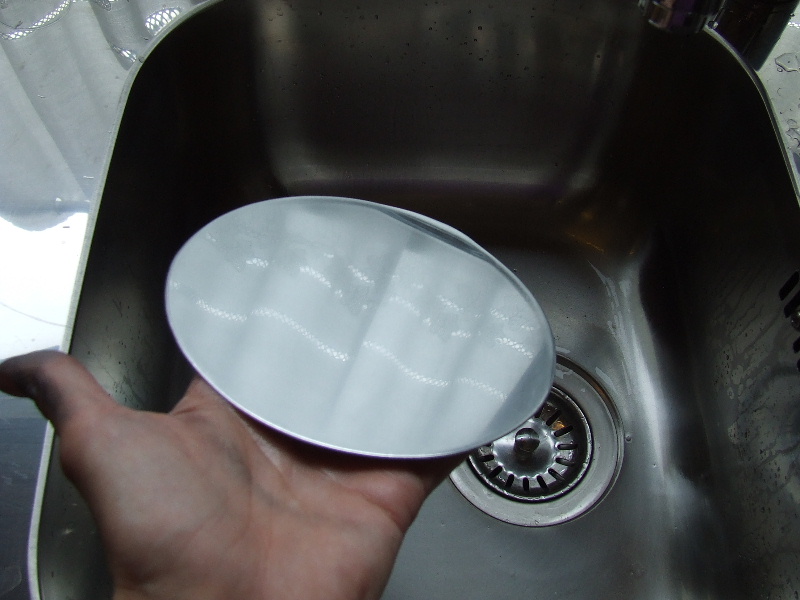
The plate shines like a mirrorAfter polishing, the etching plate will shine like a mirror. It's now important to either apply etching ground and covering varnish immediately or wrap the plate carefully in a non-scratching material. Otherwise, all your hard work will be for nothing. If you’re not applying the etching ground and covering varnish right away, rinse the plate gently and fold it carefully in a cotton cloth or a soft dishcloth.

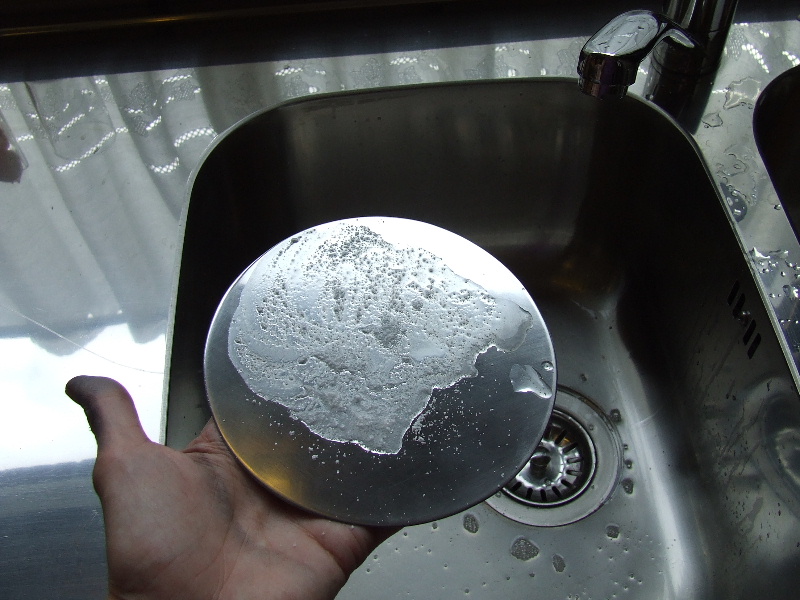
Degrease with BiotexTo make the etching plate ready for use, it must be degreased first. Wet the plate thoroughly under the tap, then sprinkle some Biotex on it. Use a clean finger to spread the Biotex over the plate to remove all grease. Repeat if necessary. If grease remains on your plate, the etching ground won't adhere properly and will come off during etching, ruining your work.


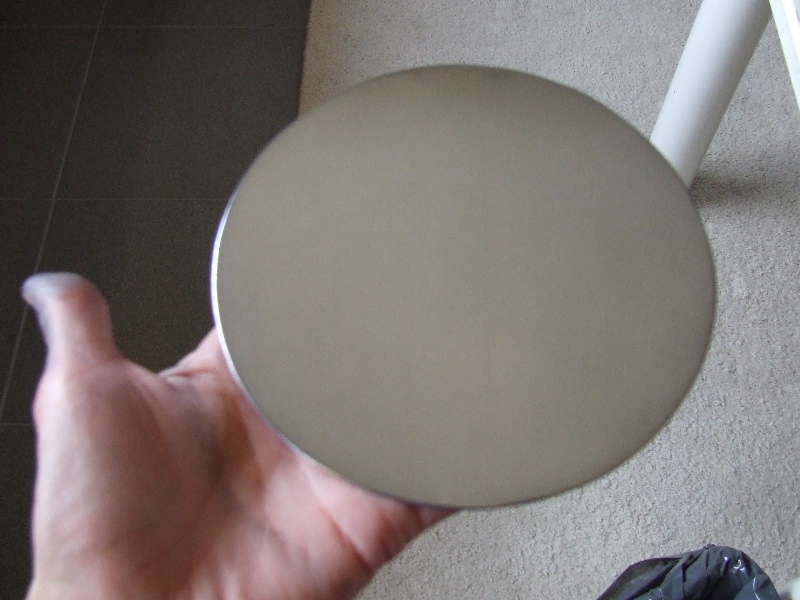
The plate is free of greaseYou can tell if the plate is grease-free by rinsing it with water. The water should run off evenly and not bead or form patches. If it does, clean the plate again until you’re satisfied. Then let the plate dry thoroughly.


Do not touch the top of the plate againBecause your fingers naturally have grease on them, you shouldn't touch the top of the plate anymore. Carefully lay the plate on your hand, supporting it only. Don’t grip the edges either. While applying the etching ground, you can hold the plate in your hand like in the photo or place it on a surface, which will likely get dirty.


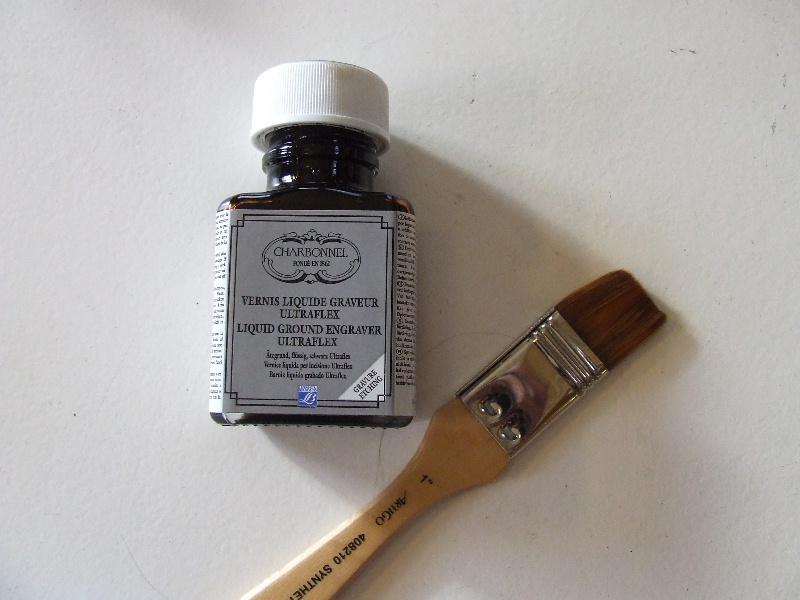
Vernis Liquide Graveur UltraflexThere are different brands of etching ground. Some must be warmed before application, requiring a controllable heating plate, which not everyone has. I use Carbonnel etching ground, which can be applied cold with a soft flat brush.

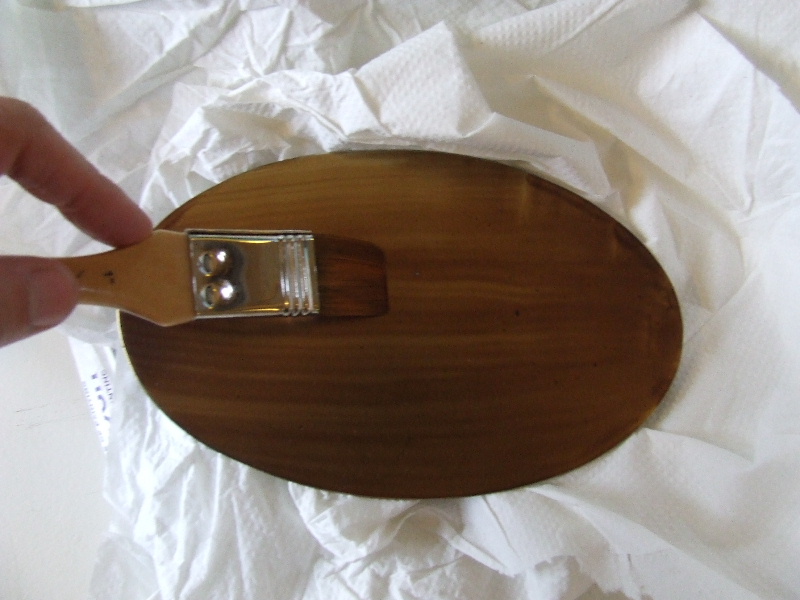
Apply etching groundYou only need to apply a very thin layer, as quickly and evenly as possible. Don’t press too hard with the brush; just gently and evenly brush the etching ground onto your plate. Let the plate dry calmly. Although your plate is now protected, this layer can’t withstand much, so handle it carefully. Any scratch in the etching ground will result in a scratch during etching.

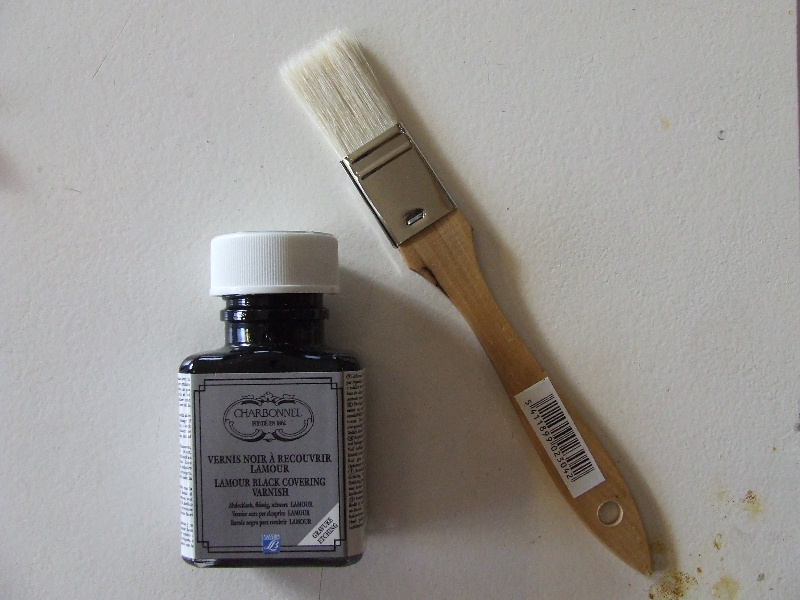
Vernis Noir à Recouvrir LamourOnce the etching ground is dry, you can carefully turn the plate over and apply covering varnish to the background. This varnish ensures that the entire plate isn't corroded during etching. I also use Carbonnel covering varnish. Apply the varnish cold with a flat brush, just like the etching ground. It’s best not to use the same brushes for etching ground and covering varnish. For the etching ground, use a slightly more expensive, softer flat brush. A cheaper brush is fine for the covering varnish.


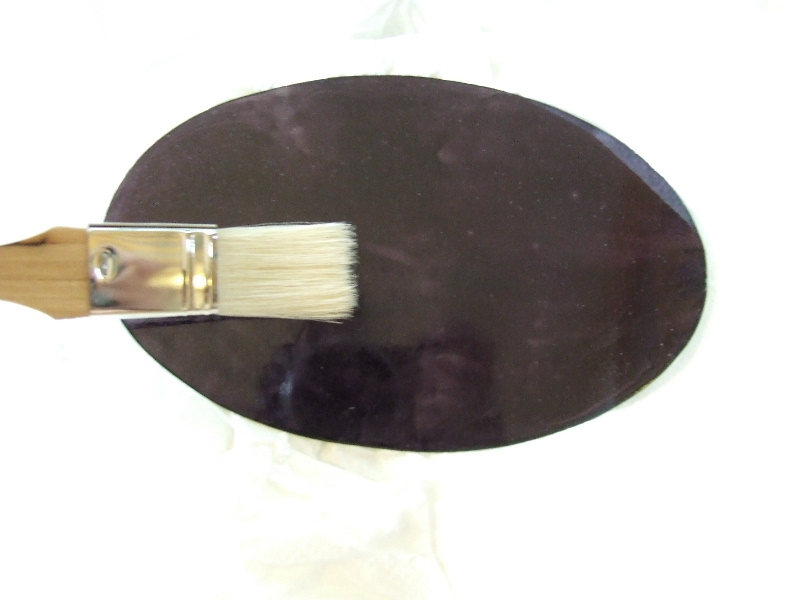
Apply cover varnishThe covering varnish is blacker and more glossy than the etching ground and provides better coverage. Don't mix them up; because the varnish is harder, it’s difficult to scratch your drawing into it. When applying covering varnish, make sure it doesn't get on the front of the plate. Instead of covering varnish, you can use a few layers of covering tape or crepe tape on the back. This is cheaper, but I find the varnish more pleasant to work with.

Once the covering varnish is dry, your plate is ready for use. You can now carefully scratch your drawing into the etching ground, etch the plate, clean it, and finally make multiple prints.