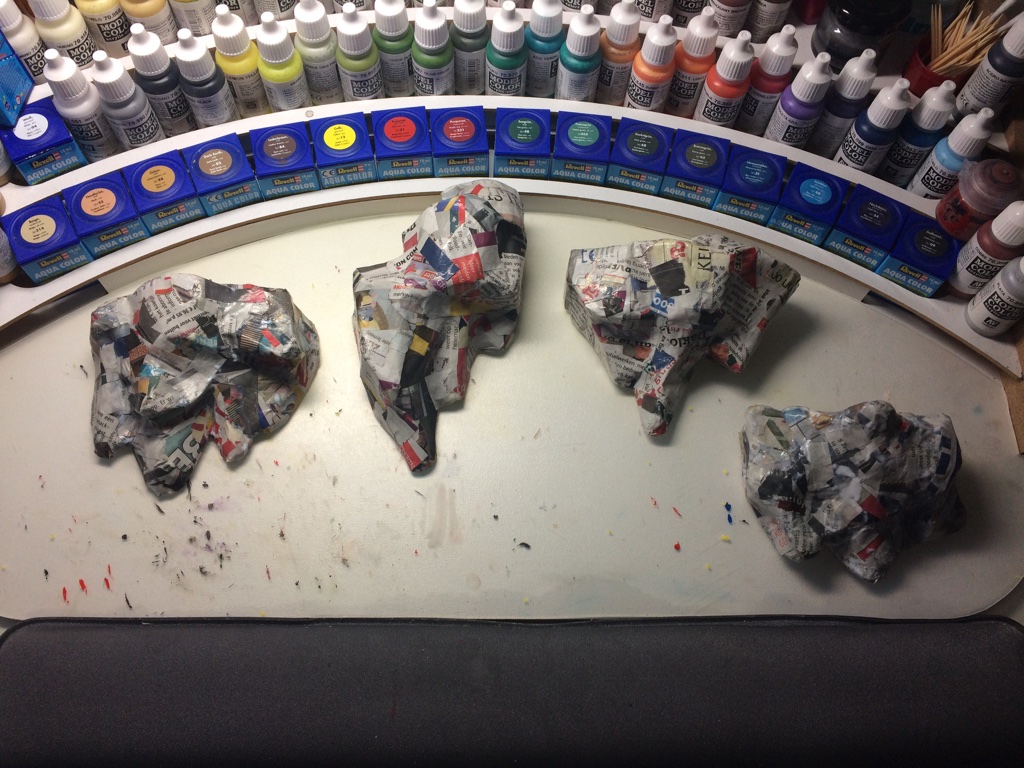
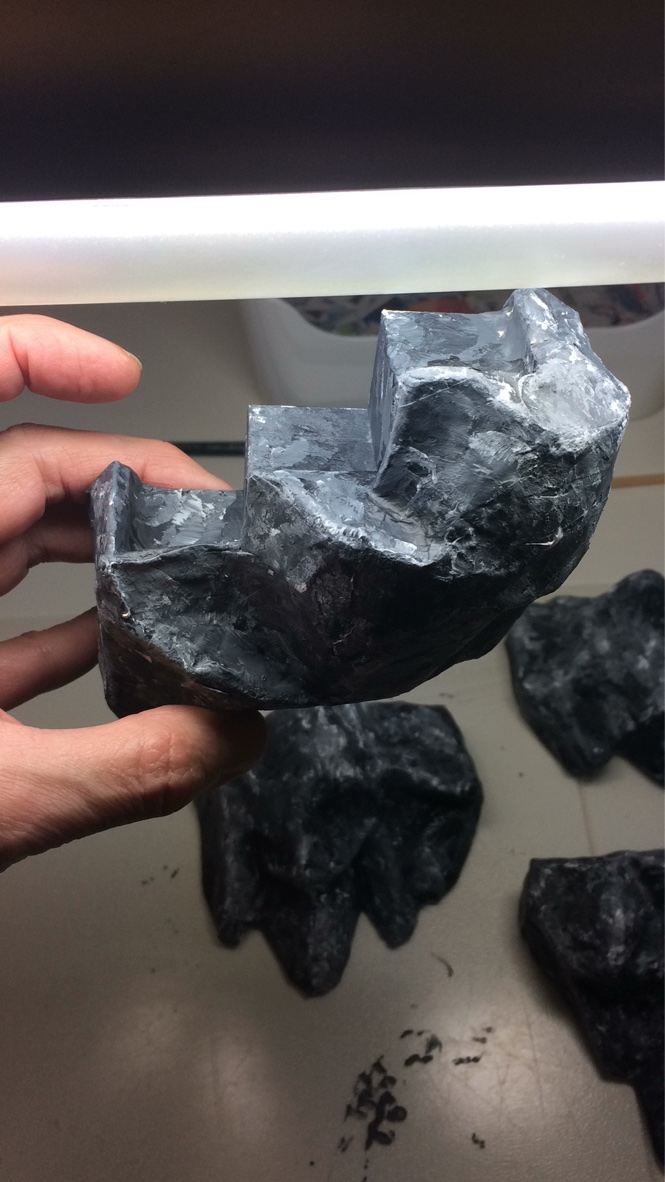
| The shapes are starting to look more like rocks now. Let them dry thoroughly before proceeding with painting. |
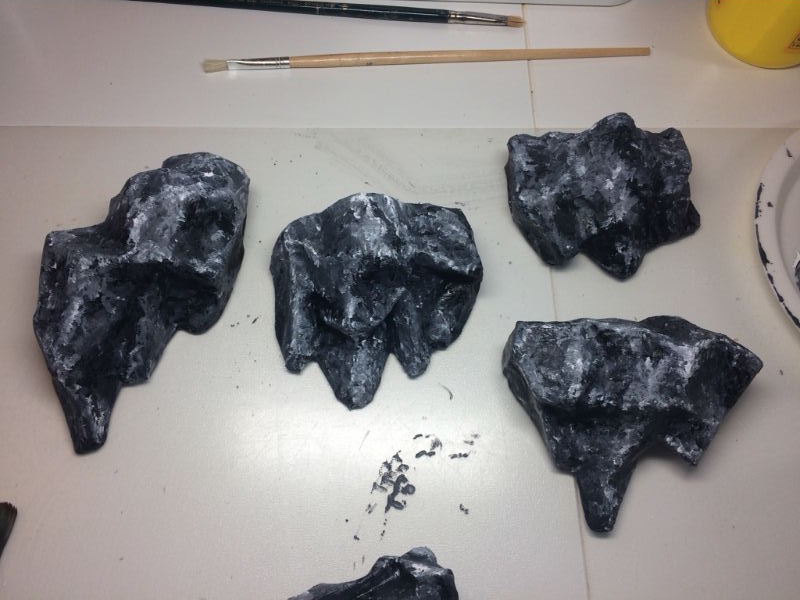
| The final step is painting the rocks. I use inexpensive white and black acrylic paint for this. My rocks are quite dark in color, but you can of course do this differently if you prefer. |
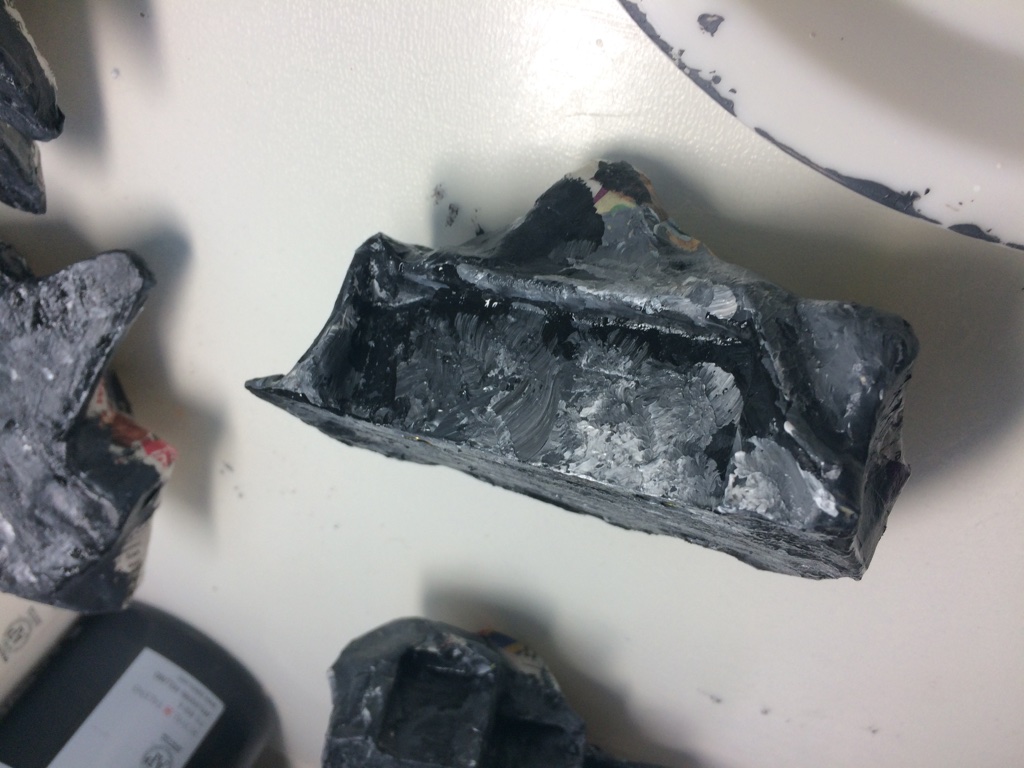
| I first gave the rocks a base coat of fairly dark gray. Then, the valleys and corners were made blacker. Try not to work neatly; the more spots and irregularities, the more realistic it looks. |
| Lastly, white accents were applied to all edges. Keep your brush as flat as possible when doing this, and make sure there isn't too much paint on it. If you're not satisfied, you can simply go over it again. |
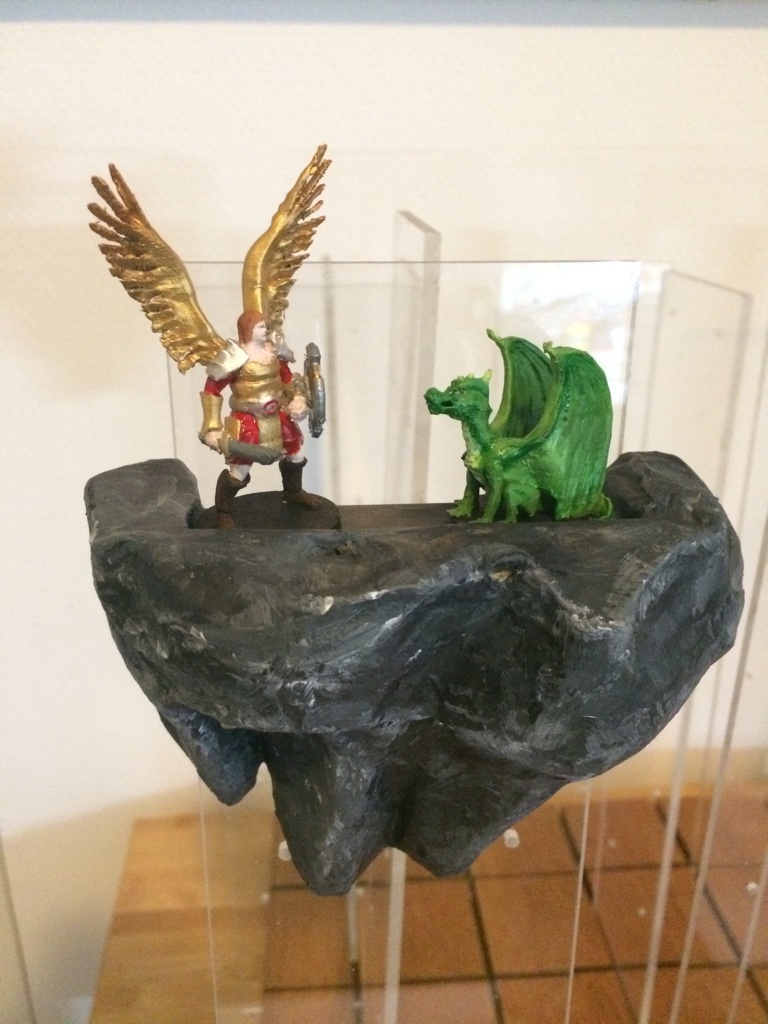
| When the rocks are ready, you attach them to the perspex strips with the bolts. |
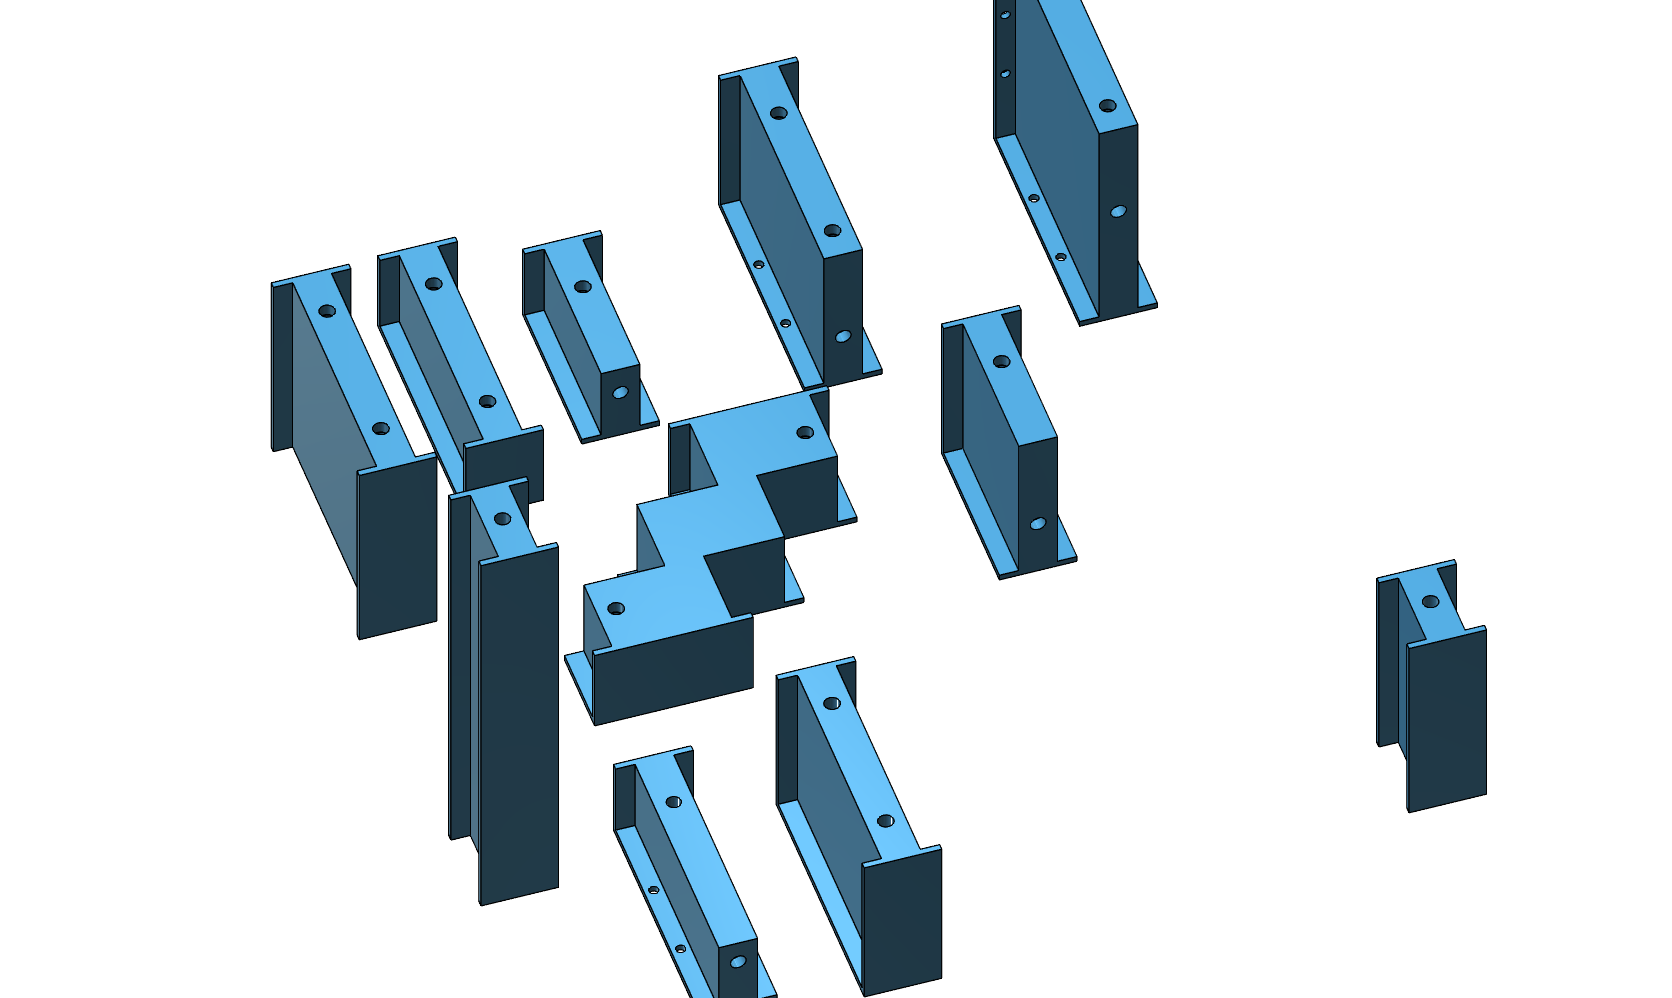
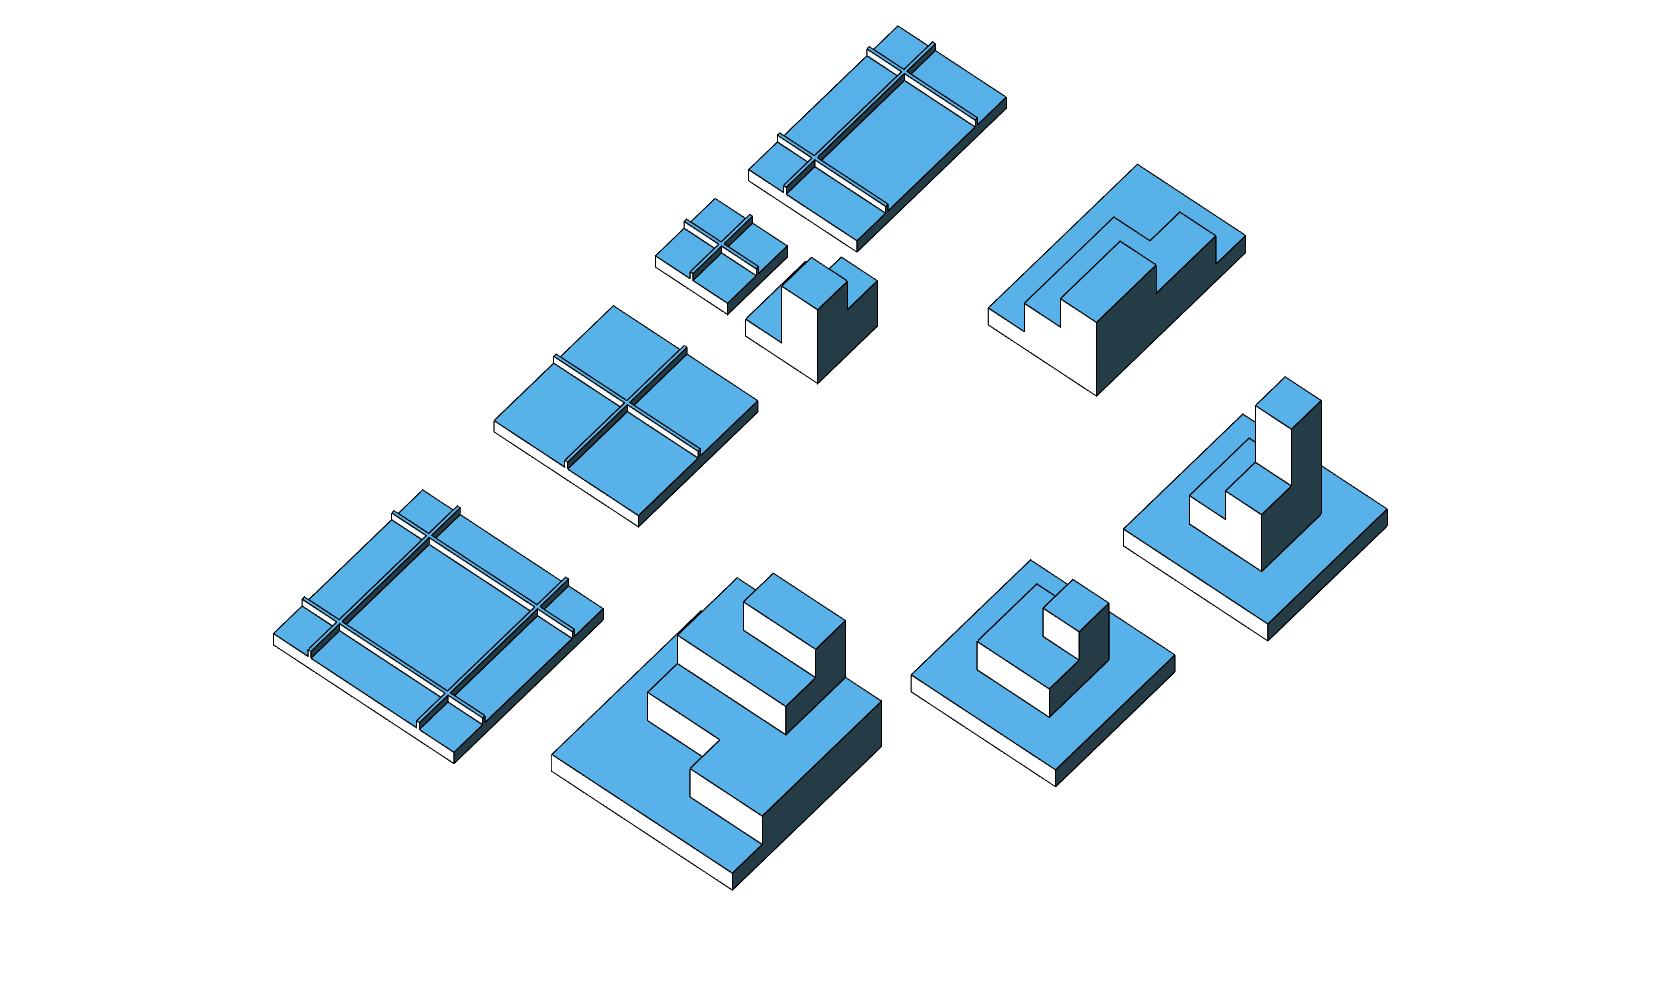
| Here is an overview of the various shapes used for the supports. |
Apart from hanging rocks, you can of course also make rocks on the ground. The process is the same.
Have fun! |


