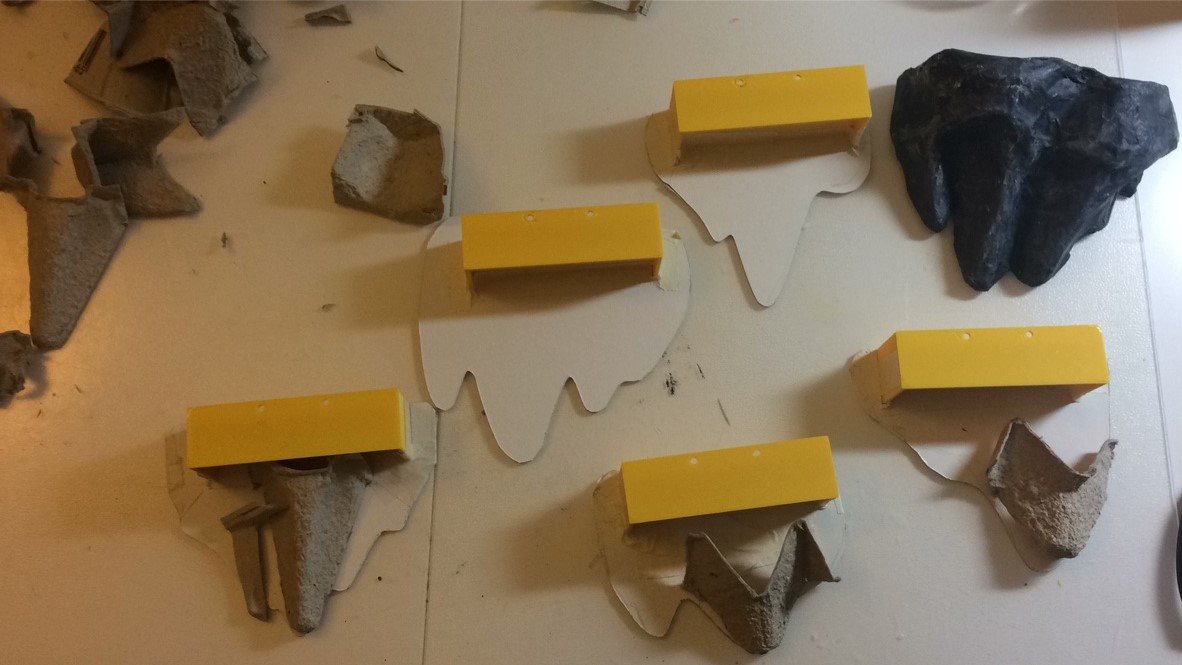
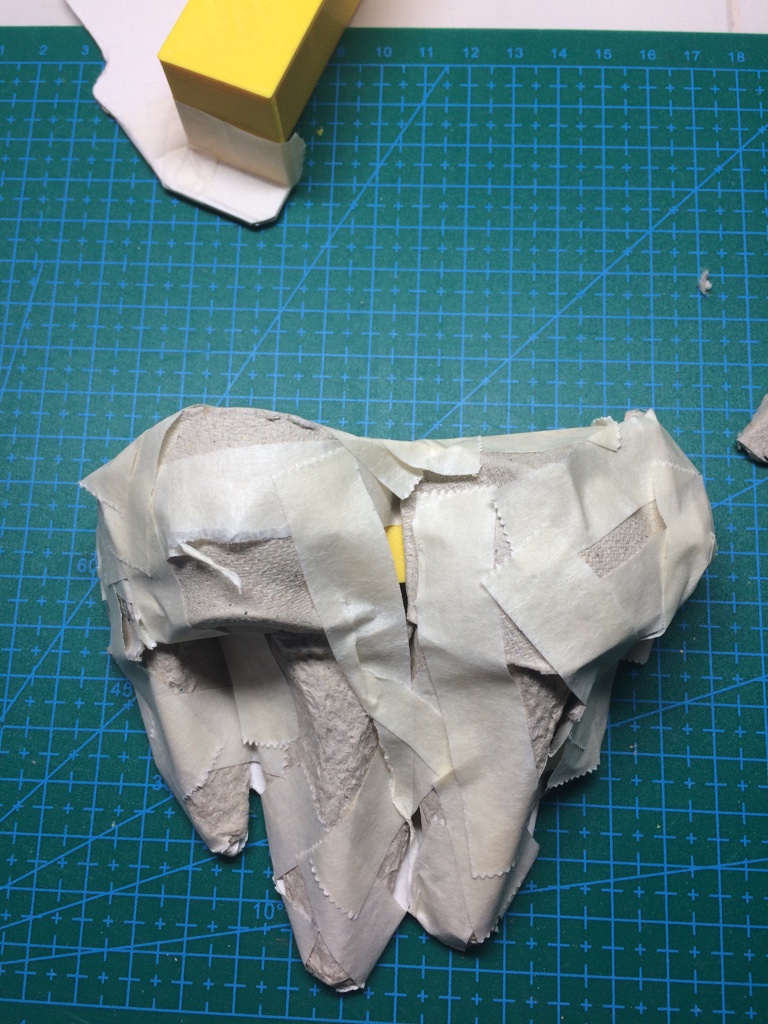
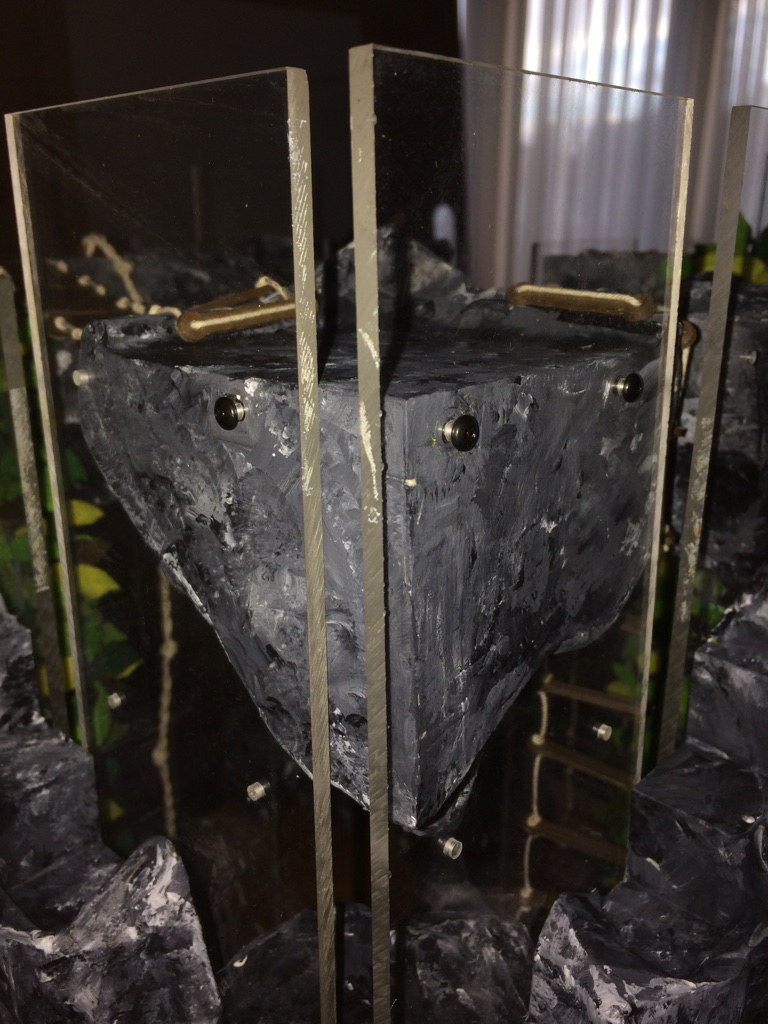
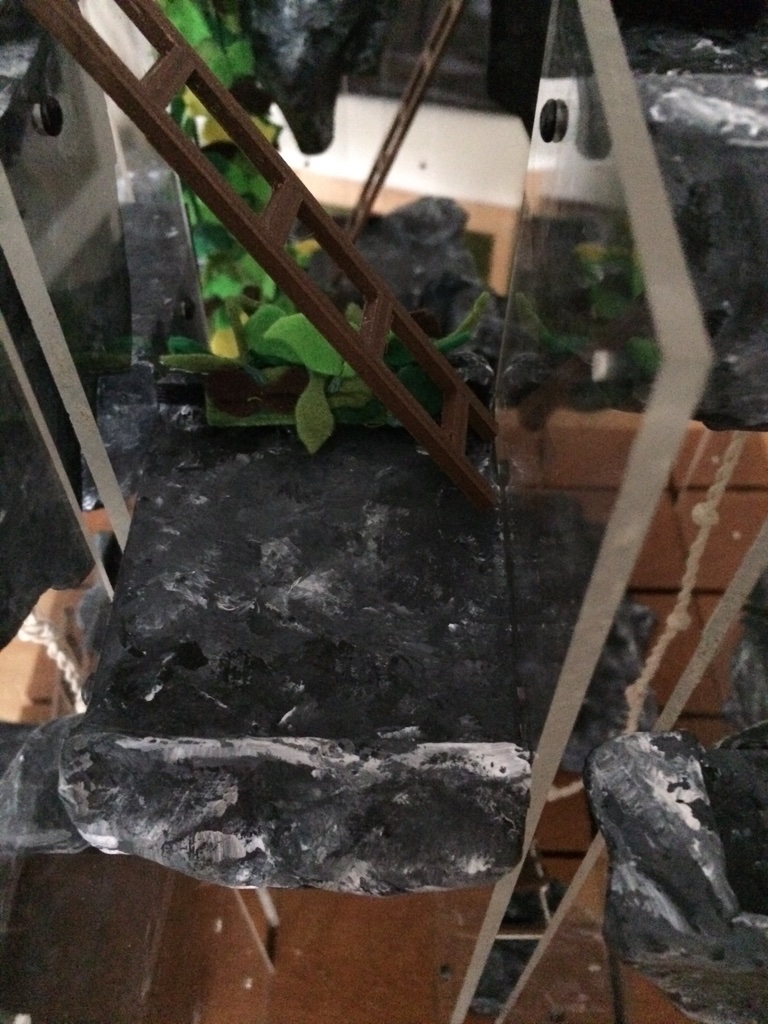
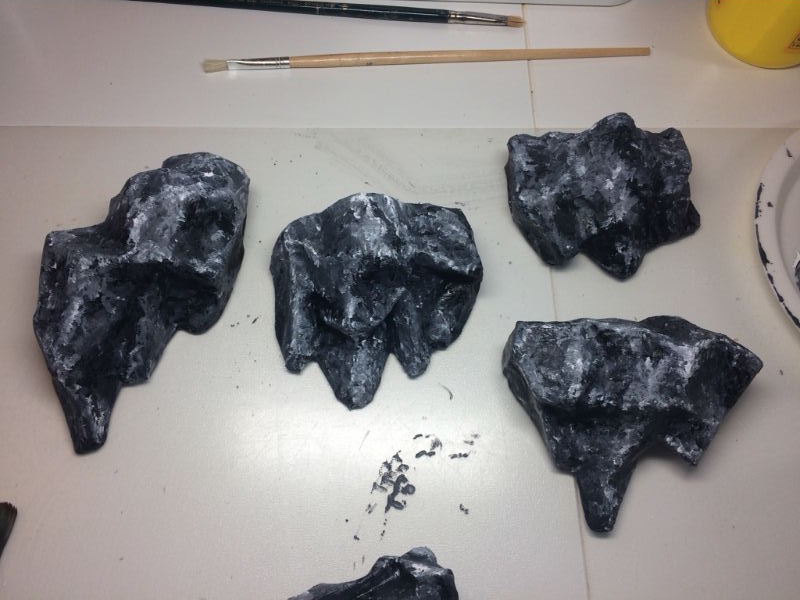
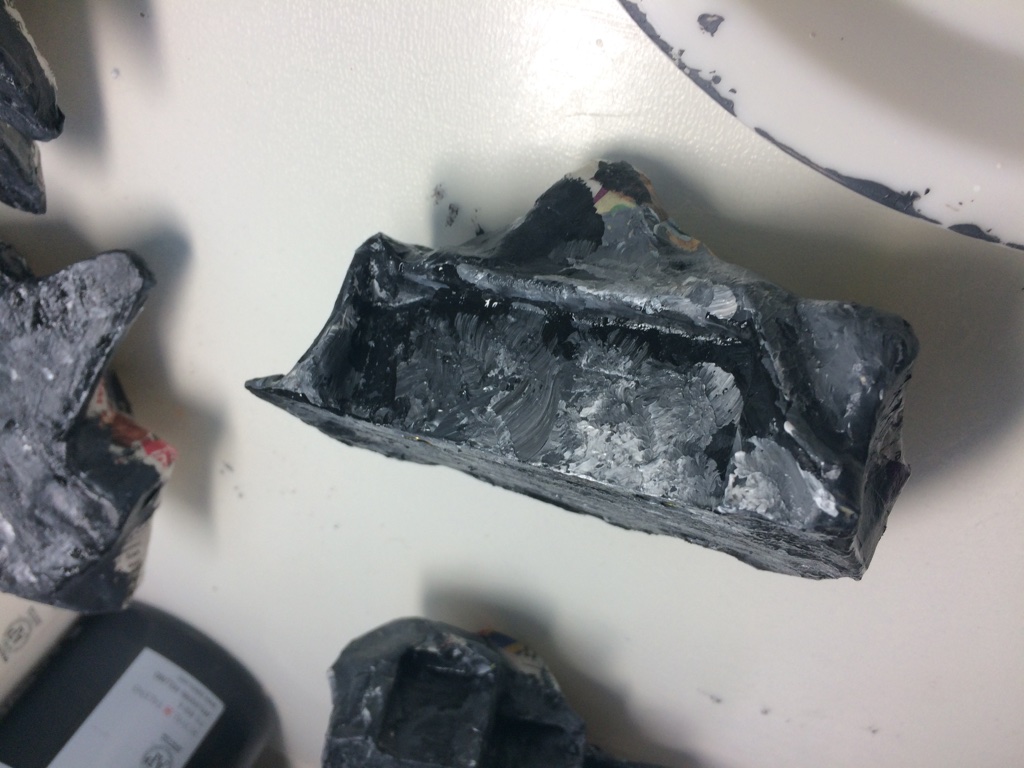
| Now that the cardboard for the back is securely attached, we can start building up the volume of the rock. Here, I'm using empty egg cartons. The points of the egg cartons are ideal to serve as the basis for the points of the rocks. |
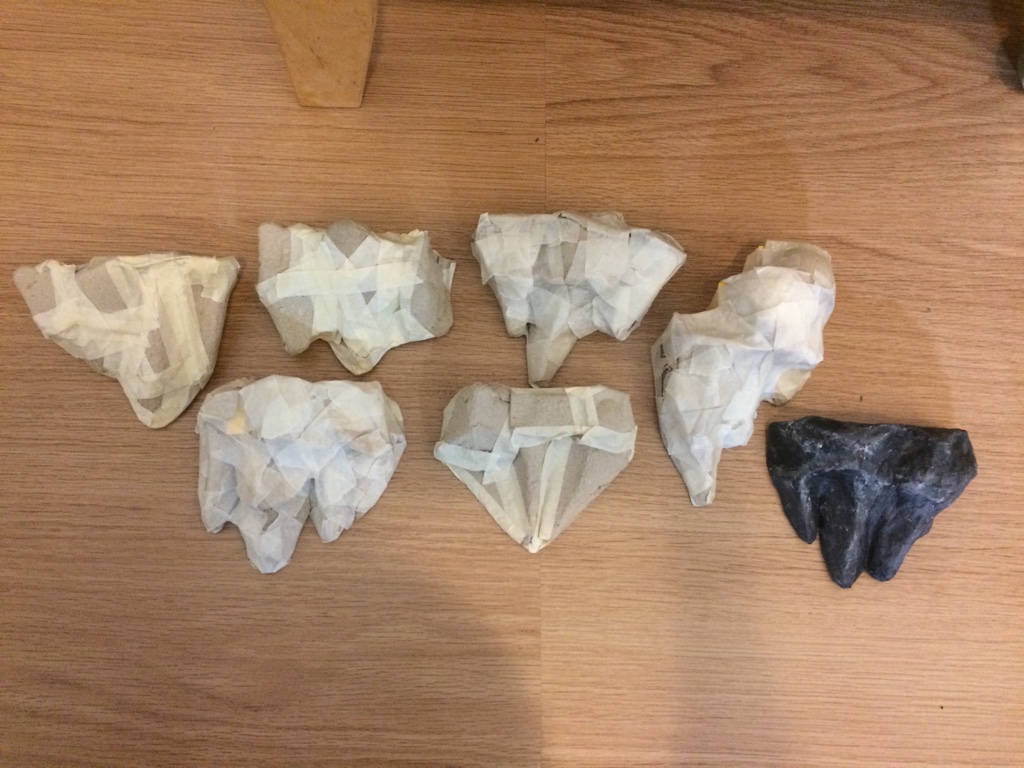
| Using the points of the egg cartons and some pieces of cardboard and tape, the volume of the rocks is shaped. It's not very important how exactly the shape turns out, as long as it's not too regular. A real rock is also irregular in shape. The rock doesn't need to be perfect, and not all holes need to be sealed shut. Another layer of paper will be added, and that will close the gaps. |
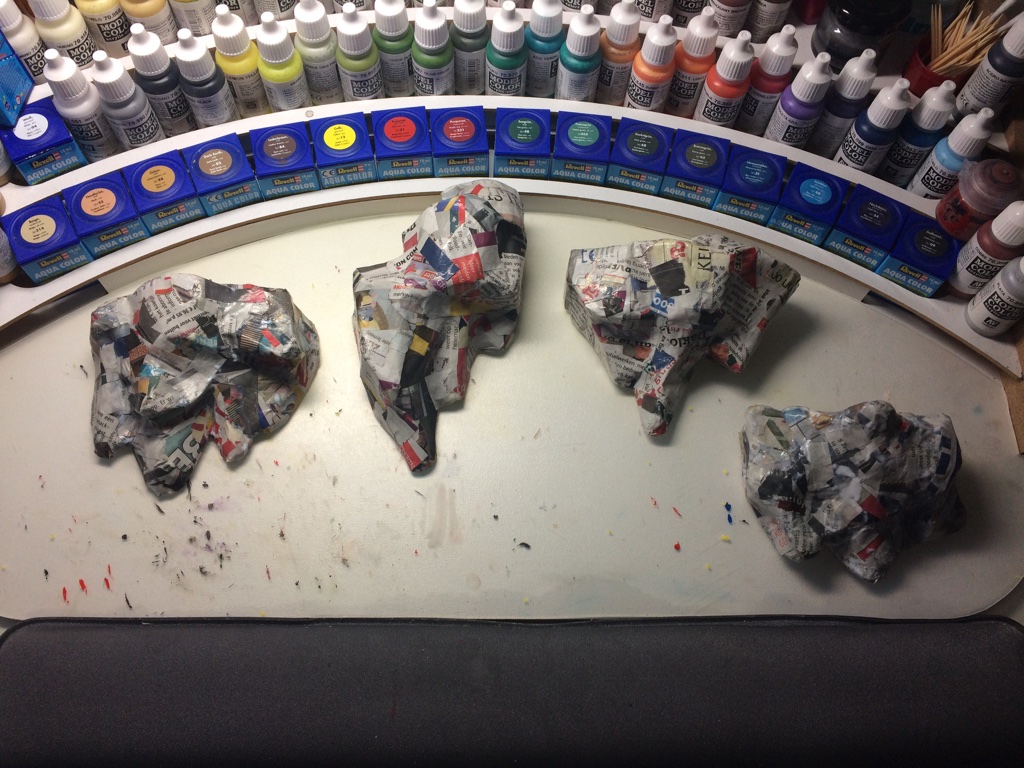
| Build all supports into rocks in this way. After this, there's a messy job, and it's better to do it all at once. Here you can see only rocks that aren't placed in a corner of 2 perspex strips. |
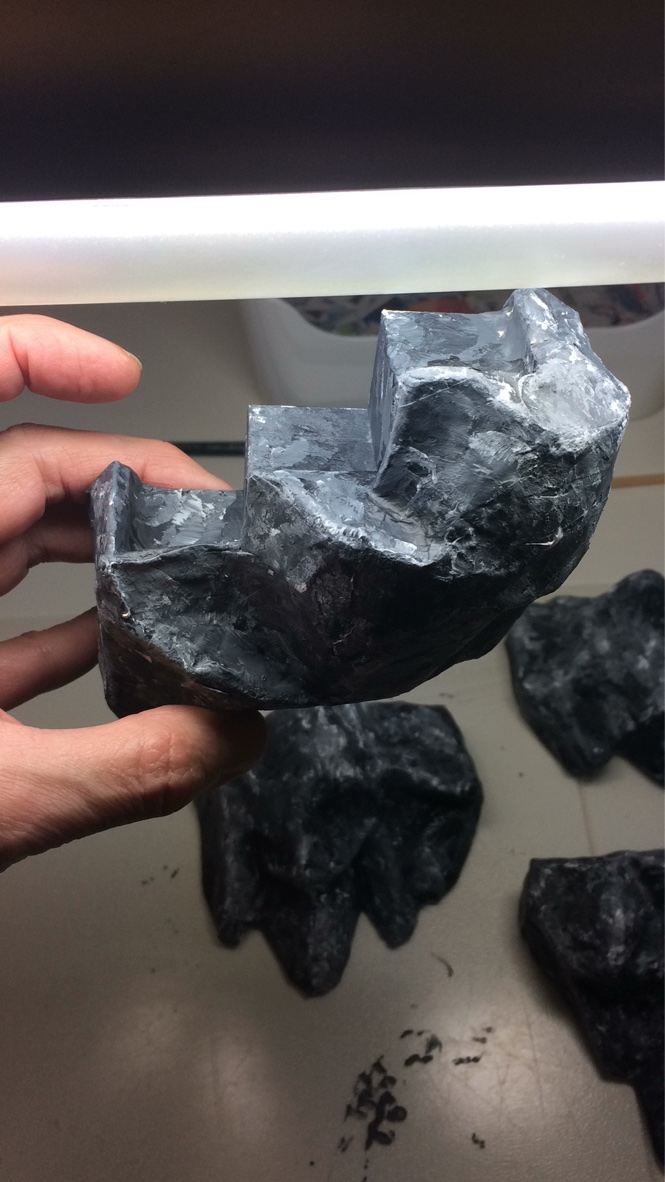
| However, there are also supports that come in a corner. In that case, you need to create cardboard on two sides. When you place the support with the cardboard against other supports, there is cardboard on both sides. You can see such a corner support mounted next to this. So, there are two smooth sides on a corner support. |
| Additionally, there are a few shapes that sit between two parallel supports. These supports also have two smooth sides. It's very easy to remember: cardboard always goes against the glass. |
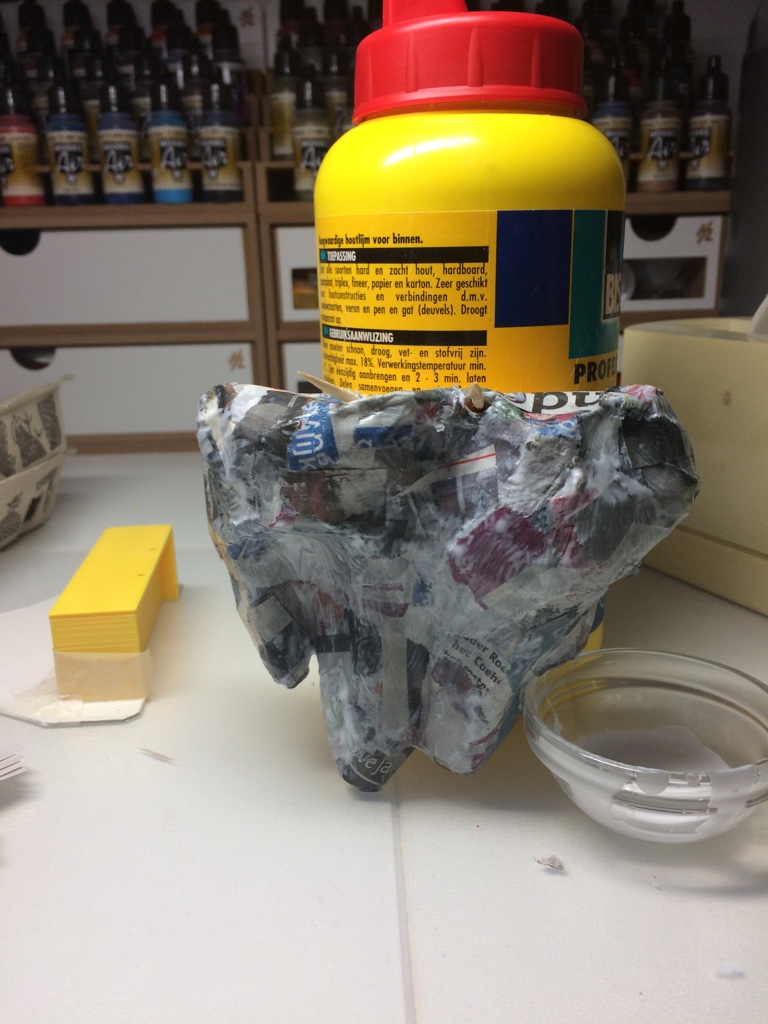
| The next step is covering the shapes with small pieces of newspaper. I use quick-drying wood glue for this. It adheres well to both the cardboard and the PLA and dries smoothly. Spread the glue on the shape, stick pieces of newspaper on it, and smooth them out with a brush. Also, brush wood glue over the outside. Make sure all holes are closed and, if possible, create more texture. However, make sure the back doesn't get too thick, or else the screws won't fit anymore. |
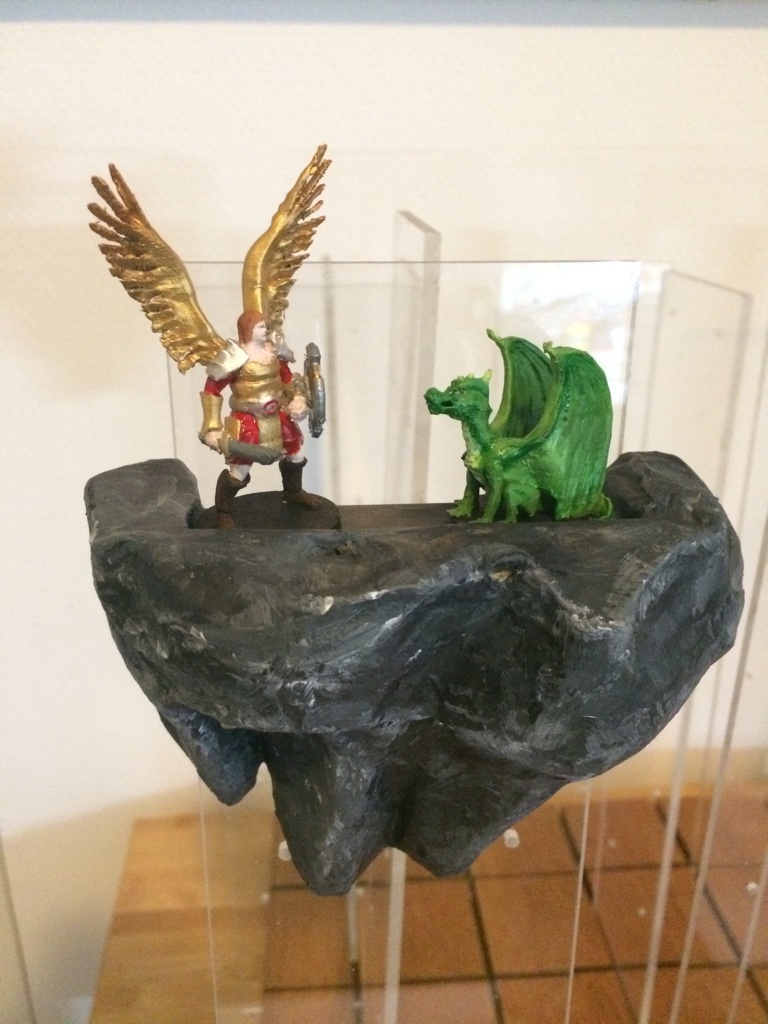 For the 3D D&D Battleground, the supports need to be transformed into rocks. Here's how you can do that.
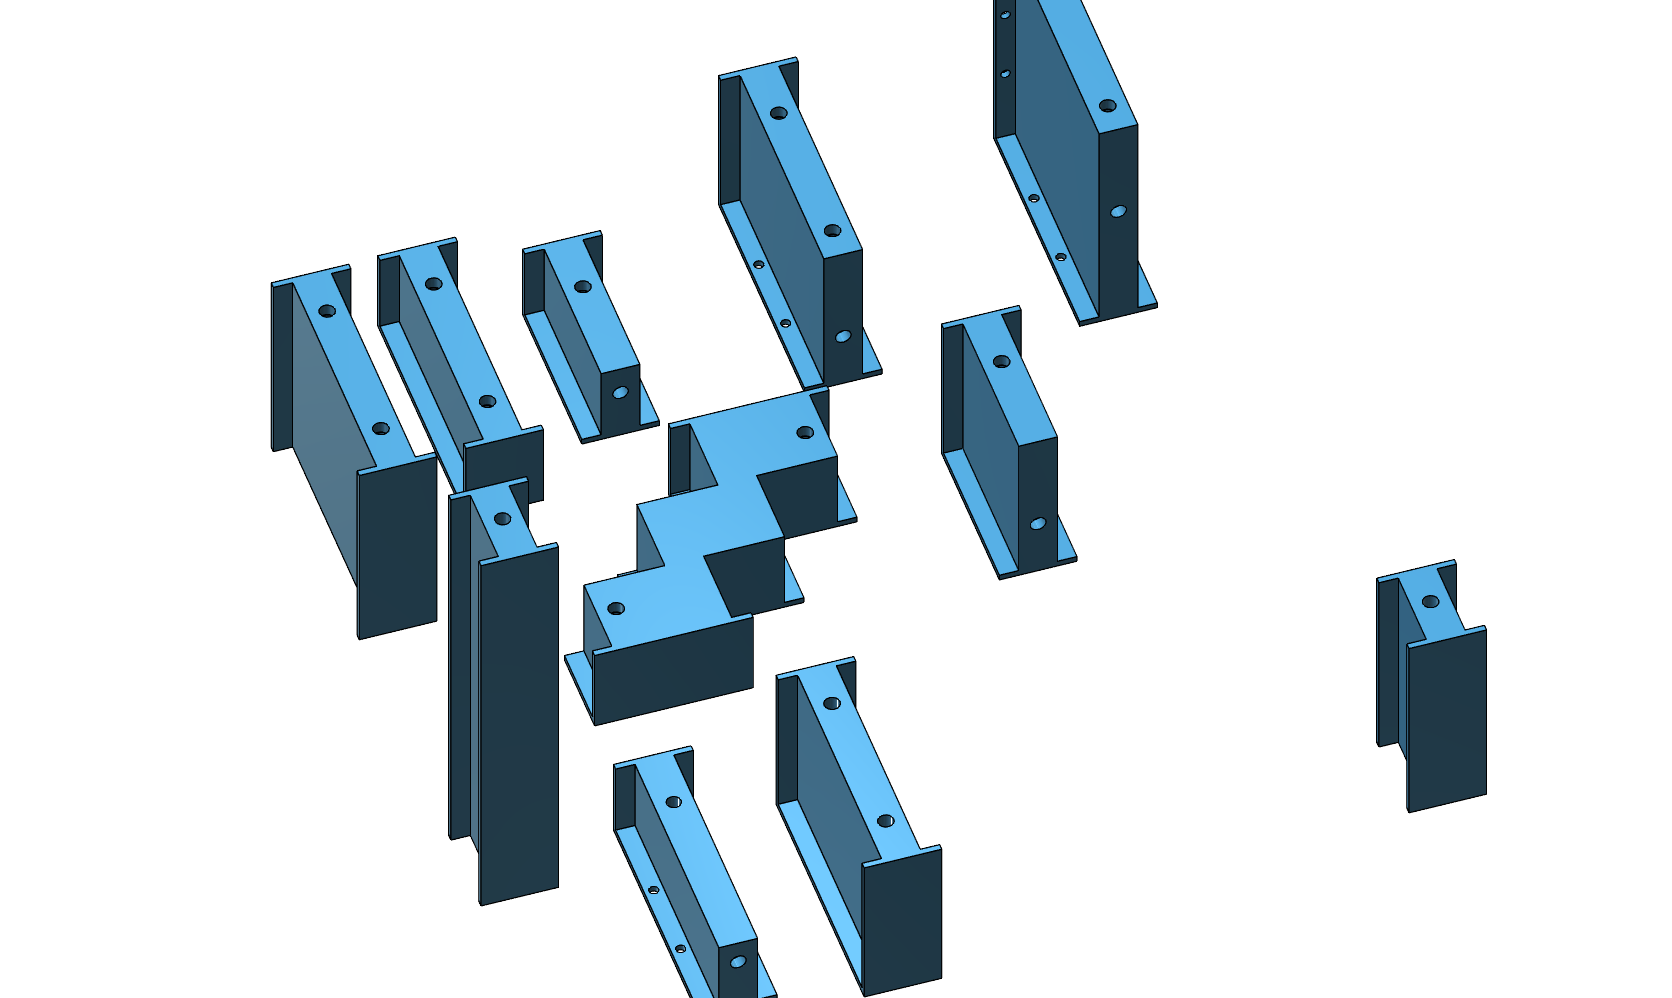
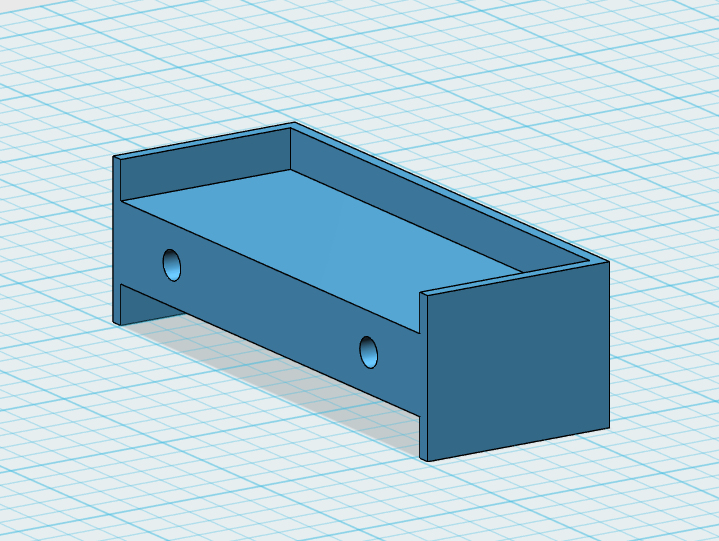 The supports come in various shapes, but the approach for making the rocks is the same for all shapes. In this explanation, the supports are used interchangeably.
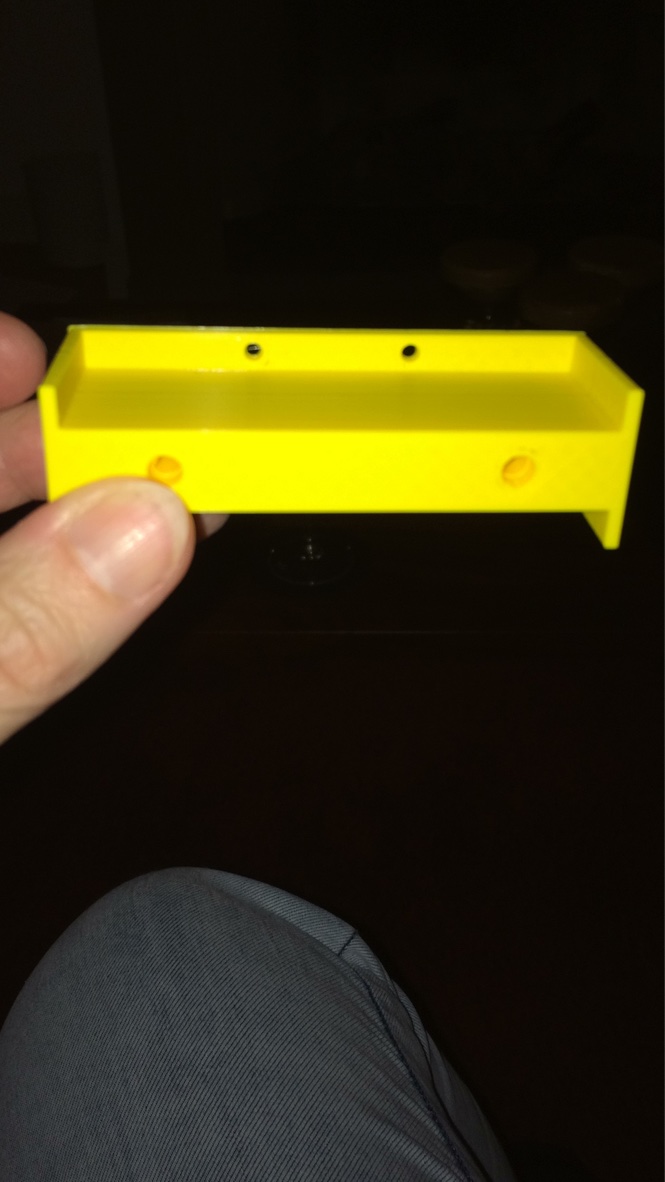 Here you can see a yellow PLA printed support. In this support, you can see two small holes at the top. You can use these holes to attach something, but this has not proven to be very practical, so for the story, let's pretend the holes don't exist. The support has a raised edge on one side. This edge doesn't touch the perspex. The edge is to prevent the figurines from falling off the supports later on. If you want to print the supports yourself, you can download the files here.
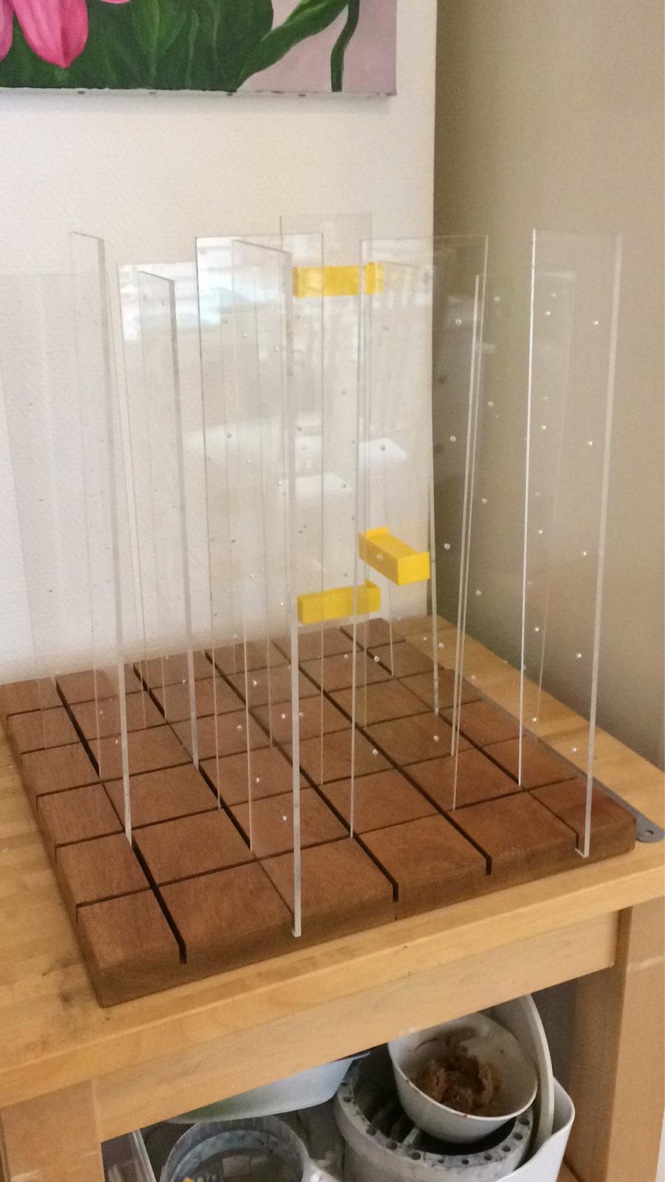 As you can see in the photo here, the raised edges are always on the outside and therefore don't touch the perspex. The supports form the basis of the rocks.
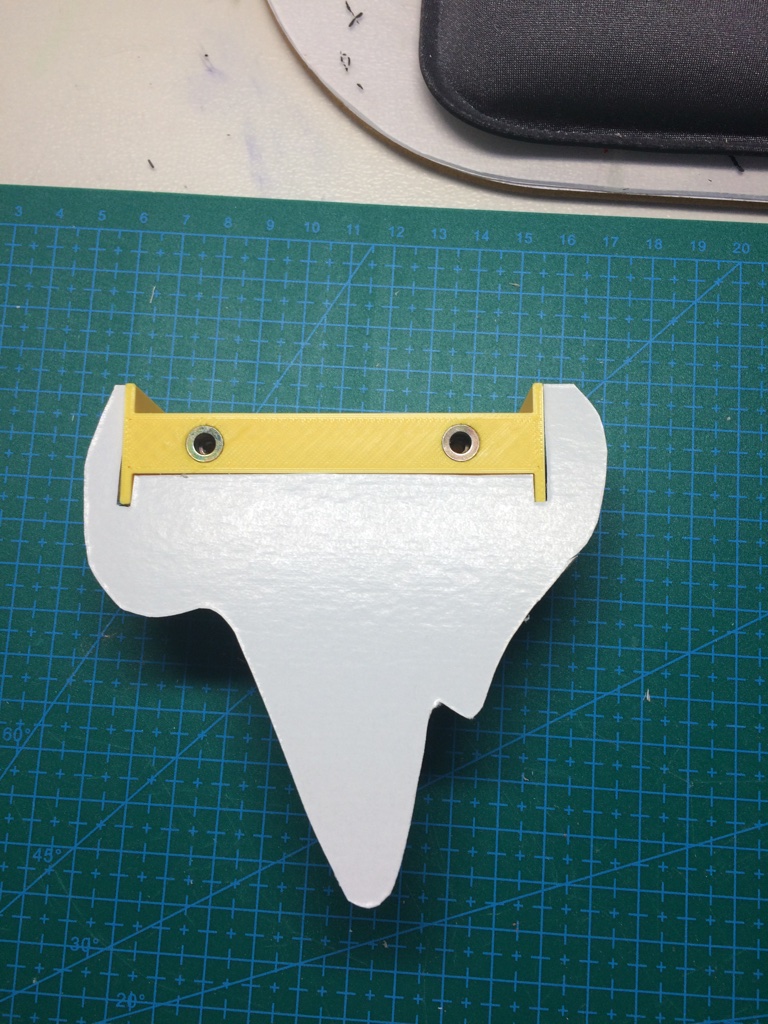 To make a rock from the support, I start by creating a backboard from sturdy cardboard. The support fits into the shape I make. The backboard will be placed directly against the perspex. You can see that the raised edges are neatly cut out of the cardboard as well. I used ivory cardboard of about 1.5 mm thickness, but other cardboard will work too. As long as it's sturdy enough for you to cut out a nice shape. Here, I've made a sort of hanging rock.
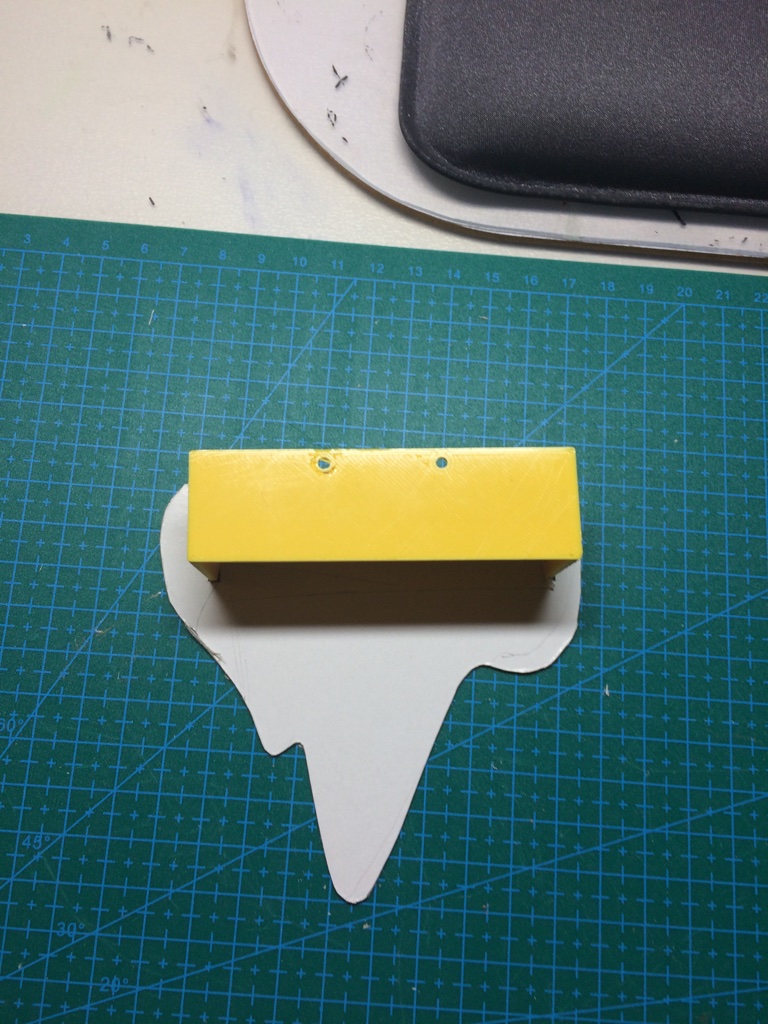 From the other side, it looks like in the photo next to this one. So the cardboard is flush with the back of the support, the part that comes against the perspex.
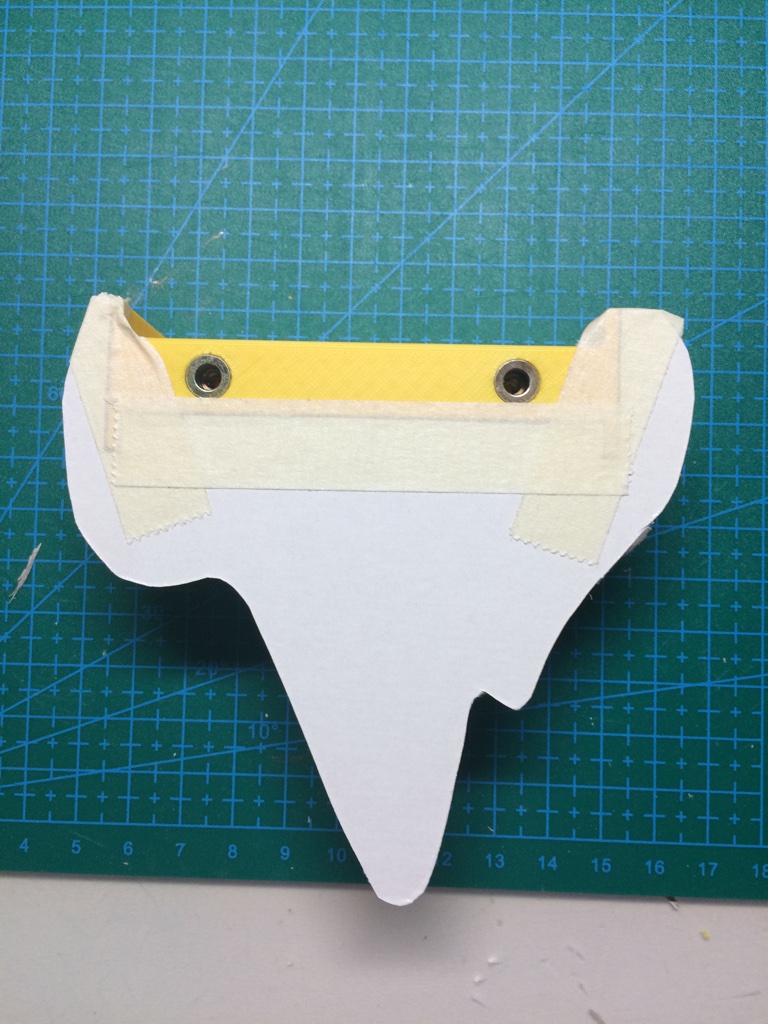 The cardboard is attached to the support with crepe tape. Be careful not to cover the holes; the screw should fit in there later.
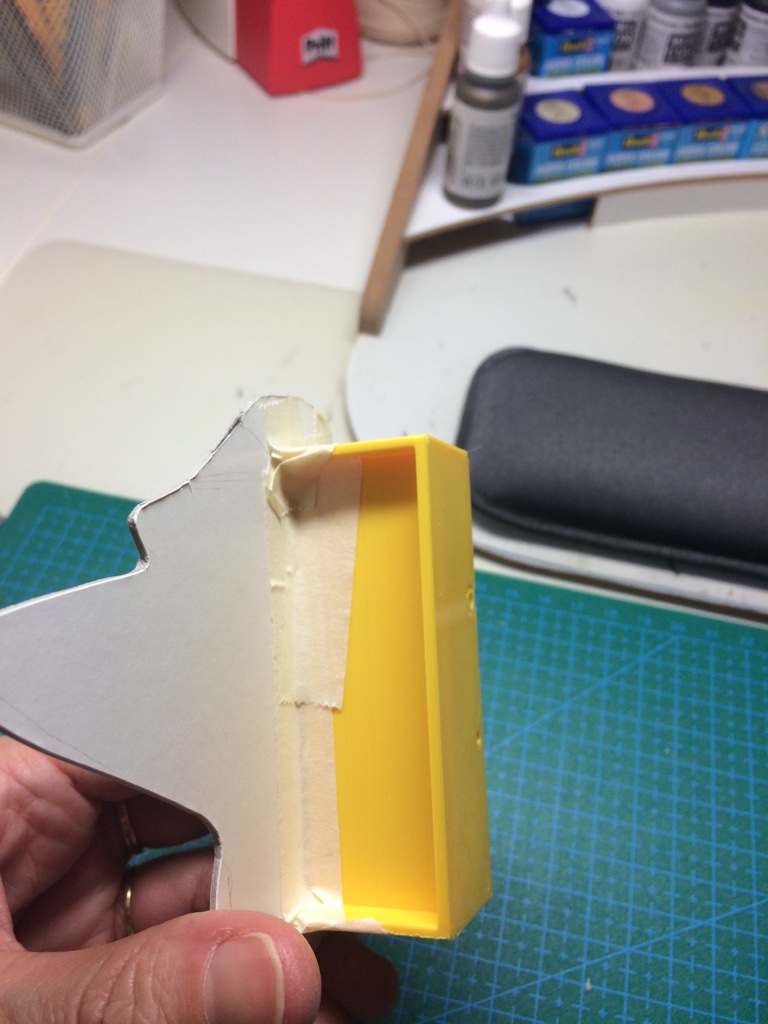
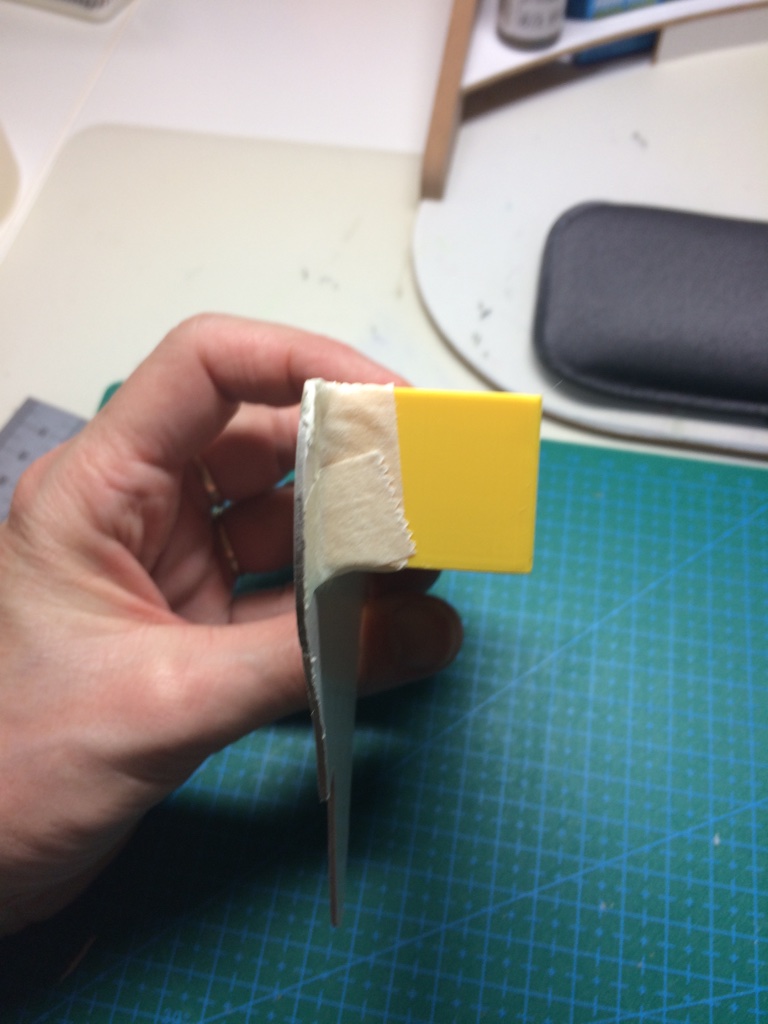 Feel free to use plenty of tape; the cardboard must be securely attached to all sides of the support. This is the foundation from which we'll continue working.


