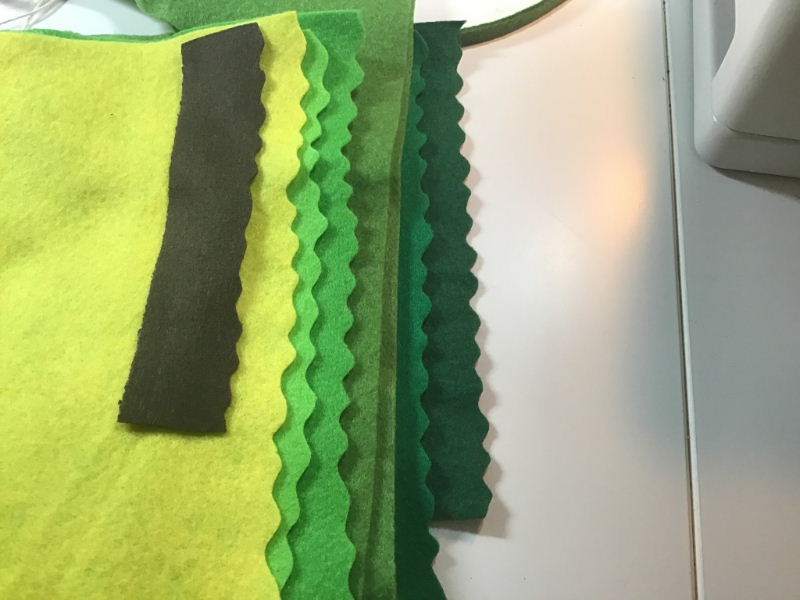
| I used felt in various green and brown shades to make the ivy. They are different scraps, and the felt varies in quality, but since it's only hanging, it's not so important. |
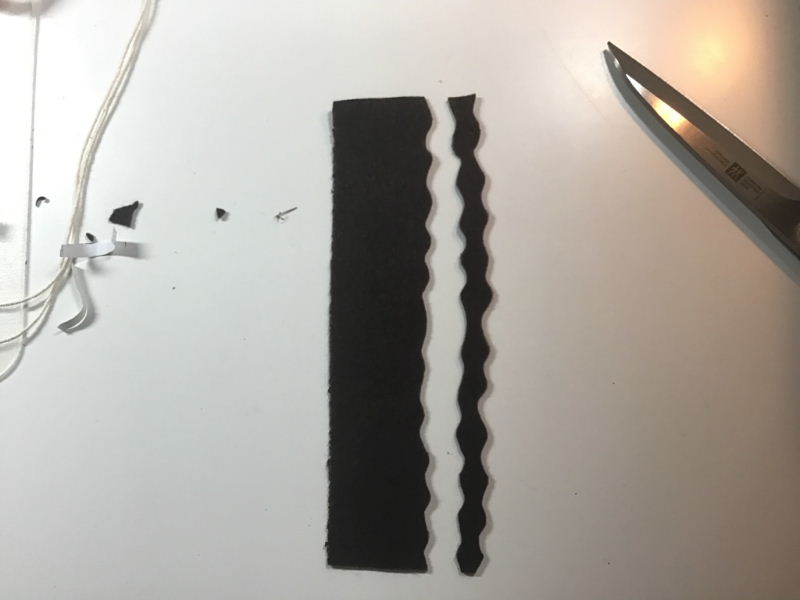
| From the felt, I've cut out sort of wavy strips. I made the waves as small as possible. Note that the dents of the waves should be opposite each other. You can see what I mean in the photo next to this. |
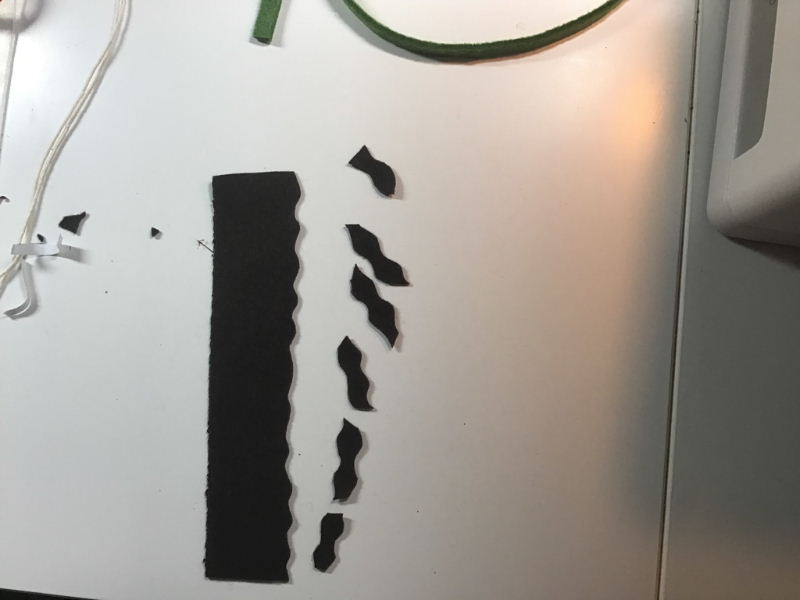
| The strips that are formed like this are the basis for the leaves. You cut them diagonally at the thin part. This way, you get a sort of leaves with little points. The leaves are not all the same shape and color, but this only makes it look more natural. |
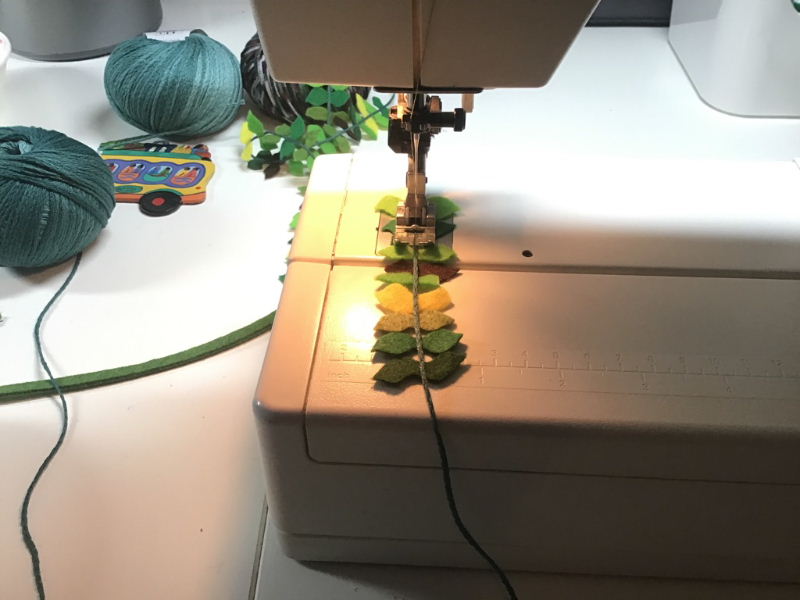
| I've mixed the leaves of different colors together. I'm going to sew them onto a cotton thread with the sewing machine. If you find it too difficult to sew over a thread, you can also use a thin ribbon or something similar. At the beginning of the thread, I tie a knot so the thread won't unravel. Right after the knot, I place the leaves UNDER the thread and keep the thread well centered under the needle. Now, I'll sew calmly over the thread, thereby stitching the leaves onto the thread. I used a needle size 70. |
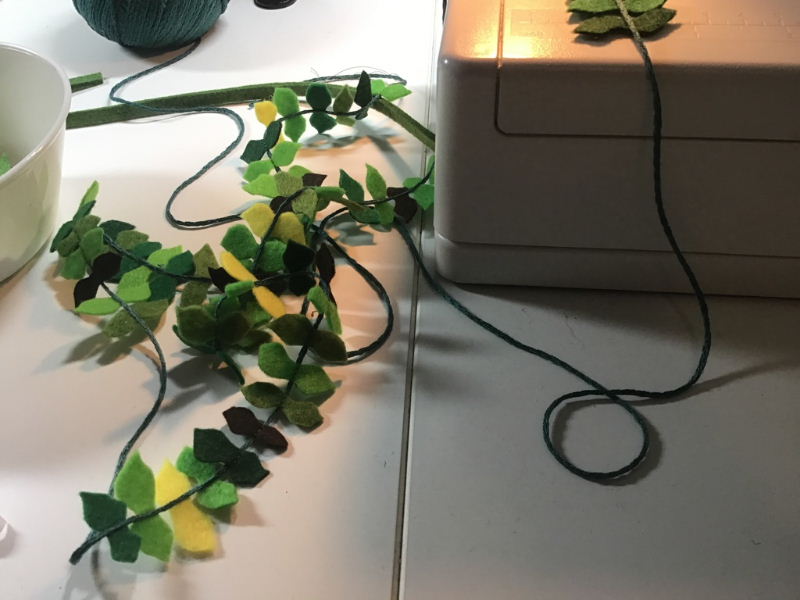
| Now, a long string of leaves is forming. When the string is long enough, I skip a bit. There should be some space to tie a knot at the end of the string and the beginning of the next one. Of course, you can also cut the thread, tie a knot, and start again. |
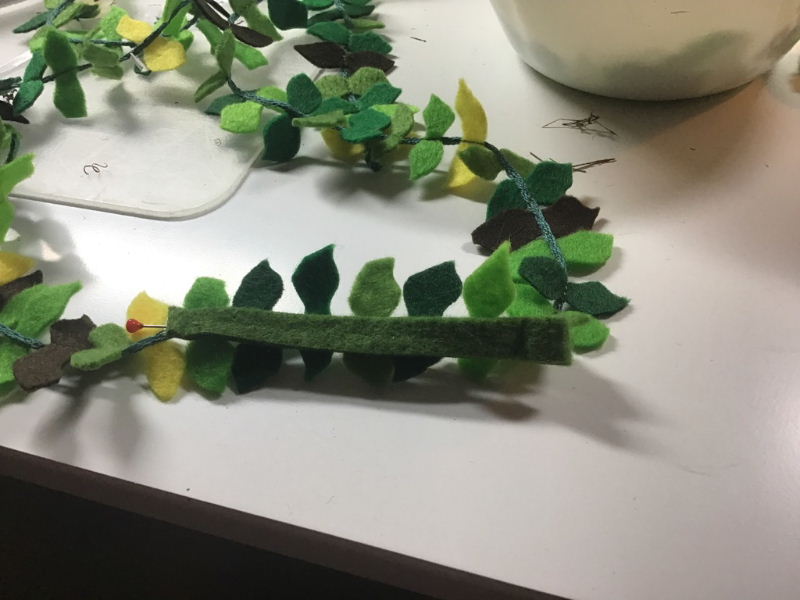
| I sew the strings onto a thicker piece of felt again. You can also use a ribbon or something similar here. By varying the length of the strings, your ivy becomes more playful. I made a few pieces myself, each with a different average length and width. |
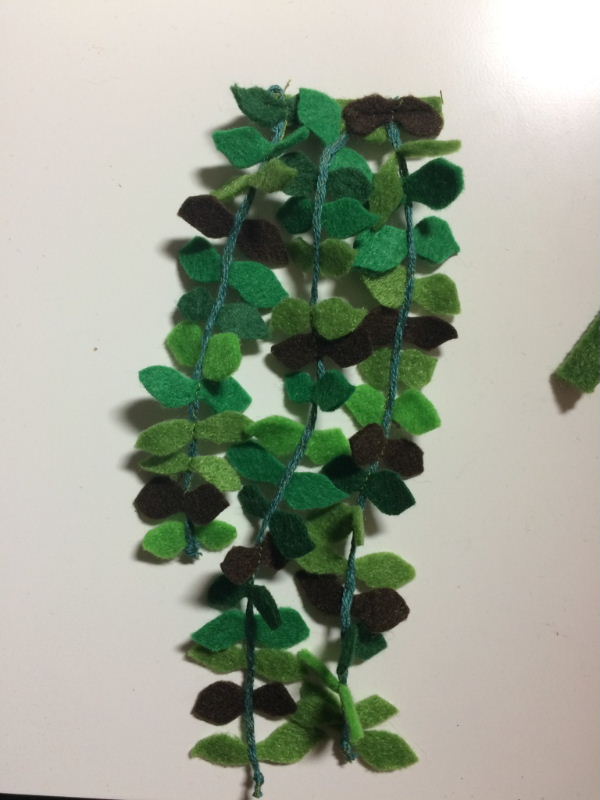
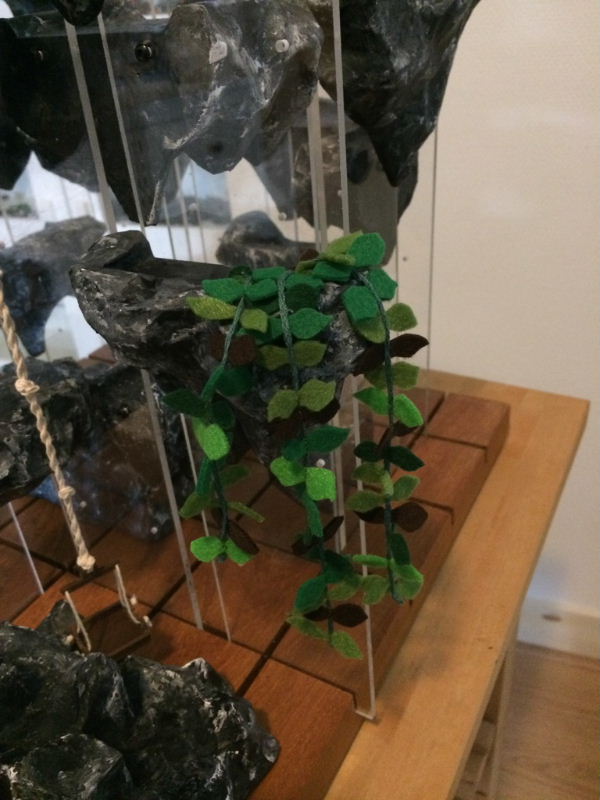
| This is what it looks like from the front when you have a piece of ivy finished. |
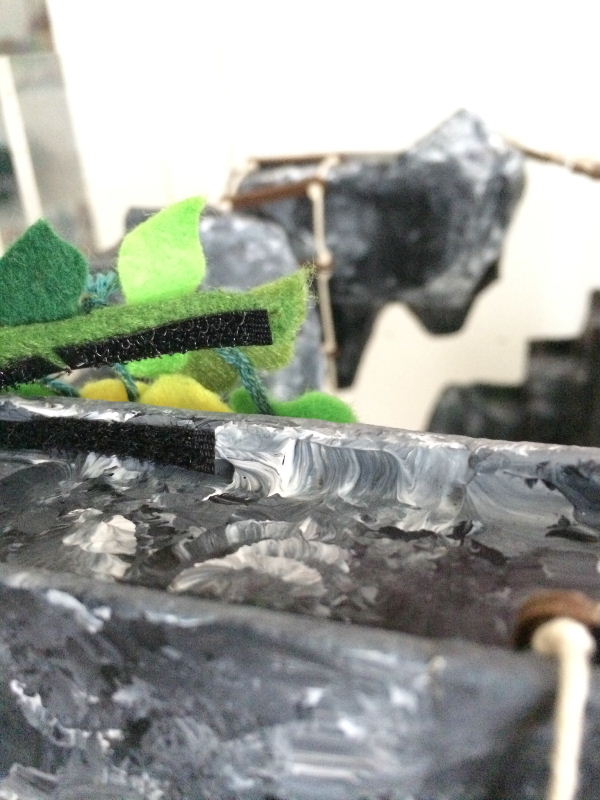
| On the back of the ivy, I've stuck a thin strip of Velcro. This is how I attach the ivy to the rocks where I've also stuck a piece of Velcro. |
| The result has turned out nicely. And because the ivy is attached with Velcro, you can easily remove it and stick it somewhere else if you change the setup. |
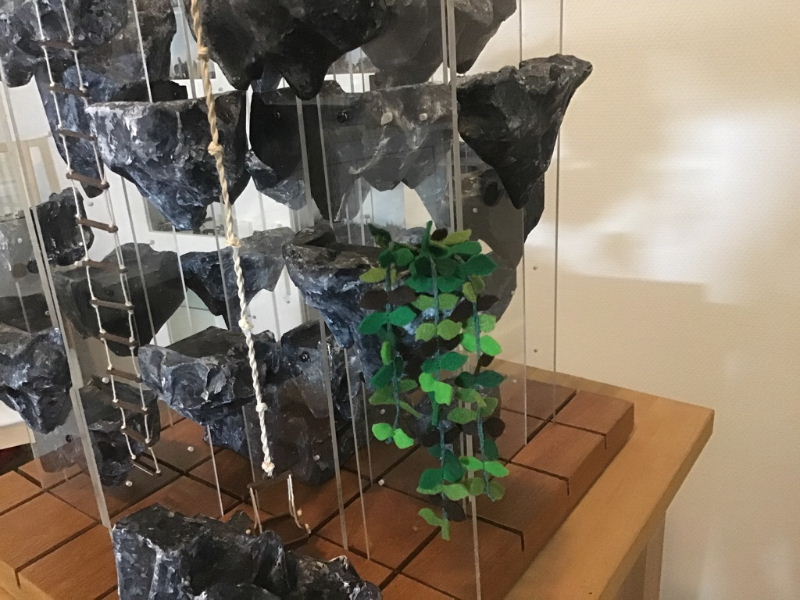 For my 3D Battleground, I've created a sort of ivy. Partly to adorn it and partly to provide cover for creatures. You can easily make this yourself with some scraps of felt.


