| To make the items discussed here, I used printed parts. The parts are small and printed like this. If you don't have a printer, you can perhaps make them out of cardboard and/or polymer clay. You can find the various STL files here. |
| Here are the parts from which the rope ladders are made. I used dark brown woodfill for printing. Woodfill tends to string a bit more during printing, so sometimes the small holes in the parts are blocked. You can easily clear them with a small round file. |
| For the rope ladder, I attached the parts to two sturdy cotton threads. There is a small knot above and below each rung of the ladder to keep it in place. The distance between the rungs is about 2.5 cm. The number of rungs you need depends on where you want to attach your ladder in your setup. I've made several different rope ladders, all with different lengths. On the last rung, I attached a thin strip of Velcro. This attaches the rope ladder to the rocks. So, you can easily detach it and attach it somewhere else. |
| It can be difficult to thread the strings through the rather small holes. That's why I use a threader. I only put the thread through the hole a short distance, then it's easier for the thread to pass through. |
| You can see that the end frays a bit, but I'll trim that later. The advantage of fraying is that the rope is a bit easier to pull through the hole with the help of the threader. |
| I also thread the parts of the bridge onto two threads. I start and end with a rung of the strap, where I can easily attach a piece of Velcro. The parts should fit together with the long pieces against each other. You can see here that these parts are also fixed with knots. |
| Just like the rope ladder, the suspension bridge is attached to the rocks with a thin strip of Velcro. |
| Here you can see the suspension bridge floating between two rocks. The length of the bridge depends on the setup of the battleground again. The parts are 2.5 cm wide. |
| Finally, I made a climbing rope. At the end of the climbing rope, there is a part to which I attached a piece of Velcro. With this Velcro, I attach the climbing rope to the rocks. The climbing rope has a knot every 2.5 cm. |
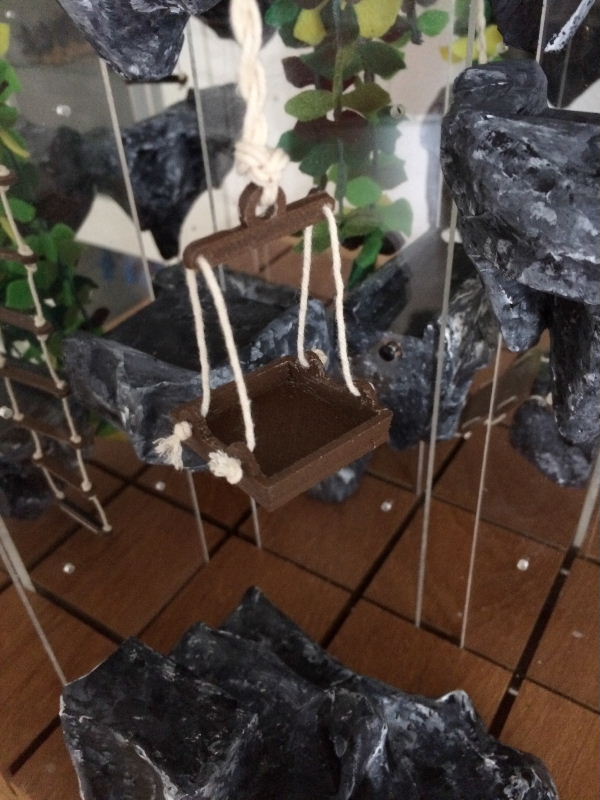
| You can also hang a sort of platform on the climbing rope to move items. The platform is about 2.5 by 2.5 cm in size. |
Finally, I also printed some small ladders in two sizes. These can simply be leaned against some rocks.
Have lots of fun! |
 To spruce up my 3D D&D Battleground, I've made ladders and bridges. Everything is made of rope and 3D-printed parts. The items are attached to the battleground with Velcro.
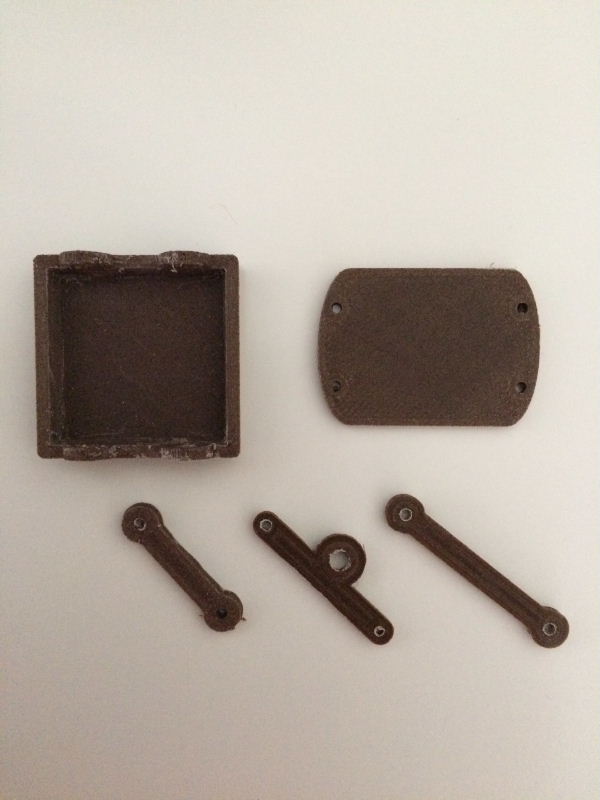 To make the items discussed here, I used printed parts. The parts are small and printed like this. If you don't have a printer, you can perhaps make them out of cardboard and/or polymer clay. You can find the various STL files here.
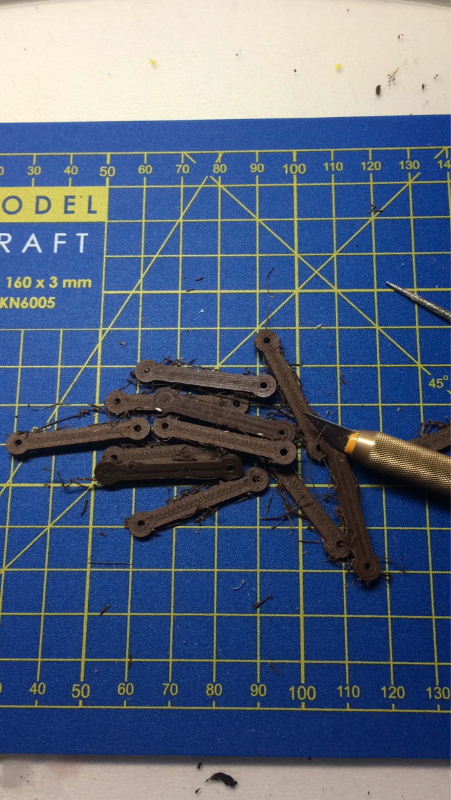 Here are the parts from which the rope ladders are made. I used dark brown woodfill for printing. Woodfill tends to string a bit more during printing, so sometimes the small holes in the parts are blocked. You can easily clear them with a small round file.
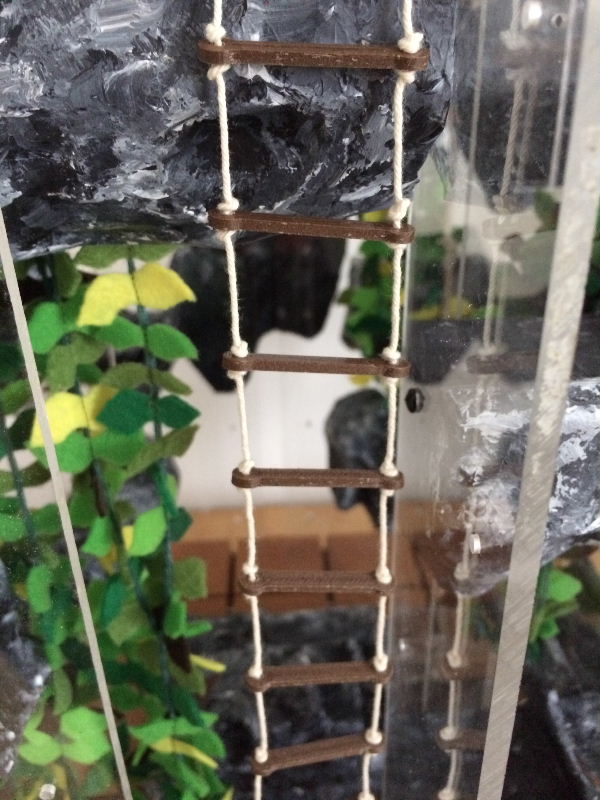 For the rope ladder, I attached the parts to two sturdy cotton threads. There is a small knot above and below each rung of the ladder to keep it in place. The distance between the rungs is about 2.5 cm. The number of rungs you need depends on where you want to attach your ladder in your setup. I've made several different rope ladders, all with different lengths. On the last rung, I attached a thin strip of Velcro. This attaches the rope ladder to the rocks. So, you can easily detach it and attach it somewhere else.
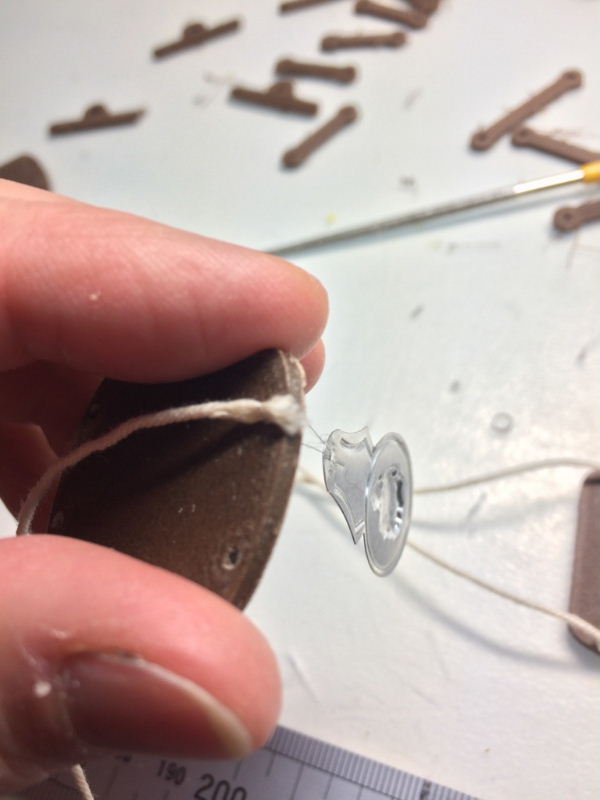 It can be difficult to thread the strings through the rather small holes. That's why I use a threader. I only put the thread through the hole a short distance, then it's easier for the thread to pass through.
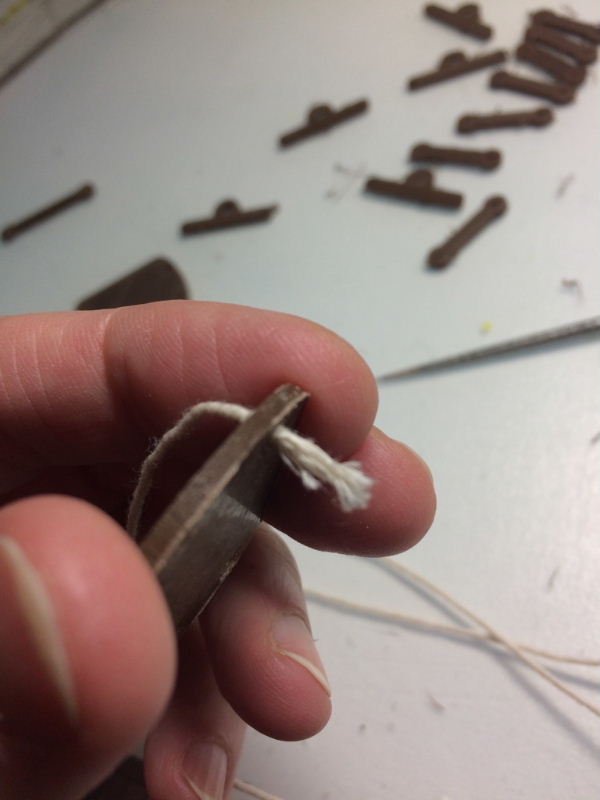 You can see that the end frays a bit, but I'll trim that later. The advantage of fraying is that the rope is a bit easier to pull through the hole with the help of the threader.
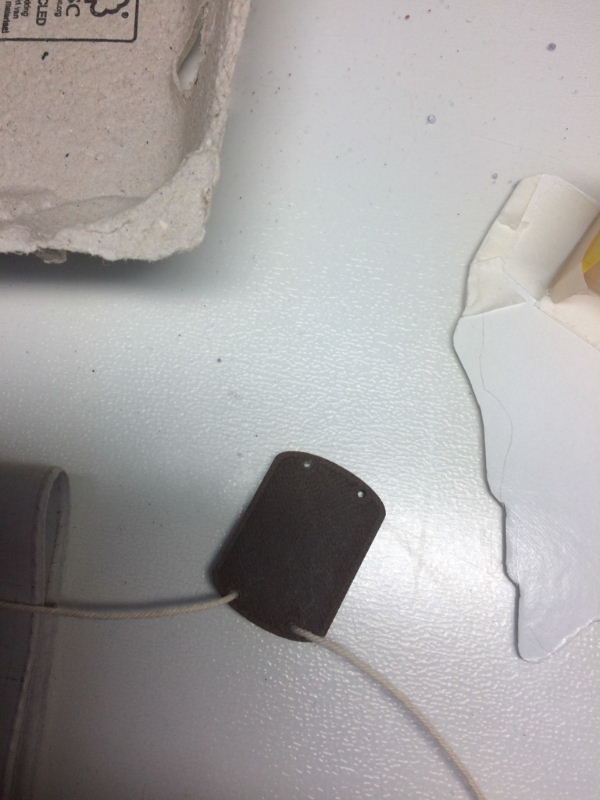 I also thread the parts of the bridge onto two threads. I start and end with a rung of the strap, where I can easily attach a piece of Velcro. The parts should fit together with the long pieces against each other. You can see here that these parts are also fixed with knots.
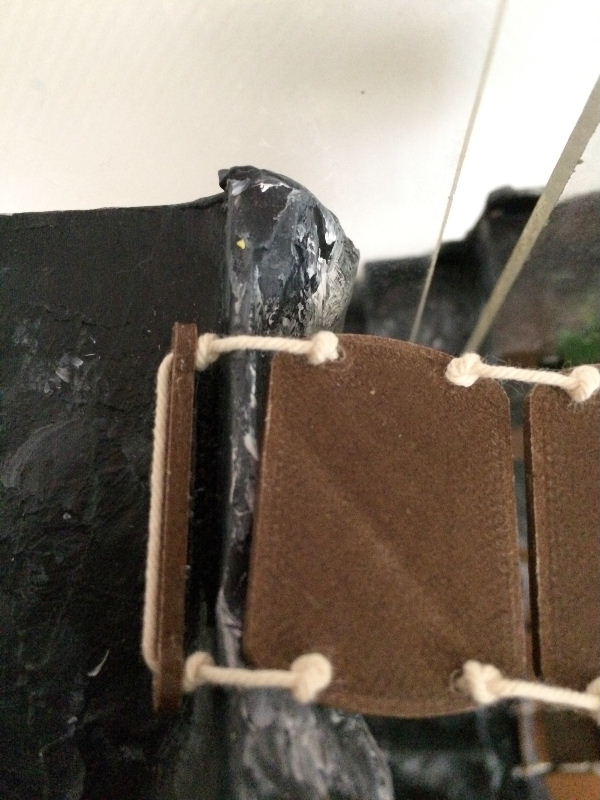 Just like the rope ladder, the suspension bridge is attached to the rocks with a thin strip of Velcro.
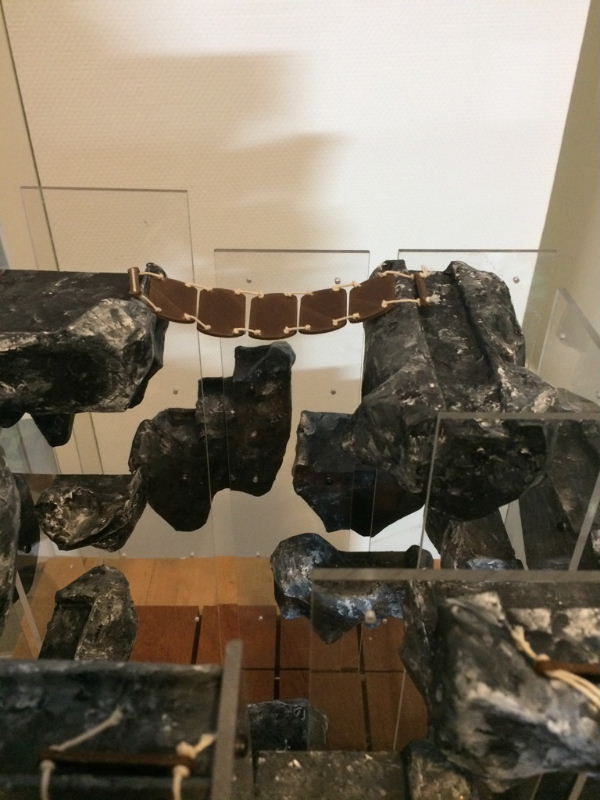 Here you can see the suspension bridge floating between two rocks. The length of the bridge depends on the setup of the battleground again. The parts are 2.5 cm wide.
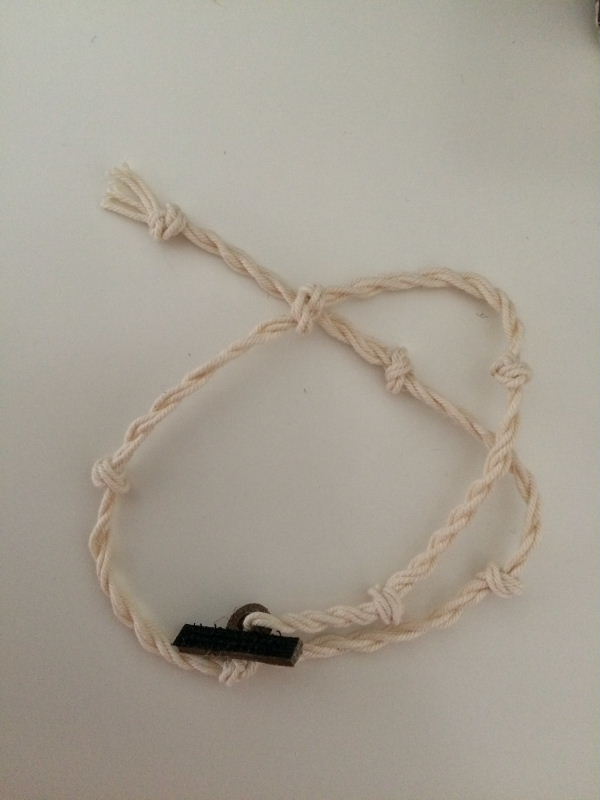 Finally, I made a climbing rope. At the end of the climbing rope, there is a part to which I attached a piece of Velcro. With this Velcro, I attach the climbing rope to the rocks. The climbing rope has a knot every 2.5 cm.
 You can also hang a sort of platform on the climbing rope to move items. The platform is about 2.5 by 2.5 cm in size.
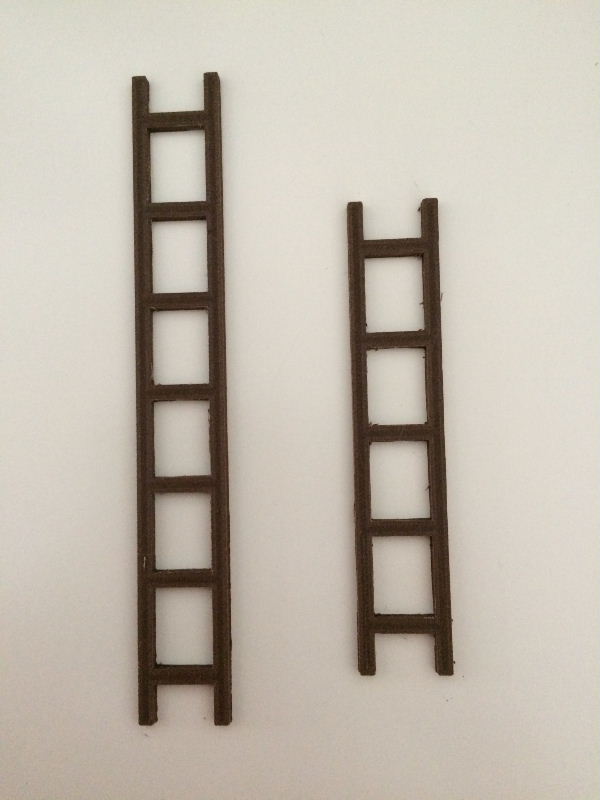 Finally, I also printed some small ladders in two sizes. These can simply be leaned against some rocks.


