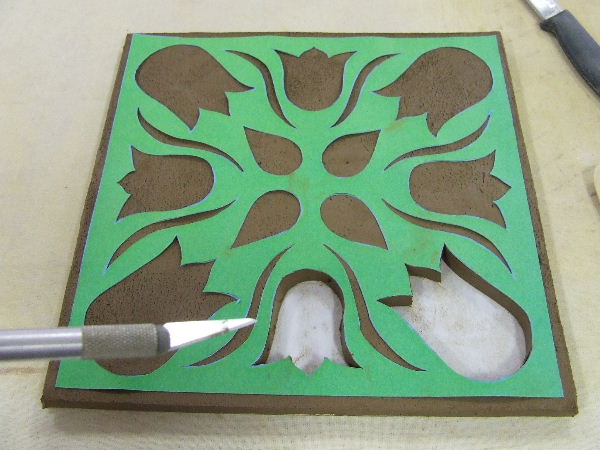
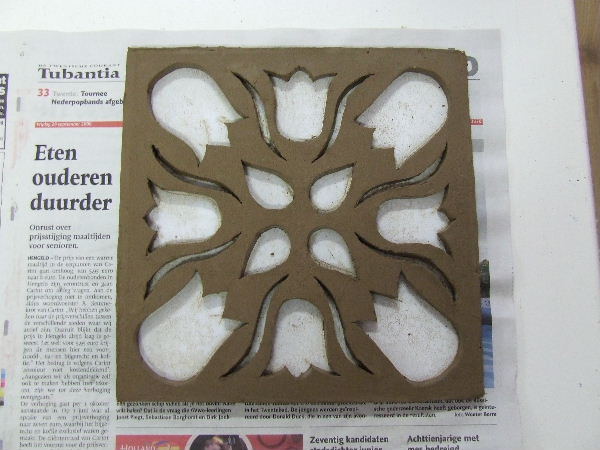
| Now the motifs are cut from the clay slabs one by one. Place the motif neatly in the center of the clay slab and carefully cut along the edges of the motif with a sharp knife. Remove the pieces to be cut out carefully. Because I used fine grog clay, I can achieve nice sharp edges. |
| Cutting out the motif is a lot of work; you need to take your time. Ensure the clay isn’t too wet, as it will stick to your knife and create a mess. |
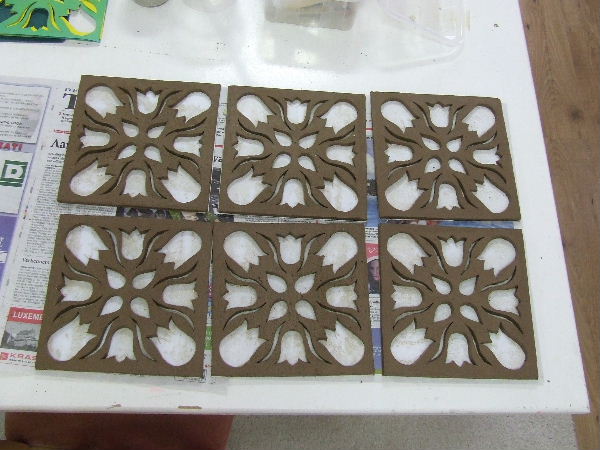
| All six sides are finished. The pattern is symmetrical, so you don’t need to worry about top and bottom when assembling. |
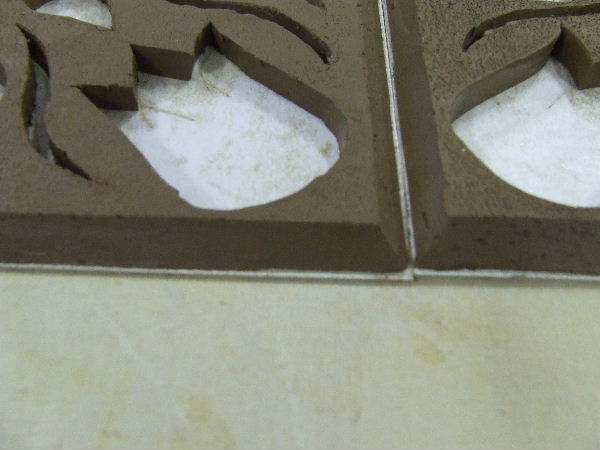
| To neatly join the sides together, they need to be cut at an angle, or "mitered." Do this with a sharp knife as well. The angle here is exactly 45 degrees. You can easily measure this by marking a thin line the thickness of the clay slab on the inside. Then, cut with your knife at an angle along the edge of the cardboard and through this line. |
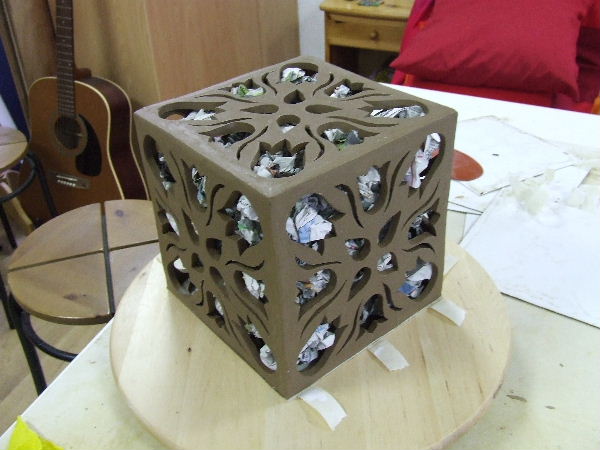
| The mitered edges of the slabs need to be carefully scored and smeared with slip. Then, assemble the cube. First, create a corner with three slabs. Then, make another corner with two slabs. Finally, join these two corners together. It’s a meticulous task, but if the slabs are properly leather-hard, it should work. To support the structure, you can stuff some paper inside the cube. This will burn away during firing. |
Once the piece is finished, it can be fired. I don’t want to glaze the cube. It’s made of black-firing clay, and I prefer to simply fire this piece. Glazed pieces often have a shiny finish, which I don’t want in this case.
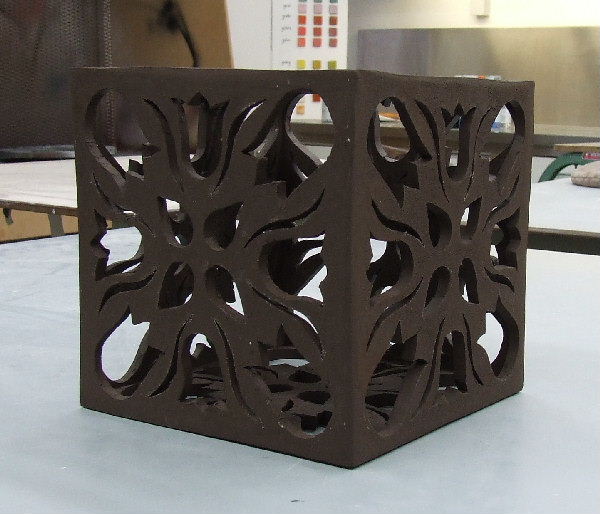
You can see that the cube has become much darker after firing. It can become even blacker if fired again at a higher temperature. |


