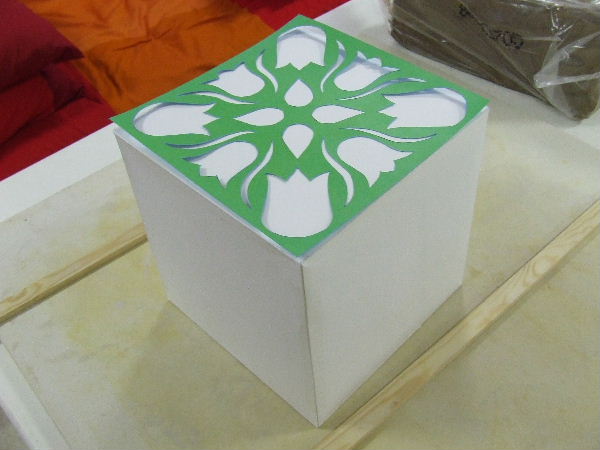
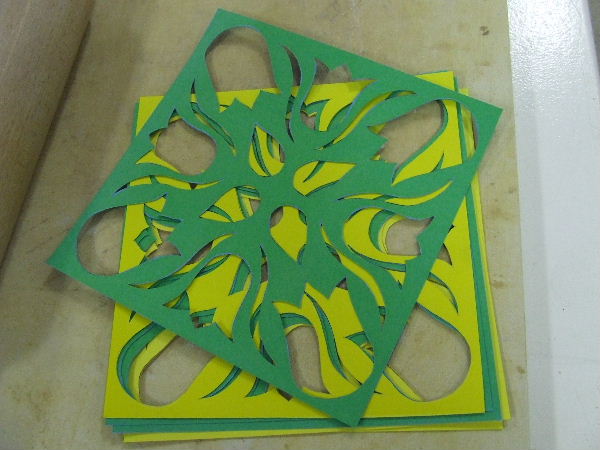
| I want to cut the tulip motif into each side, creating a very light cube. Since the paper from which I cut the tulip motif isn’t very thick, I cut it out for each side once. The paper absorbs moisture from the clay and becomes fragile. Technically, I could cut two slabs with one template, but I don't have time to cut extra templates between steps, so I make one for each side just to be safe. |
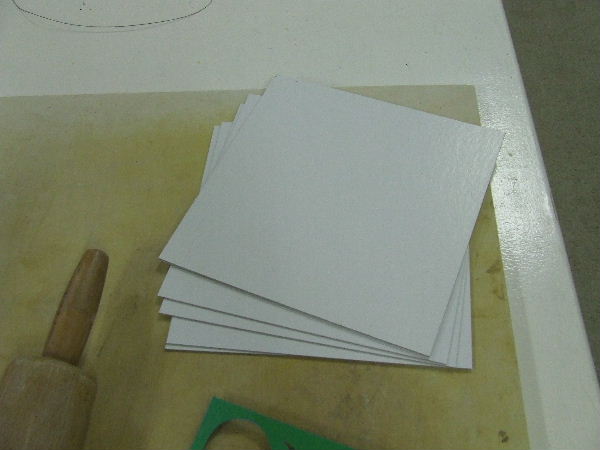
| To give the clay slabs stability and cut them to the correct size, I cut six squares from a sheet of ivory cardboard, each the size of the cube’s sides. I truly need six. |
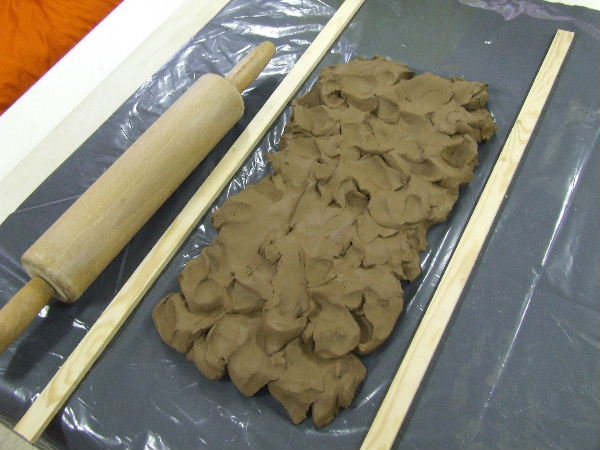
| The sides of the cube are cut from a clay slab. There are articles explaining how to make clay slabs. Ensure all slabs are the same thickness. I chose fine grog clay because I wouldn’t be able to cut the detailed motif cleanly otherwise. |
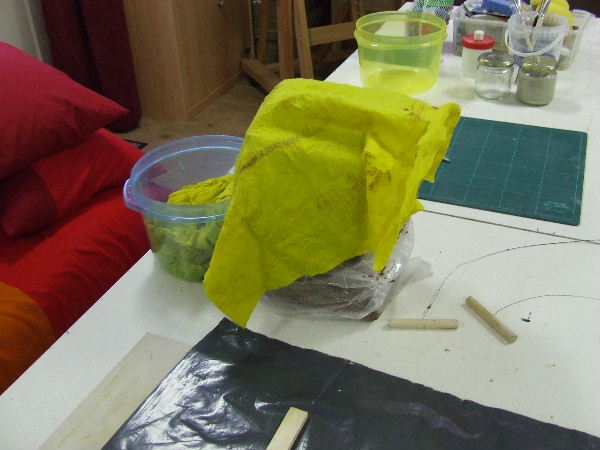
| While working, if I haven’t sealed the clay pack because I’m still using it, I always cover it with a damp cloth. This keeps the top layer of clay nice and pliable. The cloth doesn’t need to be soaking wet, just damp. |
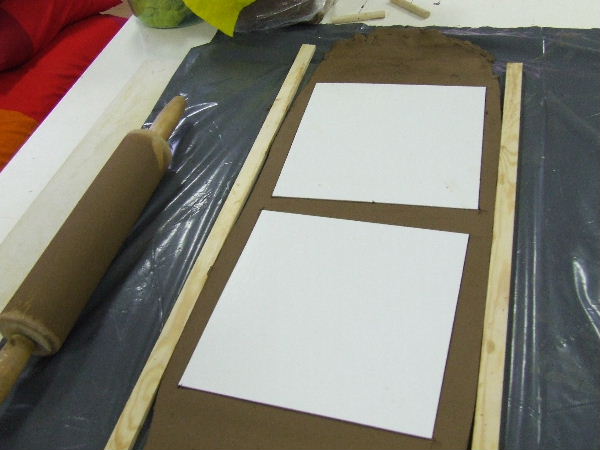
| Once I’ve rolled out a nice clay slab, I place as many cardboard templates on it as possible. In this case, two. The templates must fit completely on the slab. Cut the slabs along the edges of the cardboard with a sharp knife and carefully turn them over. They rest on the cardboard templates. |
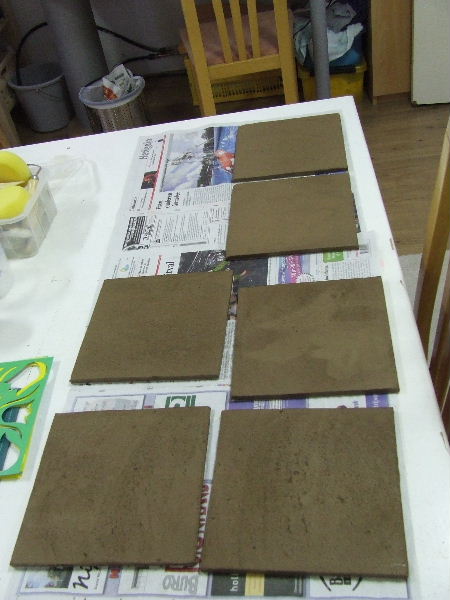
| In total, I need six slabs. The cardboard remains under the clay slabs, making them easy to lift. Let the clay slabs dry until they are leather-hard. This is the stage where the clay hasn’t yet lightened in color from drying. |


