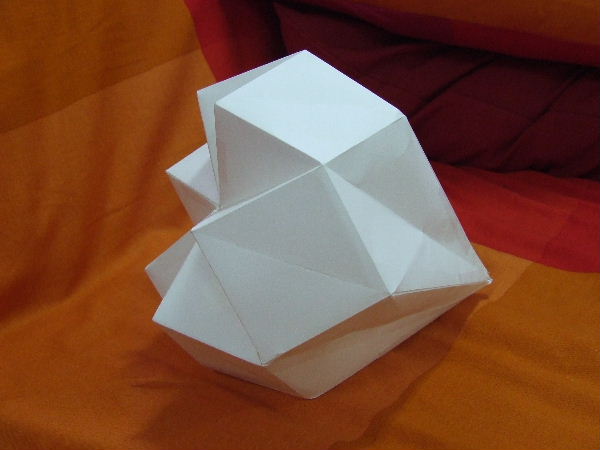
| To make the model, I cut each side of the shape out of clay using cardboard templates. Essentially, the model is made twice: once to visualize and correctly assemble the shape, and a second time in individual pieces used to cut the clay. It's a challenging shape, best constructed from six segments. I will first assemble segment by segment, and then join these segments together. Here you see the parts used for one segment. |
| To join the slabs, they need to be cut at an angle. The miter angle for this shape isn’t 90 degrees, as the slabs do not stand perpendicular to each other. Calculating this angle is a bit tricky but crucial for the fit. Now I have to wait until the slabs are leather-hard. If they are too soft, you can’t assemble them without deformation. |
| After cutting at an angle, the edges are scored. Once scored, slip is applied to ensure the slabs adhere well. The miter angle for this shape isn’t 90 degrees, as the slabs do not stand perpendicular to each other. This calculation is tricky but crucial for the fit. |
| When assembling the segments, the cardboard templates remain attached to the clay slabs. This provides stability and simplifies the process. |
| I use tape to join the cardboard pieces. It helps to have many pieces of tape pre-cut and attached to the edge of the table for easy access while assembling your shapes. |
| During baking, the air inside the shape expands. It needs to escape to prevent the entire shape from bursting. I do this by cutting a hole in two segments, which will be at the bottom and thus not visible. The hole doesn’t need to be large. |
 I want to create a stylized tulip shape from ceramics, but since it’s quite a complex design, I first make a model out of cardboard. Even this is a painstaking task, but I’m satisfied with the shape.
 I want to create a stylized tulip shape from ceramics, but since it’s quite a complex design, I first make a model out of cardboard. Even this is a painstaking task, but I’m satisfied with the shape.