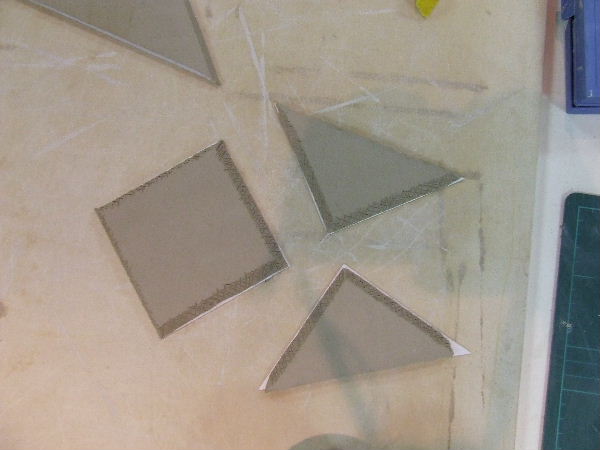
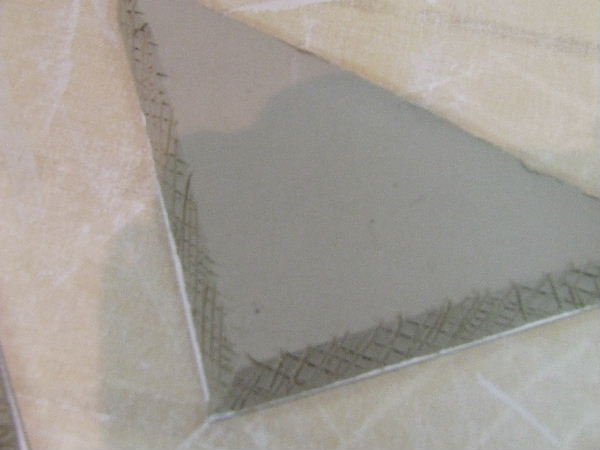
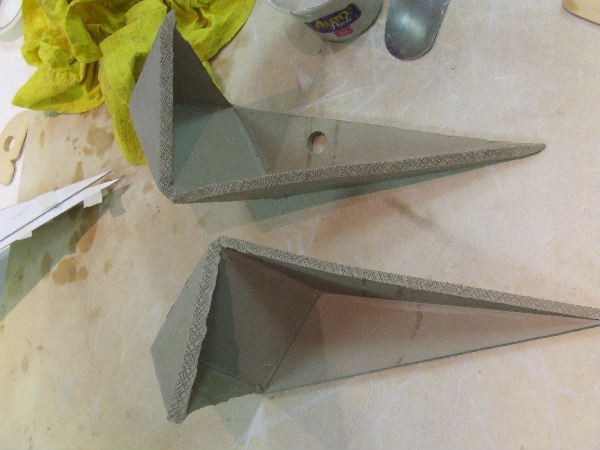
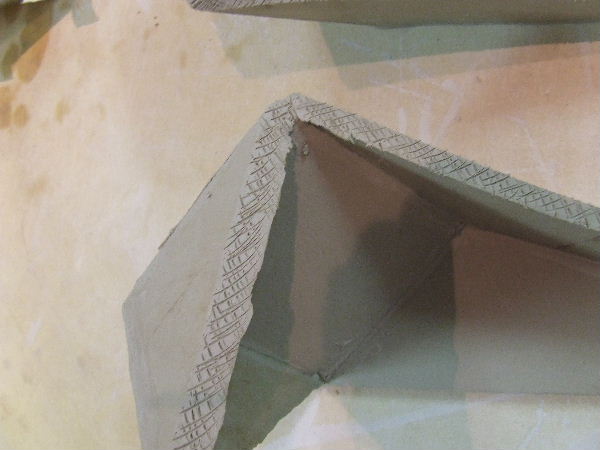
| Just like the individual parts of the segments, the segments themselves must also be scored before joining. I use a scoring tool, but you can also use a needle tool. This scoring must be done meticulously. Take your time with it. It’s disappointing if your piece cracks because the scoring wasn’t thorough enough. After scoring, the edges are smeared with slip again. |
| By now, the cardboard has been removed from the segments. The segments are sturdy enough to be joined. Here you see two segments joined together. |
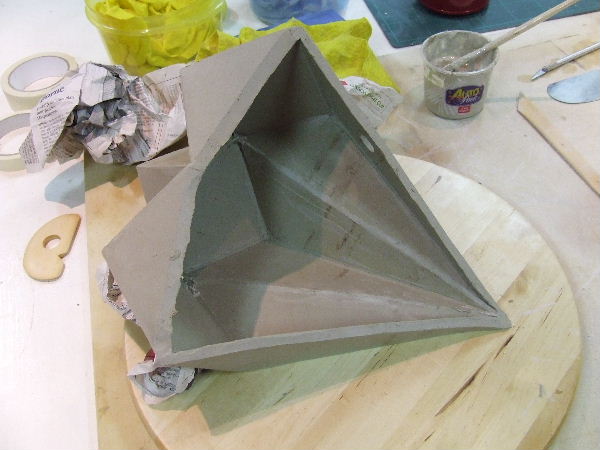
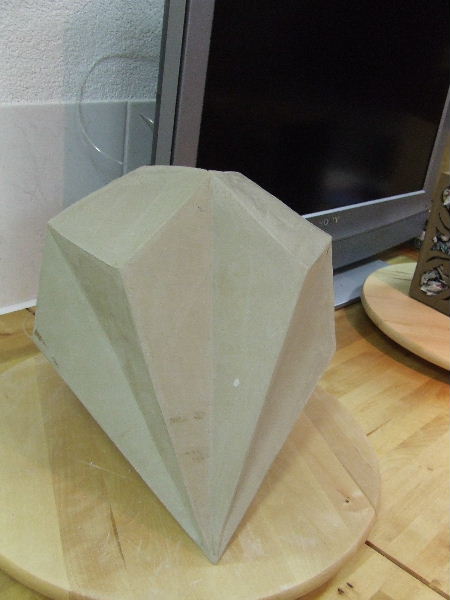
| Continue joining segment after segment until the shape is complete. If the miter angles are calculated and cut correctly, the entire shape should fit together neatly. The shape is still very fragile. It’s best to place it on a turntable to view all sides and smooth out any irregularities with a rib tool. |
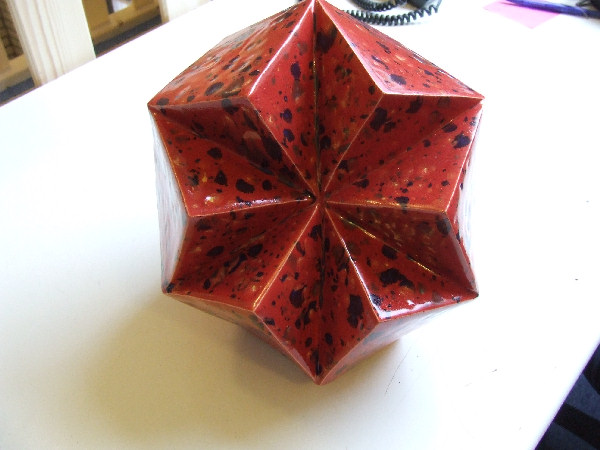
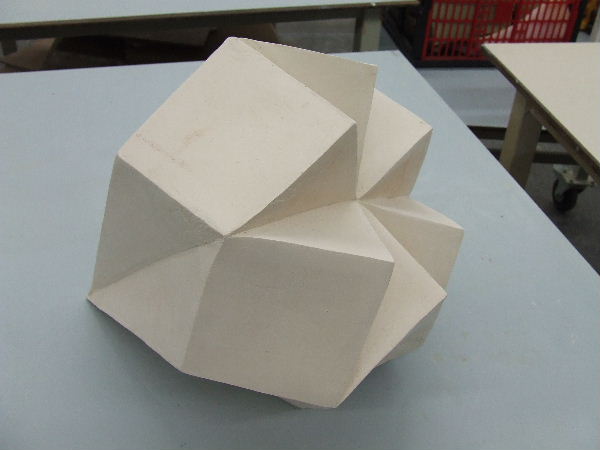
| The star you see in the middle is very important. It needs to be sharp, and the lines should continue seamlessly. If necessary, you can refine this with a rib tool. You can use a plastic rib, but a metal rib can also make the lines very crisp. A sharp shape needs to be truly sharp for the right effect. |
| Once completely dry, the shape can be bisque fired. The clay becomes a nice light color. Although the shape is less fragile after bisque firing, you still need to handle it carefully. It will be even stronger after the glaze firing. |
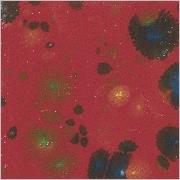 I explored the websites of Botz and Ve-Ka, both glaze manufacturers. I chose a glaze from Botz called "tropenfuer." If you want to be sure of how it will look or how many layers to apply, first make a test glaze piece. I explored the websites of Botz and Ve-Ka, both glaze manufacturers. I chose a glaze from Botz called "tropenfuer." If you want to be sure of how it will look or how many layers to apply, first make a test glaze piece. |
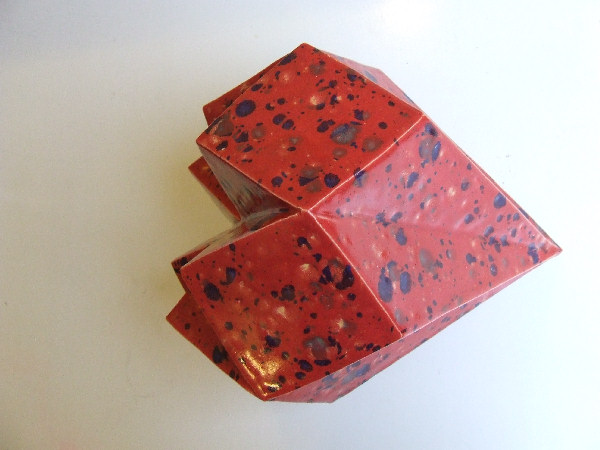
| I applied the glaze in three layers and fired it at 1050 degrees. All the remaining irregularities in the clay disappeared under the glaze layer. |
The star shape on the front remained nicely sharp during glazing.
It was a lot of work, but very enjoyable to do..
|
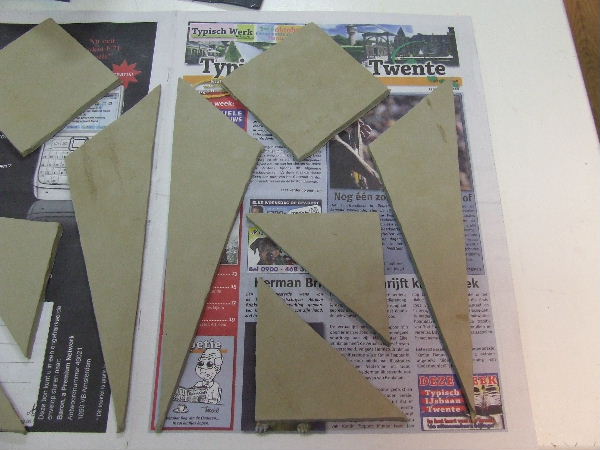
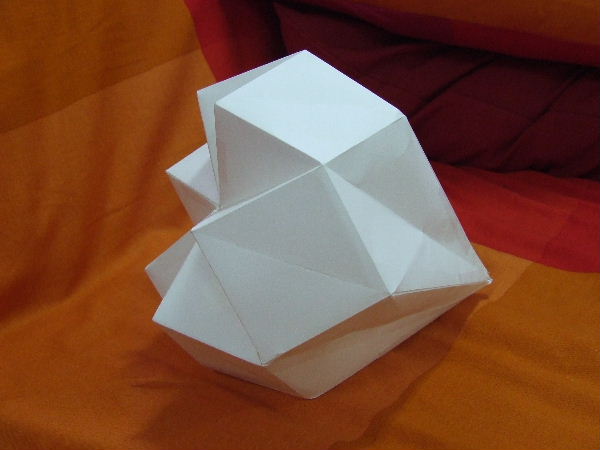 I want to create a stylized tulip shape from ceramics, but since it’s quite a complex design, I first make a model out of cardboard. Even this is a painstaking task, but I’m satisfied with the shape.





 I explored the websites of Botz and Ve-Ka, both glaze manufacturers. I chose a glaze from Botz called "tropenfuer." If you want to be sure of how it will look or how many layers to apply, first make a test glaze piece.