Welcome at To be defined

Welcome at To be defined, a website filled with creativity. Here you will find numerous manuals in words and images on various subjects. On this page you can only see a selection. Choose from the menu on the left for more articles on your favorite topic.
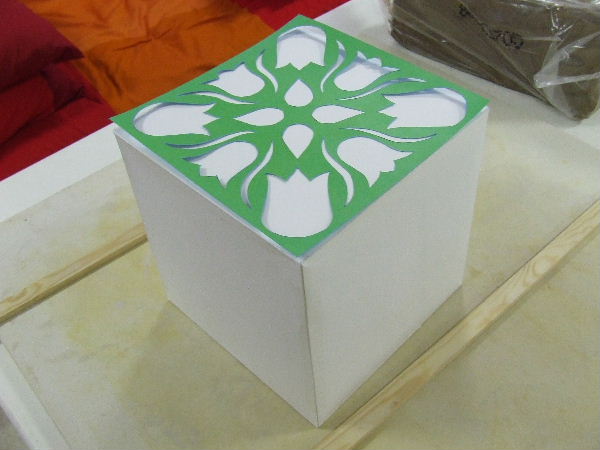
Model in cardboard and paperI thought it would be fun to create a cube from clay slabs. I've made several things with a tulip theme, and I want to incorporate that theme again. Therefore, I cut a tulip motif into the clay slabs. For projects like this, it’s useful to first create a model from paper or cardboard.
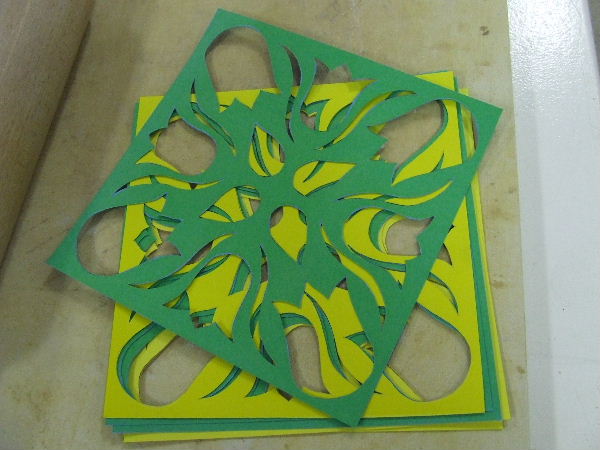
six paper motifsI want to cut the tulip motif into each side, creating a very light cube. Since the paper from which I cut the tulip motif isn’t very thick, I cut it out for each side once. The paper absorbs moisture from the clay and becomes fragile. Technically, I could cut two slabs with one template, but I don't have time to cut extra templates between steps, so I make one for each side just to be safe.
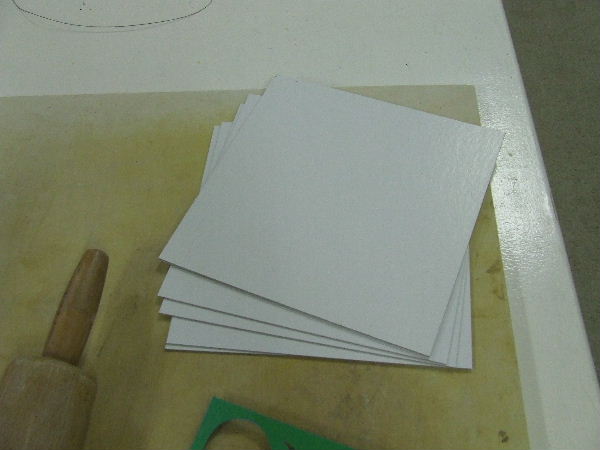
the six sides of the cubeTo give the clay slabs stability and cut them to the correct size, I cut six squares from a sheet of ivory cardboard, each the size of the cube’s sides. I truly need six.
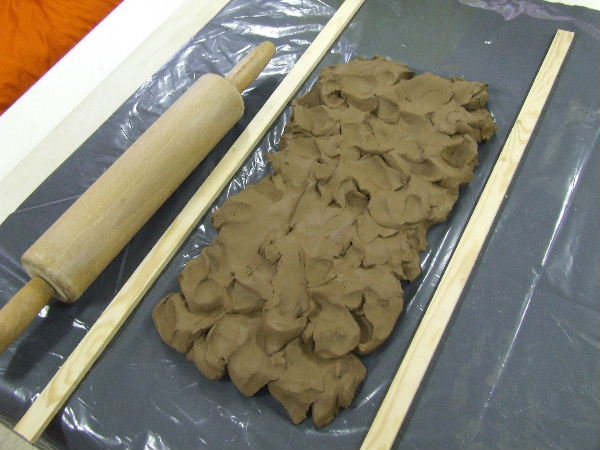
making clay slabsThe sides of the cube are cut from a clay slab. There are articles explaining how to make clay slabs. Ensure all slabs are the same thickness. I chose fine grog clay because I wouldn’t be able to cut the detailed motif cleanly otherwise.
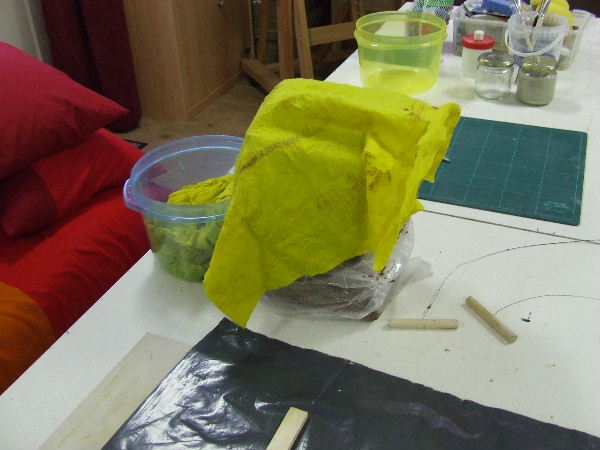
covering the clay with a damp clothWhile working, if I haven’t sealed the clay pack because I’m still using it, I always cover it with a damp cloth. This keeps the top layer of clay nice and pliable. The cloth doesn’t need to be soaking wet, just damp.
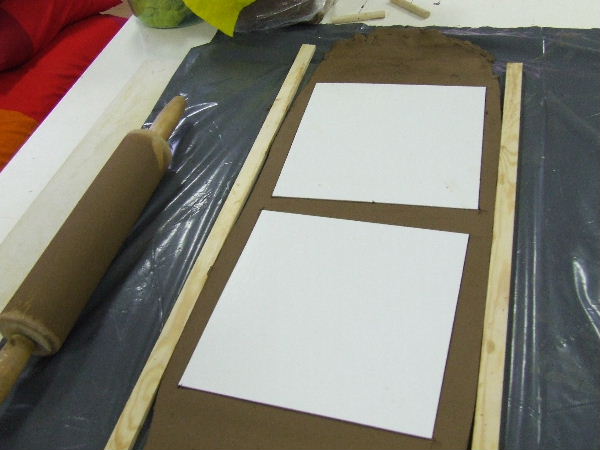
cutting a side of the cube from clayOnce I’ve rolled out a nice clay slab, I place as many cardboard templates on it as possible. In this case, two. The templates must fit completely on the slab. Cut the slabs along the edges of the cardboard with a sharp knife and carefully turn them over. They rest on the cardboard templates.
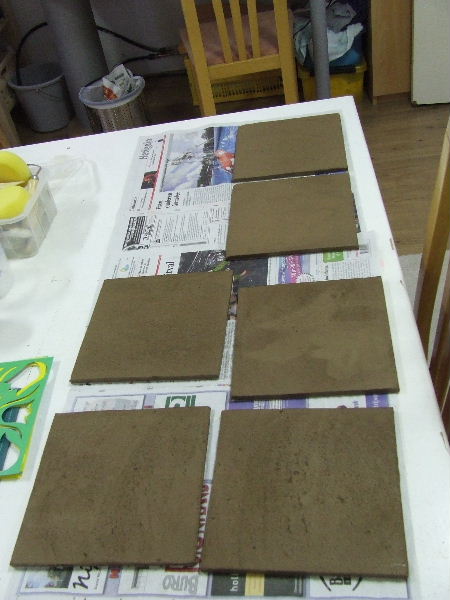
the six sidesIn total, I need six slabs. The cardboard remains under the clay slabs, making them easy to lift. Let the clay slabs dry until they are leather-hard. This is the stage where the clay hasn’t yet lightened in color from drying.


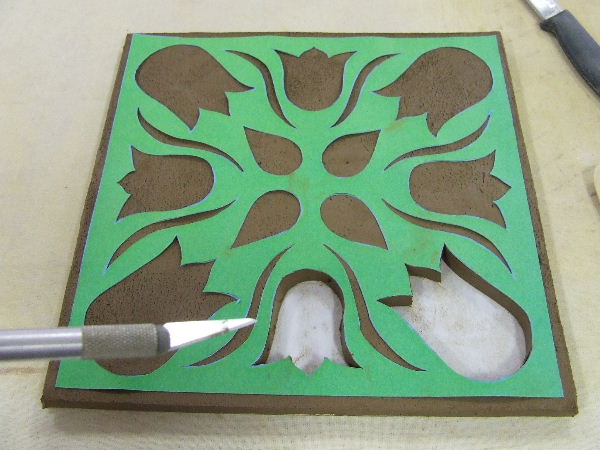
cutting the motifNow the motifs are cut from the clay slabs one by one. Place the motif neatly in the center of the clay slab and carefully cut along the edges of the motif with a sharp knife. Remove the pieces to be cut out carefully. Because I used fine grog clay, I can achieve nice sharp edges.
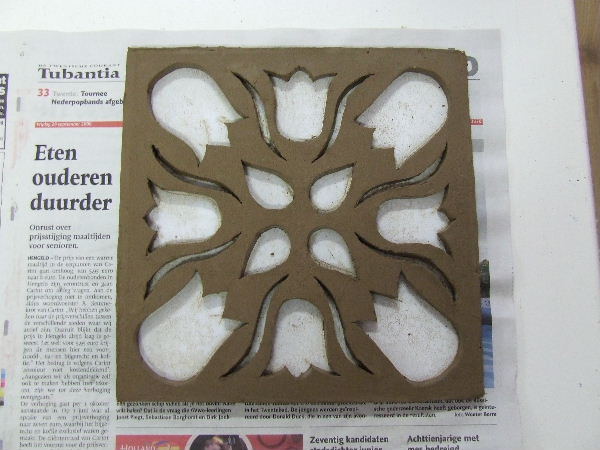
one side is doneCutting out the motif is a lot of work; you need to take your time. Ensure the clay isn’t too wet, as it will stick to your knife and create a mess.
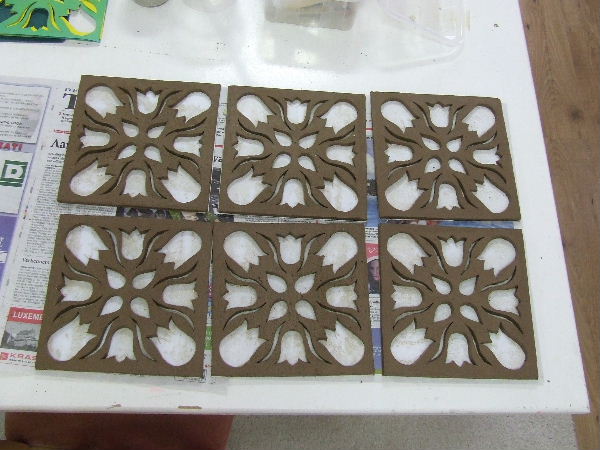
all sides are doneAll six sides are finished. The pattern is symmetrical, so you don’t need to worry about top and bottom when assembling.
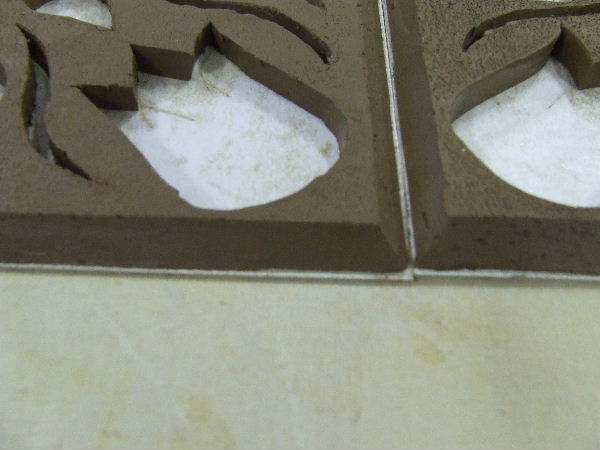
mitered edges of the slabsTo neatly join the sides together, they need to be cut at an angle, or "mitered." Do this with a sharp knife as well. The angle here is exactly 45 degrees. You can easily measure this by marking a thin line the thickness of the clay slab on the inside. Then, cut with your knife at an angle along the edge of the cardboard and through this line.
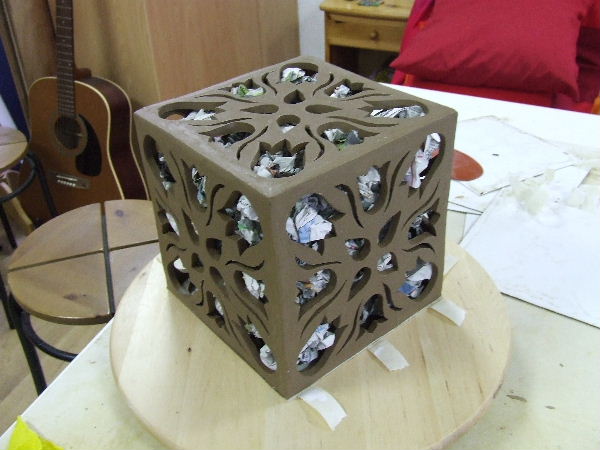
Als slabs connected to form a cubeThe mitered edges of the slabs need to be carefully scored and smeared with slip. Then, assemble the cube. First, create a corner with three slabs. Then, make another corner with two slabs. Finally, join these two corners together. It’s a meticulous task, but if the slabs are properly leather-hard, it should work. To support the structure, you can stuff some paper inside the cube. This will burn away during firing.
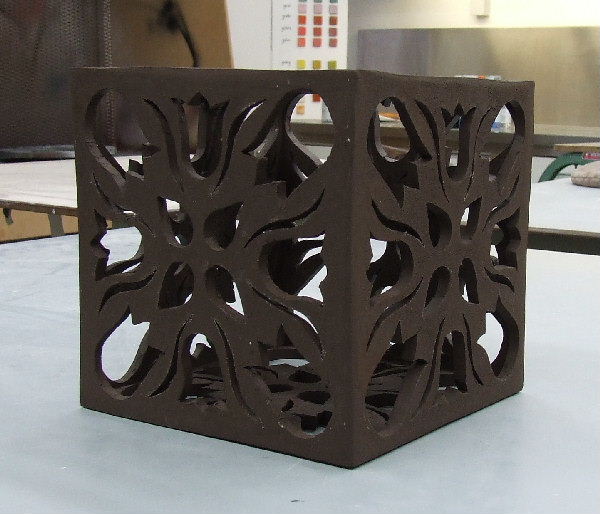
the resultOnce the piece is finished, it can be fired. I don’t want to glaze the cube. It’s made of black-firing clay, and I prefer to simply fire this piece. Glazed pieces often have a shiny finish, which I don’t want in this case.

You can see that the cube has become much darker after firing. It can become even blacker if fired again at a higher temperature.