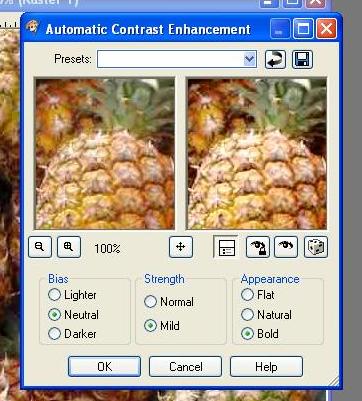
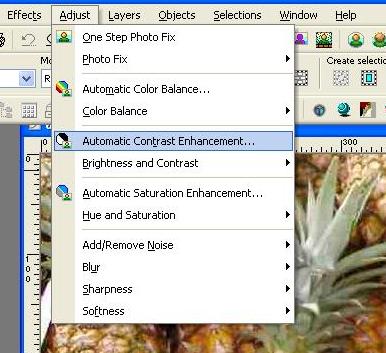
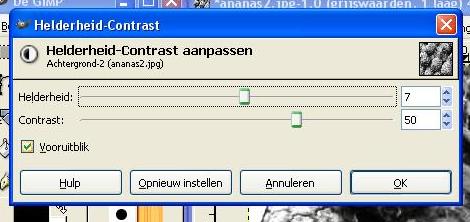
I'm going to increase the contrast slightly. In PSP, this option is included in the Adjust menu. Of course, you can do this in other ways as well, but it's better for you to discover that by playing around.
|
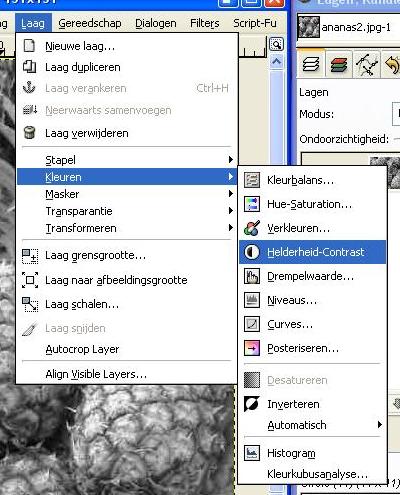
| In Gimp, you can find this option in the Layer menu - Colors - Brightness/Contrast. The dialog boxes may look slightly different, but the functionality is similar. Click on the "preview" option to see the effect immediately. |
| You can clearly see the difference in contrast in the images below. The second image will produce a much more pronounced effect when posterized. |
| Now we're going to convert the image back to grayscale. You can clearly see the effect that increasing the contrast had on the grayscale image. |
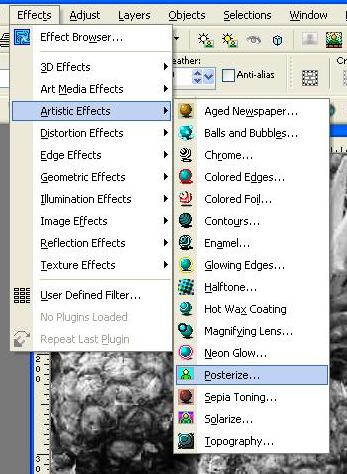
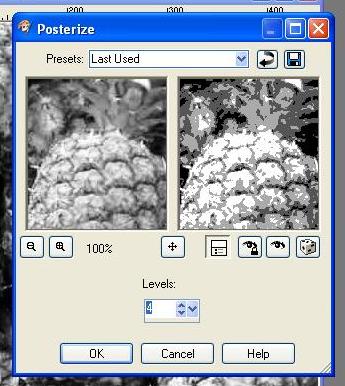
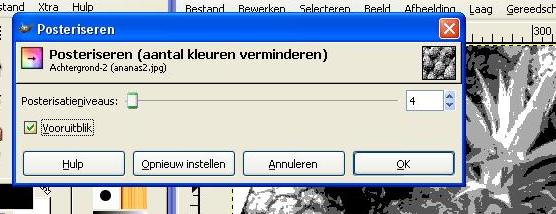
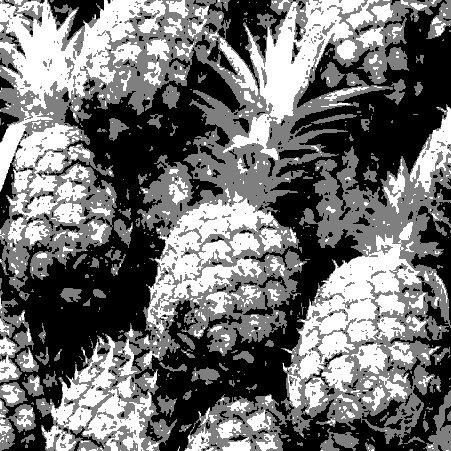
| Now we're going to apply the Posterize effect. In PSP9, you can find this in the menu Effects -> Artistic Effects -> Posterize. |
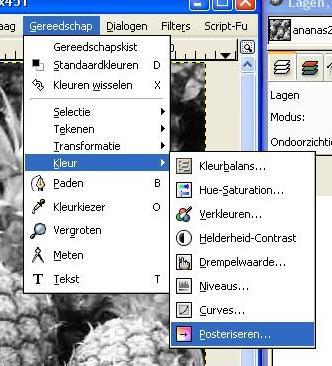
| In Gimp, you can find this option in the menu Tools -> Color -> Posterize. Don't forget to check the "preview" option. This allows you to see the result immediately. |
|
| Play around with the number of levels to achieve the best possible image. Sometimes, 3 levels are really too few. It partly depends on your image but also, of course, on personal taste. |


