Welcome at To be defined

Welcome at To be defined, a website filled with creativity. Here you will find numerous manuals in words and images on various subjects. On this page you can only see a selection. Choose from the menu on the left for more articles on your favorite topic.
pineapples

Posterize


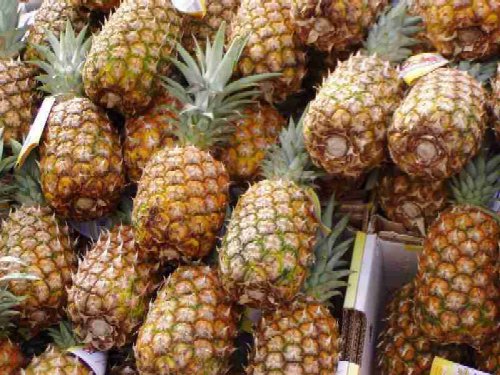
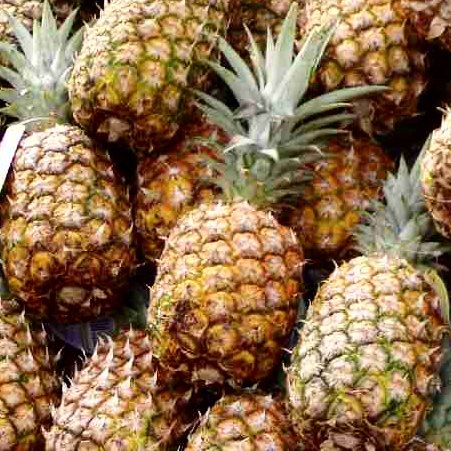
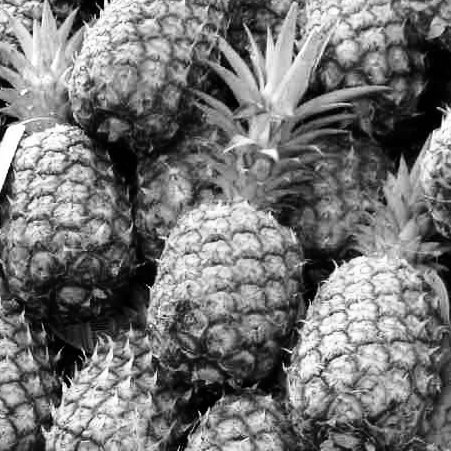
I've used the Posterize option on several images. Of course, it's just a trick, but the results are so fun that I still want to dedicate an article to it. In this example, I'm using an image of pineapples.

I explain the process in Paint Shop Pro 9, the English version, and The Gimp 2.2.10, the Dutch version. Gimp is a free package, so accessible to everyone, but I mainly work with PSP9. Undoubtedly, it can also be done with other drawing packages like Photoshop. You may have the programs in a different language, so pay attention to the images; the buttons are in the same place regardless of the language.

The explanation first covers the method using PSP and then the method using Gimp. Both packages/versions are a bit older, but the "posterize" option is likely available in other versions and software as well.

Paste as new image in GimpOpen the image you want to use. I always start by making a copy. PSP9 has a shortcut for this, SHIFT - D. Then I immediately close the original so I don't accidentally edit it. I continue working with the copy.

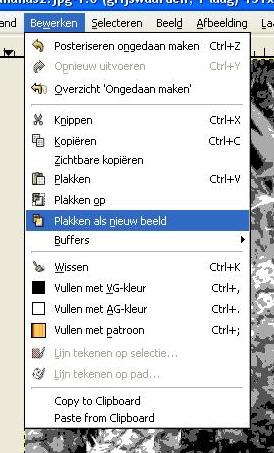
In The Gimp, I make a copy by copying the image with CTRL-C and then pasting it as a new image, as shown in the image next to this. Then I immediately close the original.
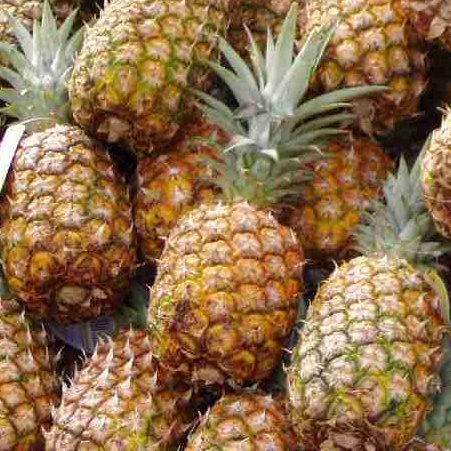
cutout from imageNot every image is suitable, you'll figure that out as you go. There shouldn't be too many colors, and repeating patterns make it very exciting. Just a matter of trying. I find the image I've selected to be too large in its entirety, so I first make a crop.

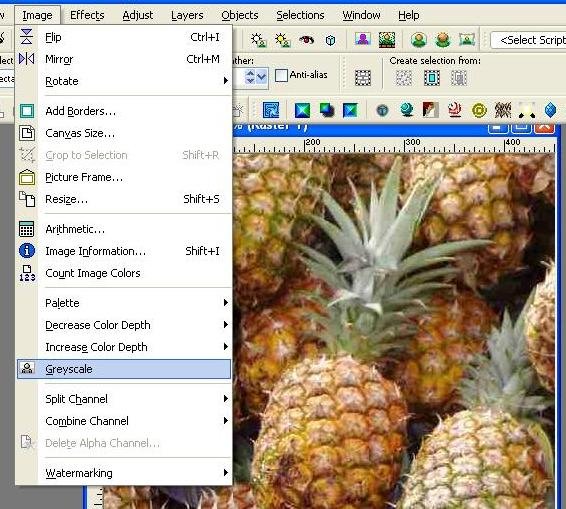
Convert to gray in PSPTo see if the image is suitable, I first convert it to grayscale. You can then see how much contrast is in the image and assess whether the result will be nice. In PSP, you do this through the menu Image -> Greyscale.
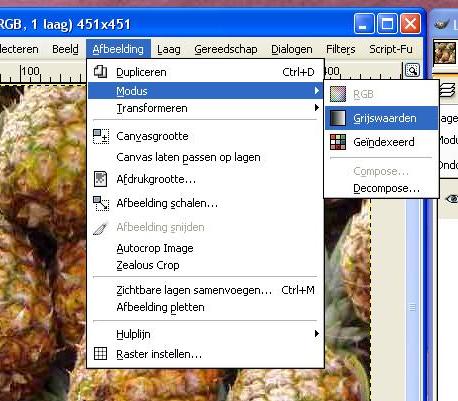
Convert to gray in GIMPIn Gimp, you can find this option in the menu Image -> Mode -> Grayscale.

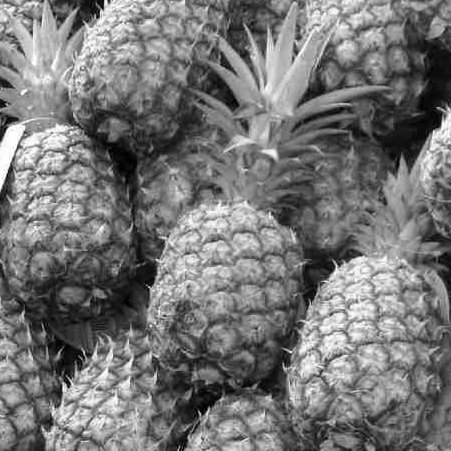
original image in grayYou can immediately see that there are many similar gray tones in it. To be able to "posterize" the image nicely, it needs more contrast. I go back to the previous image. I undo the conversion to grayscale by pressing CTRL-Z. This works for both PSP and Gimp.


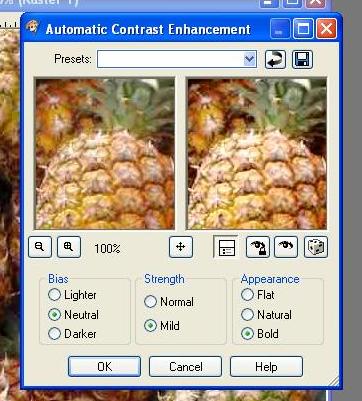
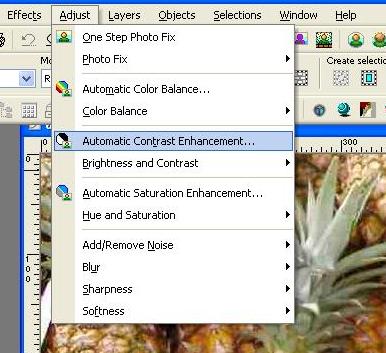
settings in PSPenhance contrast in PSPI'm going to increase the contrast slightly. In PSP, this option is included in the Adjust menu. Of course, you can do this in other ways as well, but it's better for you to discover that by playing around.

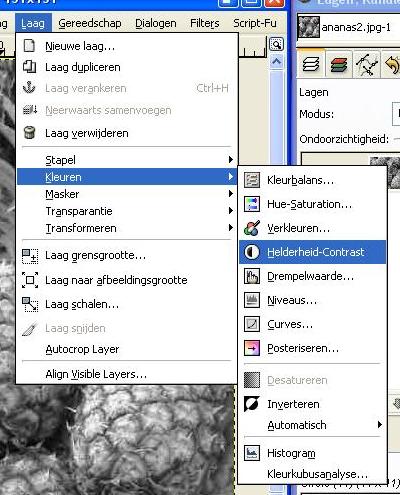
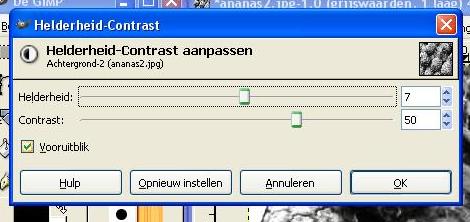
enhance contrast in GIMPpreviewIn Gimp, you can find this option in the Layer menu - Colors - Brightness/Contrast. The dialog boxes may look slightly different, but the functionality is similar. Click on the "preview" option to see the effect immediately.
before enhancing the contrastafter enhancing the contrastYou can clearly see the difference in contrast in the images below. The second image will produce a much more pronounced effect when posterized.
gray values after enhancing the contrastgray values before enhancing the contrastNow we're going to convert the image back to grayscale. You can clearly see the effect that increasing the contrast had on the grayscale image.
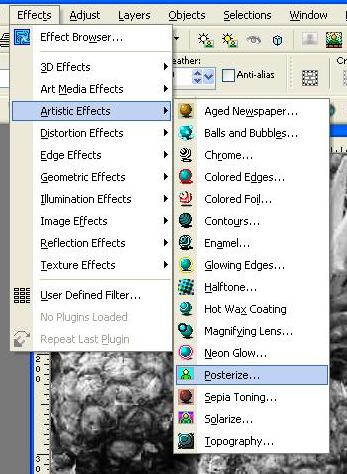
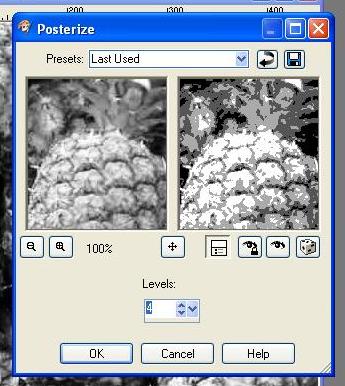
Posterize in PSP9it is immediately visibleNow we're going to apply the Posterize effect. In PSP9, you can find this in the menu Effects -> Artistic Effects -> Posterize.
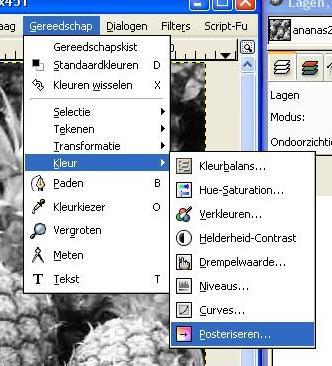
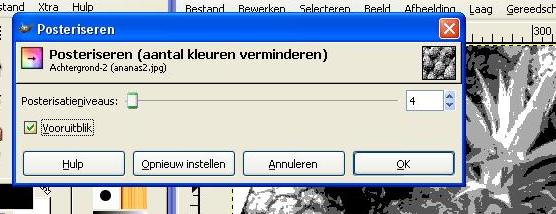
Posterize in GIMPset preview to onIn Gimp, you can find this option in the menu Tools -> Color -> Posterize. Don't forget to check the "preview" option. This allows you to see the result immediately.
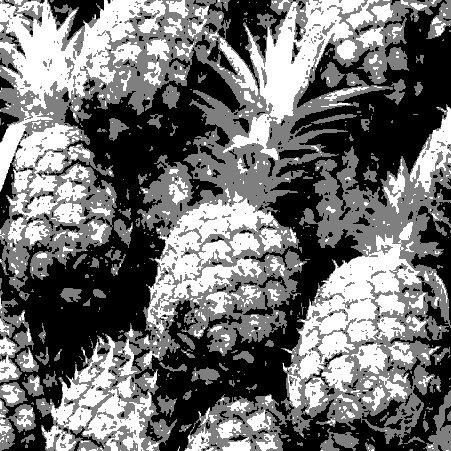
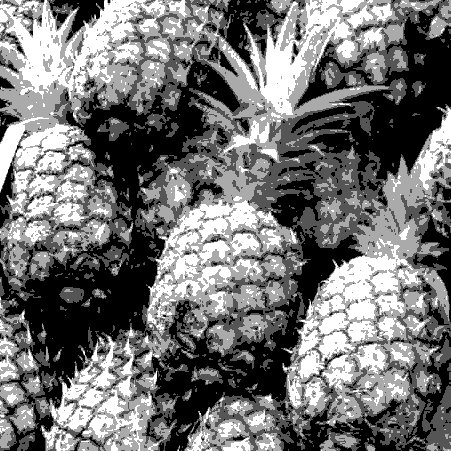
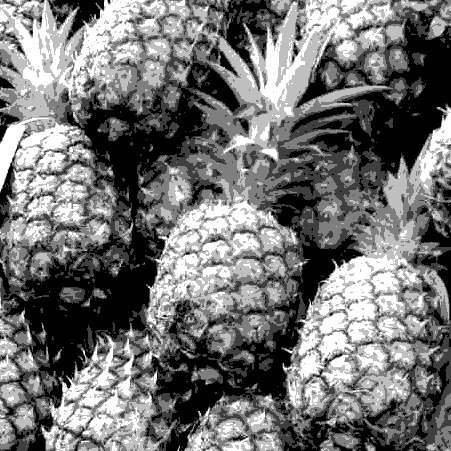
Posterize with 3 levelsPosterize with 4 levelsPosterize with 5 levels
Play around with the number of levels to achieve the best possible image. Sometimes, 3 levels are really too few. It partly depends on your image but also, of course, on personal taste.


Below are some images edited with this option to give you an idea of the possibilities.
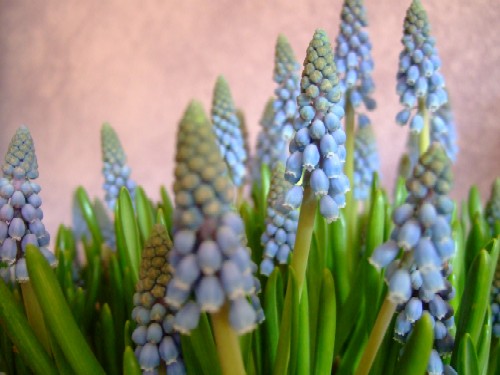
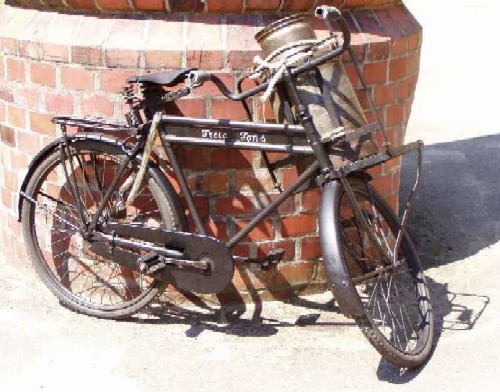
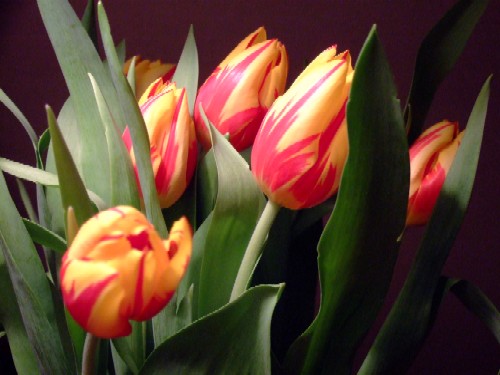
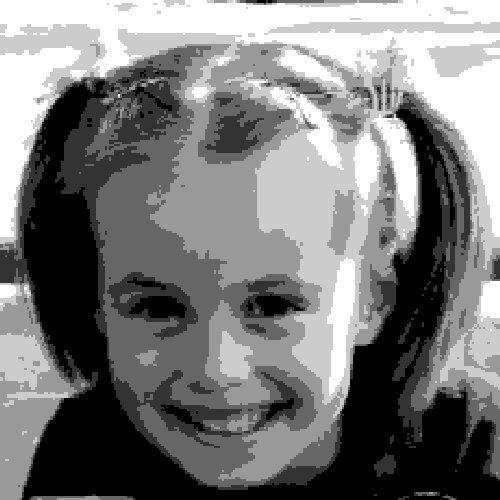
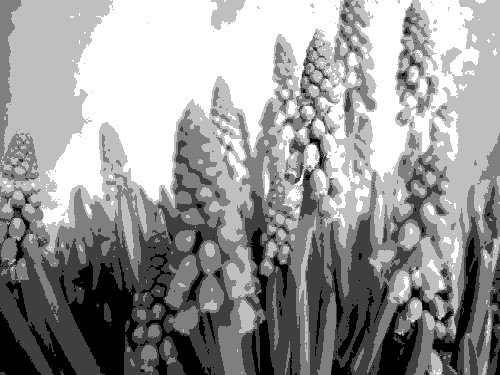
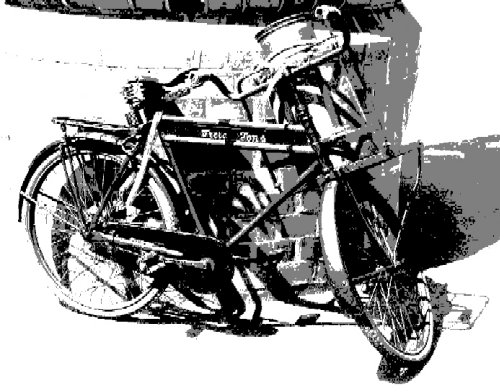
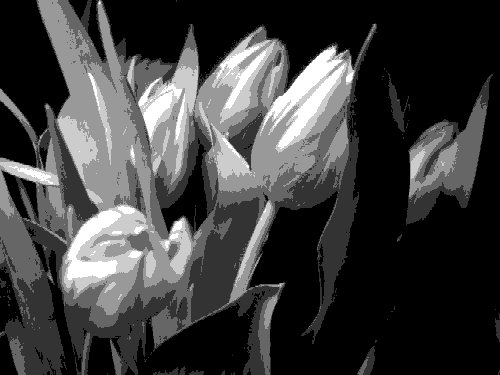
GirlBlue bellsOld bikeTulips
Girl, PosterizedBlue bells, PosterizedOld bike, PosterizedTulips, Posterized
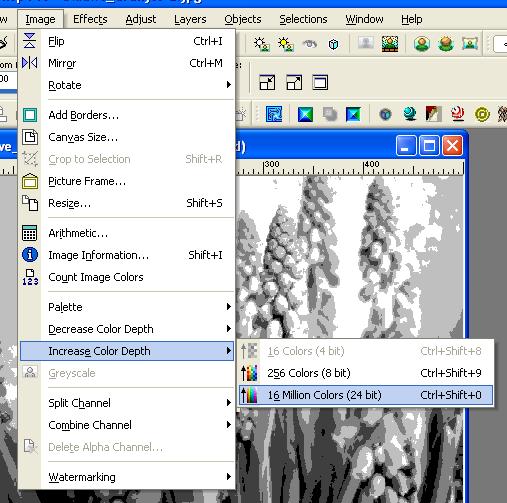
converting to color again in PSPIf you want to continue working with your posterized image and add color, you'll first need to prepare the image for that. In PSP, you can do this by going to the menu Image - Increase color depth - 16 million colors (24-bit).
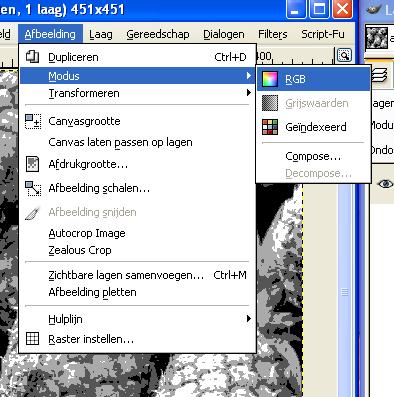
converting to color again in GIMPIn Gimp, you can do this by going to the menu Image - Mode - RGB.

Of course, you can still add various fun edits to your image now. Consider, for example, replacing the colors as described in the acrylic project, "Roos" from PTP 12. You can also create a whole new image from pieces of other images, somewhat like a collage. In short, there are still many directions you can take to make it your own image.
Despite it being just a "trick," it's a very fun and useful one. You can use it as a basis for more abstract pieces, for example. Just try to avoid basing your entire portfolio on such a trick. Use it when it's fun, but don't forget to keep searching for other challenges.