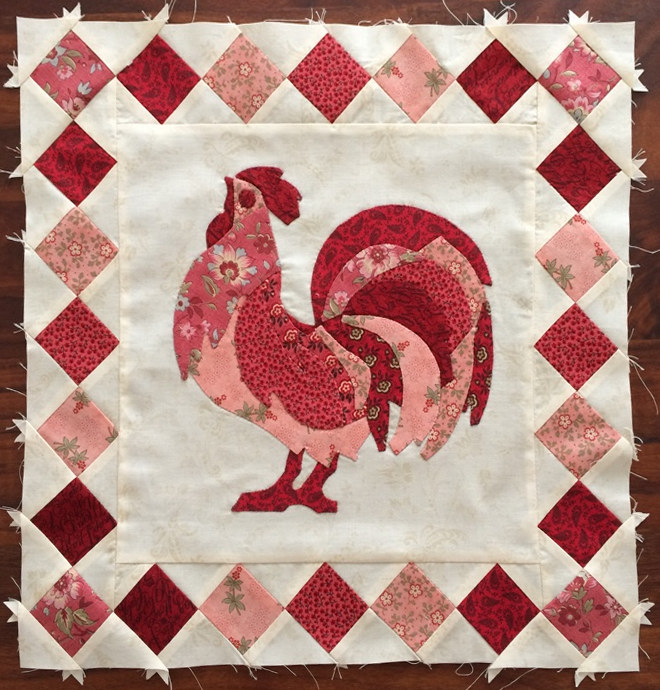
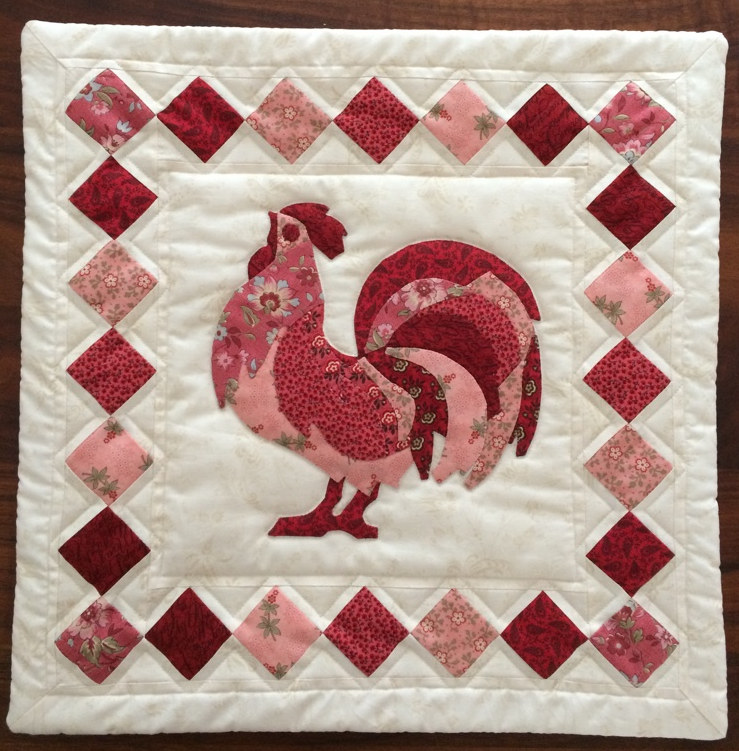
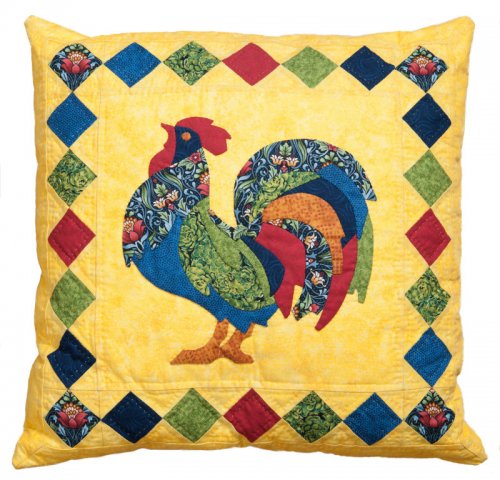
| In the pattern, you will find the parts of the border as templates or rotary cutting. The template for the center block (the rooster) consists of two parts (pages 3 and 4). You can tape these pages together and use them to position the rooster neatly in the center of your cushion. To do this, cut out the middle part of the template, leaving the seam allowance. Now you have two taped pages with a large hole in the middle. Slide this paper over your piece with the rooster until the rooster is nicely centered in the hole. Check with a ruler if your hole is square and adjust the paper if necessary. Now you can mark the four corners on the fabric with the applique using a water-soluble pen. Connect the points with a ruler and the water-soluble pen. You now have the stitching lines for your applique on the fabric. Cut out the applique with a seam allowance of 1/4 inch. Attach the diamond border to this. |
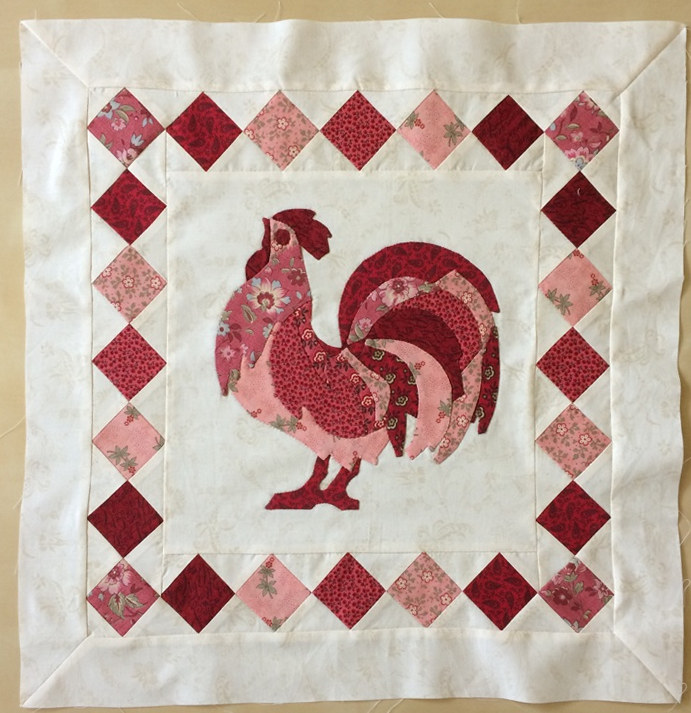
| Here, the outer border with a diagonal seam is attached to the diamond border. You can do this by hand or with a sewing machine. |
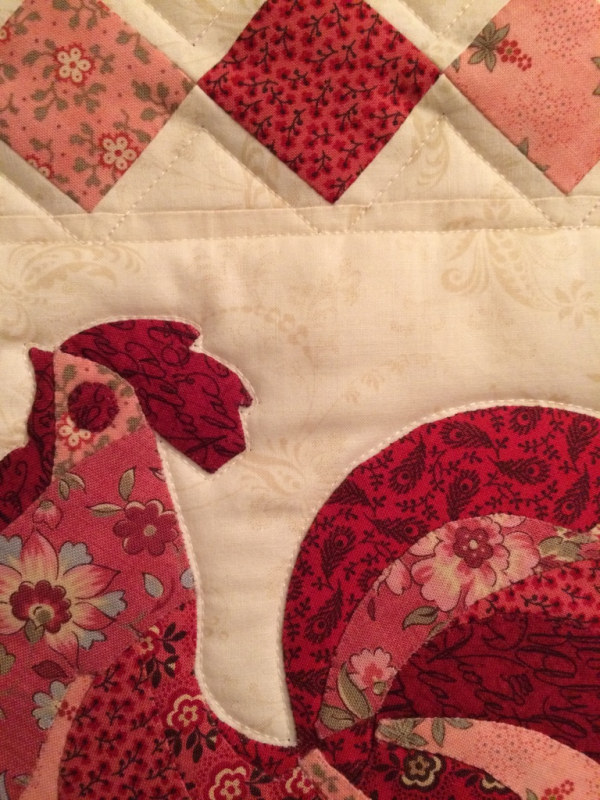
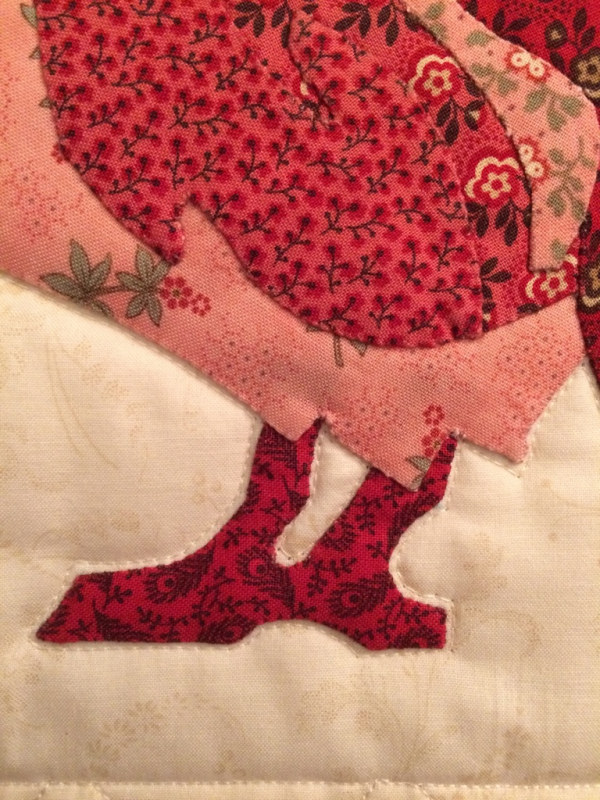
| To make the rooster stand out nicely, place the piece on batting, with a backing fabric underneath, and quilt it. I stitched close to the outside of the rooster with the sewing machine, using thread in the color of the background so it doesn't show. |
| In some areas, this can be tricky due to the small curves. Sew slowly and carefully, and don't forget to quilt the space between the two legs. |
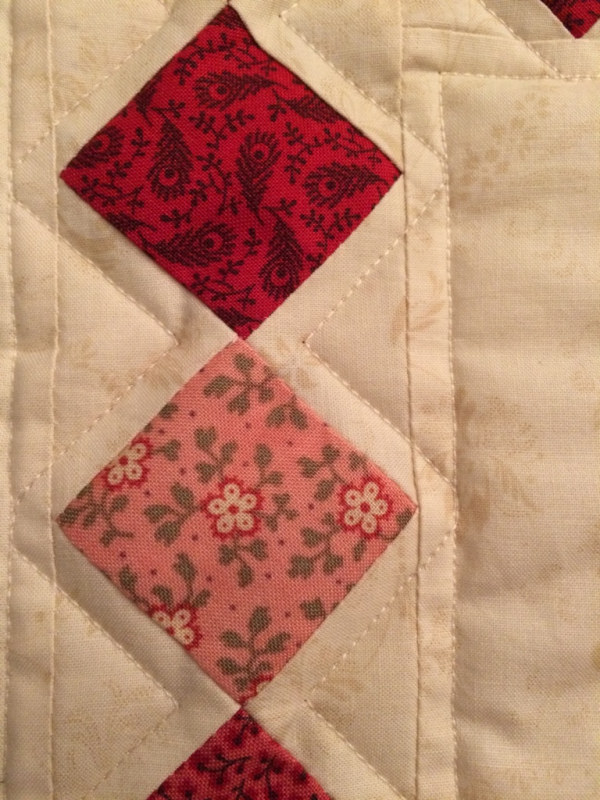
| The diamond border is quilted 1/4 inch from the seam, as is the long seam of the border itself. You can see this clearly in the photo next to it. |
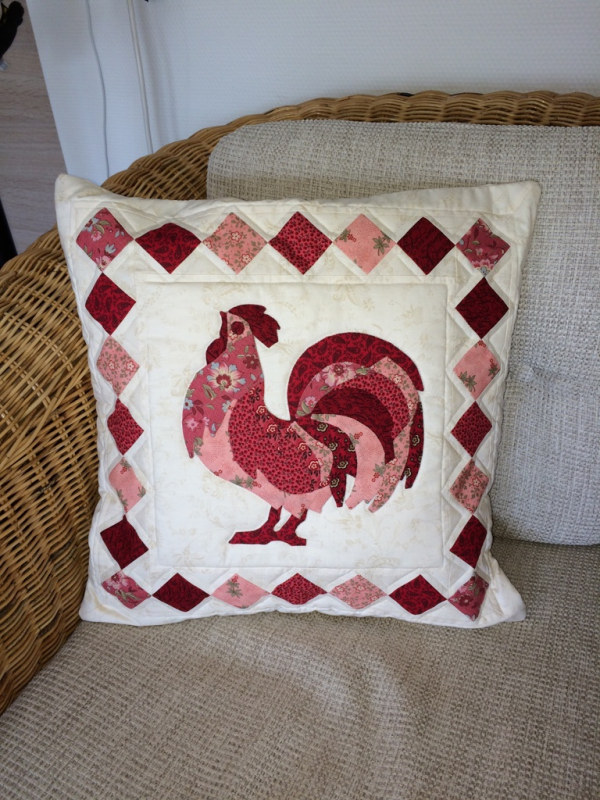
| Once the mini quilt is completely finished, make a back for it. Make the back out of two pieces so you can insert a cushion. Instructions on how to do this are briefly described at the end of the article with the butterfly cushion. |
| Using a firm cushion will make your rooster look the best. |
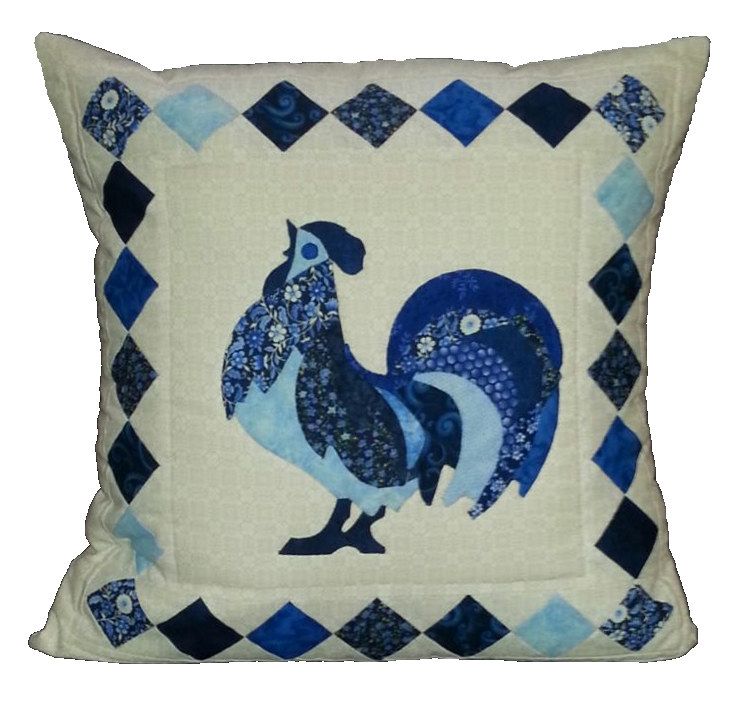
| I made the rooster here in red tones, but other color combinations also give beautiful results, such as blue or multiple colors. |


