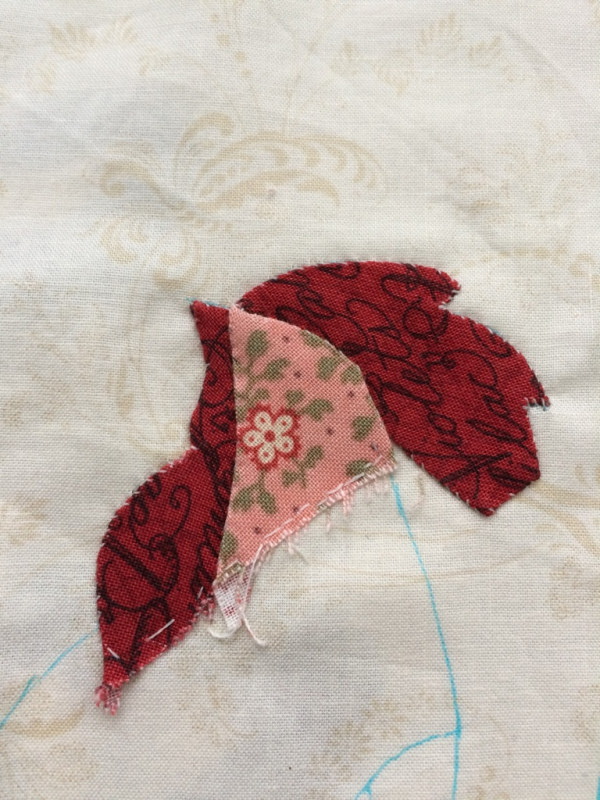
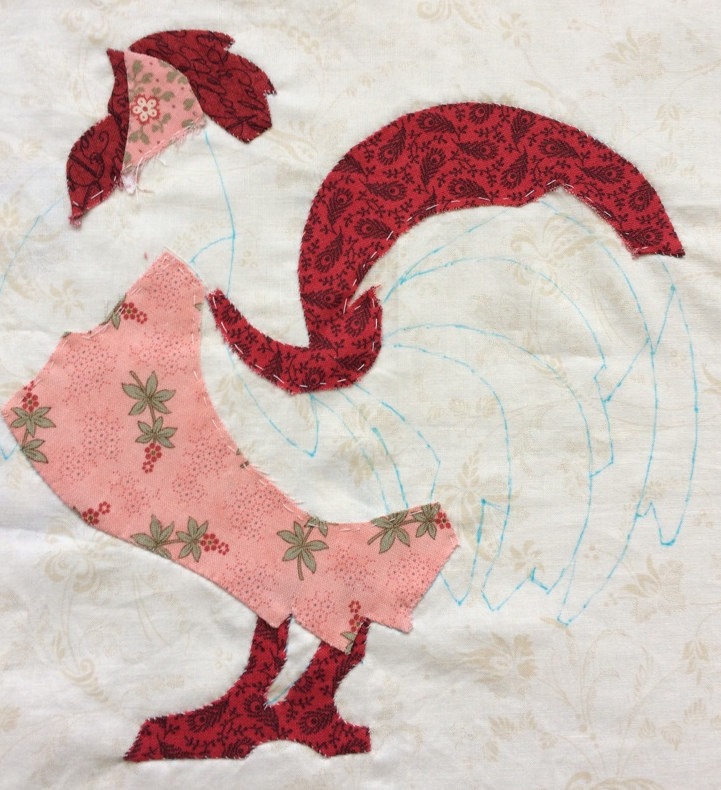
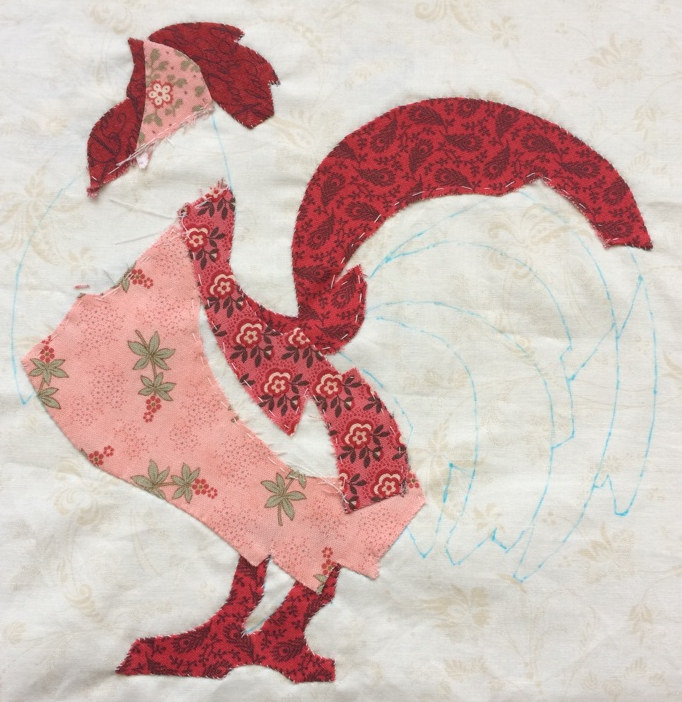
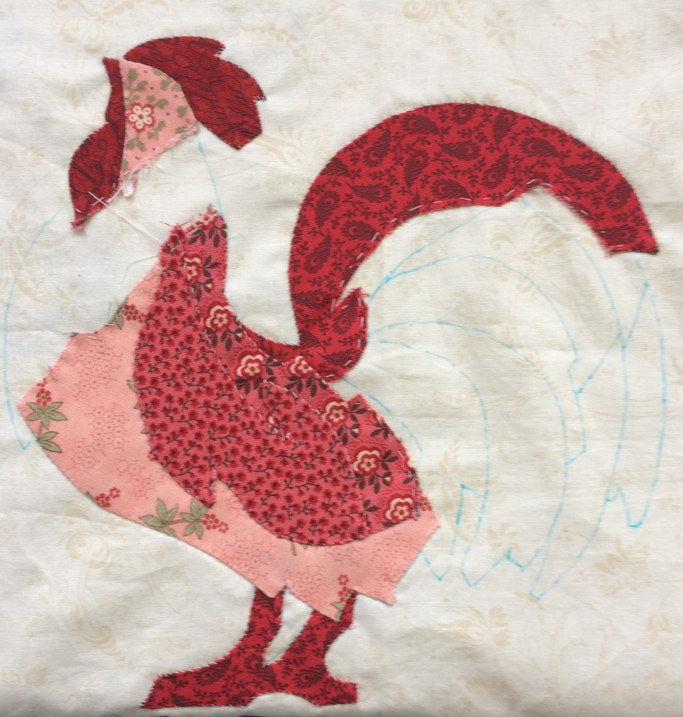
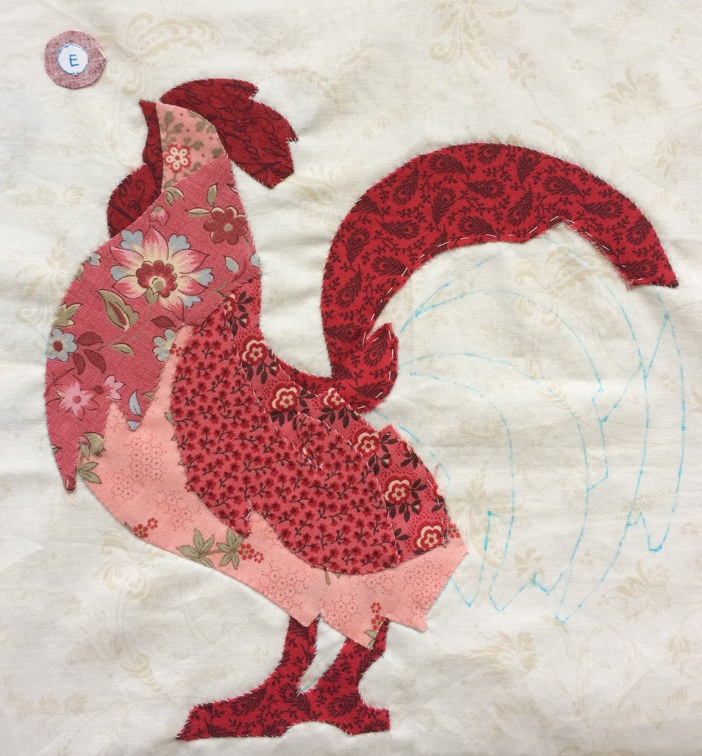
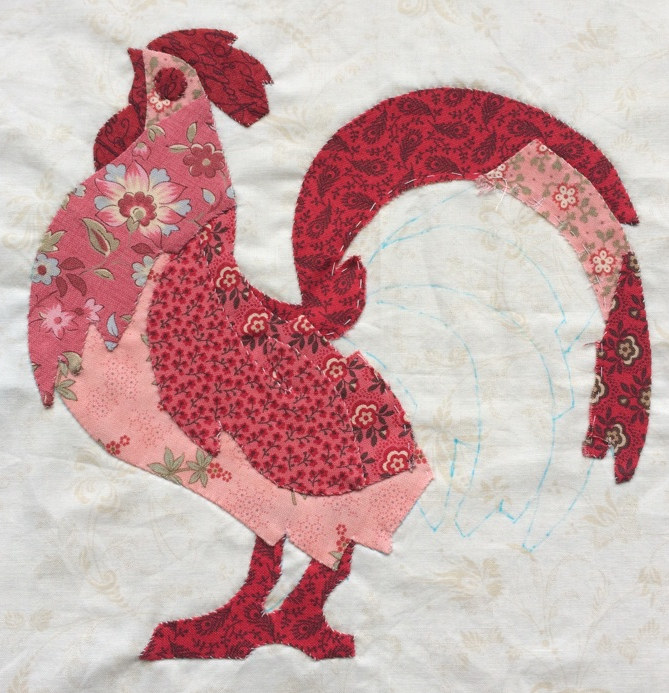
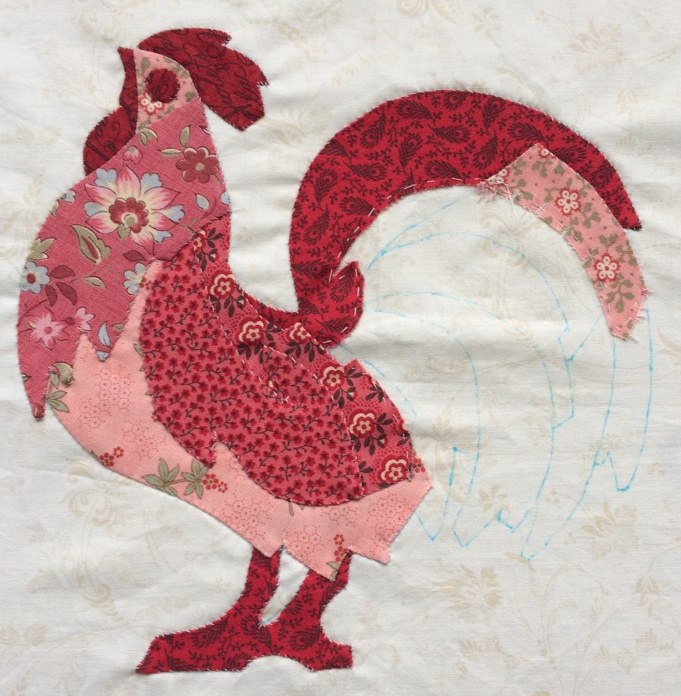
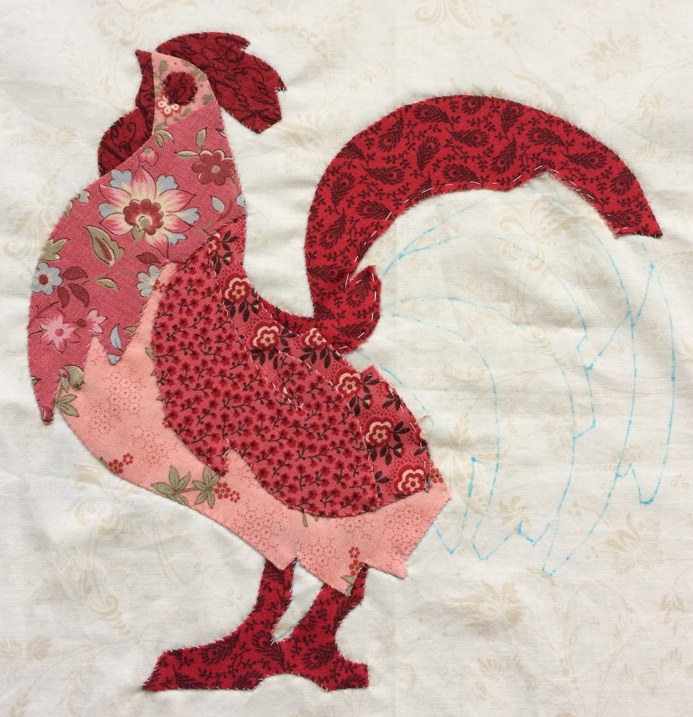
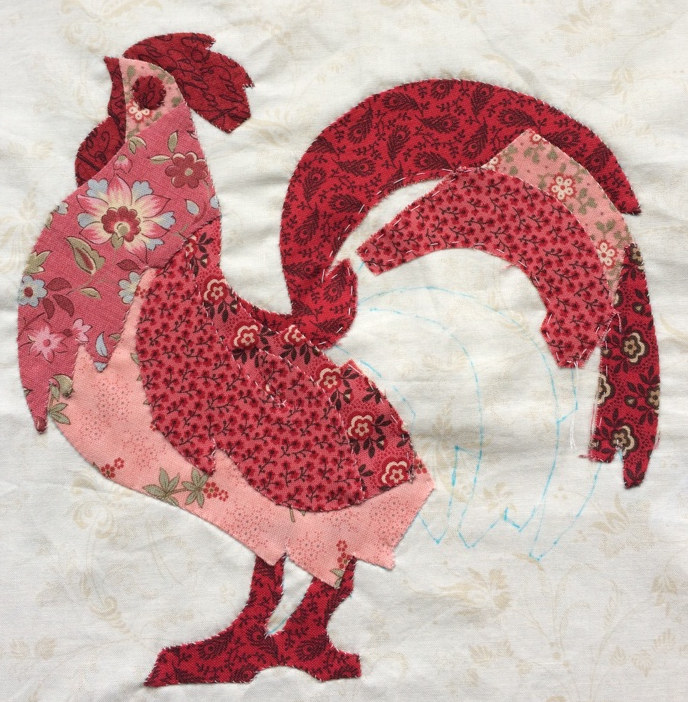
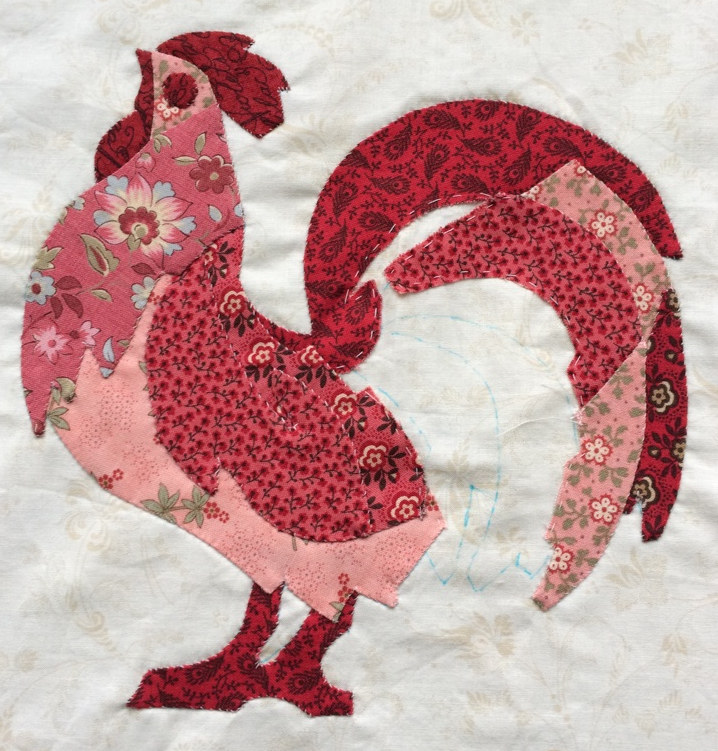
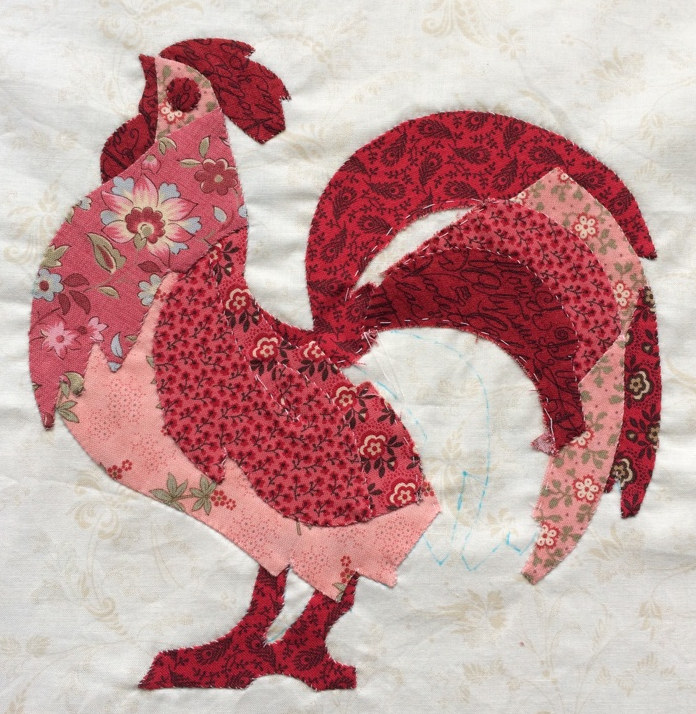
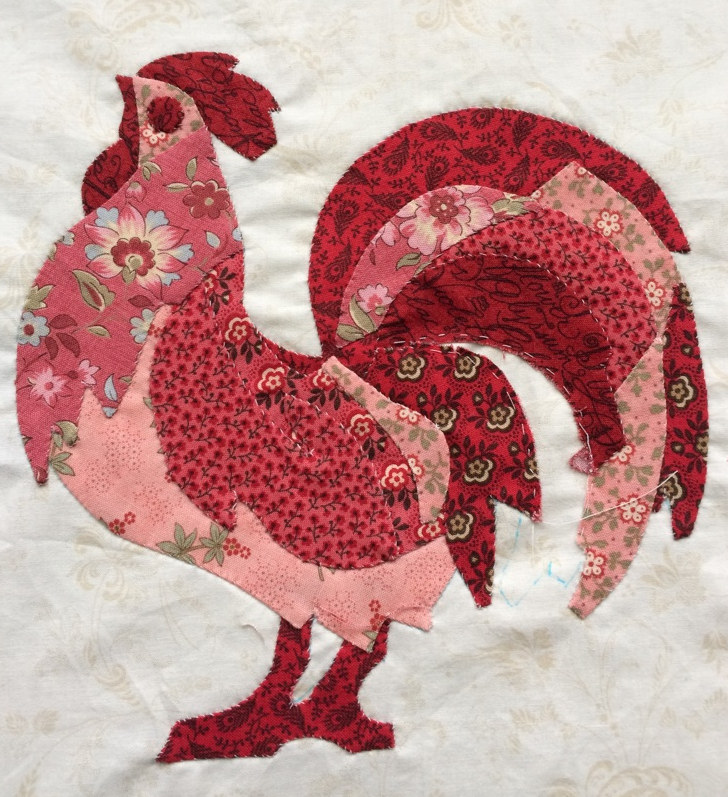
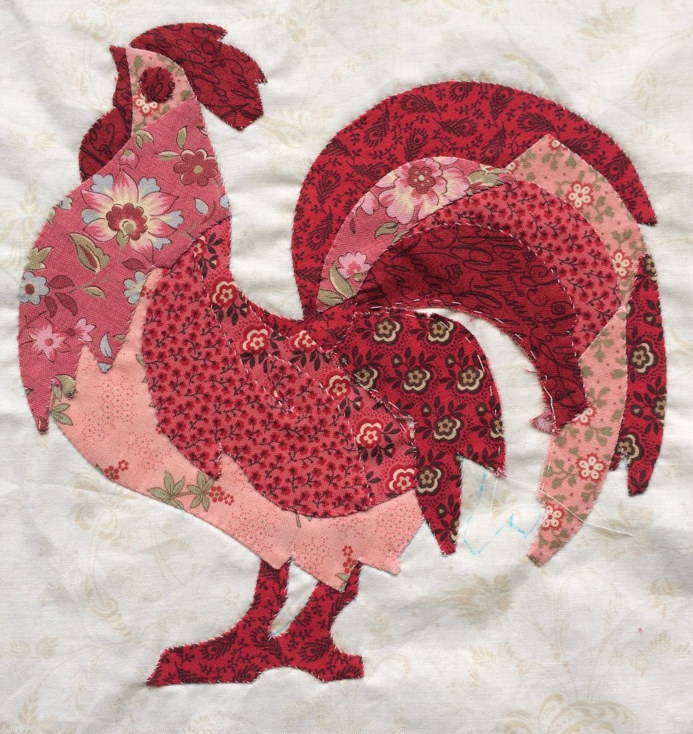
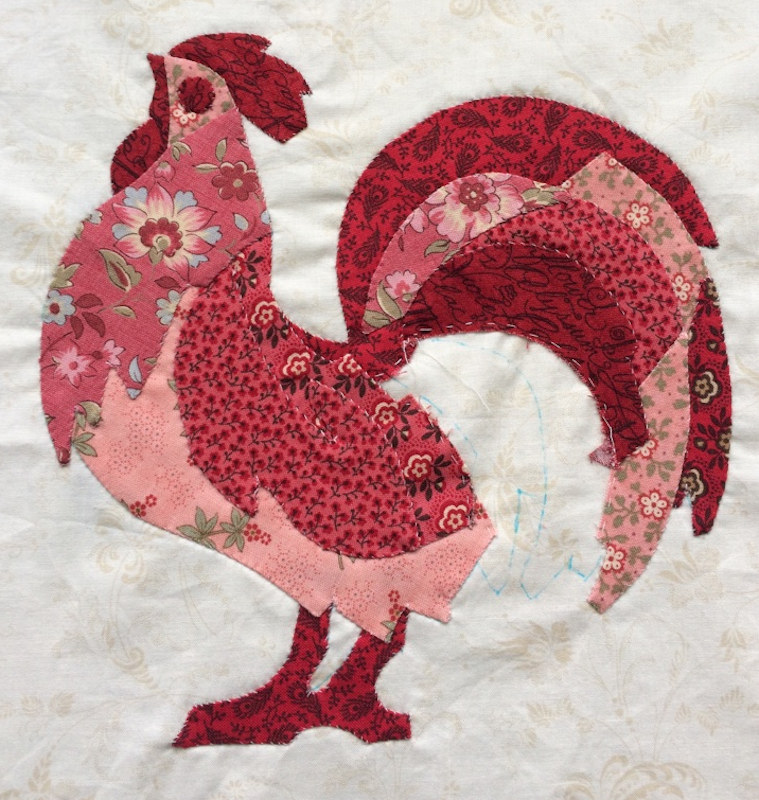
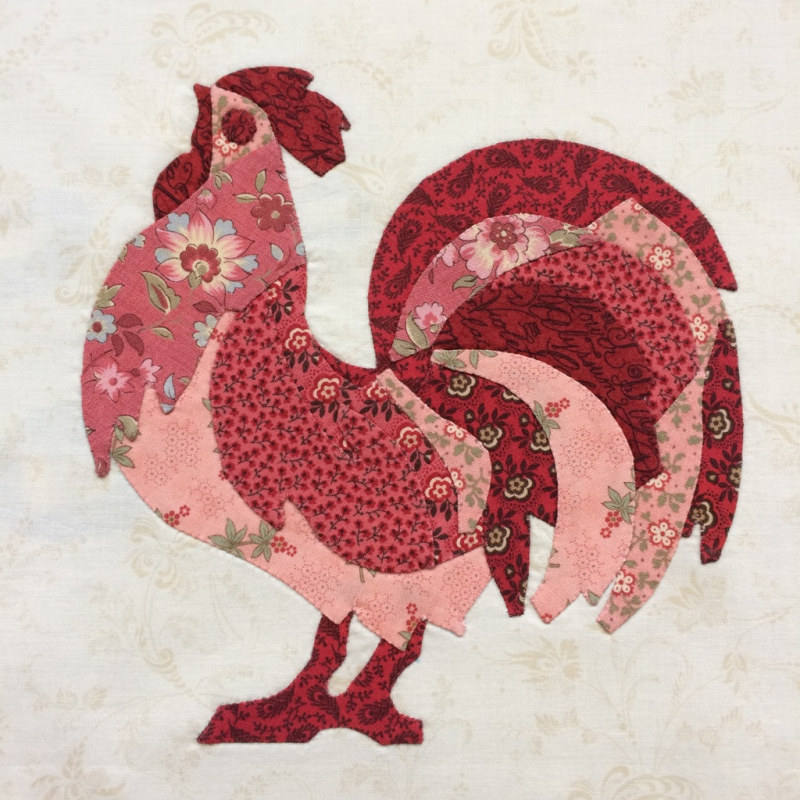
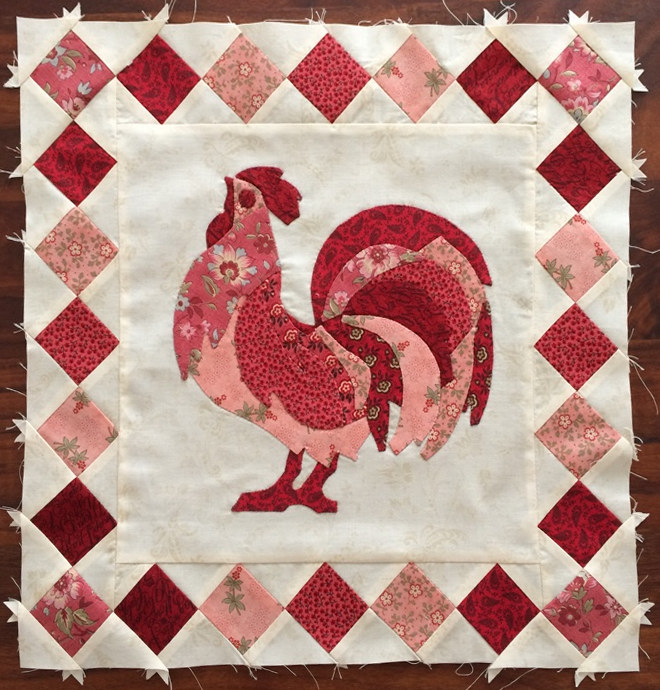
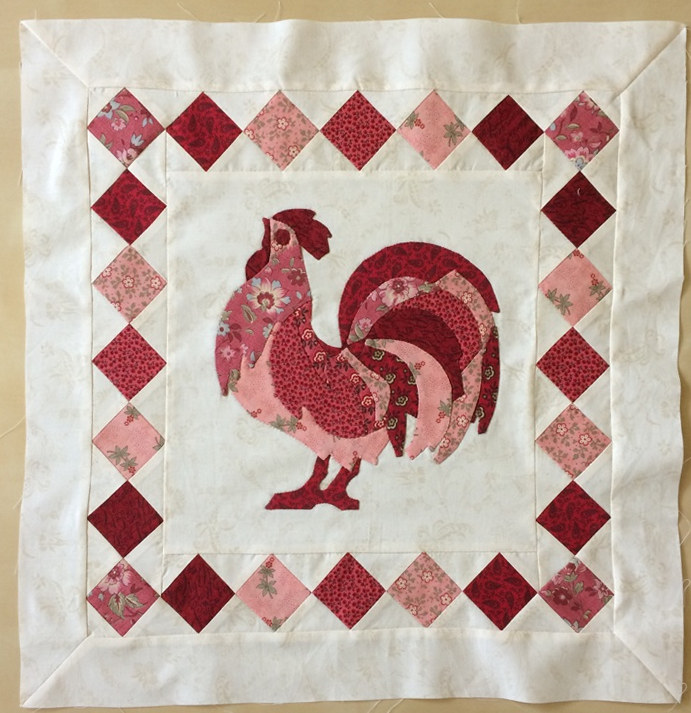
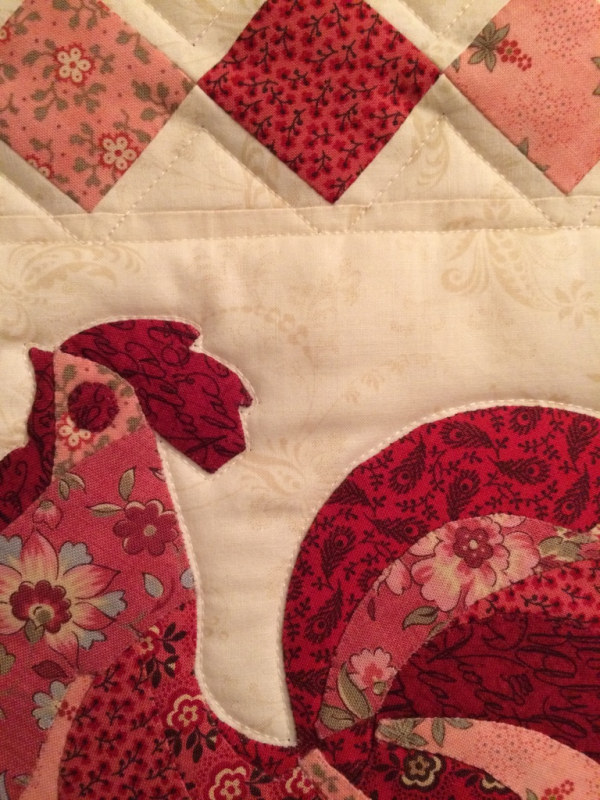
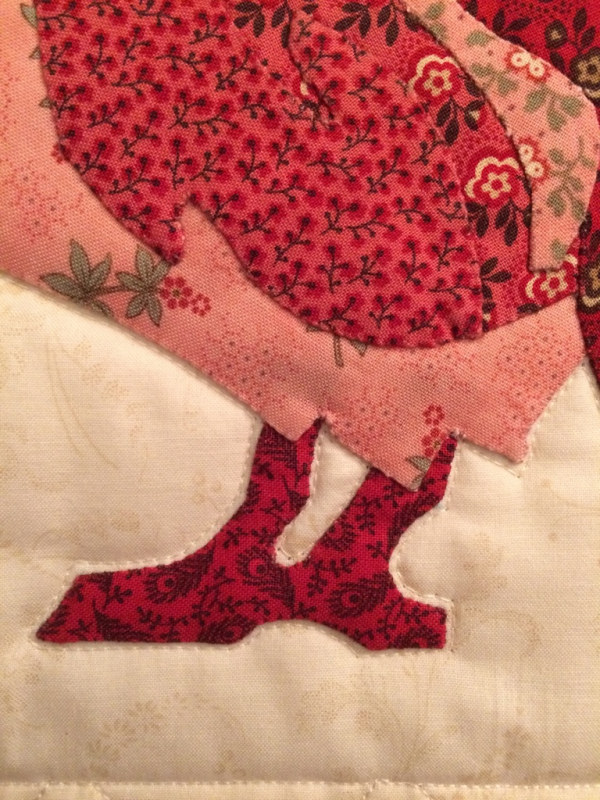
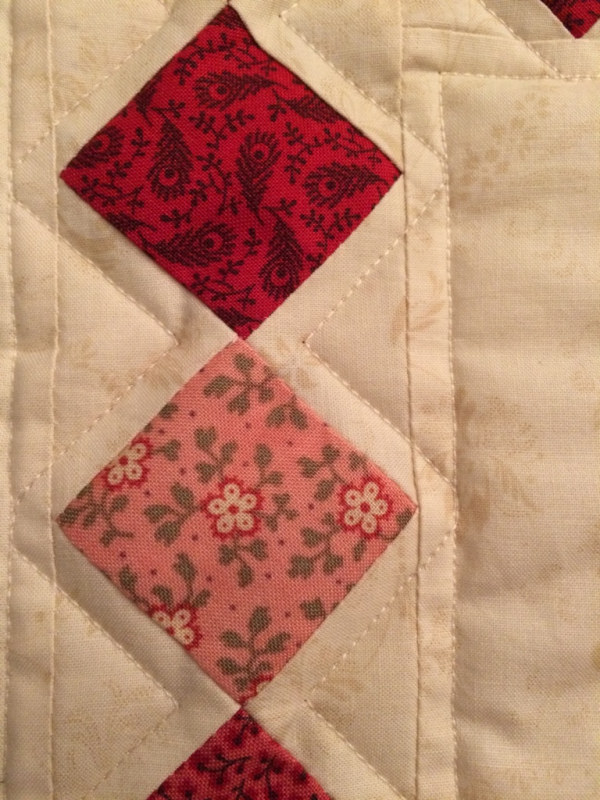
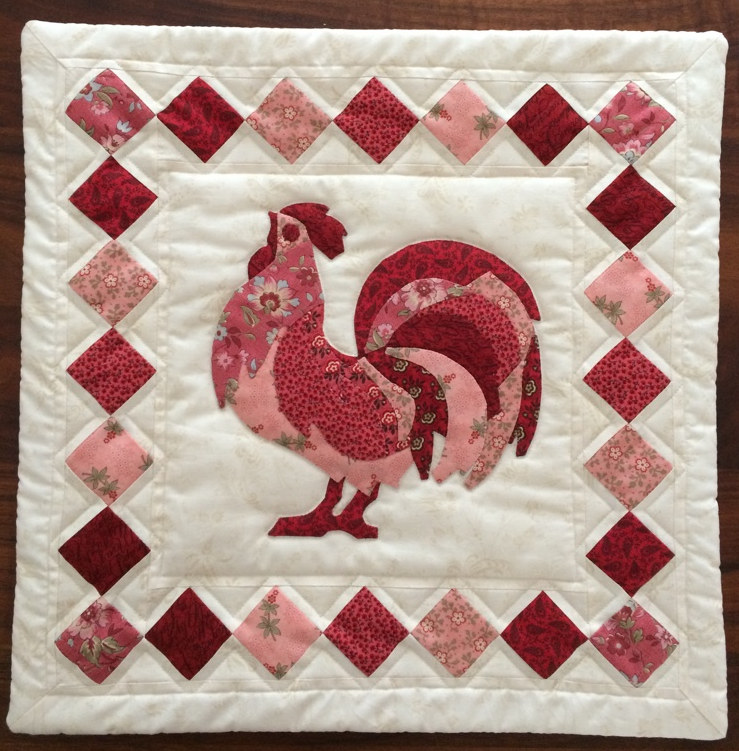
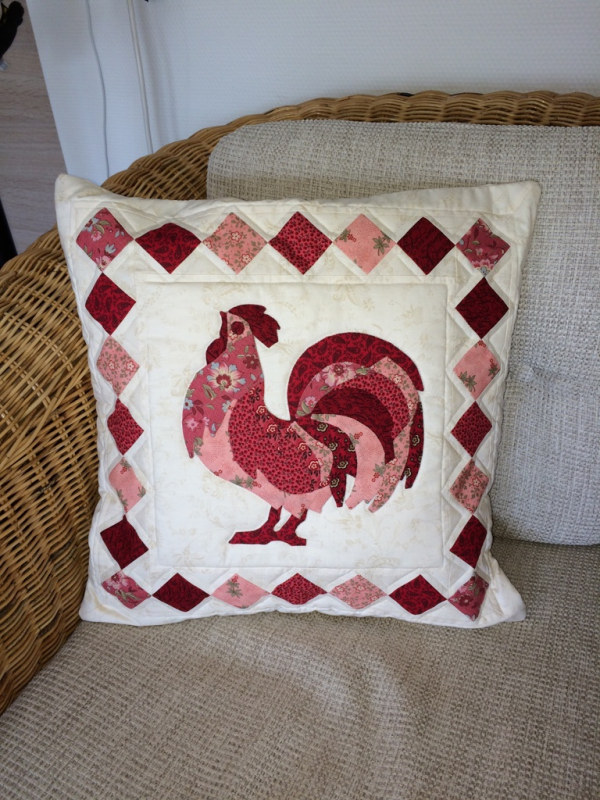
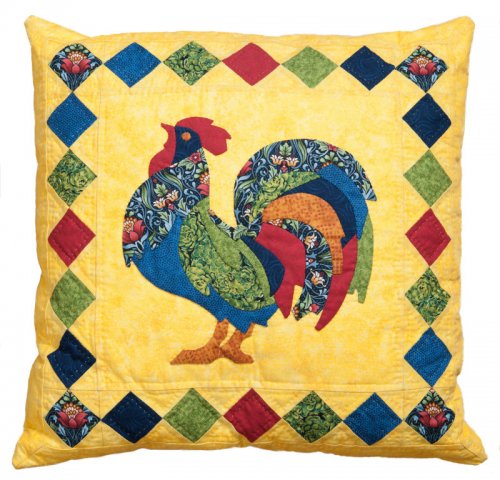
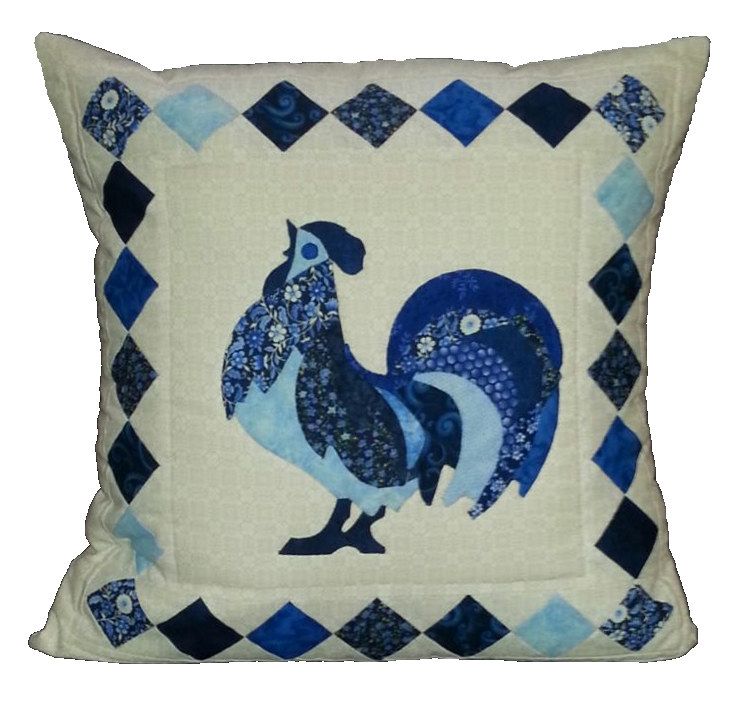
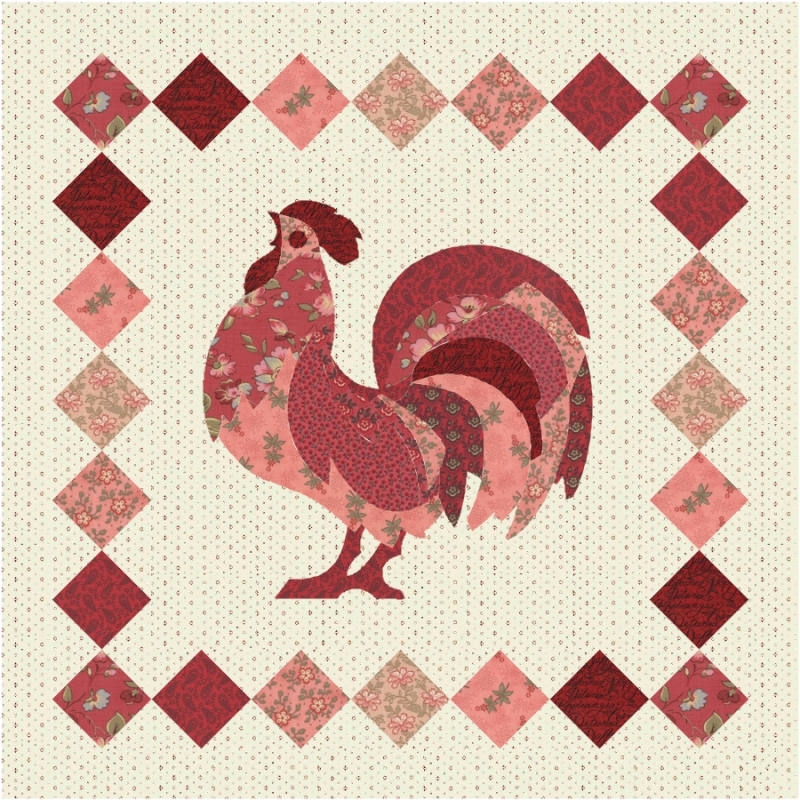
 I have some leftover fabric from my large 365 Challenge quilt. I want to make a 40x40 cm cushion out of it. An applique seems like a fun idea. I have some leftover fabric from my large 365 Challenge quilt. I want to make a 40x40 cm cushion out of it. An applique seems like a fun idea. |
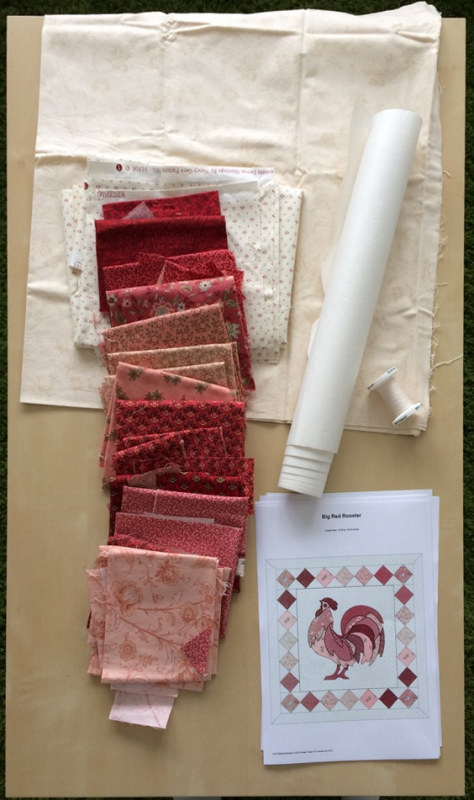 For making this cushion, you will need a few things. First, of course, some leftover fabric. As you can see, most of the fabric is used in the background of the cushion. You will need about half a meter for this. Besides the large piece for the background, you will need at least 6 different scraps of fabric. For making this cushion, you will need a few things. First, of course, some leftover fabric. As you can see, most of the fabric is used in the background of the cushion. You will need about half a meter for this. Besides the large piece for the background, you will need at least 6 different scraps of fabric.This technique uses Freezer paper. Freezer paper has a shiny plastic coating on one side. By placing the paper with that side on the fabric and pressing it with a hot iron, it adheres to the fabric. The Freezer paper comes off easily and leaves no glue residue. Of course, you will also need the pattern for this cushion. You can download that pattern here. |
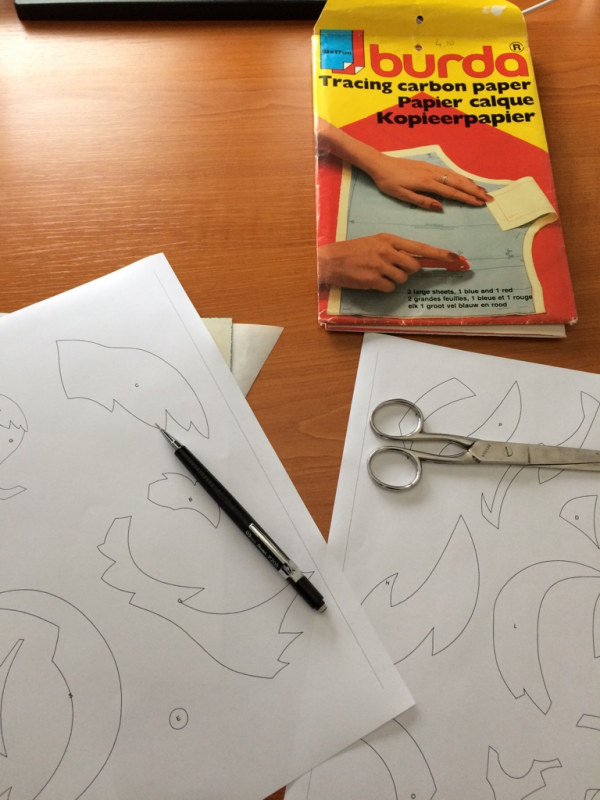 Carbon paper is very handy for transferring the pattern onto the freezer paper. You can easily use black carbon paper from the stationery store. I have some colored carbon paper from Burda that I use. You will also need a paper scissors and a pencil with a hard point. I use a mechanical pencil. To trace the large pattern onto the background fabric, I also use a special pen that disappears when it gets wet. There are different types of these pens. Some disappear when you go over them with an iron, but that's less convenient because you might want to iron your pattern from time to time. Carbon paper is very handy for transferring the pattern onto the freezer paper. You can easily use black carbon paper from the stationery store. I have some colored carbon paper from Burda that I use. You will also need a paper scissors and a pencil with a hard point. I use a mechanical pencil. To trace the large pattern onto the background fabric, I also use a special pen that disappears when it gets wet. There are different types of these pens. Some disappear when you go over them with an iron, but that's less convenient because you might want to iron your pattern from time to time. |
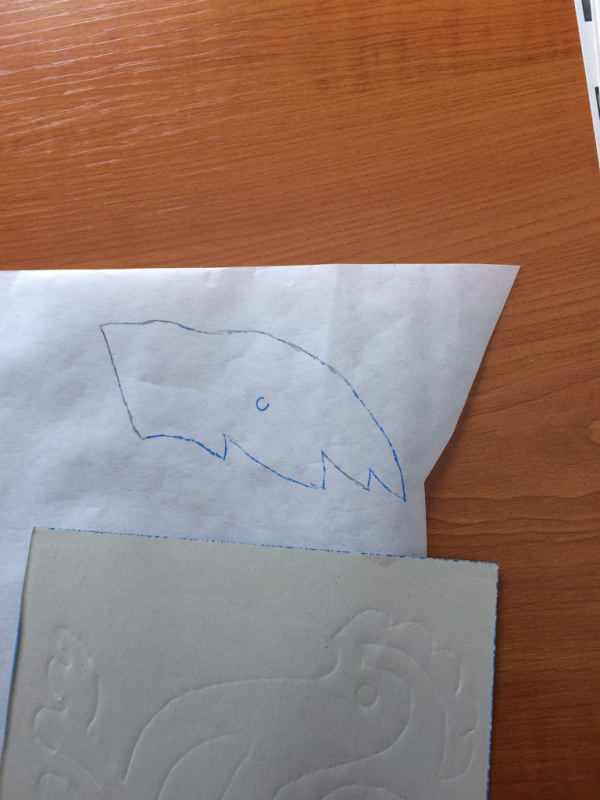 Once you have downloaded the pattern, print it out. Make sure not to scale the pattern, or the measurements will be off. Transfer the small pieces one by one to the rough side of the freezer paper. The easiest way to do this is with carbon paper. Simply trace over the patterns with the pencil. Press hard enough so the pattern transfers well. If you look closely, you'll see that all the pieces are in reverse. This is also noted at the top of the pattern (pages 10 and 11). Once you have downloaded the pattern, print it out. Make sure not to scale the pattern, or the measurements will be off. Transfer the small pieces one by one to the rough side of the freezer paper. The easiest way to do this is with carbon paper. Simply trace over the patterns with the pencil. Press hard enough so the pattern transfers well. If you look closely, you'll see that all the pieces are in reverse. This is also noted at the top of the pattern (pages 10 and 11). |
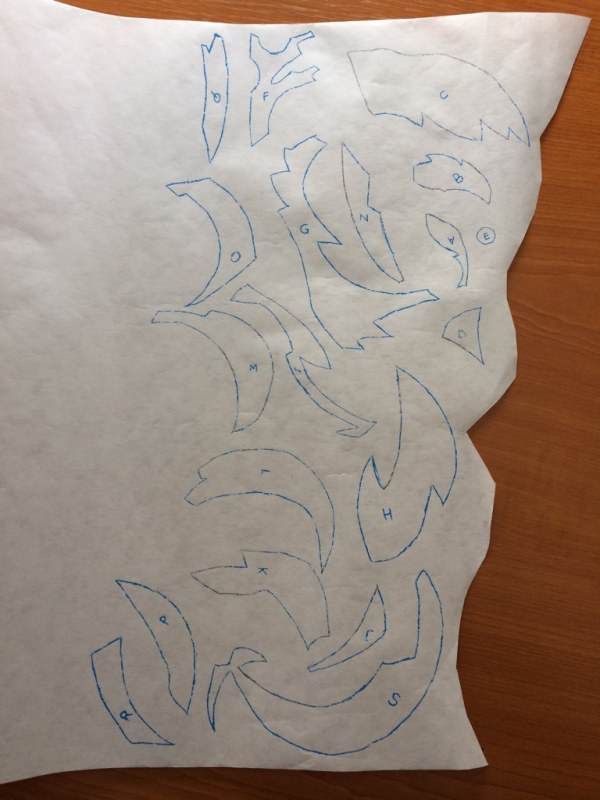 By shifting the pattern a bit, you can transfer all the pieces as close together as possible. If the carbon paper is unclear on some pieces, touch it up with the pencil. By shifting the pattern a bit, you can transfer all the pieces as close together as possible. If the carbon paper is unclear on some pieces, touch it up with the pencil. |
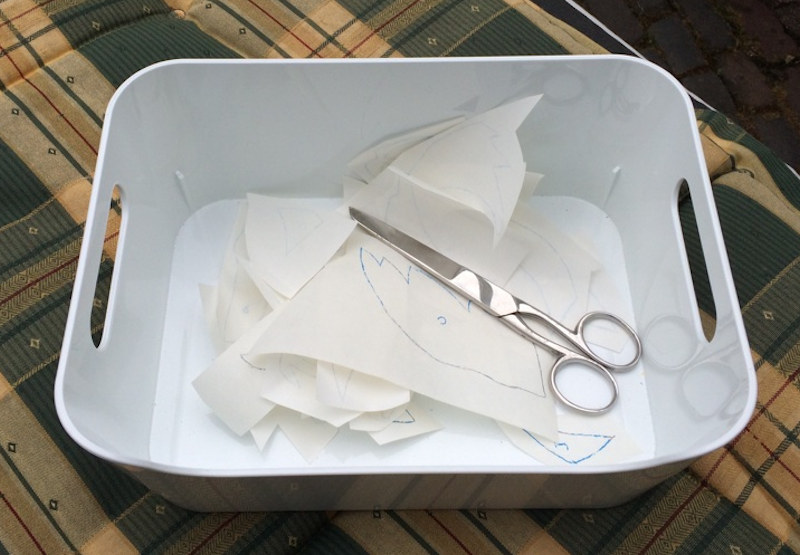 After transferring all the pieces to the freezer paper, they need to be cut out accurately. Cut as neatly as possible. I find it handy to store all the pieces in a small container. Some pieces are very small and easy to lose. After transferring all the pieces to the freezer paper, they need to be cut out accurately. Cut as neatly as possible. I find it handy to store all the pieces in a small container. Some pieces are very small and easy to lose. |
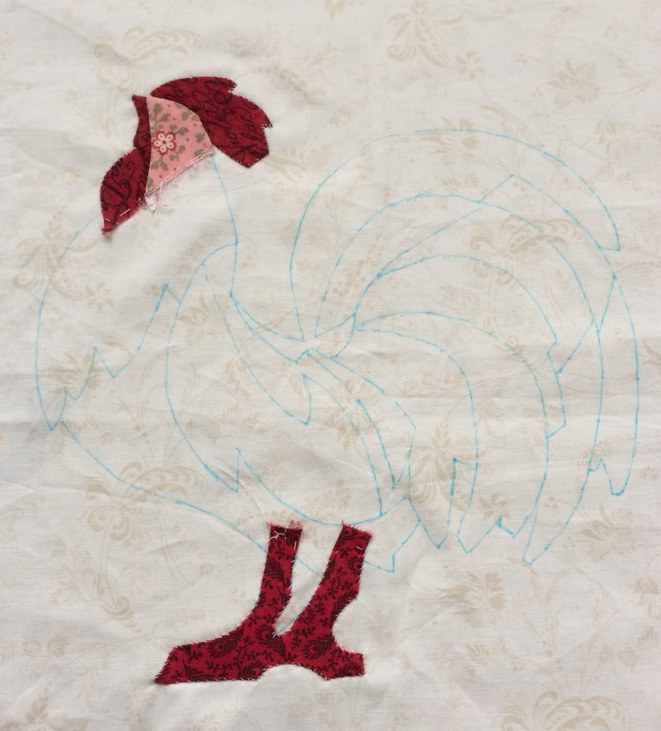
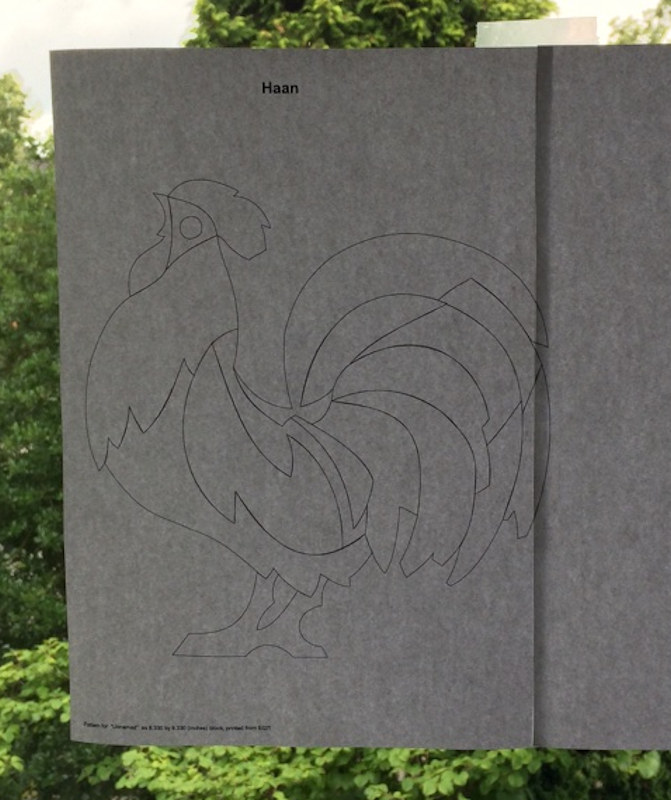 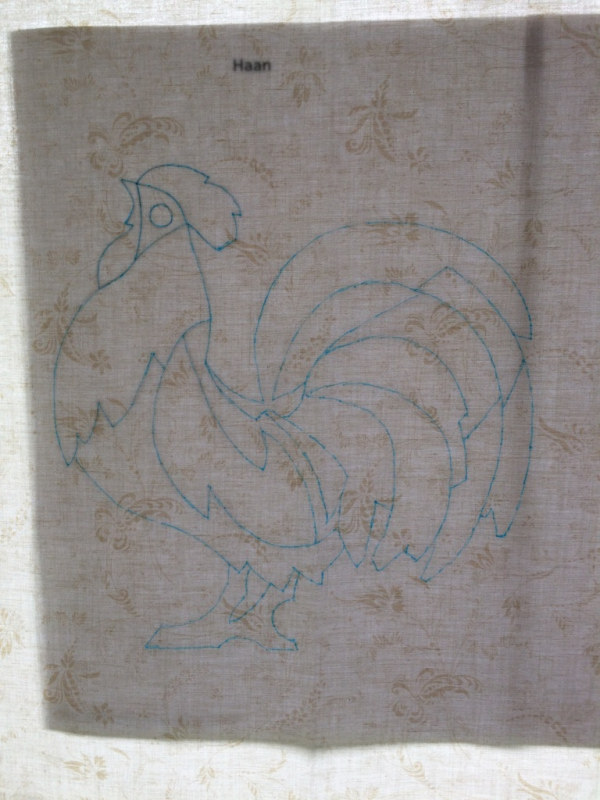 Once you have cut out all the pieces neatly, tape the two pattern pieces of the rooster together (pages 8 and 9). The rooster needs to be transferred to the background fabric. I chose a light cream-colored fabric for this. You can do this with a light box, but if you don't have one, this method also works well: Once you have cut out all the pieces neatly, tape the two pattern pieces of the rooster together (pages 8 and 9). The rooster needs to be transferred to the background fabric. I chose a light cream-colored fabric for this. You can do this with a light box, but if you don't have one, this method also works well:
|
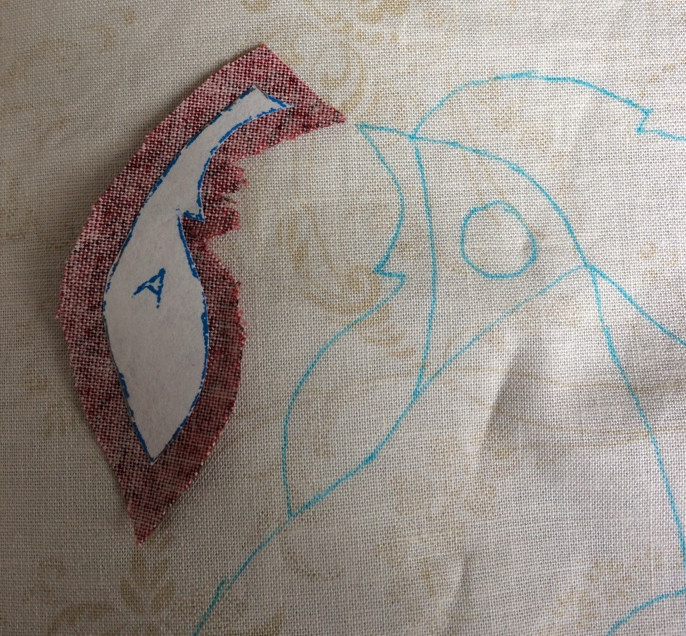
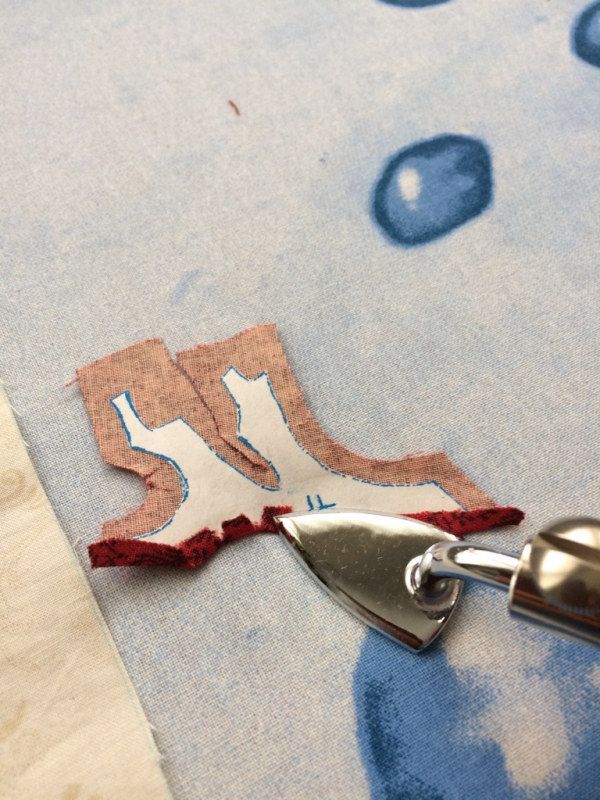
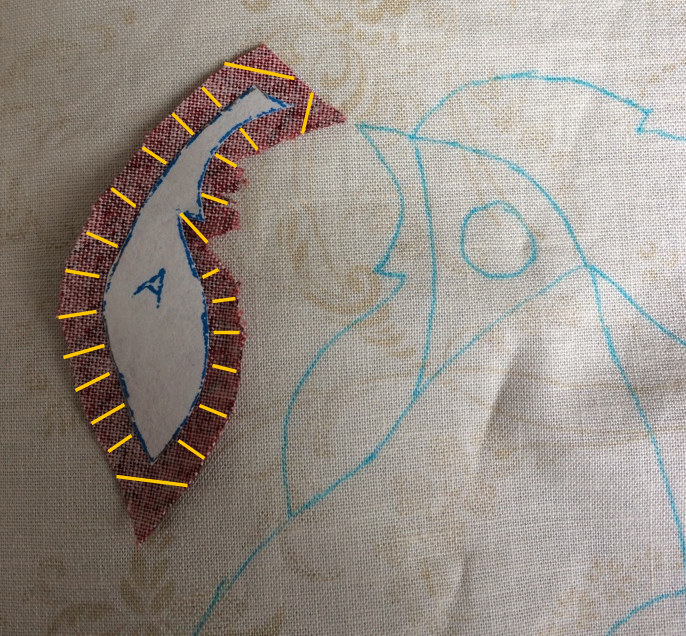
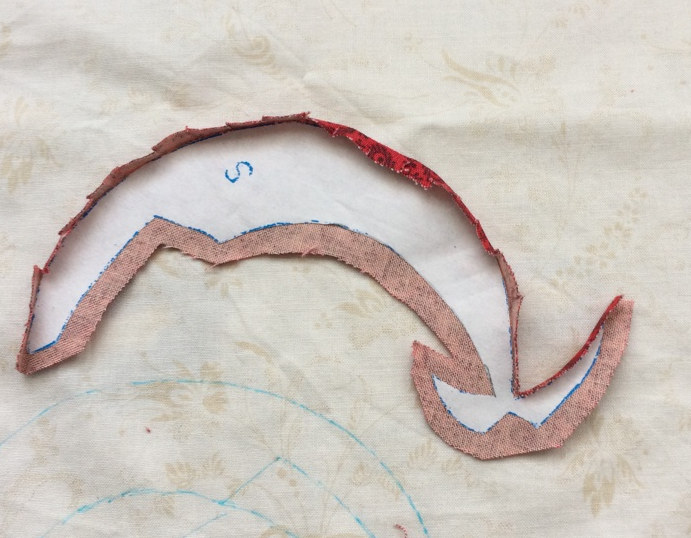
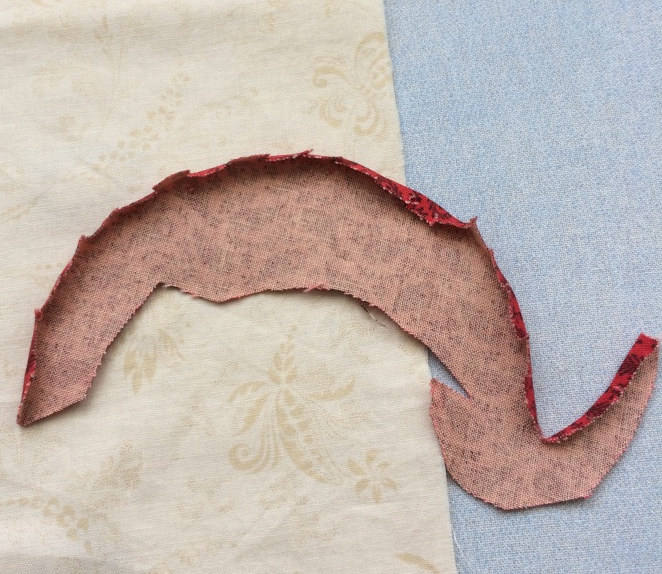
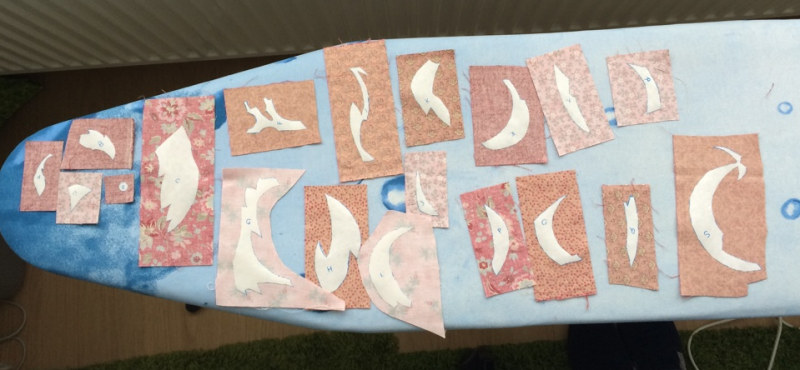 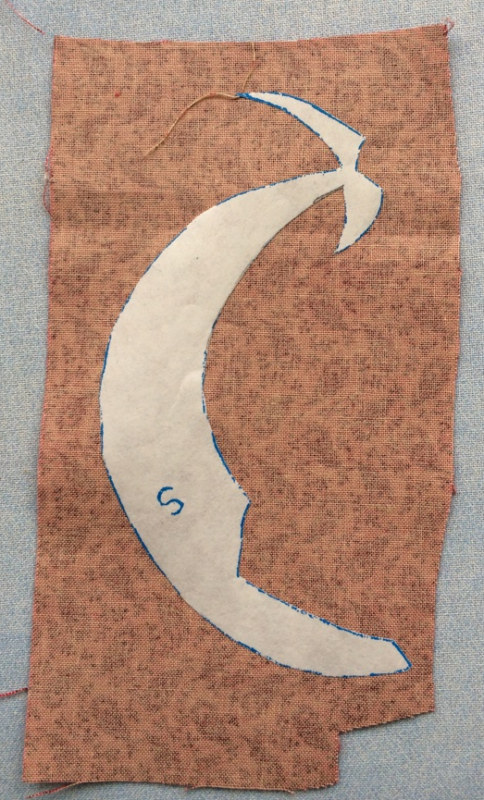 Choose a scrap fabric for all the pieces you have cut out of the freezer paper and iron the freezer paper onto the back of the fabric. The shiny side of the paper goes on the back of the fabric. Choose a scrap fabric for all the pieces you have cut out of the freezer paper and iron the freezer paper onto the back of the fabric. The shiny side of the paper goes on the back of the fabric. |


