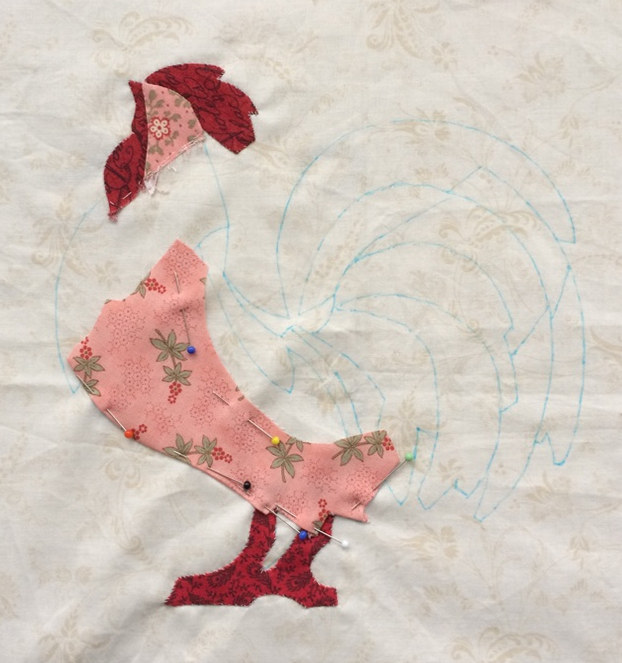
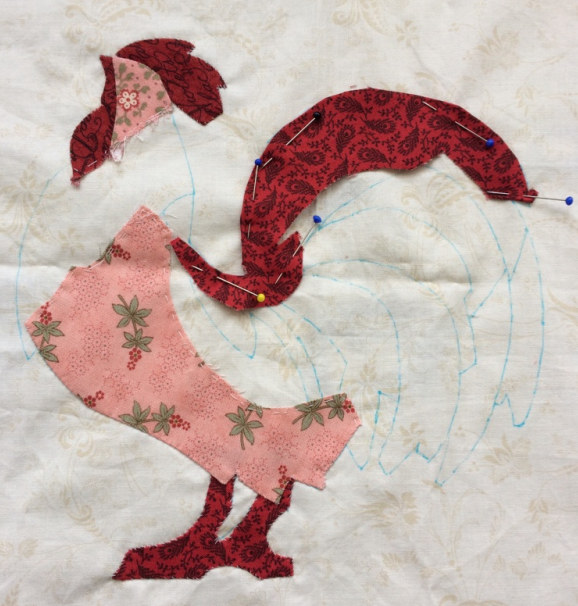
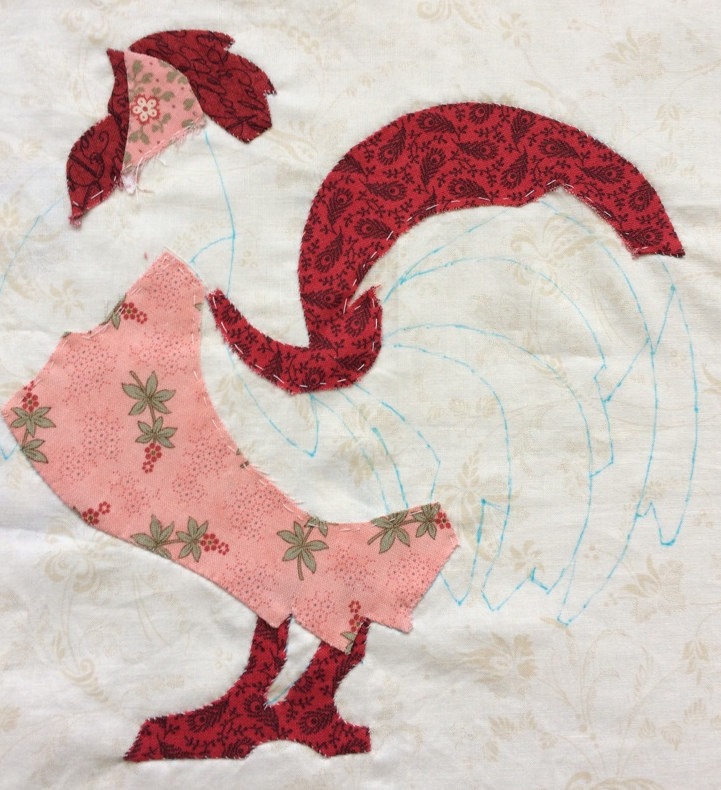
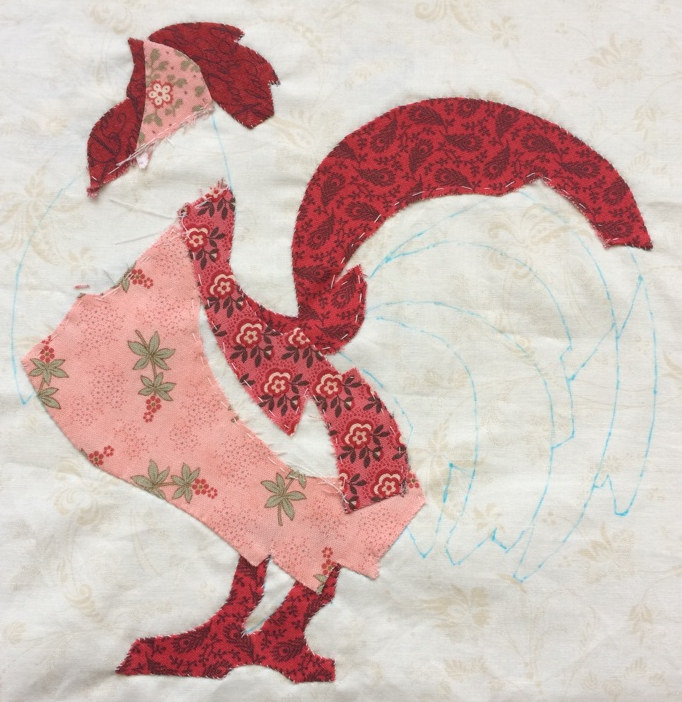
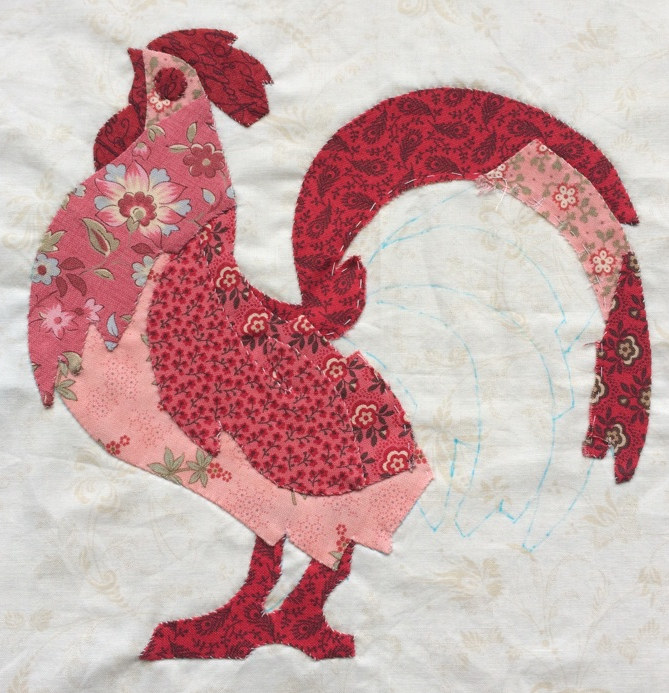
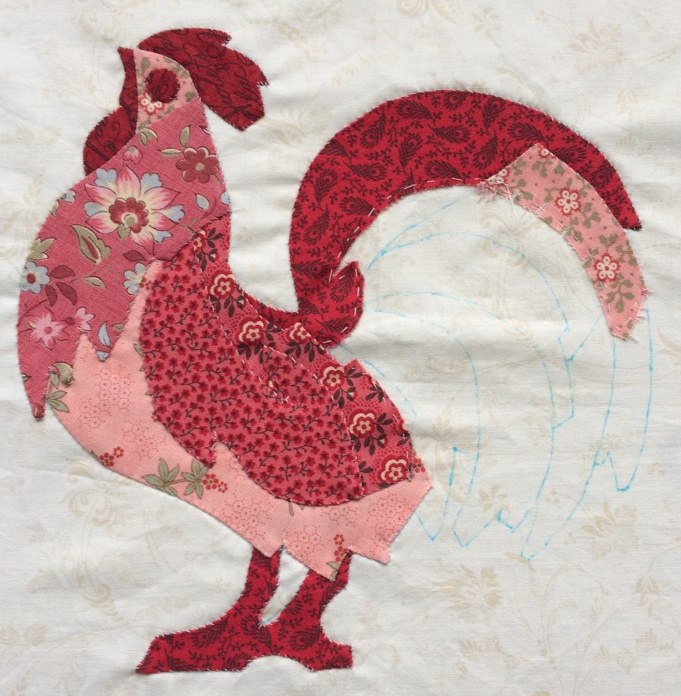
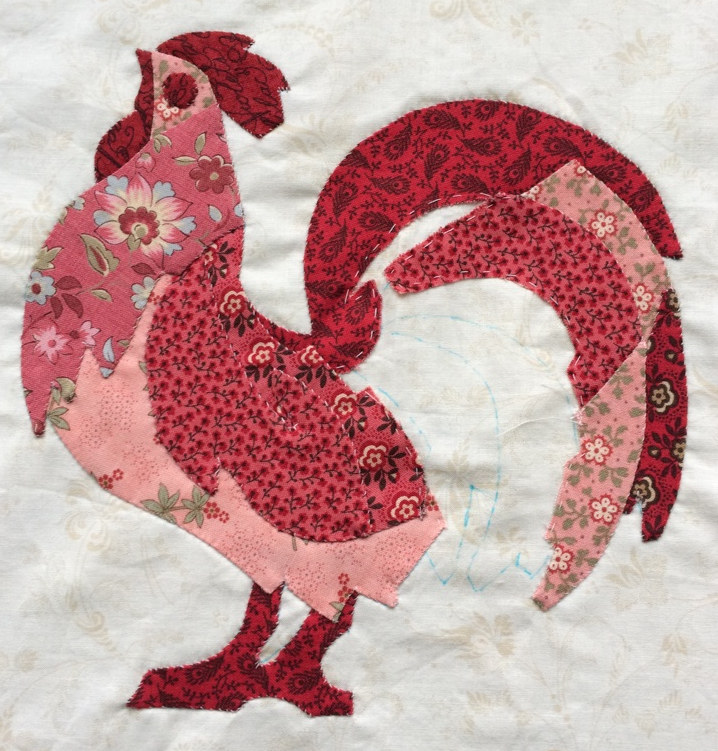
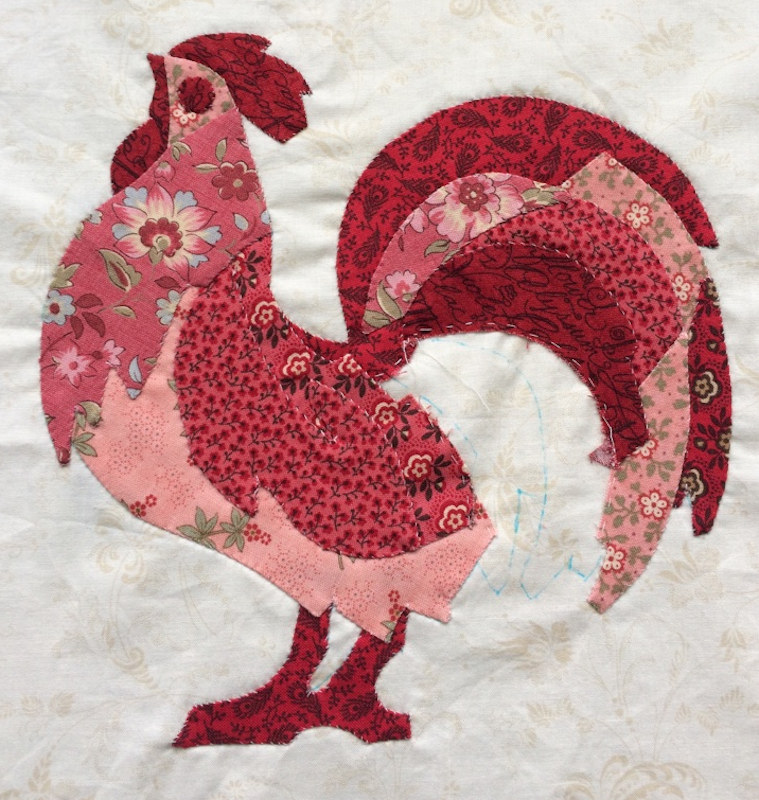
| You can adjust the order of sewing the pieces as you find convenient. You might even prefer some pieces on top for a better look. Do what you find most enjoyable. If you're unsure about the order, you can follow the one given here. After the legs, I first attached the body. Look closely at the photo to see which part needs to be pressed into shape and which part can remain flat. After the body, I started with the tail. You can see that I first pinned the tail in place. |
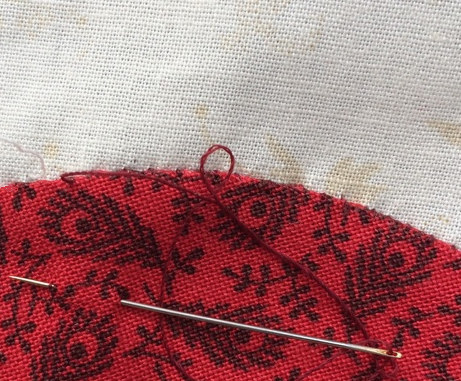
| Again, you can see that the pieces are attached with very small stitches. In the far-right photo, you can see that the tail lies flat and is well-attached. Note that light-colored thread was used to make the stitches visible. Use thread in the color of the piece you want to attach. |
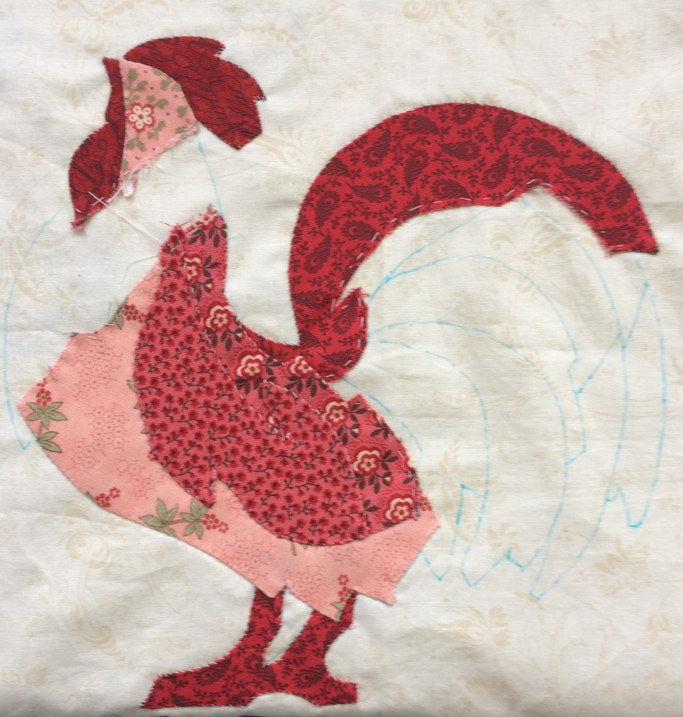
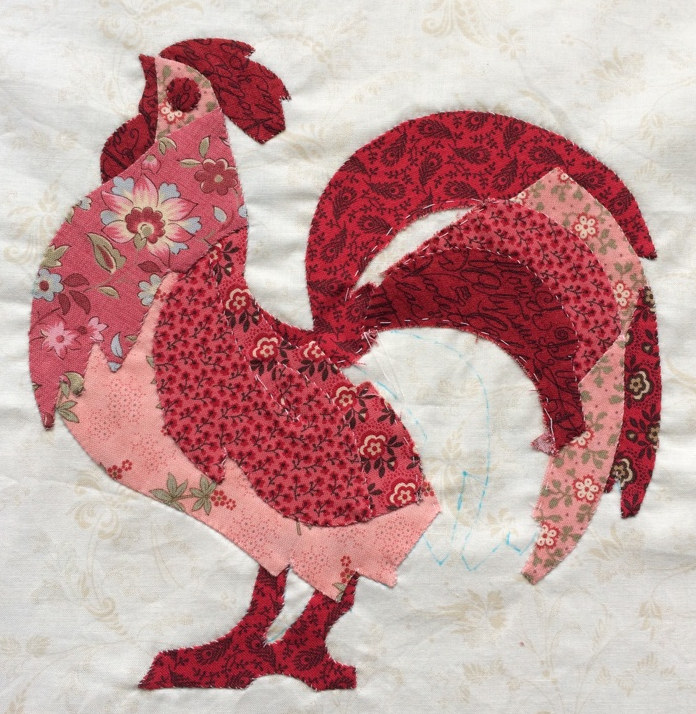
| The next pieces to attach are the back, the wing, and then the collar. |
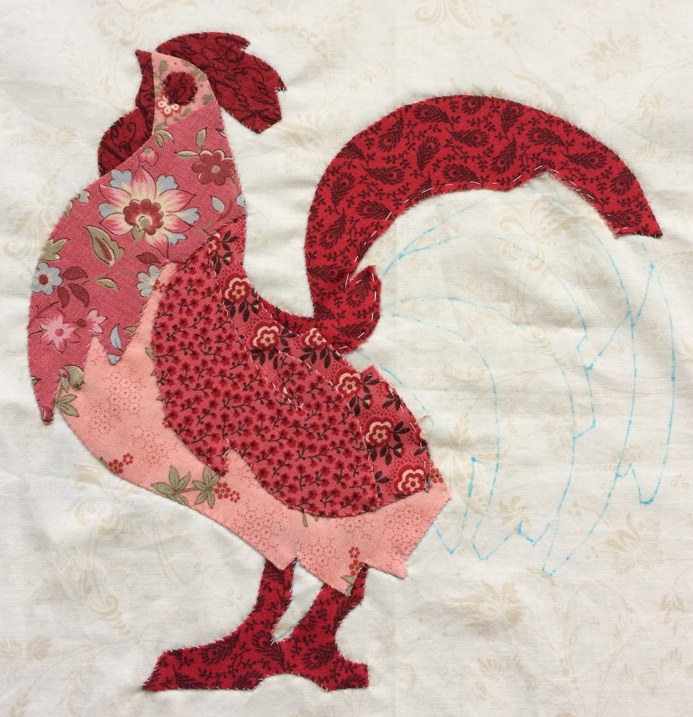
| Here, I attached the eye and two more parts of the tail. It is starting to look like a beautiful rooster. |
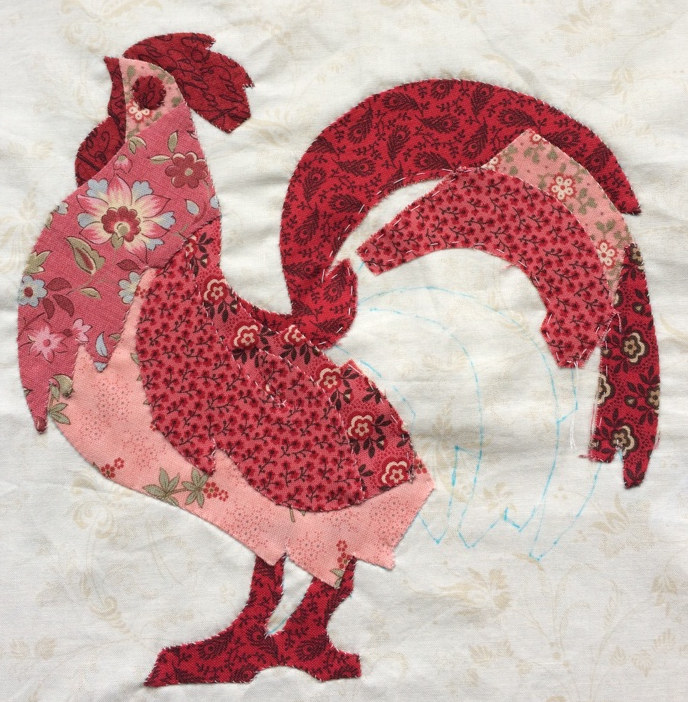
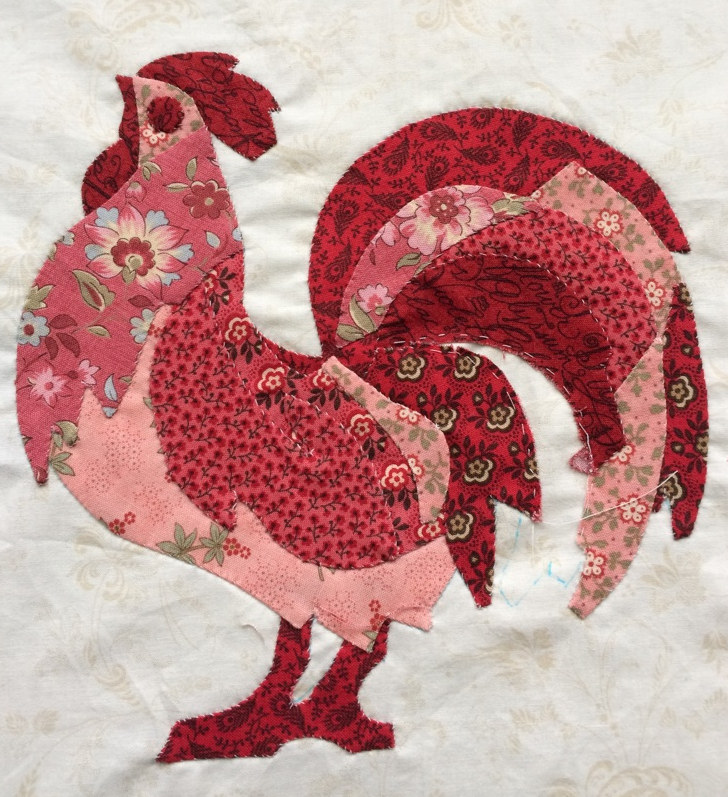
| Three more pieces of the tail are neatly attached. |
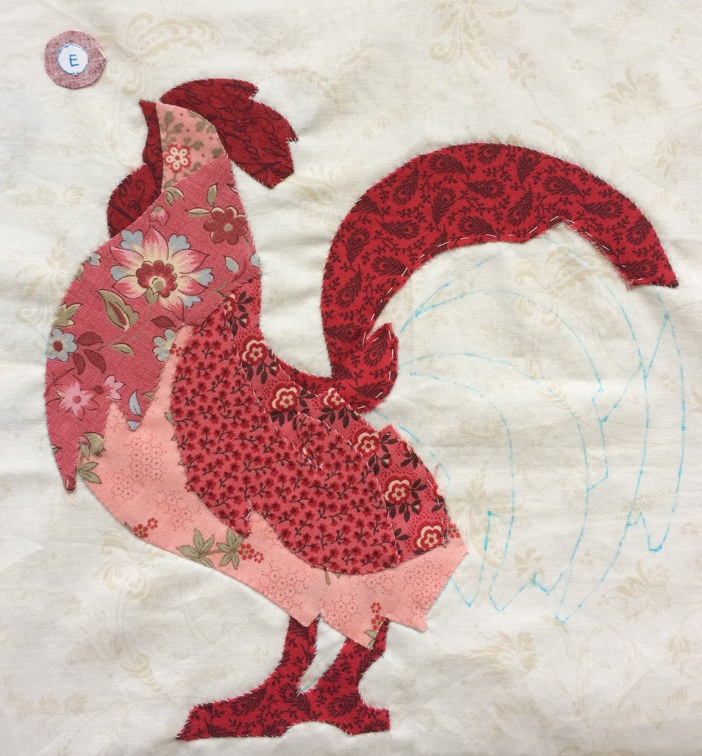
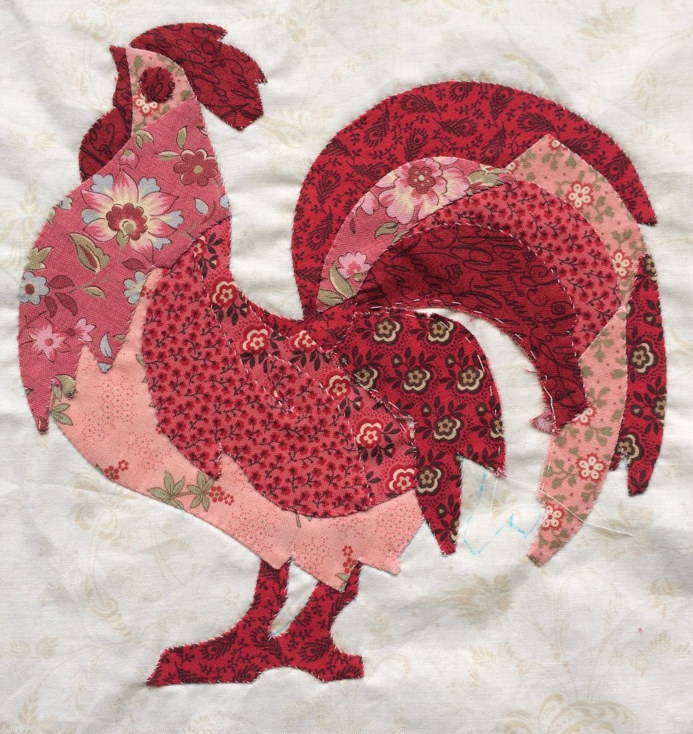
| Finally, the rooster is finished except for one piece. It already looks beautiful, and I am very pleased with the colors. |
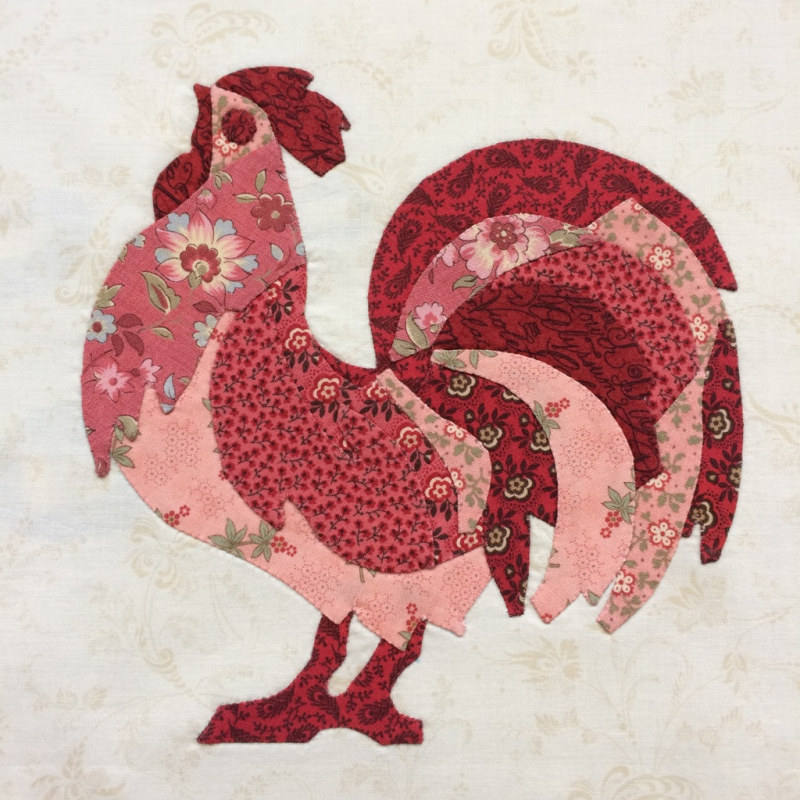
| This is it, the rooster is finished. Once all the pieces are attached, press it well. If there are still small lines from the pattern, you can gently remove them with some water. |


