Attach the bias tape to the quilt in the same way as described here. Since you keep turning the quilt a quarter turn counterclockwise, the trick for the corners is the same everywhere. About 20 cm before you reach the beginning again, stop and secure the bias tape. Now cut both ends so that you have just enough length left to sew them together with a 1/4 inch seam.
Join the beginning and end of the bias tape. Check if you have the length correct. If everything is correct, you can also secure the last piece of the bias tape.
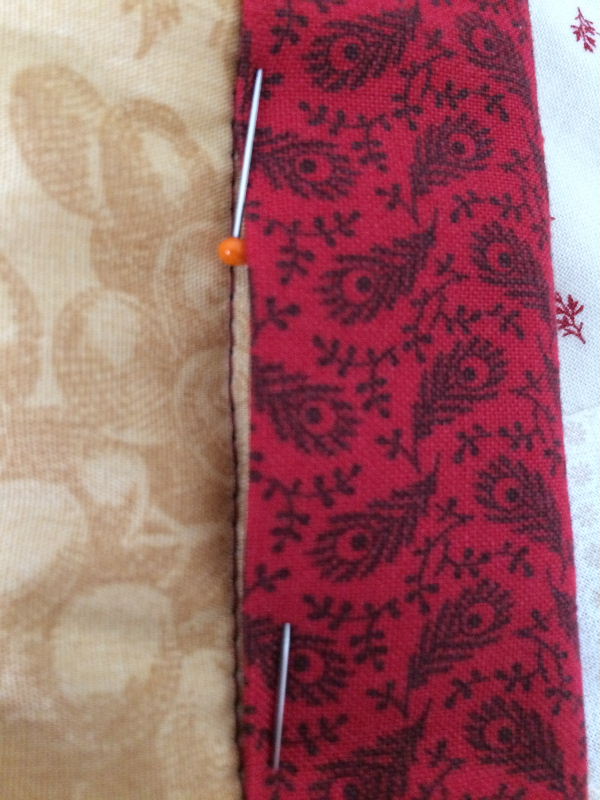
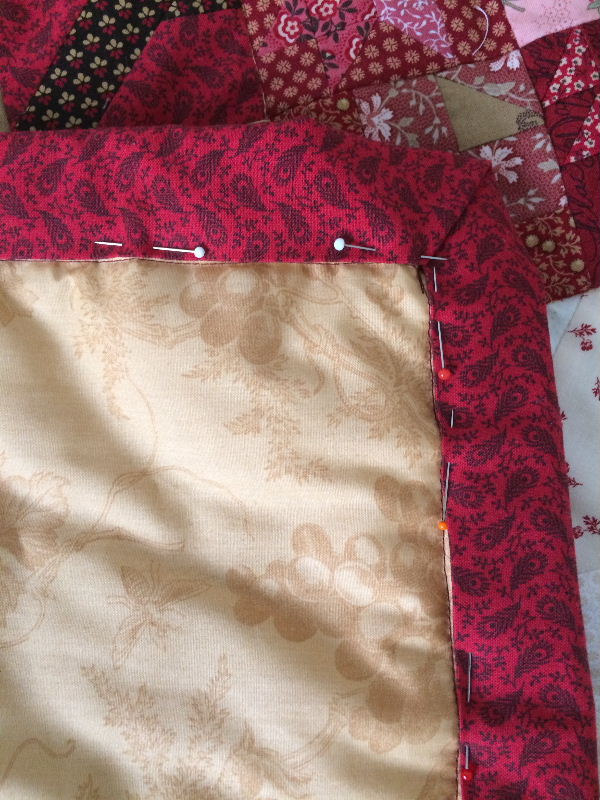
Now that the bias tape is completely secured, you can fold the bias tape over the batting and the backing fabric. The bias tape comes exactly to the seam that attached the bias tape to the front. Pin the bias tape all around. |
Now that the bias tape is completely secured, you can fold the bias tape over the batting and the backing fabric. The bias tape comes exactly to the seam that attached the bias tape to the front. Pin the bias tape all around.
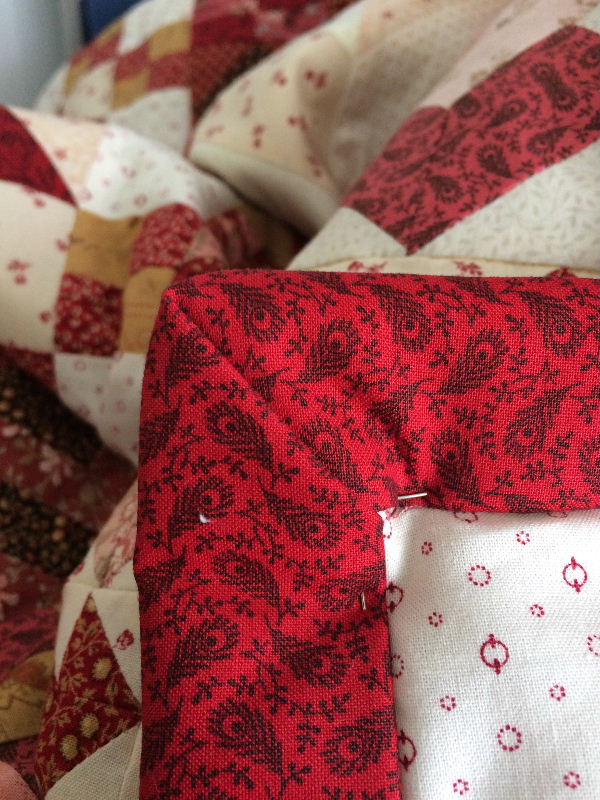
In the corners, fold the fabric neatly inward as shown in the photo next to this. Secure the entire bias tape with small stitches by hand. Make sure the stitch that attached the bias tape is not visible.
If you attach a label to the back, it is nice to secure it while attaching the border as well. |
| If you attach a label to the back, it is nice to secure it while attaching the border as well. You can see this in the photo next to this. The left and bottom sides of the label are secured to the fabric before the bias tape is attached. |
| With this method of attaching the bias tape, no seam is visible on the front. With wide bias tapes, you can also secure the mitered seam in the corners with a few small stitches. |
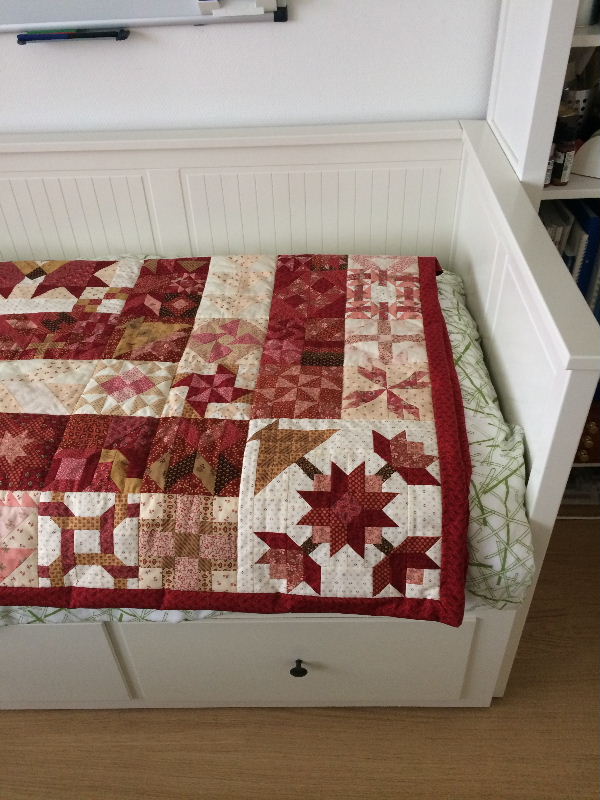
| Here you see another quilt where the bias tape was attached using this method. It takes some time, but the result is worth it. |


