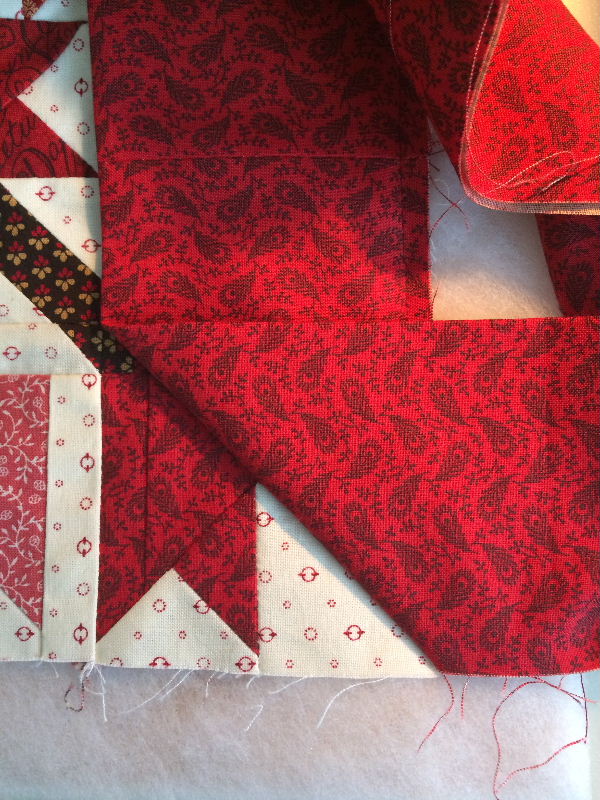
| Now comes a tricky part. Fold the bias tape as shown in the photo next to this. The bias tape makes a right angle. If you look closely, you will see that the bias tape, after the mitered seam, aligns with the edge of the top again. If you have stitched exactly far enough, the stitching will be exactly under the mitered seam, 1/4 inch from the bottom. |
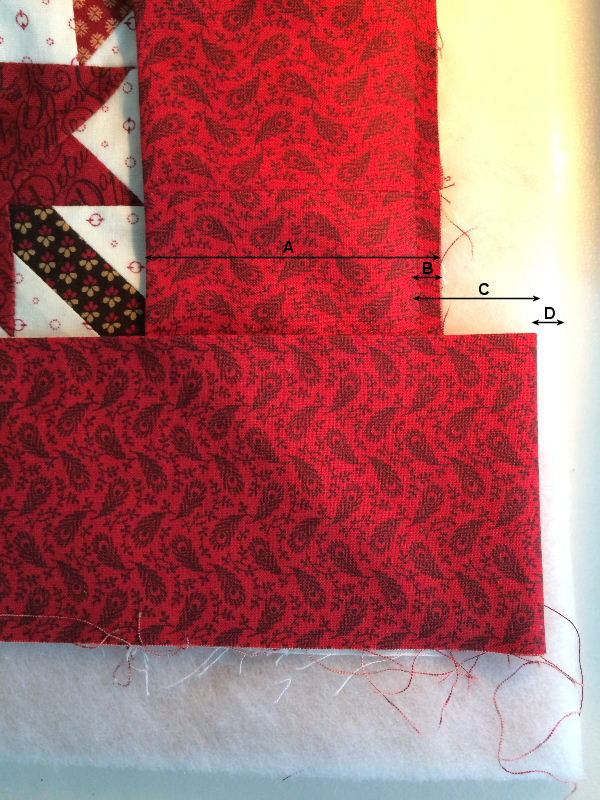
Now fold the bias tape back again. On the right side, the fold is 1/4 inch from the edge. In the image next to this, this is distance D. For checking, here are a few measurements indicated. You see the following distances:
- Distance A is 2 times the width of the bias tape plus 1/4 inch
- Distance B is 1/4 inch
- Distance C is the width of the bias tape
- Distance D is 1/4 inch
If you look closely, you can also see the mitered seam where the bias tape is folded under the fabric. Turn your quilt a quarter turn counterclockwise and try to get the needle exactly back into that mitered seam, again neatly 1/4 inch from the edge. Continue stitching here. |
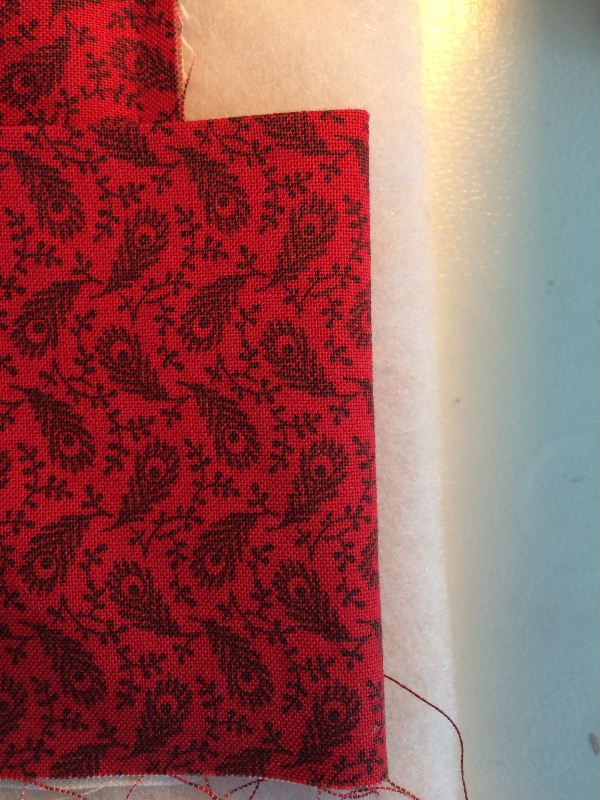
Here you see again how you fold the bias tape. The fold is not flush with the edge of the batting and backing of your quilt but stays 1/4 inch away from here.
|
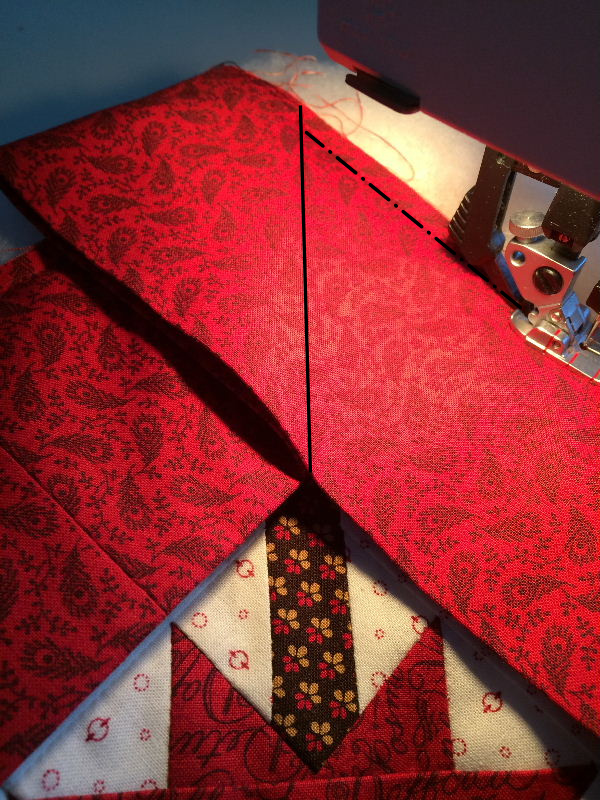
| Continue stitching neatly with a 1/4 inch seam as shown in the photo next to this. You also see the point indicated where you start sewing again. Make sure you do not start too early. A black line indicates approximately where the mitered fold in the bias tape is. The dashed line shows where you need to stitch. |
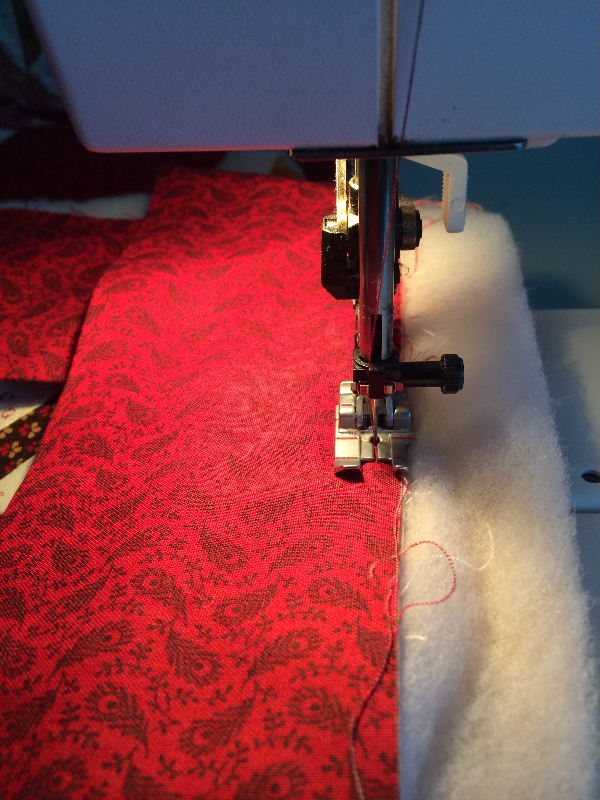
| Here you see how the bias tape is neatly stitched further. You can also clearly see the foot I use. This is a 1/4 inch or a quilt foot. The side of the foot is exactly 1/4 inch wide. So, if I let the edge of the fabric align with the side of the foot, I automatically have a 1/4 cm seam. |


