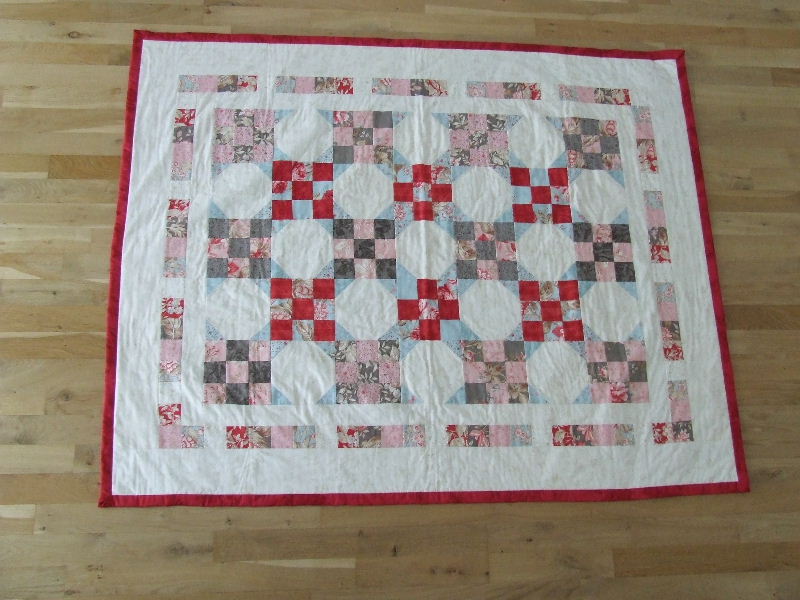
Make the bias tape from strips of fabric cut across the full width of the fabric. This can be done straight, which saves a lot of fabric. Sometimes it may be better to cut the bias tape diagonally, especially if you need to make rounded corners with the tape. We are not making rounded corners but mitered corners. The method described here for attaching the bias tape uses more fabric, but the advantage is that you can attach it beautifully to the quilt.
The strips that are sewn together are cut to 4 times the width of the bias tape plus 1/2 inch when working in inches. So, if the bias tape needs to be 1.5 inches wide, the strips are cut to 6.5 inches wide. If you want a 1-inch bias tape, cut the strips to 4.5 inches wide. The 0.5 inch is for the seam. We work with folded fabric and attach the bias tape to the top with a 1/4 inch seam.
|
The total length you need is 2 times the length and width of the top, plus 8 times the width of the bias tape, and a few extra centimeters for convenience. If your top is 150 cm by 180 cm and you want a 1-inch bias tape, you need a total length of 660 cm plus 8 inches and a bit extra. For simplicity, we calculate 2.5 cm as 1 inch. This is allowed because we are already taking a bit extra. Actually, an inch is slightly larger. When converting large lengths, it’s better to use a calculator and use 2.56 cm for 1 inch. After calculating, round this to the nearest mm.
In our example, we need approximately 680 cm and a bit, so about 7 meters of bias tape. Cut enough strips of the calculated width and sew them together until you have at least this length. Sew the strips together and press them neatly in half. |
You should have already quilted the top, batting, and backing. The backing and batting should extend about the width of the bias tape minus 1/4 inch beyond the top.
Start attaching the bias tape somewhere in the middle of one of the sides of your quilt. Place the bias tape on top of the top, with the raw edge aligned with the edge of your top. You should have 3 raw edges of fabric on top of each other: once for the top and twice for the bias tape. You can see what I mean in the photo above. Do not start at the very beginning of the bias tape but leave about 20 cm hanging loose. You need to join the beginning and end of the bias tape at the end, and this would not be possible otherwise.
In the photo next to this, you can see what it looks like when the bias tape is attached. Ensure you sew 1/4 inch from the edges of the fabric. You can use a 1/4 inch quilt foot for this. From the stitching to the edge of the batting and backing, you should now measure the width of the bias tape.
|
| Sew the bias tape neatly until you almost reach the corner. In the image next to this, sew until approximately the black dot near the arrow. This is 1/4 inch from the corner, measured from the bottom and side. Secure the thread here. |
| You cannot see this point well while sewing because the bias tape lies over it. It can be useful to use a pin to indicate the end of the top or the point where you need to stop. |
 Creating a beautiful bias tape for a quilt takes some effort but yields stunning results. I always find it particularly lovely to do this with mitered corners, as shown on the quilt here.
 Creating a beautiful bias tape for a quilt takes some effort but yields stunning results. I always find it particularly lovely to do this with mitered corners, as shown on the quilt here.