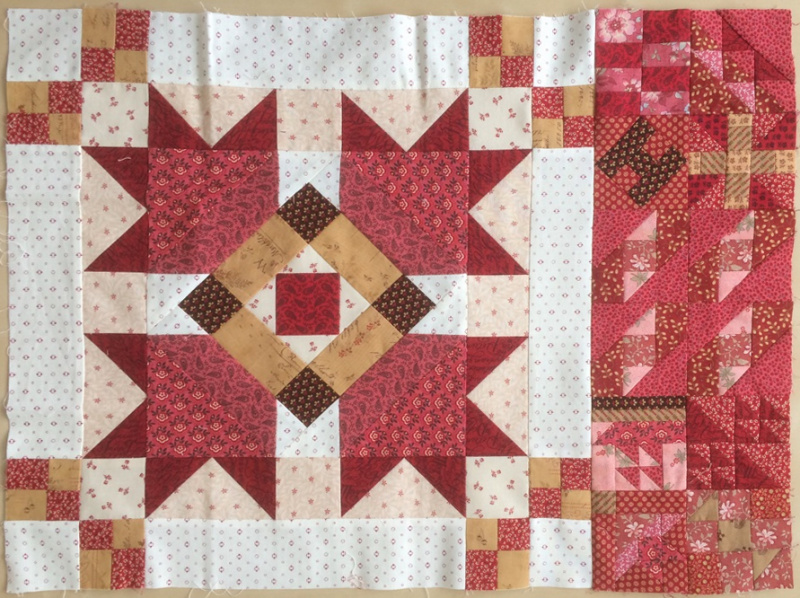
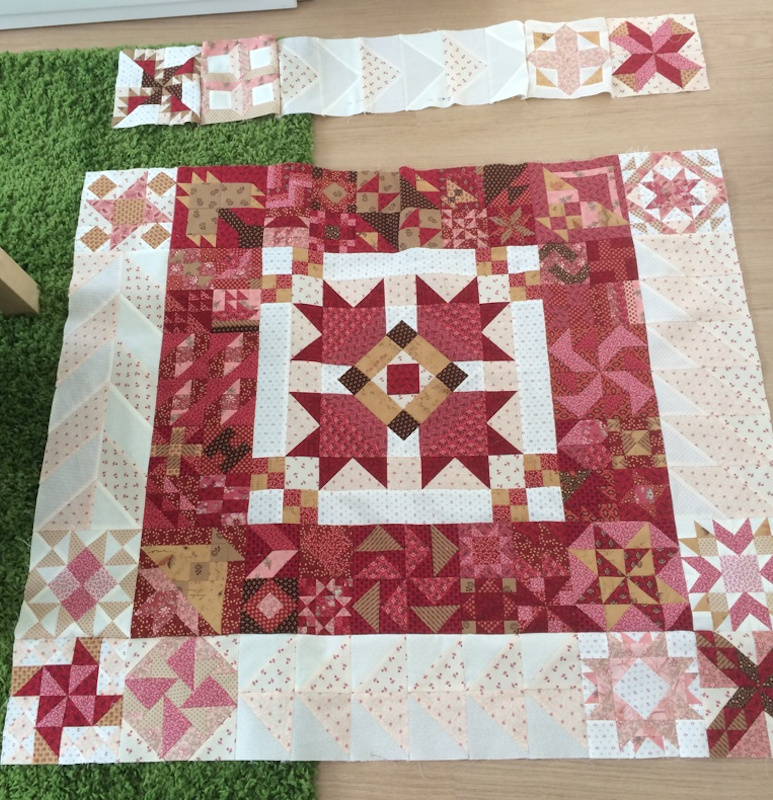
Once you have sewn all the small blocks into 6.6 x 6.5-inch blocks, you can start assembling the top. It’s best to start in the middle. Here you see that three large dark blocks are first sewn together into a strip. This strip is then attached to the medallion. Note that two of the large dark blocks consist of four small dark blocks sewn together.
|
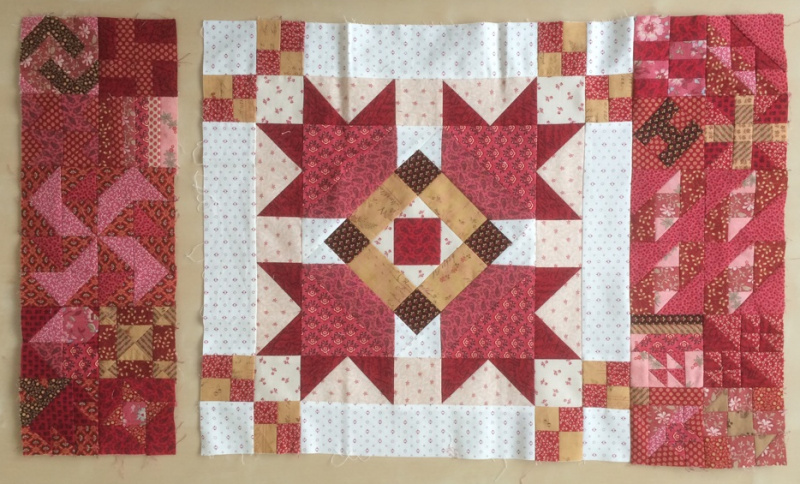
Once you’ve completed this first step, you can sew the three large dark blocks for the other side of the medallion into a strip. You see this in the accompanying photo. Here too, two of the large dark blocks are actually four small dark blocks sewn together. Once this strip is attached, you can make two strips of five large blocks each to place at the top and bottom of the part you have already completed.
|
After finishing the dark border, you proceed in the same way with the light border. Make sure to align the seams of the blocks nicely. The wide light blocks are as wide as three large blocks. Smooth out the top in between for easier working.
|
For the next step, you need to pay attention. First, make a strip of seven light blocks and a strip of seven dark blocks. Sew these strips together but do not attach them to the rest of the top yet. Do this four times. This is necessary because now the large corner blocks need to be sewn to the quilt. You can see this in the photo. After preparing, sew two of these strips with the dark side to the part of the top that is already finished. These two sections are placed opposite each other.
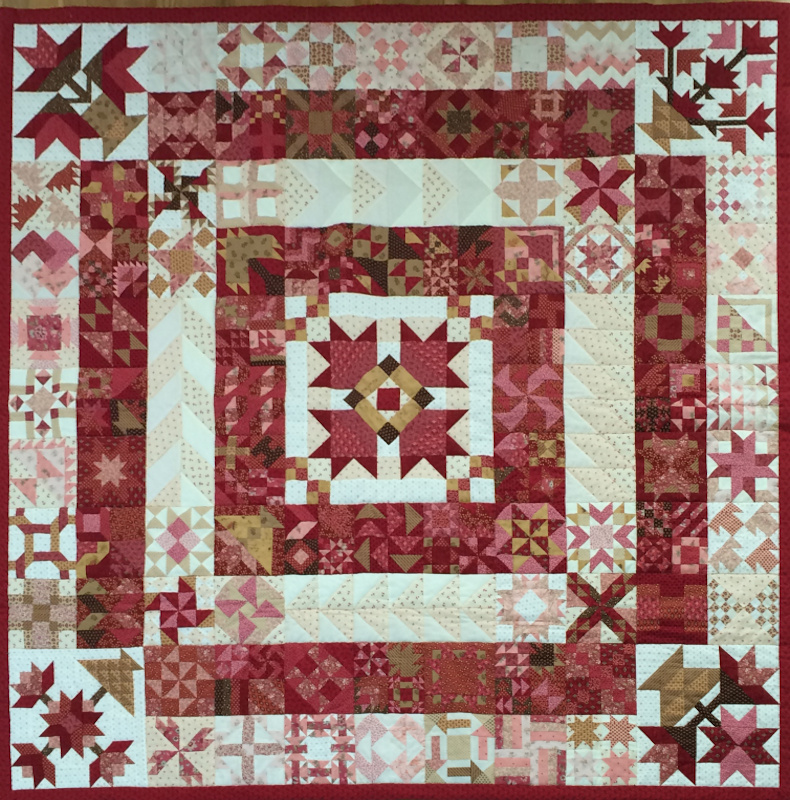
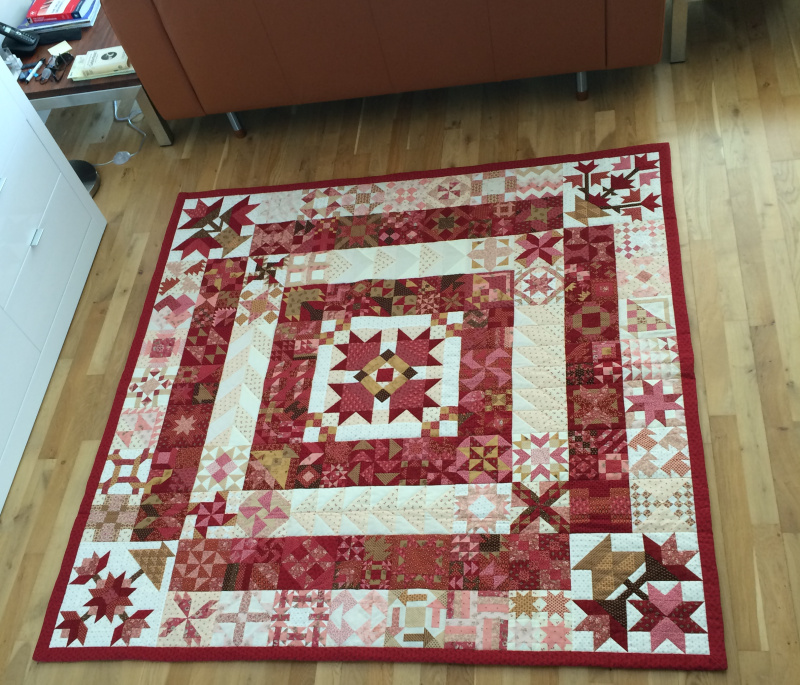
Attach a large corner block to each side of the two remaining strips of a light and dark strip. You will get two long strips with a corner block at each end. Attach these parts to the already finished part of the top. The dark part of the long strip is placed directly onto the finished part of the top. If you did everything correctly, your top should now look like the one in the photo.
|
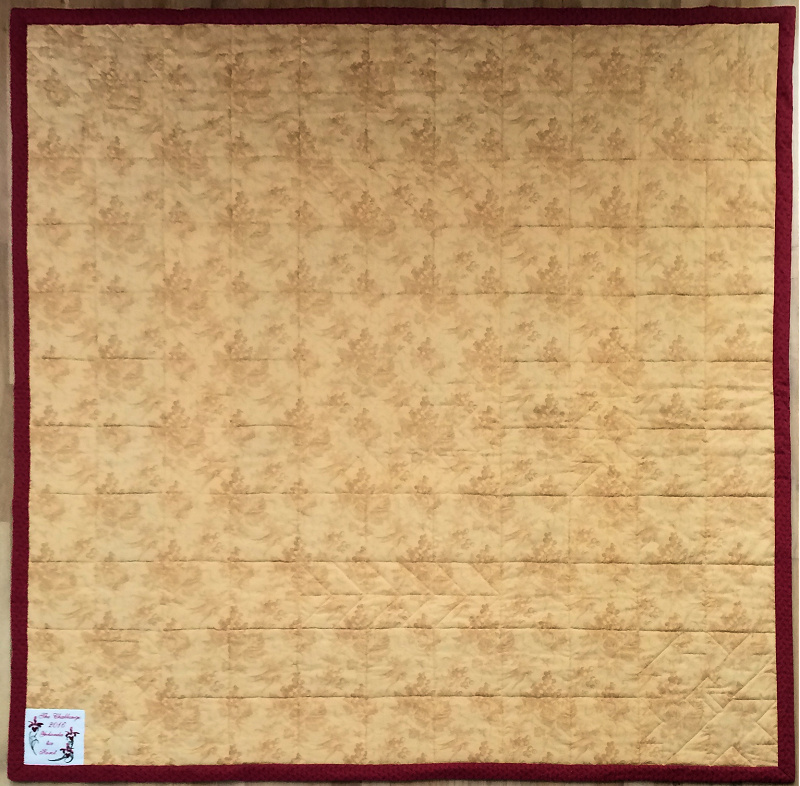
| The top is finished, so you can now layer the top, a batting, and the back together. I chose an ocher yellow back and a fiberfill batting. I used spray adhesive to stick the layers together. The quilt is now quite thick and barely fits under the sewing machine to be quilted. I quilt the quilt along the seams with thread that matches the background fabric exactly. I go over all the seams of all the individual blocks. So sometimes they are 3-inch blocks, sometimes 6-inch blocks, and there are also a few different sizes. I also quilt the four long light blocks extra because I find them too large. I follow all the seams of the individual pieces. I also quilt around the flowers in the medallion and all the corners. |
| When starting a new thread, I make sure to hold the top and bobbin threads and pull them slightly tight to avoid knots. At the end of each seam, I also leave a reasonable length of thread. I pull all these start and end threads to the back of the quilt. There, I tie them together and weave them between the layers. This way, there are no visible start and end knots. |
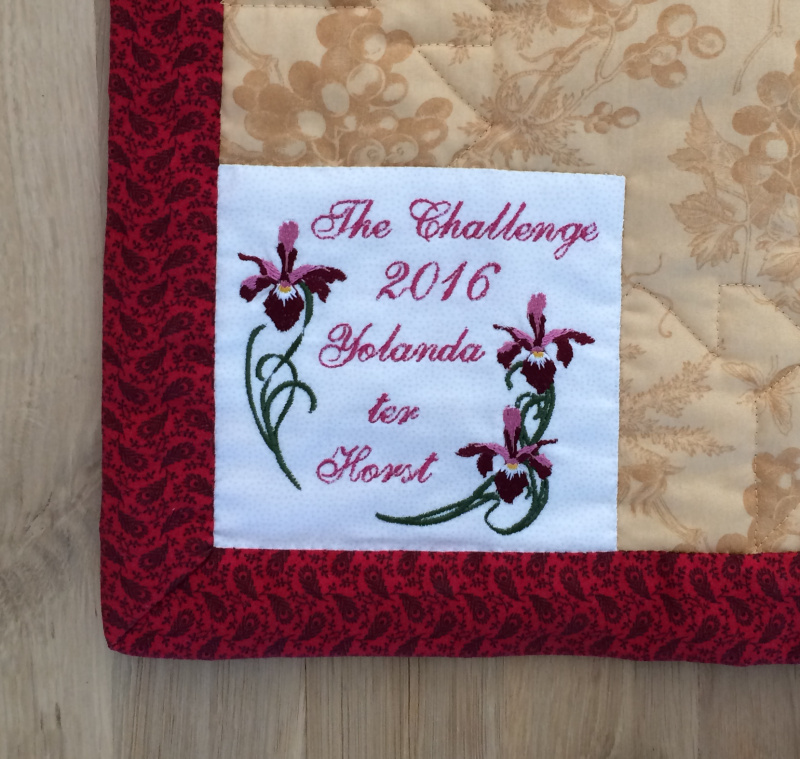
When the quilting is done, you can add a nice binding. How to do that is explained in the article a beautiful border around a quilt. A quilt is, of course, only truly finished when it has a nice label. I embroidered the label with the embroidery machine and attached it to the back with very small stitches by hand.
|
Now the quilt is finally finished. It was a lot of work, but it was worth it. I am very happy with my beautiful quilt.
|
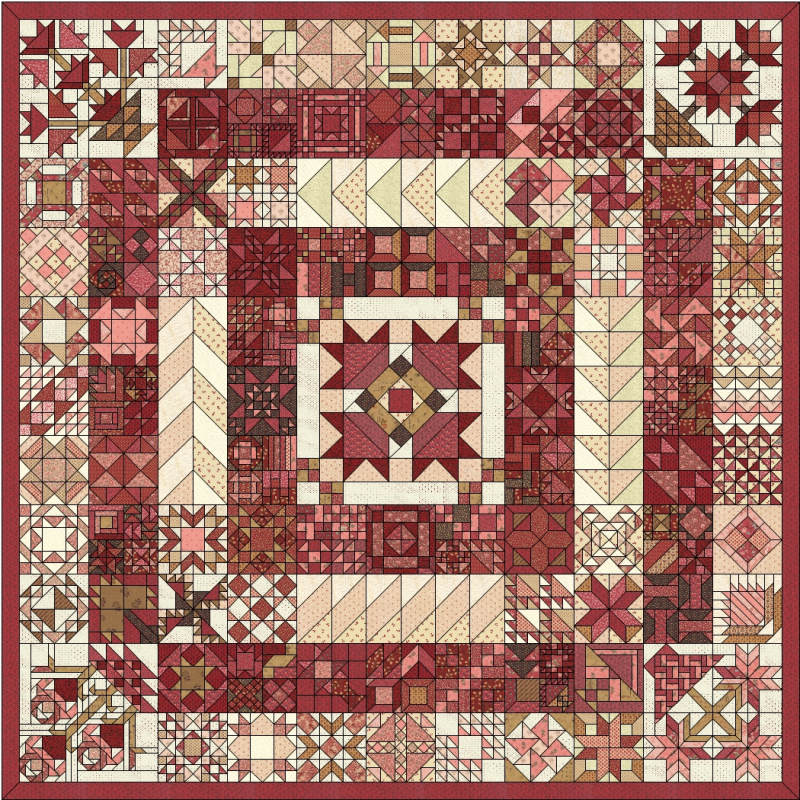
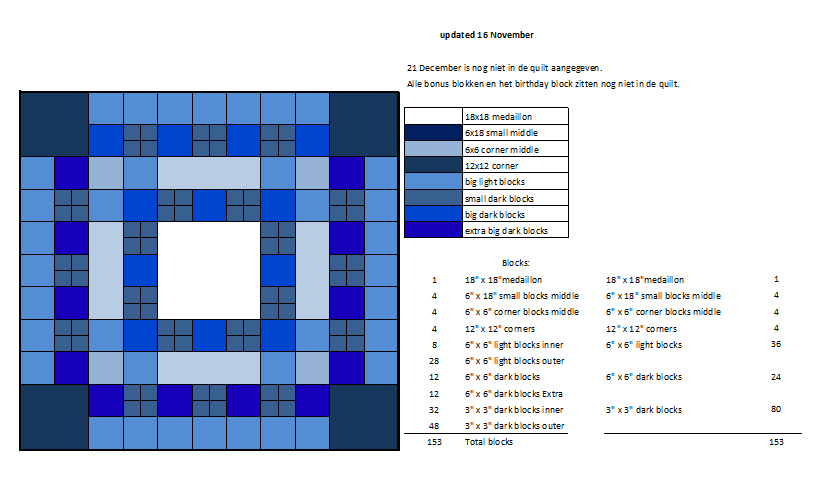 In the layout of the small alternative design, all the special blocks of the 365 Challenge are included. However, the total number of blocks is significantly less. This saves a lot of work and quite a bit of fabric since the small blocks use a relatively large amount of fabric.
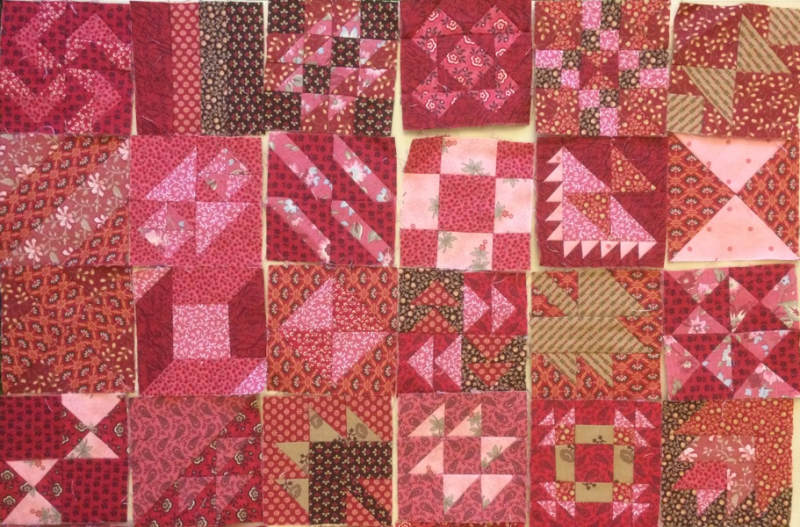 Once you have finished all the blocks, you can start making the top. If you look closely at the design, you'll see that four small (3") dark blocks are always combined into one large dark block (6"). It’s useful to do this first. This way, you end up with almost all 6" blocks, which you can then sew together.
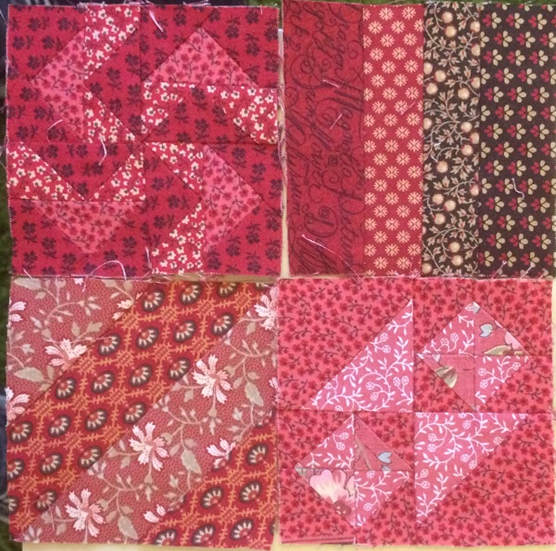 Here is a set that I'm satisfied with. Almost all the dark pieces are included, and there are no awkward seams between the pieces.
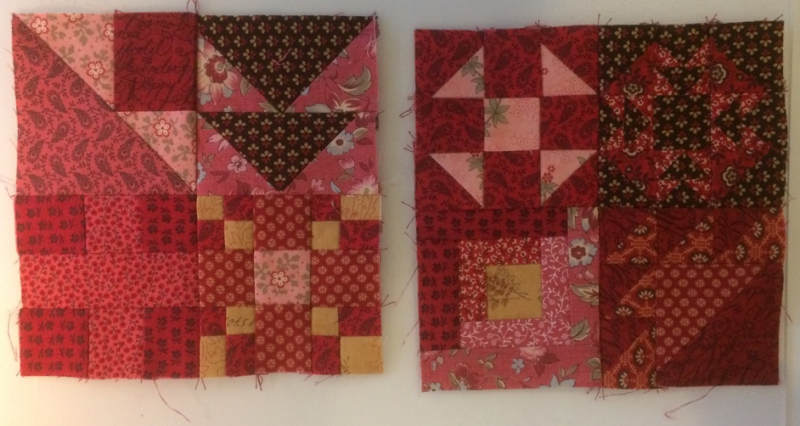 If you’re happy with your sets of four blocks each, you can sew them together. First, sew two pieces together twice, press the seams in opposite directions, and then sew the resulting two pieces of two pieces each together. Make sure the seams you just sewed align nicely so you get a neat piece.


