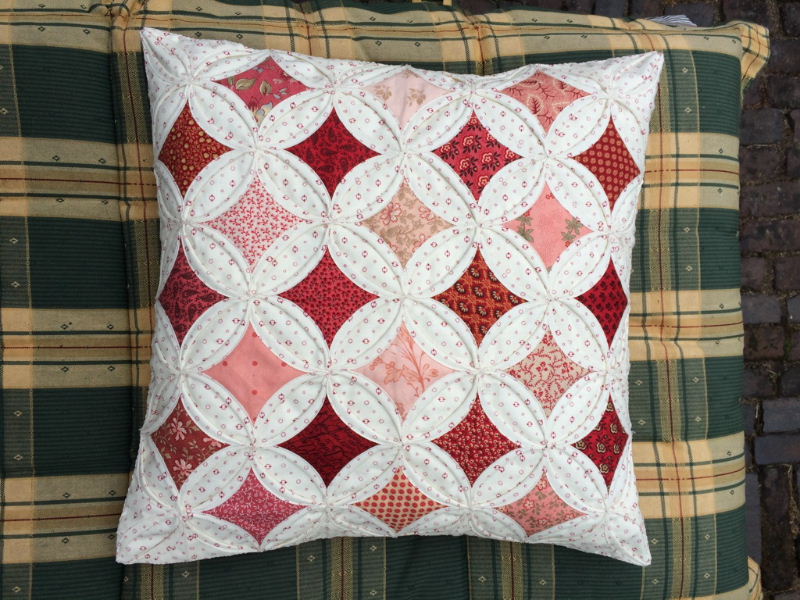
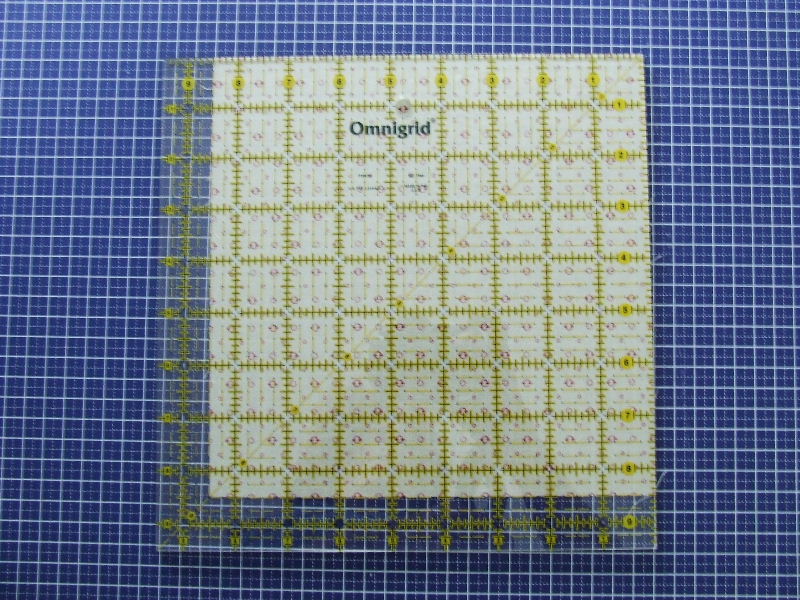
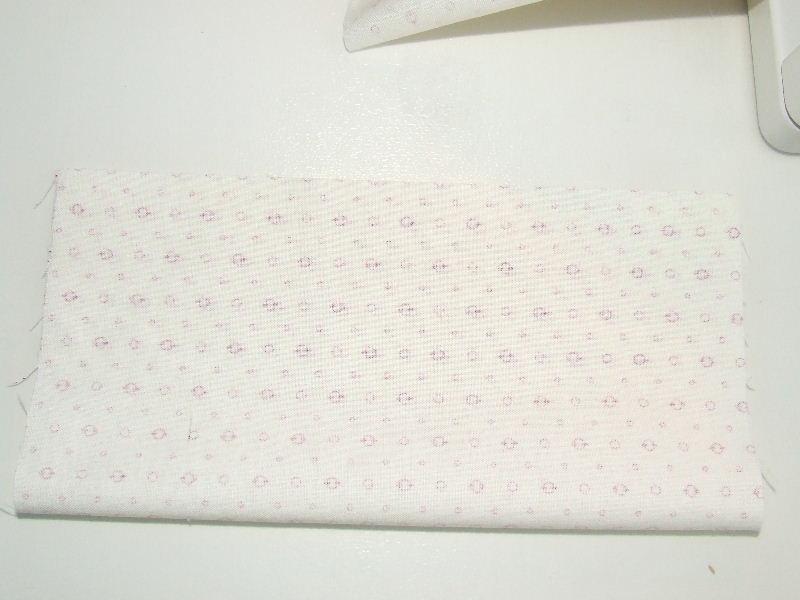
| The basis for the quilt consists of squares measuring 8.5 x 8.5 inches. Each square results in a block of about 10 by 10 cm (4 x 4 inches). For a cushion cover of 40 by 40 cm, I need 4 x 4 = 16 squares of 8.5 by 8.5 inches. These squares form the background of the quilt, as shown in the picture above where everything is in light shades. I chose to use the same fabric for all squares, but you can also choose different fabrics for each square. |
| Once you have cut the squares to size, fold them with the right sides together. |
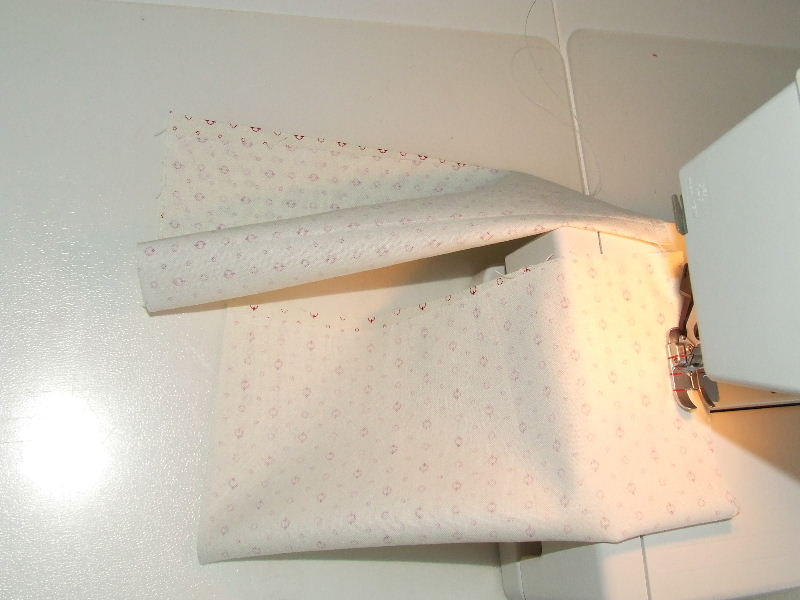
Sew the two side seams together, stitching 1/4 inch from the edge. You can use "chain sewing" for all the squares consecutively, which saves quite a bit of thread. Chain sewing means that after sewing one square, you don't tie off and cut the thread but continue sewing the next square immediately. You can sew two stitches back and forth at the beginning and end of the square, but don't cut the thread; continue with the next square after securing it. First, sew one side of all squares and then the other. Once done, cut all the squares apart. You now have a whole stack of folded squares.
|
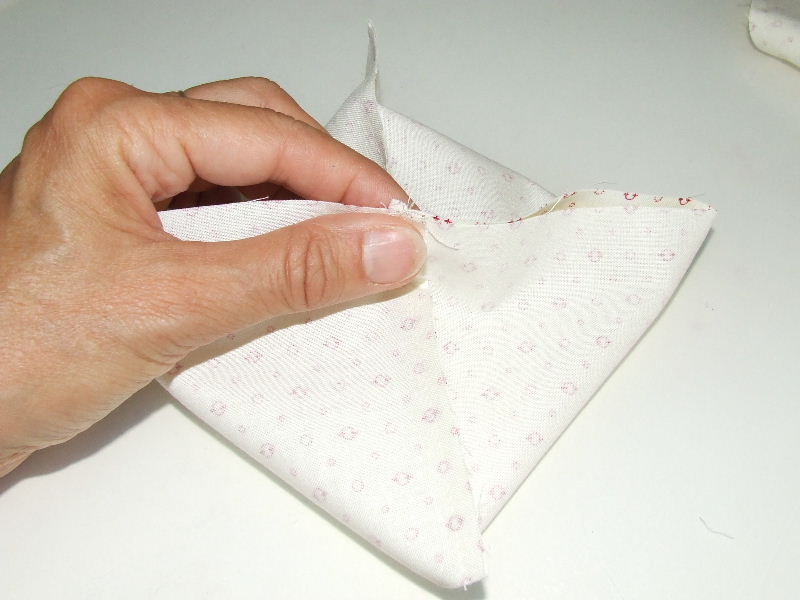
| Now you'll make a sort of envelope from the folded squares. Lay the two newly sewn seams on top of each other as shown in the picture beside. Ensure that the seam is very neatly aligned. The envelope should be as neat as possible. |
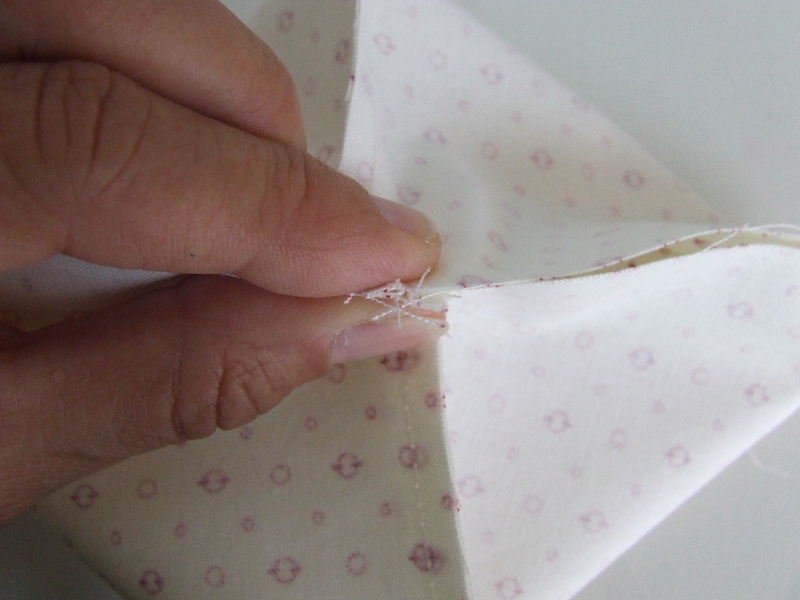
| If you let the seams "kiss," you can be sure they are well aligned. You can see what I mean in the picture beside. |
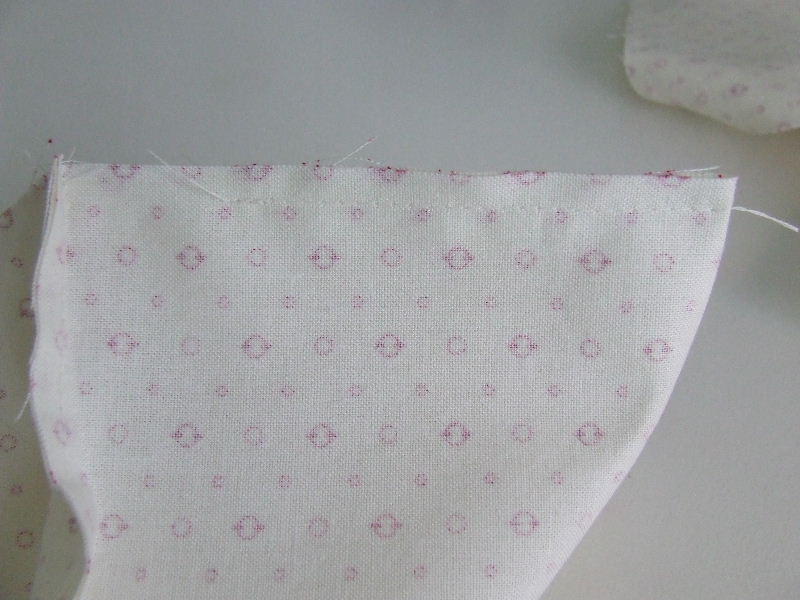
| When you align the seams, you'll get a square where one diagonal is already stitched, and the other is still open. The open diagonal also needs to be closed, but not entirely, so that the resulting pocket can be turned inside out. Stitch 1/4 inch from the edge here as well. You can place the opening exactly in the middle or about 1/3 from the seam. |


