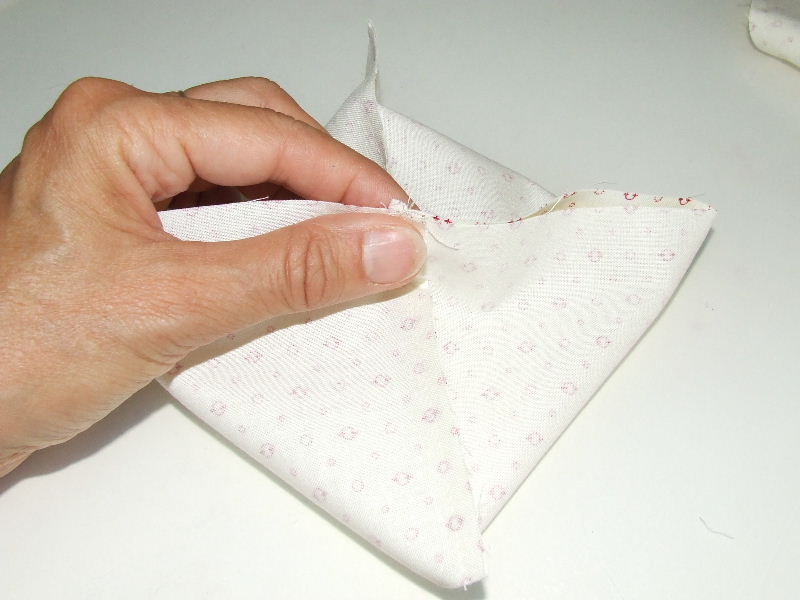
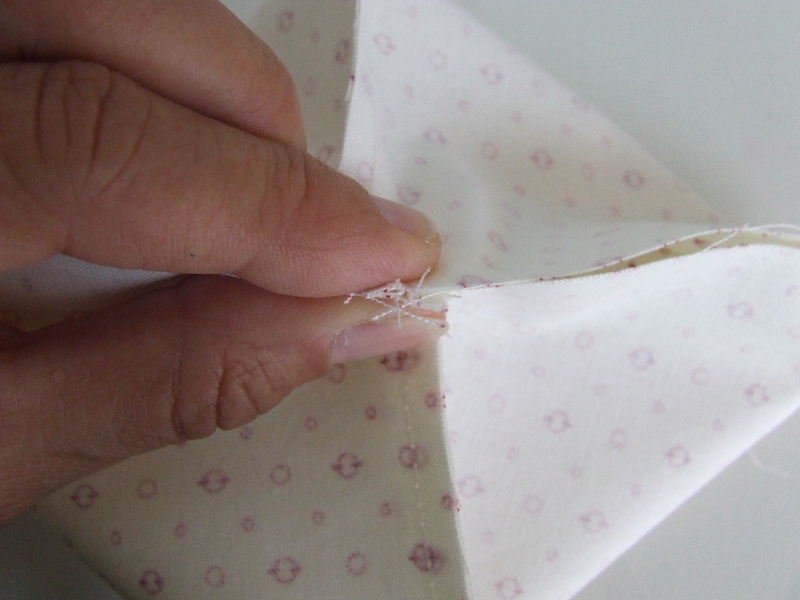
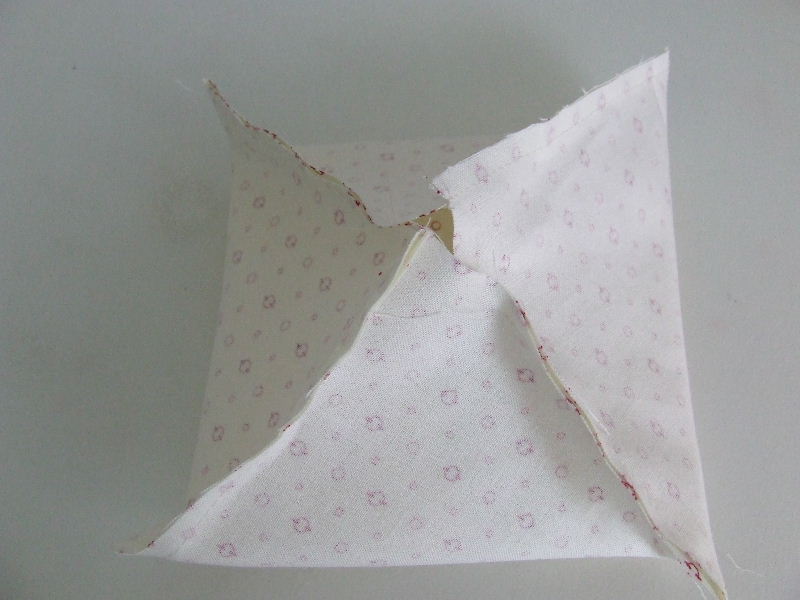
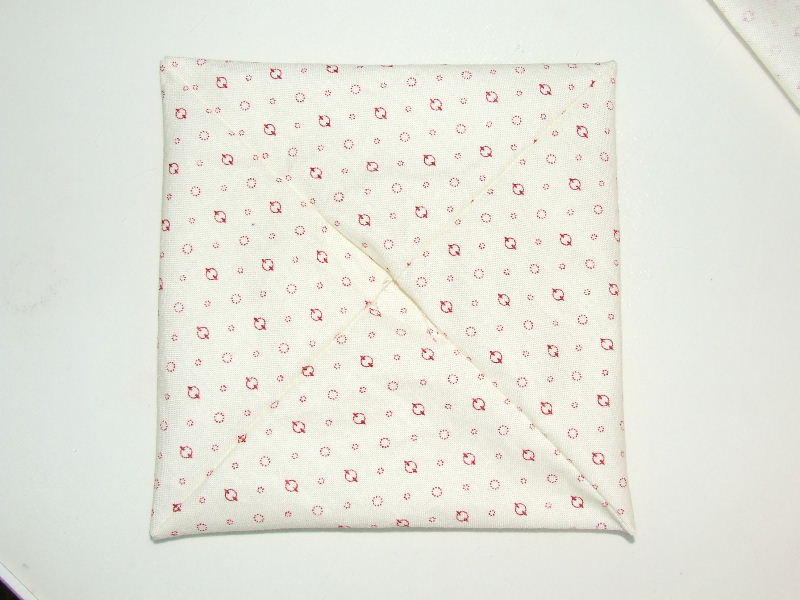
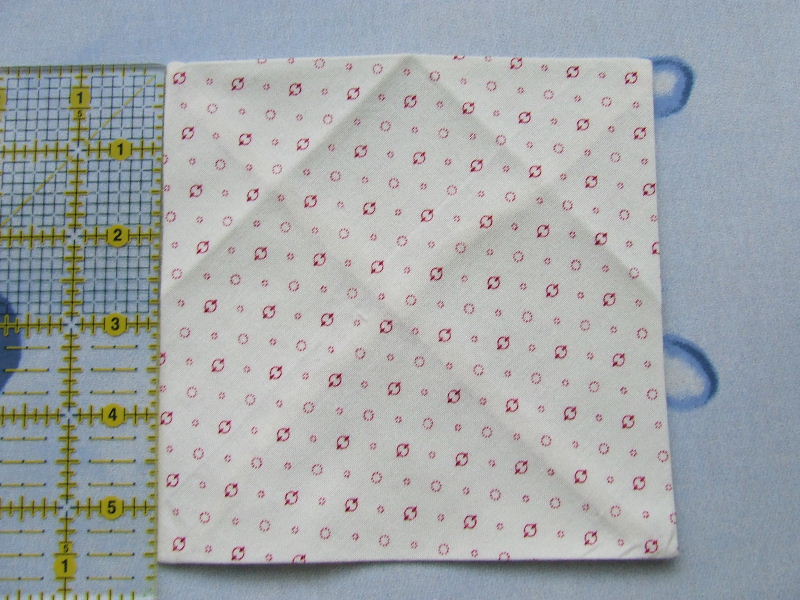
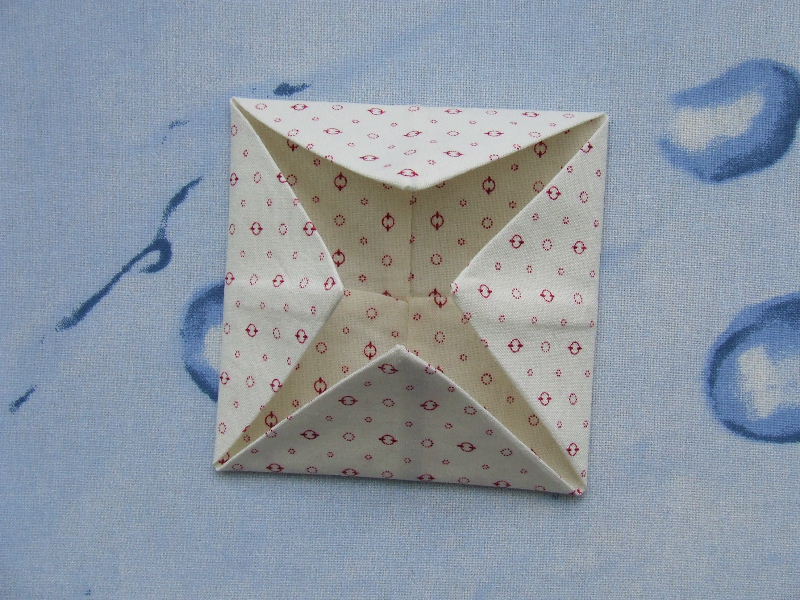
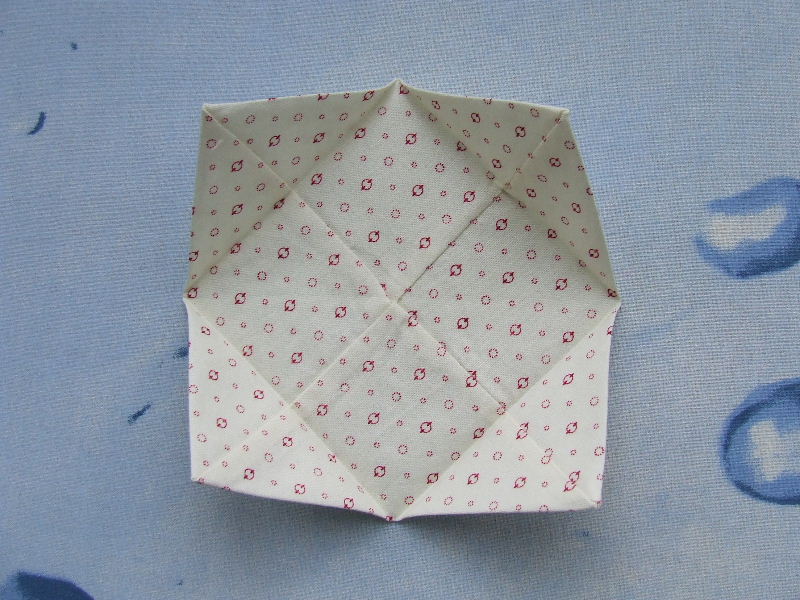
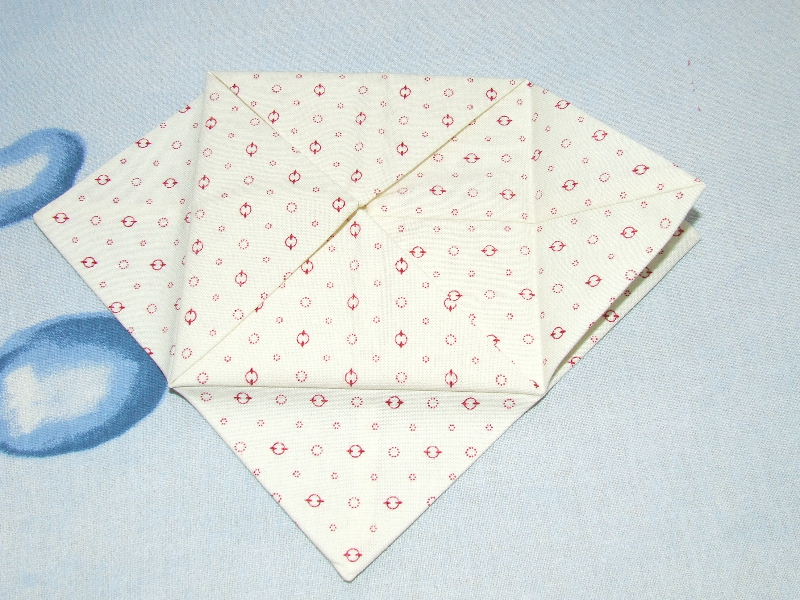
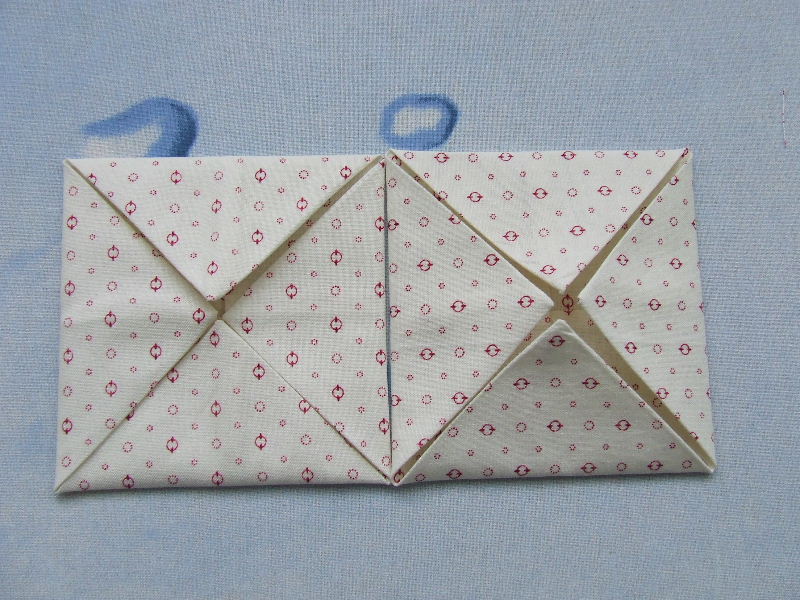
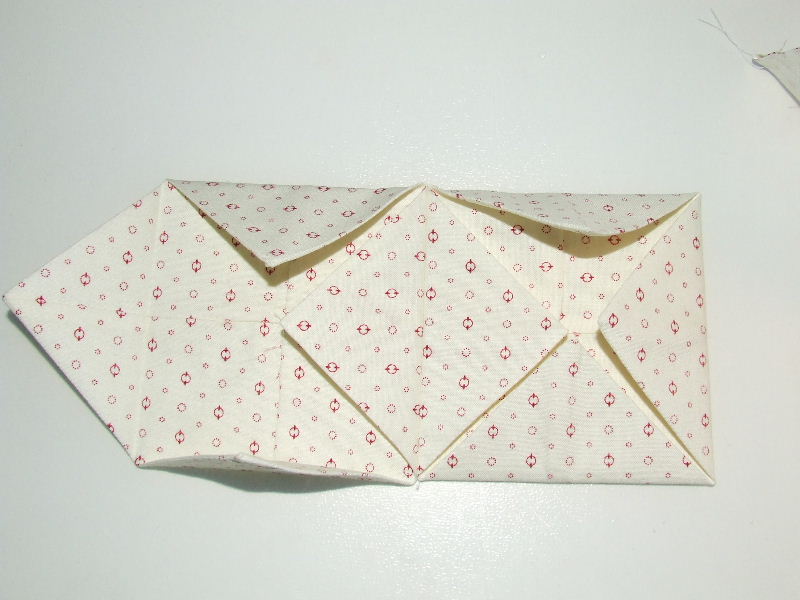
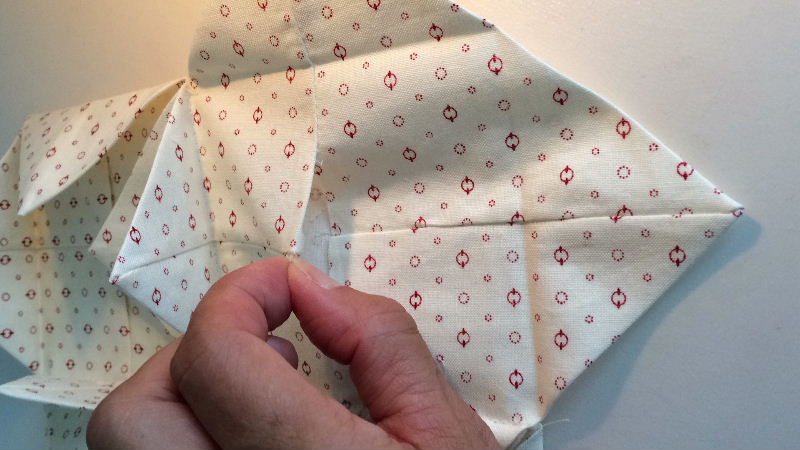
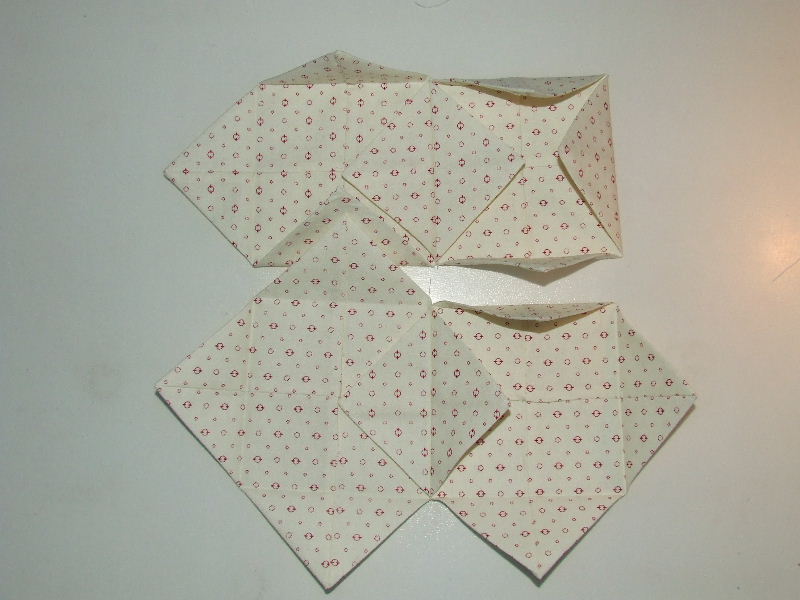
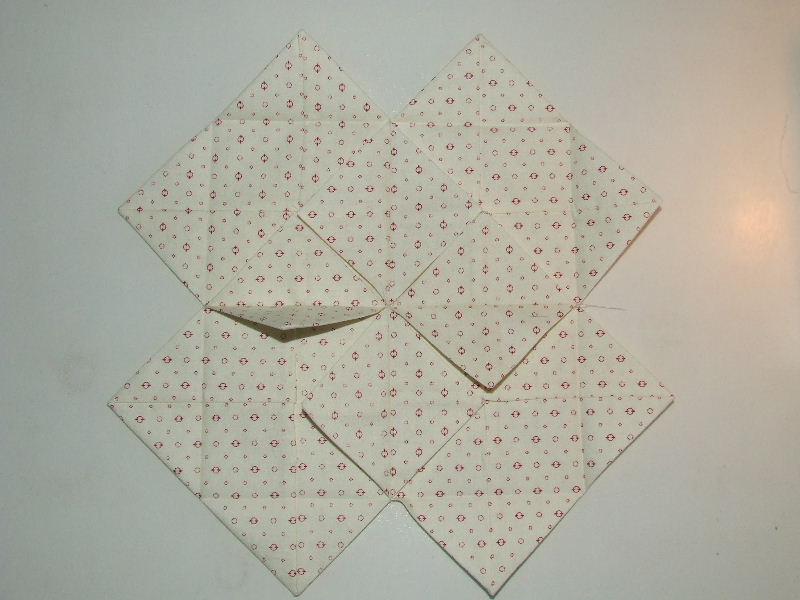
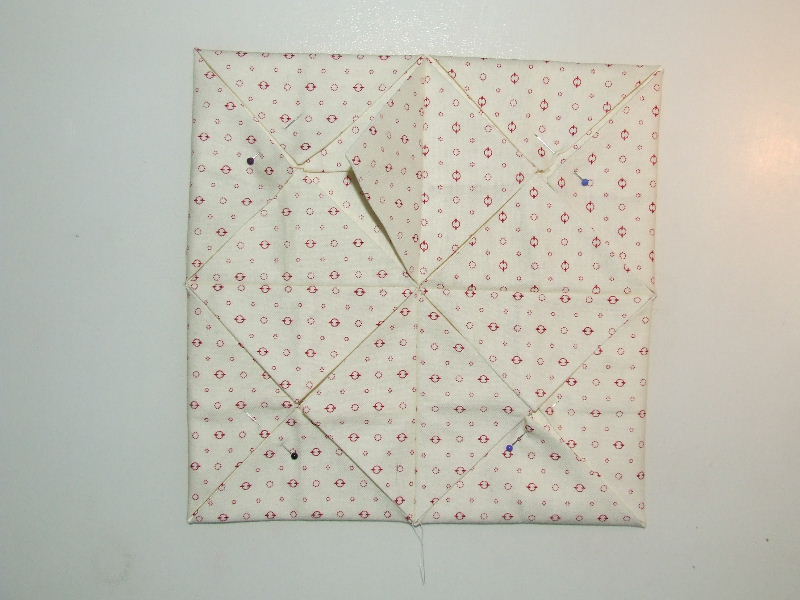
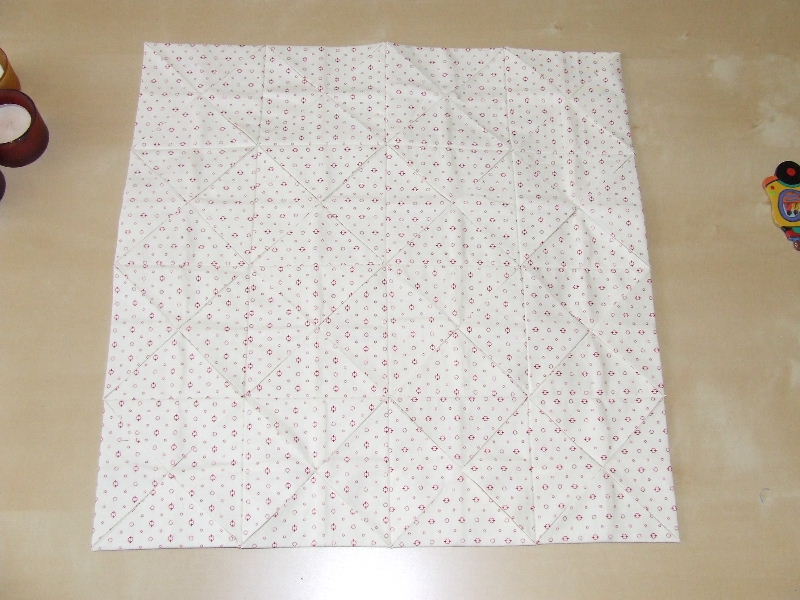
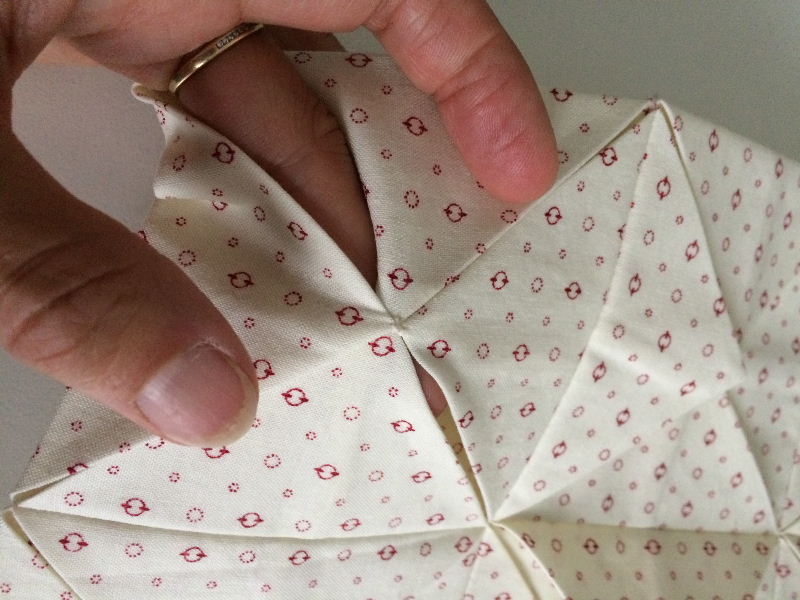
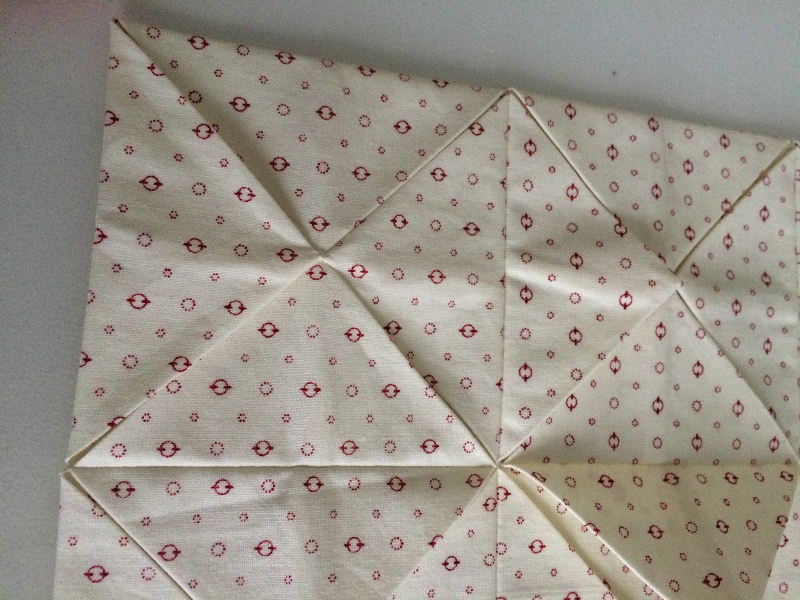
| Now that the base is ready, we'll move on to the most challenging but also most fun part: adding color to the quilt. You can see that the quilt now consists of sixteen squares. Each square has four points folded towards the center. These points need to be secured. You can do this with a few stitches or a small zigzag on the sewing machine. |
| I don't find it very appealing as it's also visible on the back. I do it by hand with a few stitches. I tie the threads together and hide them in the fabric. They are then no longer visible, even from the back. The points don't need to be secured at the bottom but should be attached to each other. |
| Secure all points before moving on. If you've pressed everything well at the start and sewn neatly along the folds when joining the squares, the points will align perfectly. |
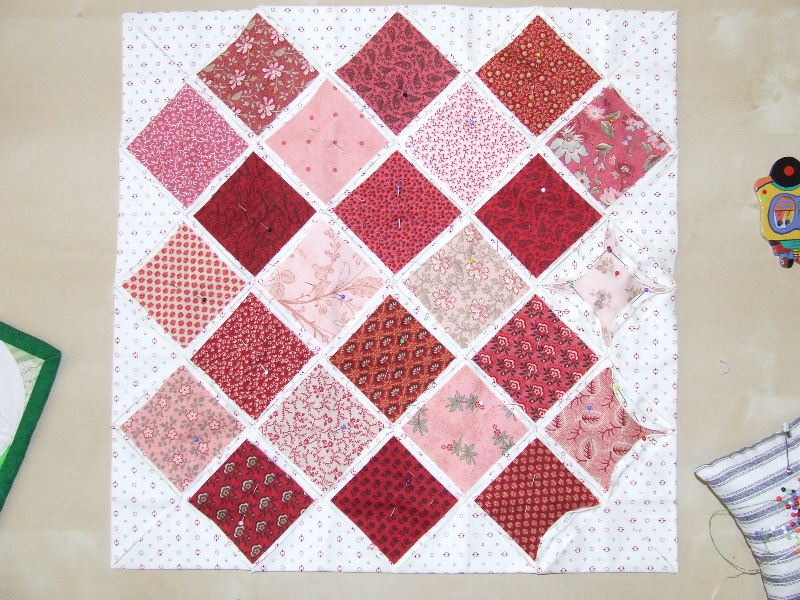
Beside, you can see how I've placed colored blocks diagonally on the base. The squares are about 2.5 by 2.5 inches. You can also use strips from a Jelly Roll for this. The squares might be placed a bit differently than expected, so look closely. They lie across a seam where two squares meet. I used 24 colored blocks of 2.5 by 2.5 inches in total.
Experiment with the placement of the squares until you are satisfied. You can secure them with a drop of glue from a fabric glue stick or a pin. |
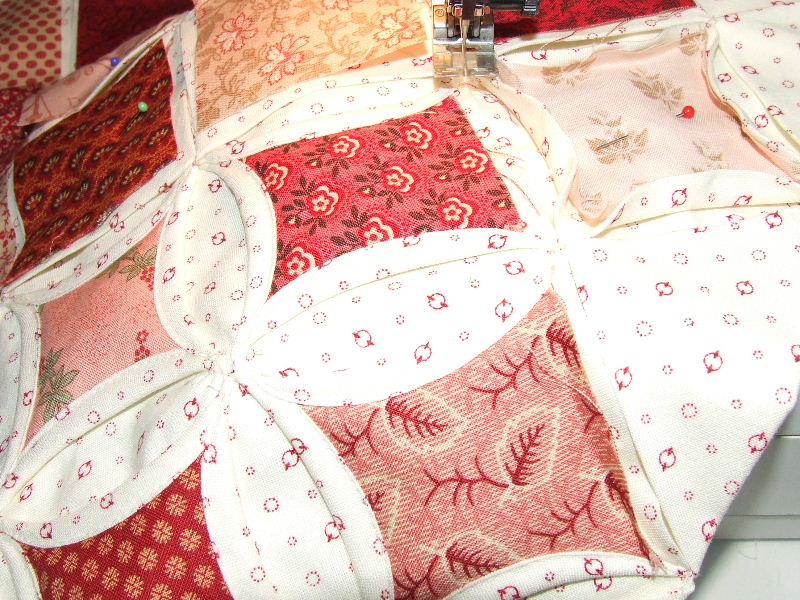
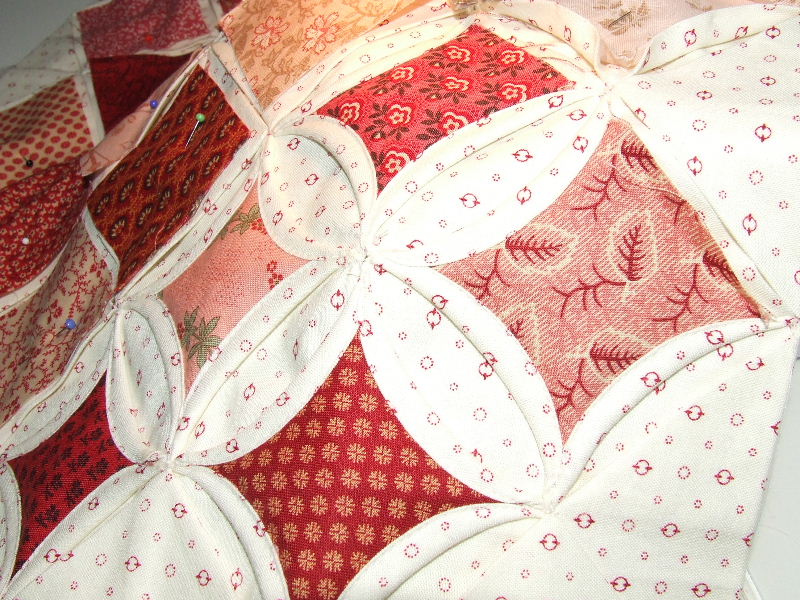
If all the small colored squares are secured with a pin or glue, you can start folding and stitching. Look closely at the picture beside. You can see that I pull the seams around the square over the square. Since there is more room in the middle of the seams, you can pull the seam slightly further over the colored square. This creates the beautiful curved lines. Stitch through all layers, close to the edge of the seam. In this example, on the light fabric and near the dark fabric of the small square.
|
Here's another picture showing the stitching well. The order in which you secure the squares doesn't matter as long as you don't forget any edges. You can secure each square all around or sew a long curved line, securing one side of a square at a time before moving to the next. You can stop in between. If you don't want to see loose threads in your quilt, you can do the following: hold the threads tightly when you start sewing so they don't tangle. When you finish a section and want to stop, leave longer threads before cutting. Don't tie off. Then pull both threads to the same side, tie a knot, and hide the ends in the fabric. Do this with the starting threads as well. This way, you won't see any loose threads in your quilt.
|
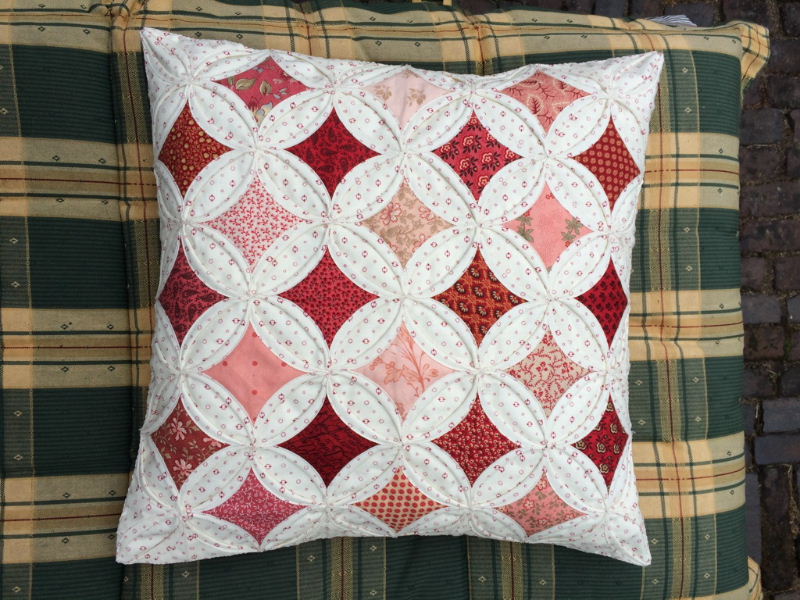
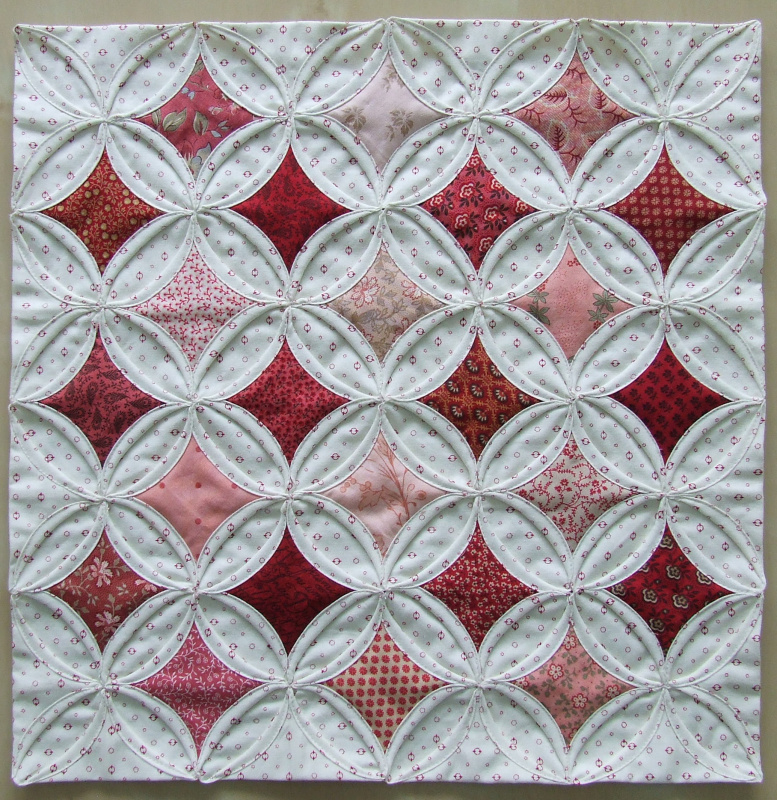
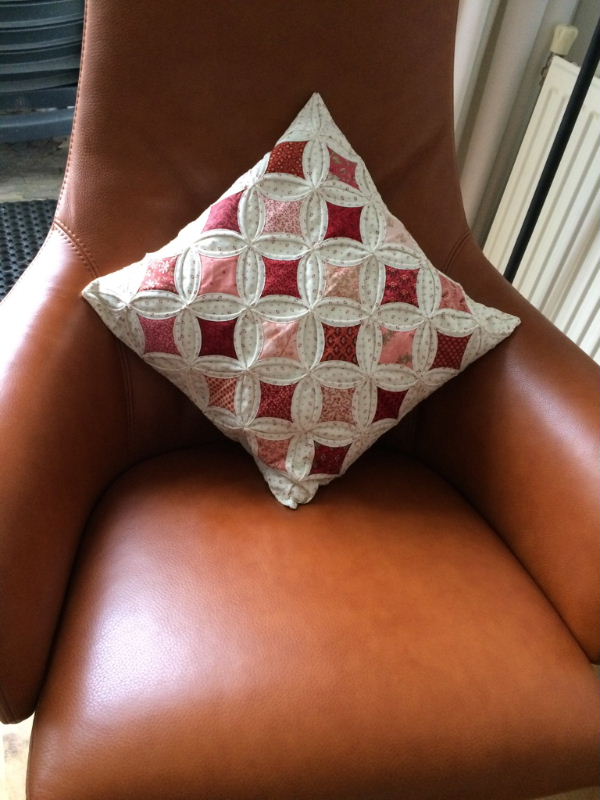
| After stitching all the squares, your quilt will look like the picture beside. I also folded and secured the seams on the edges because I find it aesthetically pleasing. You end up with a quilt of about 40 x 40 cm, ready without needing further finishing or stitching. |
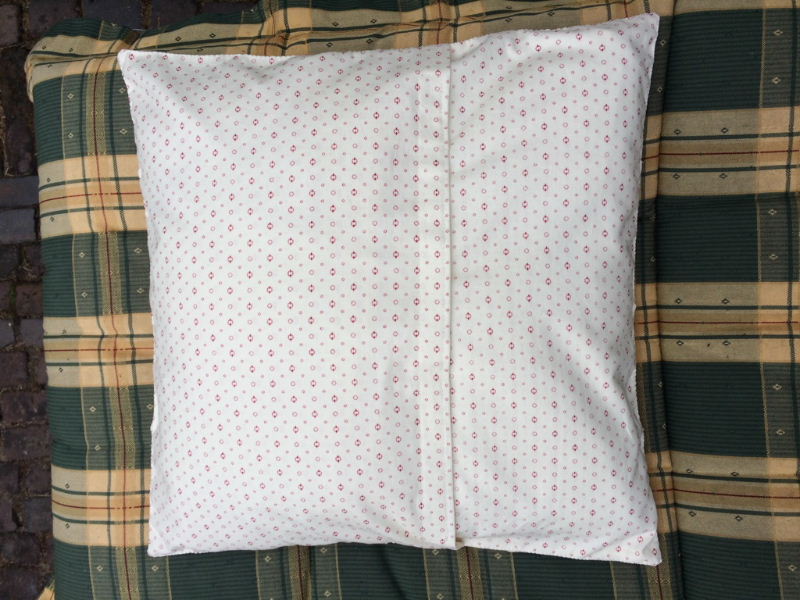
I wanted to make a cushion cover from my quilt, so I created a back consisting of two parts. Each part is essentially a pocket 40 cm wide and about 23 cm long. I cut two pieces of fabric measuring 41 x 47 cm. I folded them in half with the right sides together, creating a piece of 41 x 23.5 cm. I stitched the edges (not the fabric fold) together with a seam of about 0.5 cm. I left a small opening unstitched. The fabric was turned right side out through this opening and pressed.
Next, I attached a strip of Velcro to each piece. The Velcro is placed on the side without the seam but on the fabric fold. You need to measure carefully where the Velcro should be placed. When the Velcro is aligned, the two pieces should form a 40 x 40 cm square.
Finally, I attached the resulting back to the quilt with small stitches.
|
Once the cover is complete, you can insert a 40 x 40 cm cushion through the Velcro opening and close the Velcro securely. The result is impressive.
I enjoy making these and find them so beautiful that I'm now planning to make a bedspread for a single bed measuring 80 x 200 cm. I will make the bedspread 140 x 220 cm, which means 14 by 22 squares. I hope it will be successful.
|
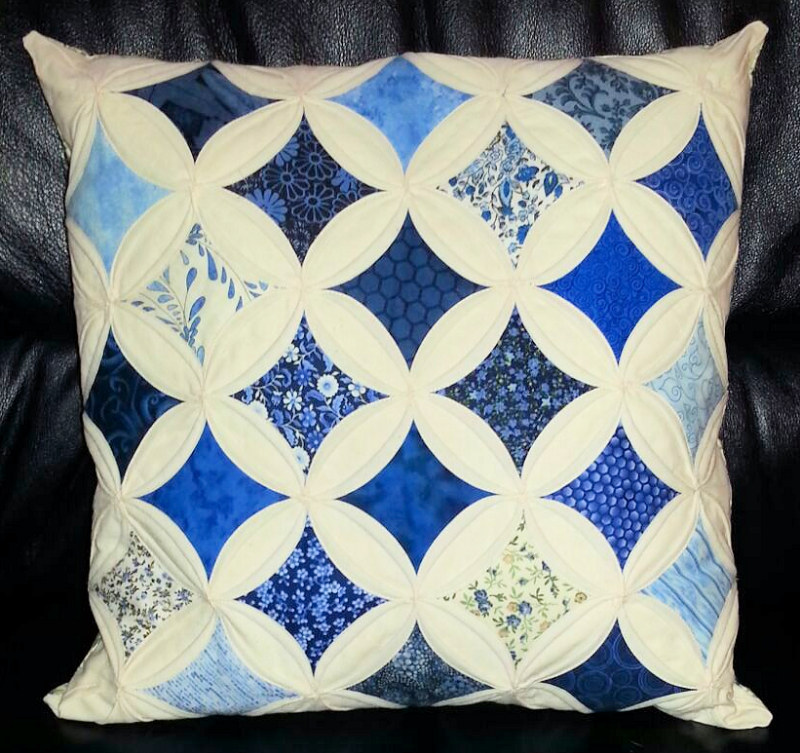
| A blue variant of the cushion is also incredibly beautiful. |


