Welcome at To be defined

Welcome at To be defined, a website filled with creativity. Here you will find numerous manuals in words and images on various subjects. On this page you can only see a selection. Choose from the menu on the left for more articles on your favorite topic.
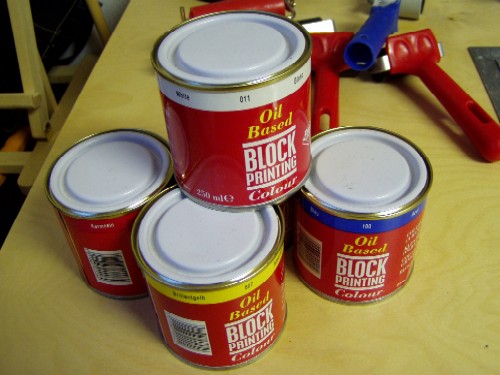
Blockprint inkFor monotype, you use a slow-drying medium. This is necessary; otherwise, your paper may stick too soon during the printing process, or your medium may dry before you can make a print. Typically, it will be oil-based. Personally, I use oil-based block printing ink.
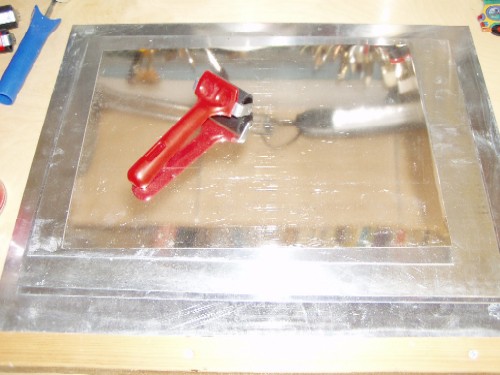
metal or glass plateIn monotype, you create your artwork on a smooth metal or glass plate. Then, you place a piece of paper over it and transfer your artwork to the paper by rubbing the back of the paper. I usually use 2 plates: one for creating the artwork and one for mixing the paint.
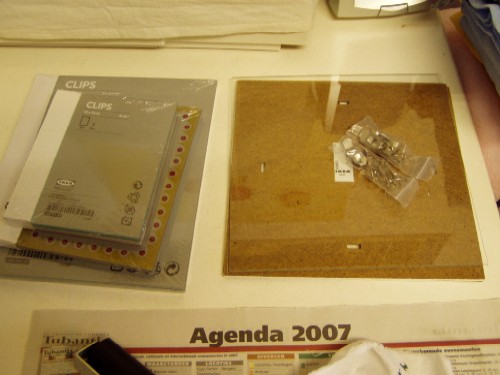
Photo frames, cheap worktopsYou can use the glass plates from cheap photo frames very effectively to create your artwork.
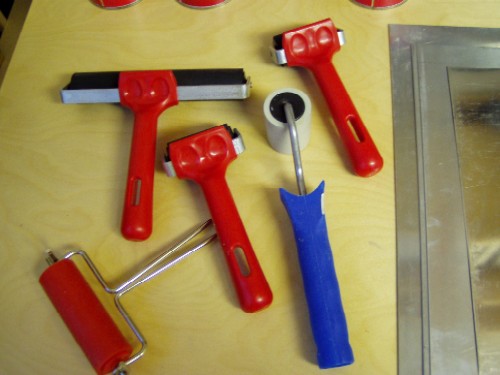
RollersFor mixing and applying the paint to the glass plate, I use rollers. I also use a large roller for making the print. You can make your prints on regular drawing paper.
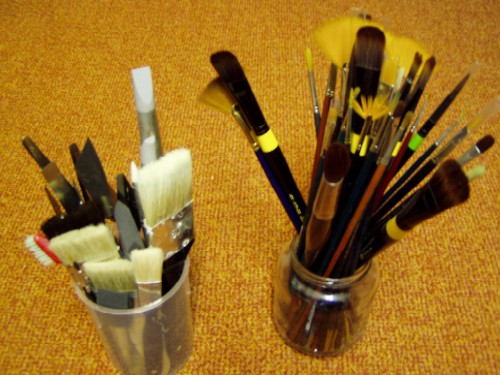
Brushes, scrapers, paletknifesBesides rollers, you can also use brushes, palette knives, scrapers, etc., to create your artwork on the plate. Actually, there are no restrictions...
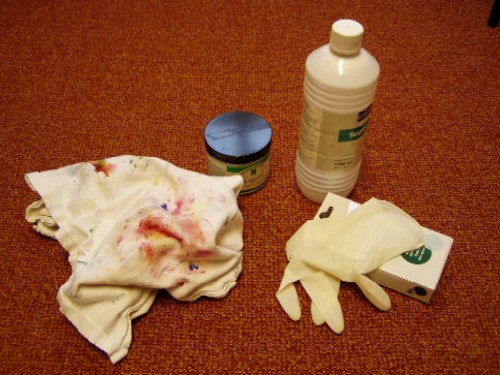
Cleaning suppliesIt can get quite messy... so it's better to wear gloves or apply artguard to your hands. Clean the plates after use with old rags and turpentine.

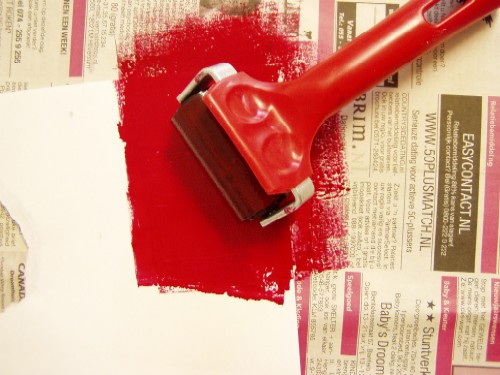
Ink on the big worktopThe basic technique of monotype is very simple. Use a palette knife to apply some ink to the large plate. I actually use this plate as a palette. It should be fairly large if you're working with a roller. Roll the ink with a roller until you have a nice thin layer. Your roller now has ink on it.
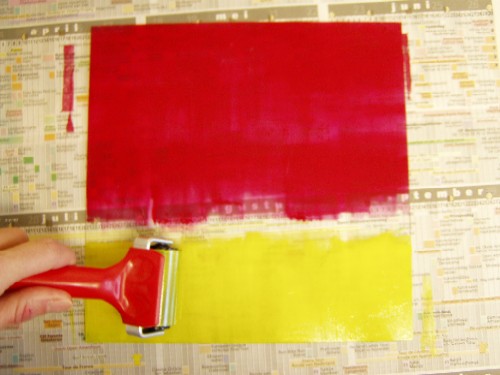
Rolling inkNow, use the roller to transfer the ink onto the plate where you want to create your artwork. Make sure the layer covers well. Now, roll your roller alternately over the ink on the large plate and over your glass plate.
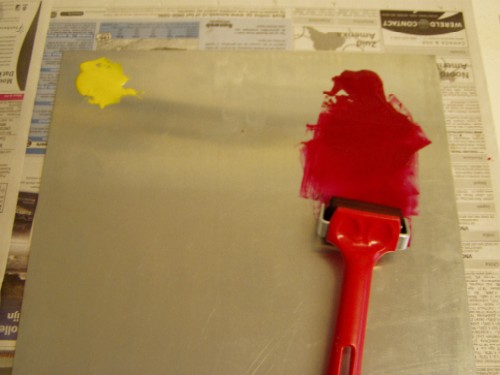
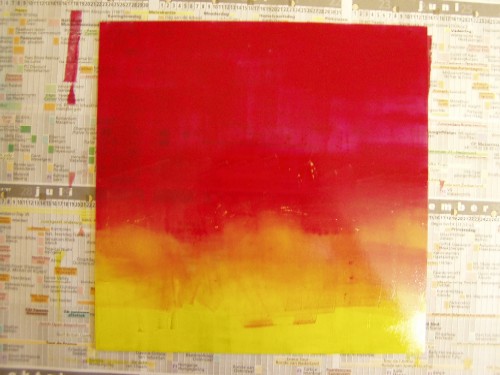
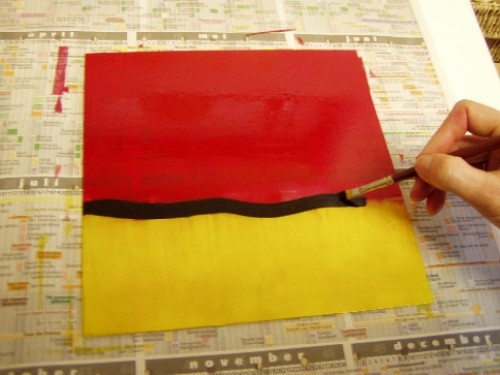
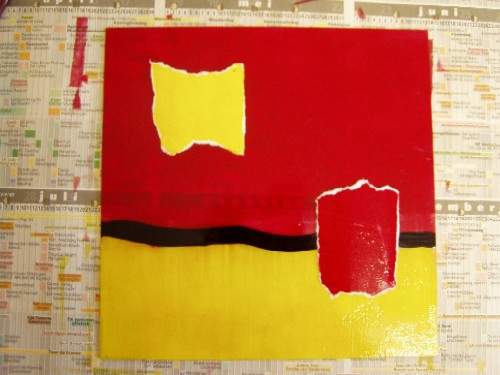
Blending inkYou can see that I used red above and yellow below. Where the colors meet, I blended them together with the roller. Here, I use the roller, but you can also use brushes to apply the ink.
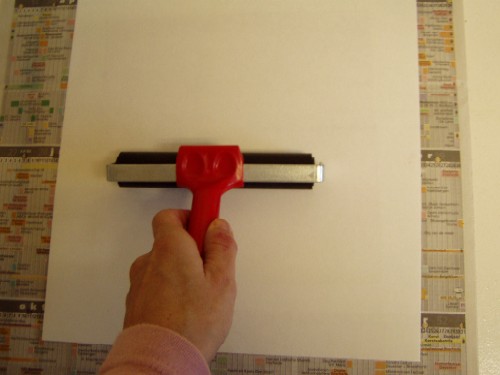
Press the paperWhen you're satisfied, gently place a sheet of paper over the glass plate. Now, roll firmly with a large roller several times over the paper. The ink from the glass plate will now adhere to the paper.
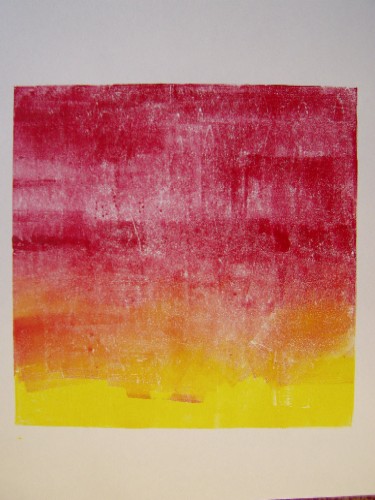
The result

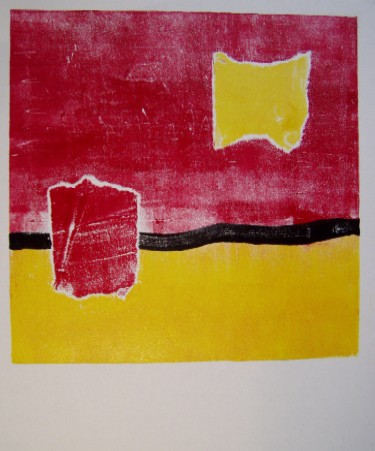
Carefully remove the paper from the glass plate. You'll see that the print has nicely transferred to the paper.

Keep in mind that your final print is the mirror image of your design on the glass plate!!


Continue workingUsually, you can make two prints from one plate. The second one is usually lighter. If you have a very thick layer of ink, you can sometimes even make 2 more prints.
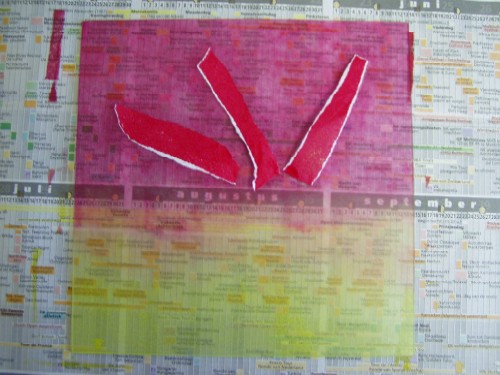
Pieces of paper with inkInk a piece of paper with the roller. Tear off pieces and place them on the plate.
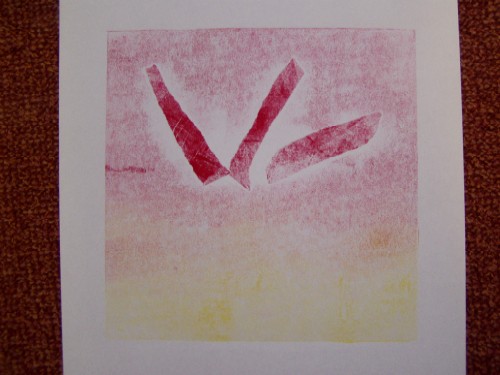
The resultYou'll notice that the pieces of paper are darker, and the background is lighter. This is because it's the first print for the pieces of paper. Make sure your paper isn't too thick, otherwise, you'll get a blur around the edges of the pieces of paper, as seen here...
Working with a brushHere, I combine a rolled plate with working with a brush. With the brush, I can add much more detail than with a roller.
.. and pieces of paperThen, I add inked pieces of paper on top. I tore these from a larger inked piece. If you look closely, you'll see small white edges on the pieces of paper caused by tearing.
The resultThis is the print it produces. The white edges you saw in the previous image also remain white in the print.

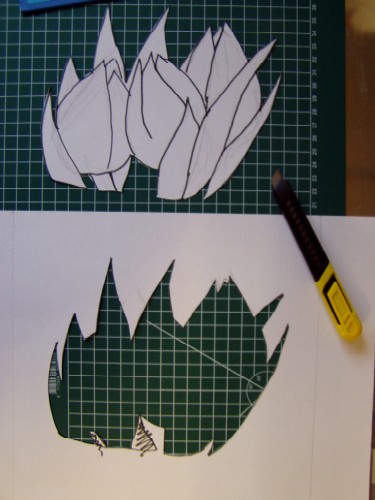
TemplatesAnother possibility is working with templates. You can cut a stencil from a piece of paper. You can then use either the cutout or the piece of paper afterward as a template.
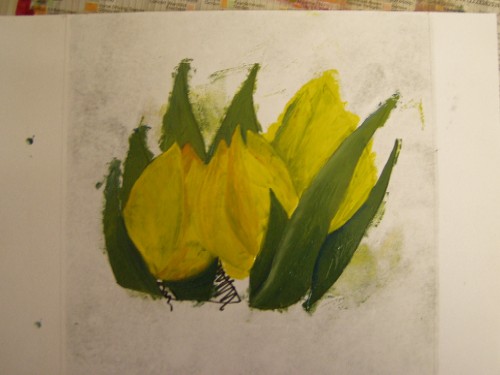
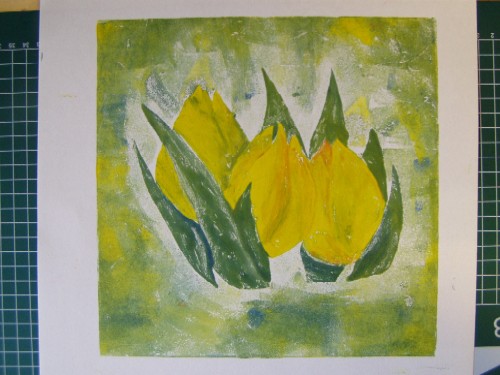
On the glass plateHere, I first rolled the plate entirely in green and yellow. Then, I placed the paper with the cutout where I wanted my design on top. I further worked on the visible part.
The resultUltimately, this print is the result. Because I had to remove the paper with the cutout before I could make the final print, the background is lighter in color. It has been printed twice.
These are just a few tricks, of course. Use your own imagination and creativity to achieve even more surprising results.