Welcome at To be defined

Welcome at To be defined, a website filled with creativity. Here you will find numerous manuals in words and images on various subjects. On this page you can only see a selection. Choose from the menu on the left for more articles on your favorite topic.
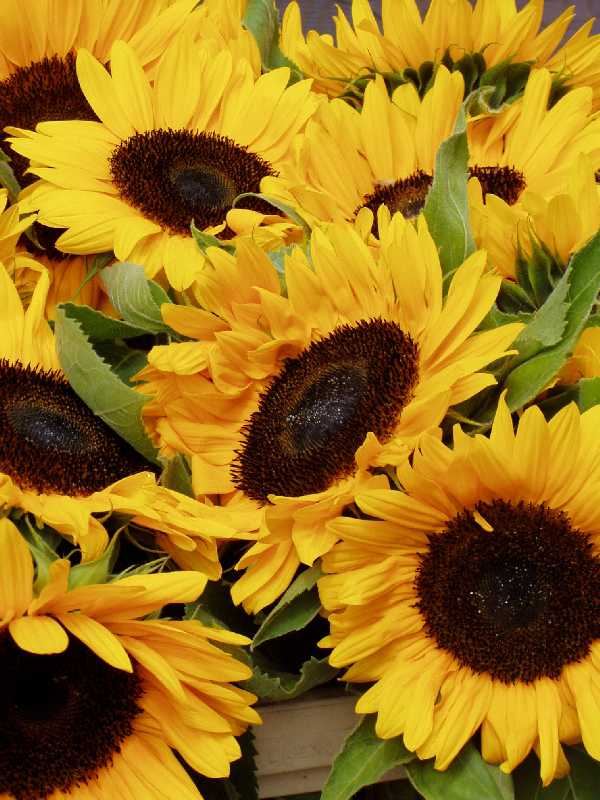
example pictureI want to create a large painting of sunflowers. For this, I'll use the photo from the photo album... Sunflowers. I've chosen a canvas size of 60 by 90 cm. Although I want it to be an oil painting, I'll make the underpainting with acrylic paint..

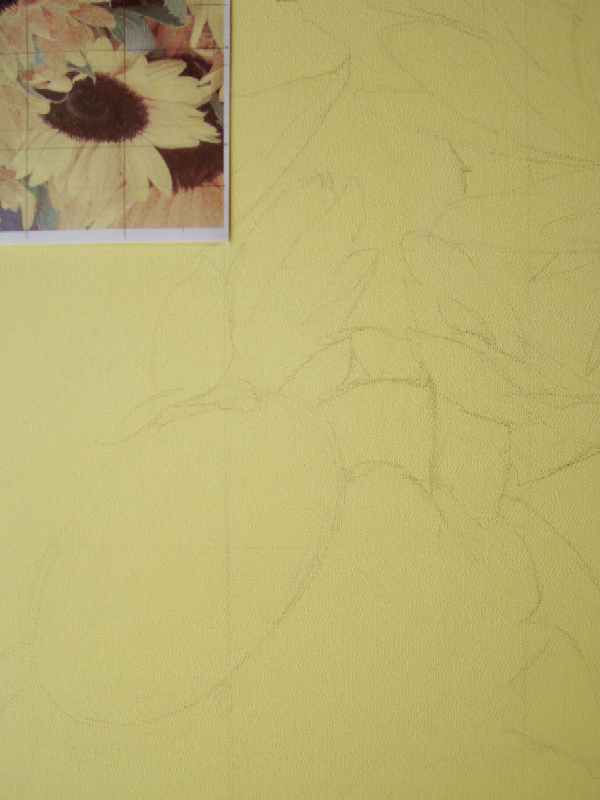
Yellow underlayerFirst, I'll give the entire canvas a light yellow color using gesso mixed with lemon yellow. I don't find it enjoyable to start on a white canvas, and besides, with yellow as a background, I can better see how the other colors will come out later. After coloring the entire canvas, I'll transfer the photo using a grid. Since the photo I printed out and the canvas don't match exactly in size, it's a bit of a puzzle.
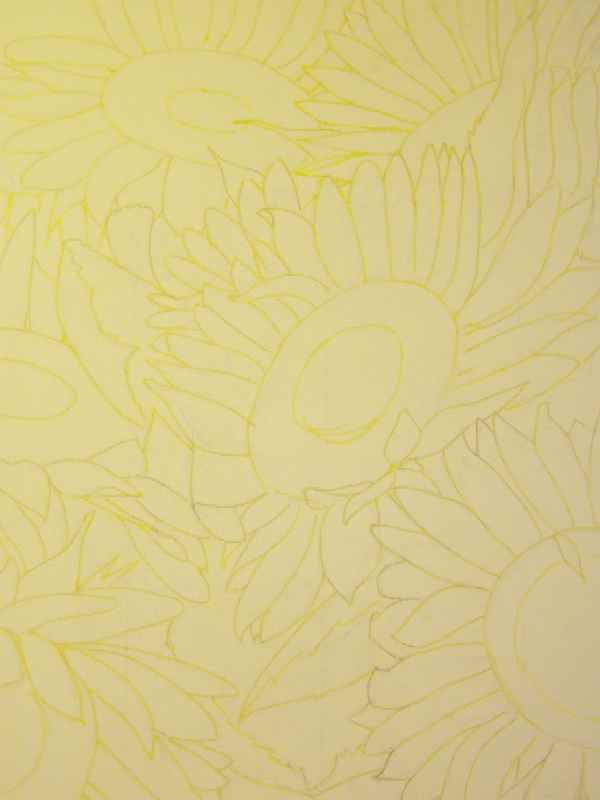
Trace the sketch with a markerAfter tracing everything with a pencil and being satisfied with the sketch, I'll go over all the lines with a yellow marker. Pencil can create dirty and gray spots in the paint, so after tracing with a marker, I'll erase all the pencil lines, including the grid.
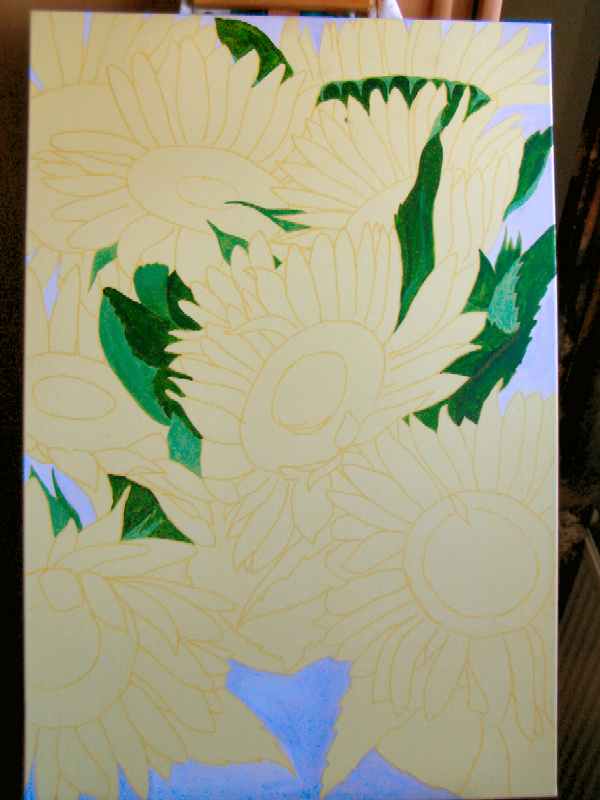
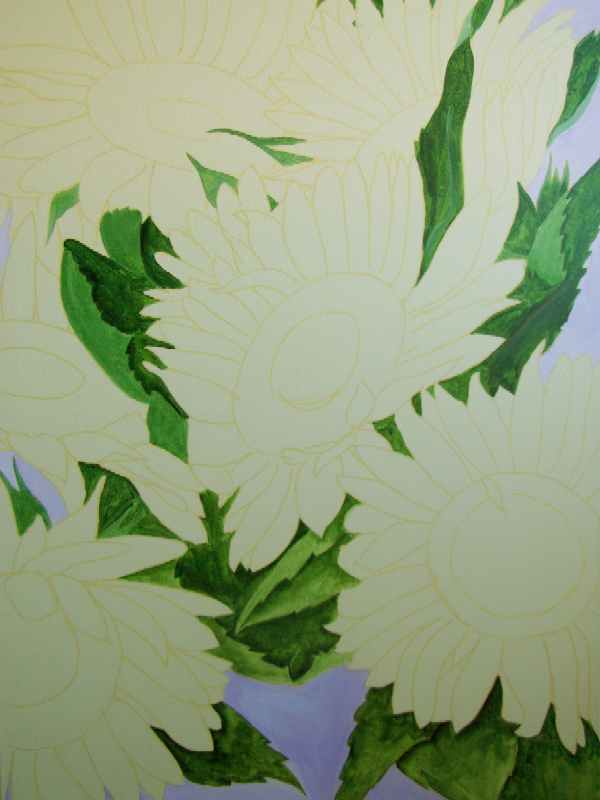
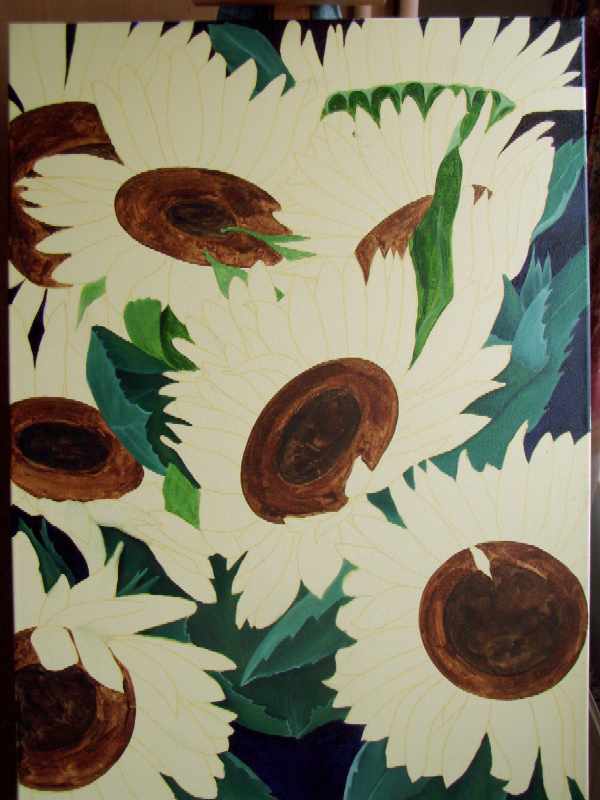
Applying the first colorsNow I'll start with the underpainting. I'll color the parts with acrylic paint. I won't add any detail yet, but I'll clearly define what is leaf, flower, or background by painting them in the correct color. For the background, I'll use zinc white with some dioxazine purple. I won't stick exactly to the photo, as you can see. I'll partially adjust it to my own preferences.
Sap green for the leavesFor the leaves, I'll use sap green, with some zinc white for the lighter parts. I won't paint the yellow of the flowers again, as I already did that when I painted the entire canvas yellow.
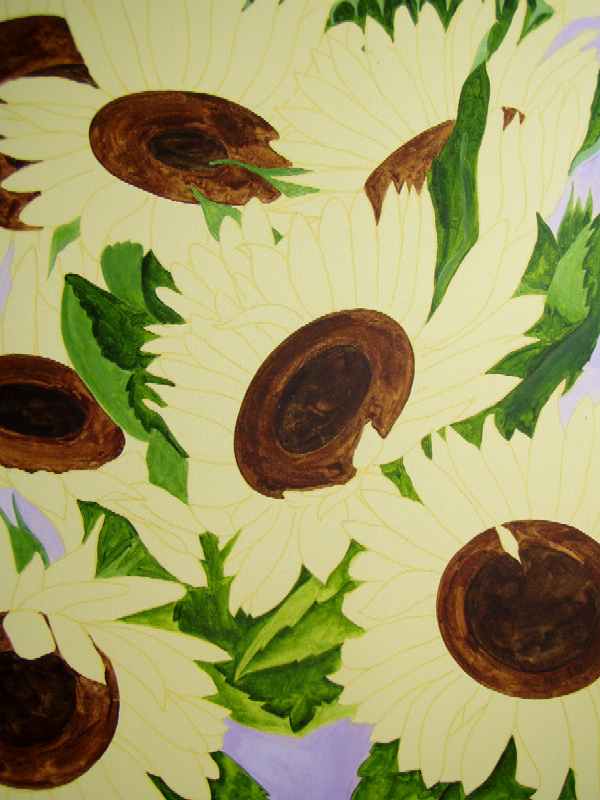
The heart of the flowersAfter the leaves, I'll start with the hearts of the flowers. Essentially, these are two circles overlapping. The smaller one in the middle is slightly lighter in color. I'll indicate this difference in the underpainting as well. I'll use burnt umber and mars black for this. With oil paint, I need to work neatly from back to front, but for now, I'm going color by color.
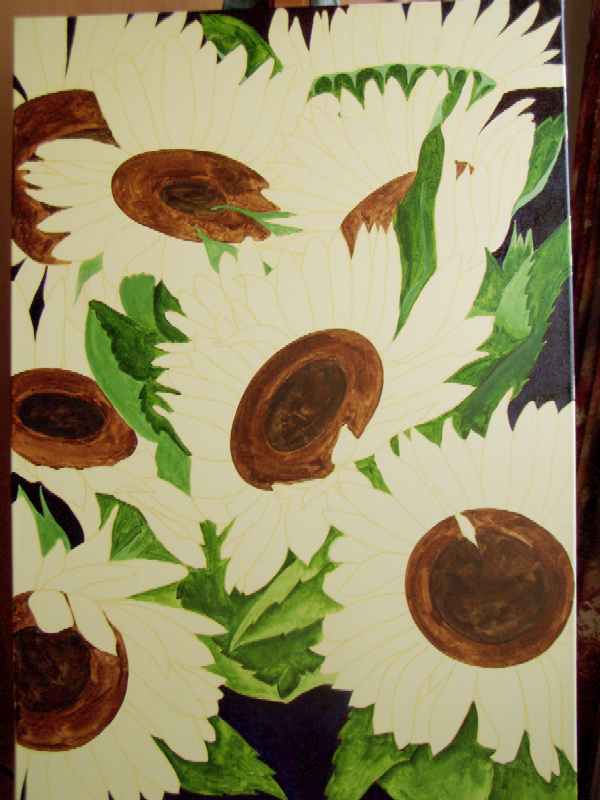
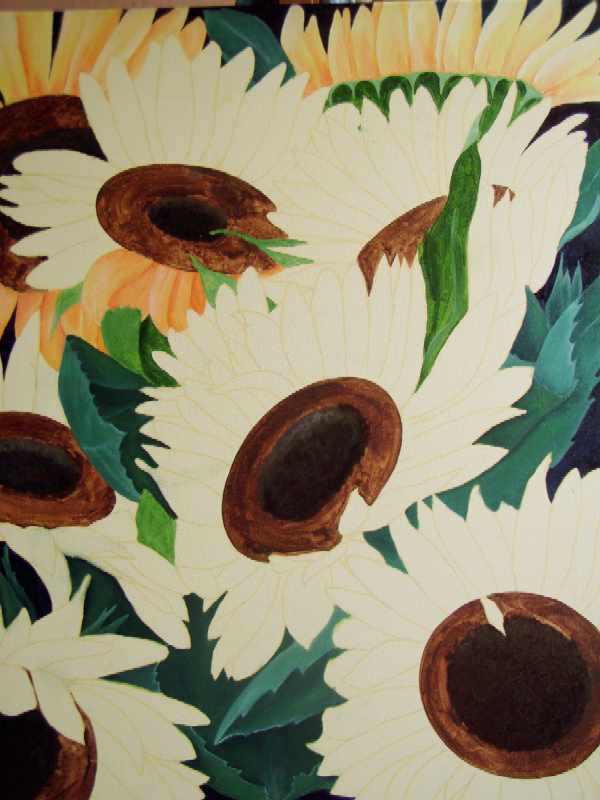
Darkening the backgroundOnce the acrylic layer is done, I'll move on to the next phase, using oil paint. Now I need to consider fat over lean and work from back to front. So, the first thing I'll paint is the background. I want it slightly darker than the acrylic color. I'll mix a purple from alizarin crimson and phthalo blue. With this color, I'll paint over the background previously painted purple with acrylics. This color is much darker, and I like it much better.


The leaves on the backgroundNow I'll start with the leaves in the background. I'll use the following colors on my palette:
  • Cadmium Yellow Light
    Sap Green
    Pine Green (Van Gogh)
    Indigo (Winsor & Newton)
    Zinc White
With these colors, I'll mix various shades of green. Especially for the backs of the leaves, which have a somewhat fuzzy appearance and therefore seem very white, I'll use a lot of zinc white in the mixture. I'll save a few leaves that actually fall over the flowers for last. I'll try to work as much as possible from back to front.
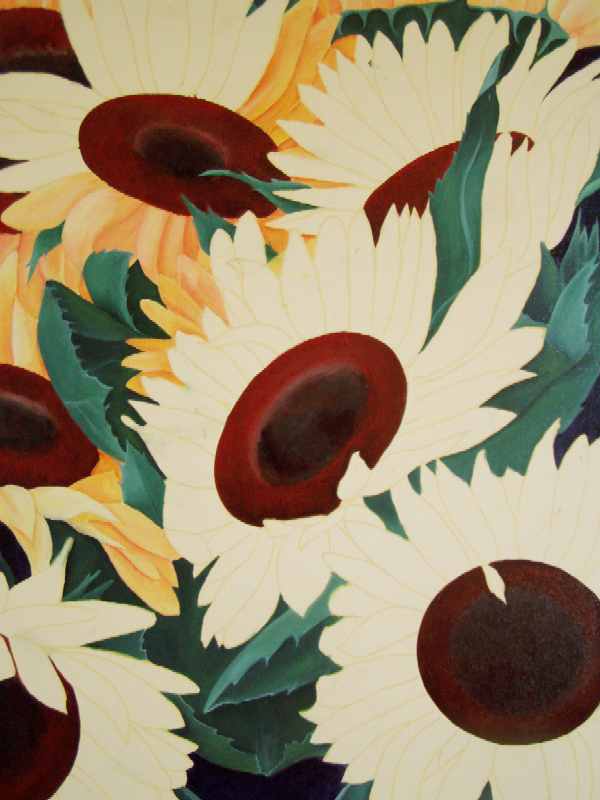
The hearts of the flowers in oilpaintNow it's time for the brown hearts of the flowers, the central part. I'll put some raw umber, burnt umber, and black on my palette. With these, I'll paint the inner part of the heart. The outer, slightly lighter edge will come later. I'll also start working on the flowers themselves.
The flowers in warm yellowFor the flowers themselves, I'll use mixtures of the following colors:
  • Azo Yellow Lemon (semi-opaque)
  • Cadmium Yellow Light (opaque)
  • Azo Yellow Deep (semi-opaque)
  • Yellow Ochre (opaque)
  • Cadmium Orange (opaque)
  • Vermilion (semi-opaque)
  • Zinc White (semi-opaque)
  • Titanium White (opaque)
I'll try to work neatly from back to front. At this stage, I'll make the oil paint more spreadable with a mixture of half Liquin/half Sansodor. You can replace the Liquin with linseed oil, and the Sansodor with turpentine. I didn't start with just Sansodor or turpentine because I already have an acrylic underlayer. I don't want to use more than 2 layers of oil paint.
Allow the first layer to dry thoroughly'll finish the entire painting. For the slightly lighter brown edge of the flower heart, I'll use a mixture of the same colors as the dark heart, supplemented with English Red. Once I'm done with this first layer of oil, I'll let the painting dry properly. It will take at least about three weeks.
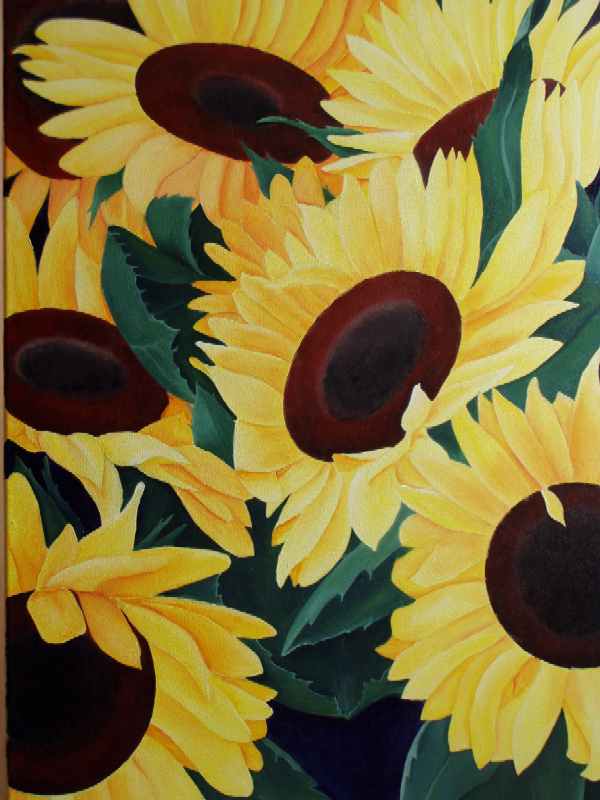
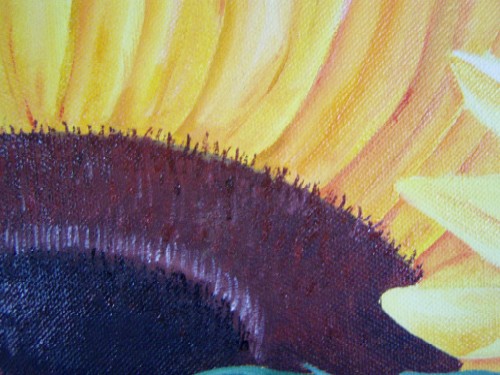
Detail of the heart of the flowersOnce I've colored all the flowers, I'll start the final phase. Now I'll add more detail. I'll still use the same yellow colors for this. The hearts of the flowers will also be further developed now. I'll use a slightly more fatty medium with my paint. Approximately 1 part turpentine or Sansodor to 2 parts Liquin or linseed oil. This layer will take longer to dry. For adding details to the flower hearts, I'll use a small brush, no. 1.
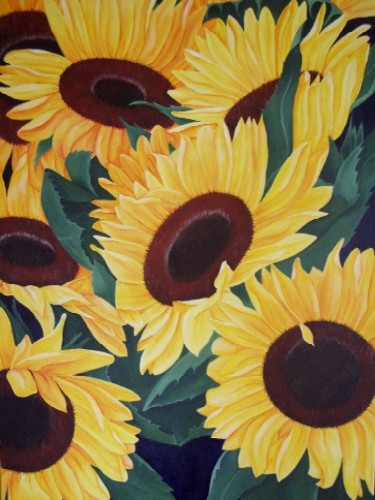
The final resultOnce I'm satisfied with the work, I'll sign it. Now it needs to dry for several more months before I can varnish the painting.