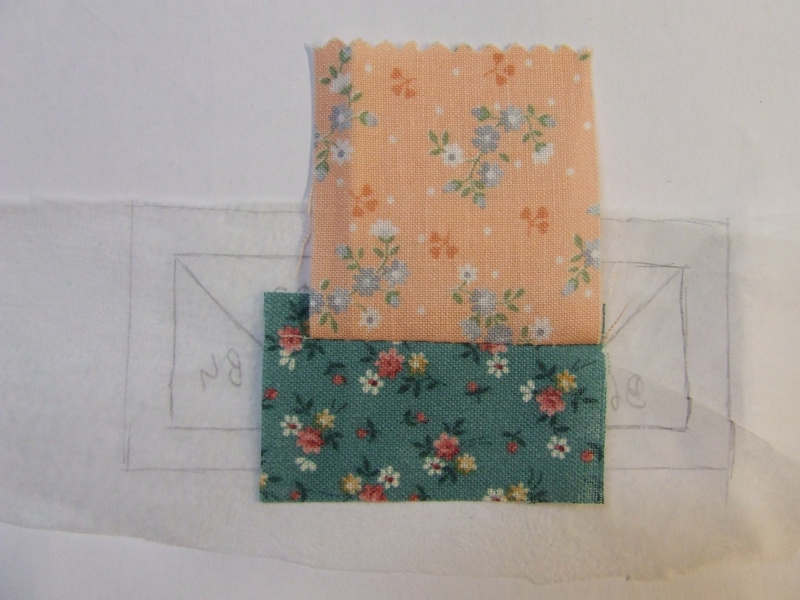
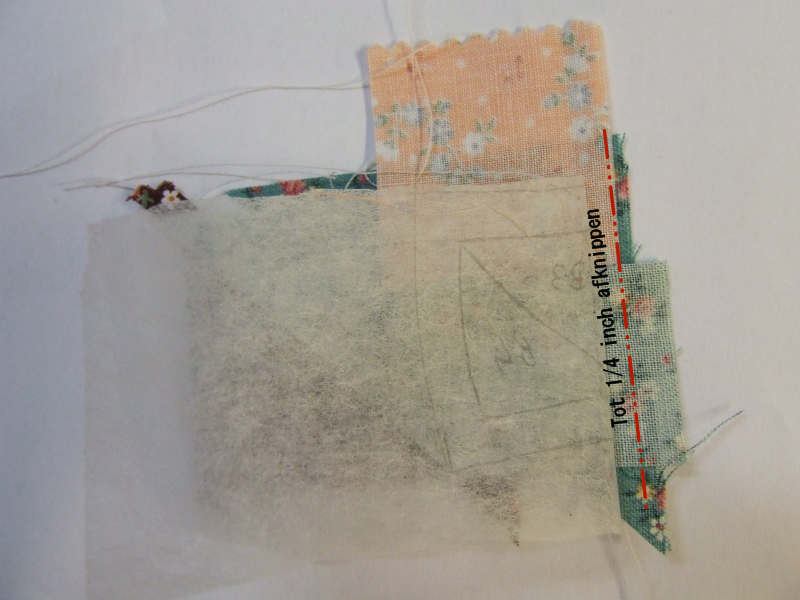
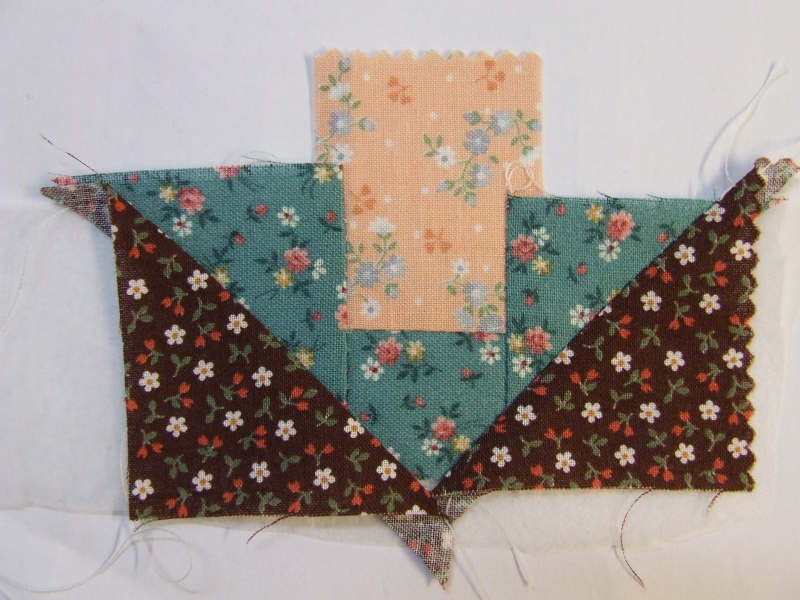
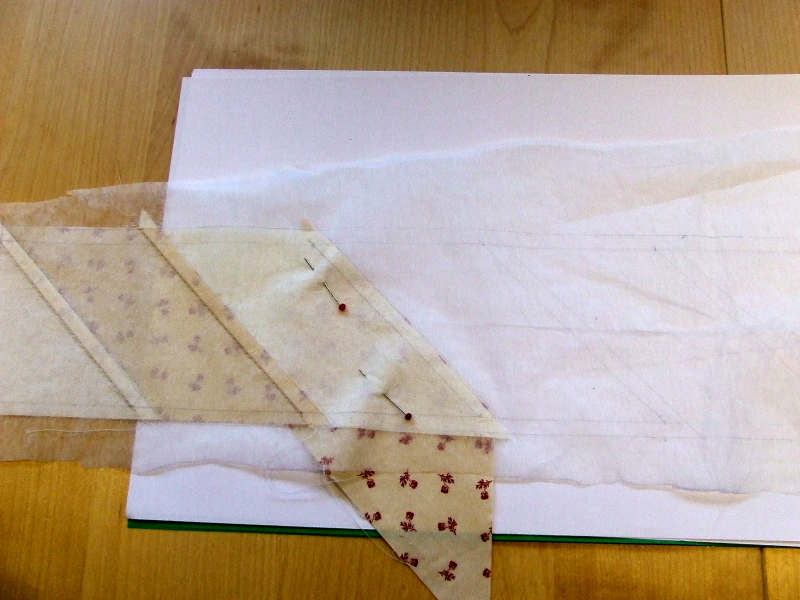
Pattern part A is similar. We now start in the middle with pieces A1 and A2. The procedure is identical to that of pattern part C. If a piece extends too far outside your pattern, you can trim it.
|
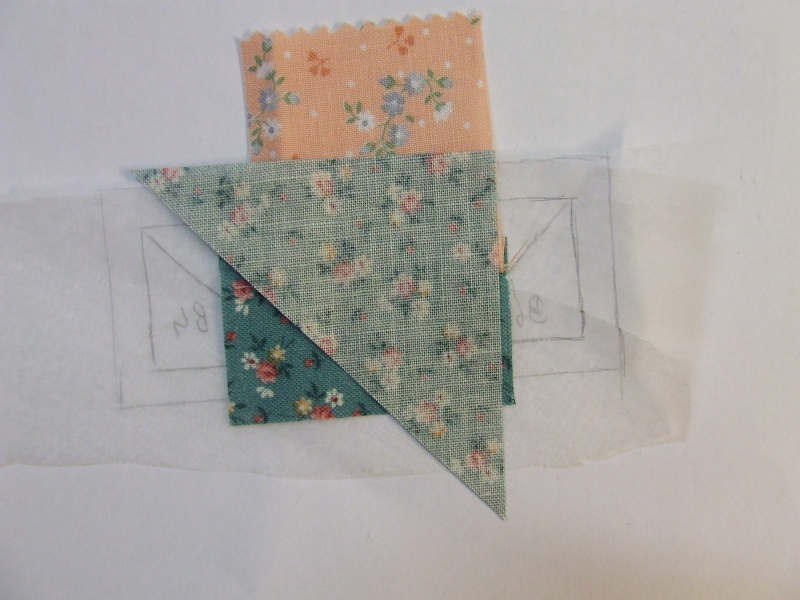
Once the first two parts are sewn and pressed to the right side, the first triangle can be added. Here, you start to notice the advantages of this method, especially with the small 3-inch blocks. I cut the triangles very generously so that I won’t run out of fabric anywhere.
|
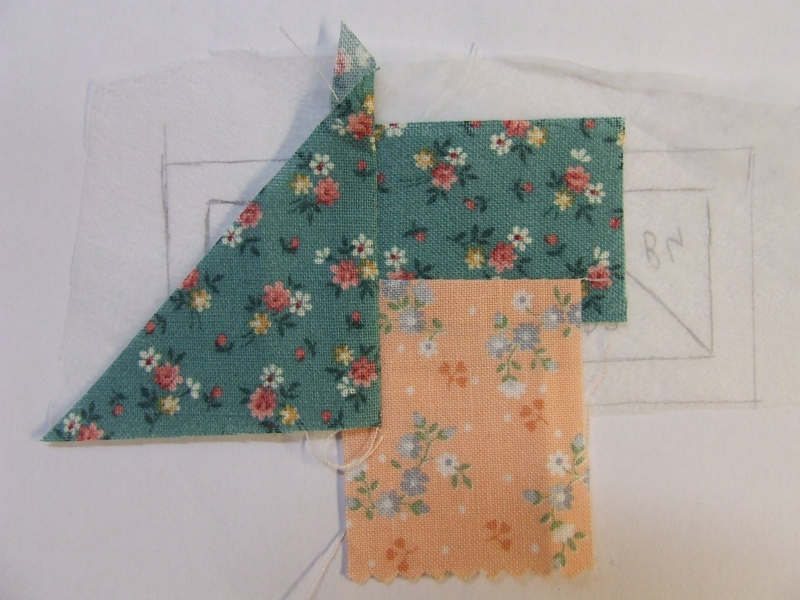
After sewing, this piece is also pressed neatly. If the seam is larger than about 1/4 inch, trim it to the correct width. Again, be sure to fold the paper away before trimming the seam.
|
| After this triangle, the second follows. The other side goes in the same way. |
Once this piece is trimmed neatly along the outer lines at the back, it already looks good.
|
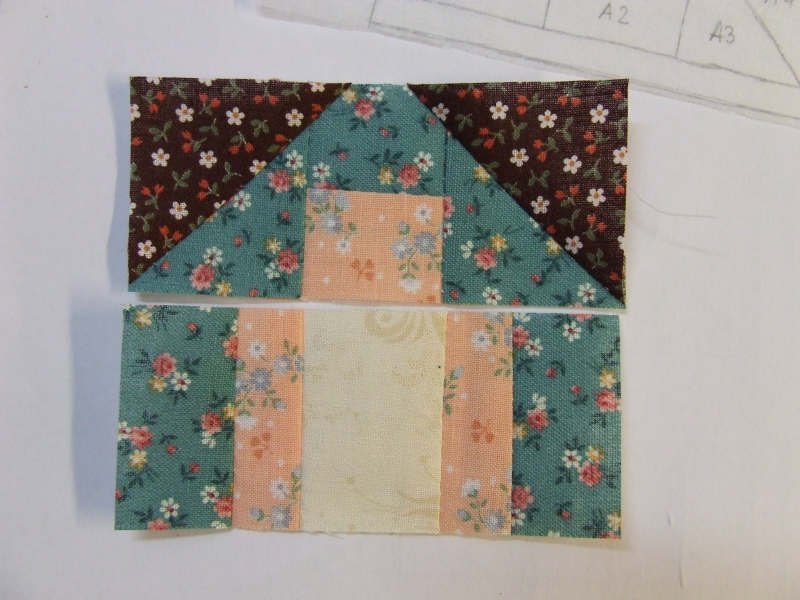
Piece B goes the same way as piece A. Now there are only three parts left to be sewn together.
|
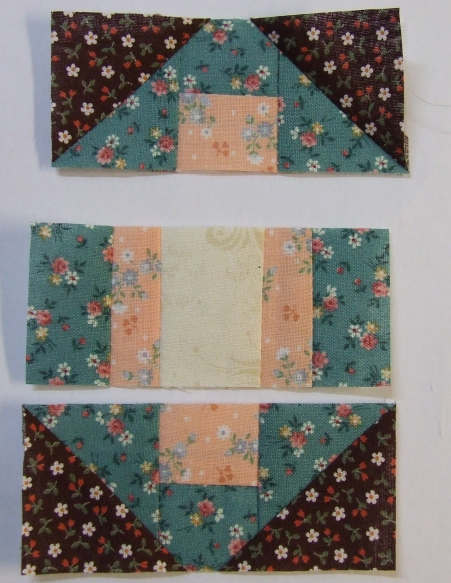
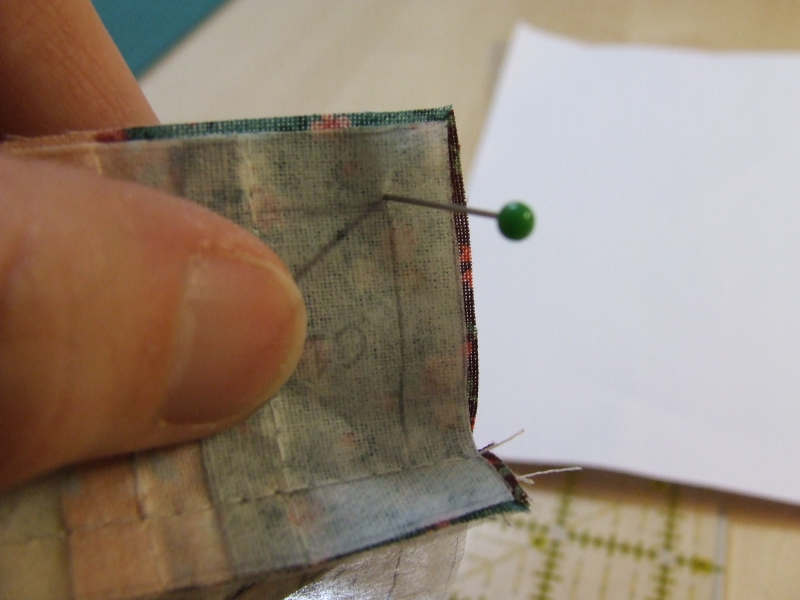
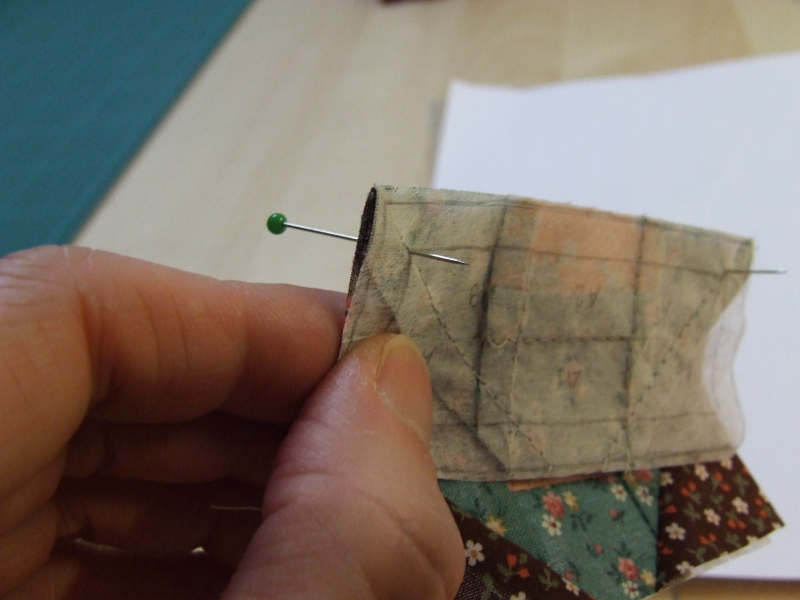
To align the individual parts A, B, and C correctly, you can use the patterns on the back. Insert needles through both parts, exactly at the corners. If the piece is larger, you can also place a few pins between the ends. Continuously check if the parts are correctly aligned. The needles should pass through the lines on both sides. This part is where the most deviations can occur, so work as carefully as possible.
|
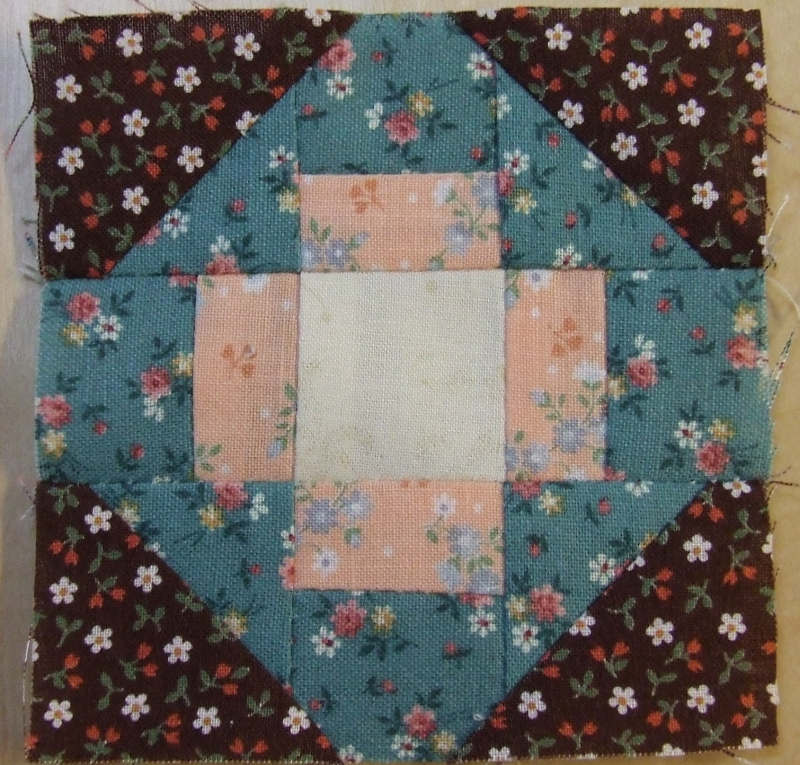
| Once all three parts are assembled, it looks good. Naturally, the more precise you work, the neater your piece will be. You can remove the paper, but it’s not necessary. Many quilters leave it in place. It’s more work and takes a bit more fabric, but this method yields good results with the very small 3" pieces. |
| This method uses more fabric than cutting the blocks to size exactly with templates or rotary cutting. If you find that a waste of fabric, you can also draw extra lines on your foundation pattern. The lines are 1/4 inch away from the stitch lines. These lines indicate where the new pieces of fabric should be placed. When working this way, you must again work very precisely, but it saves a lot of fabric. |


