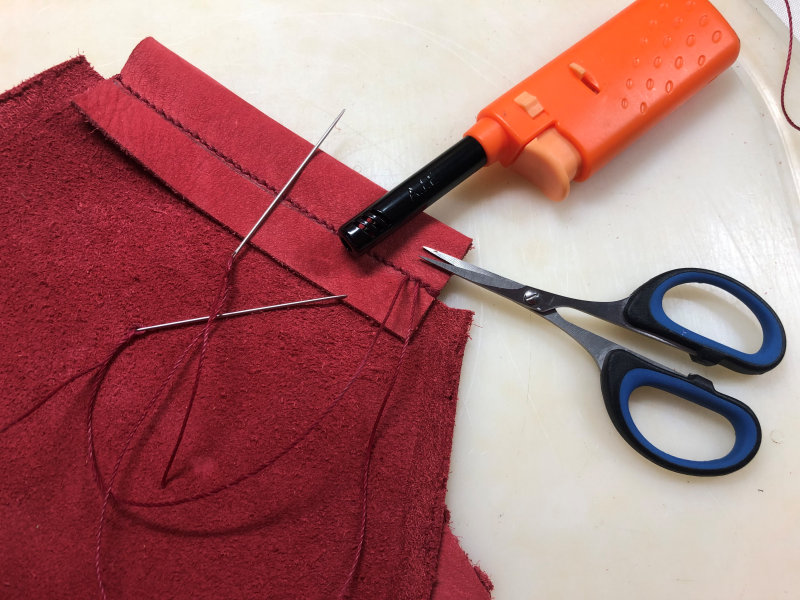
| For stitching, I use the saddle stitch. I double the first 2 stitches as well as the last 2 stitches for strength. Make sure you work neatly and regularly, then this stitch looks beautiful. I cut the ends of this polyester thread short and melt them into a sturdy lump with a small flame from a lighter. Stitch the clip tunnels on both pattern parts this way. You don't need to do anything to the bottom part yet. |
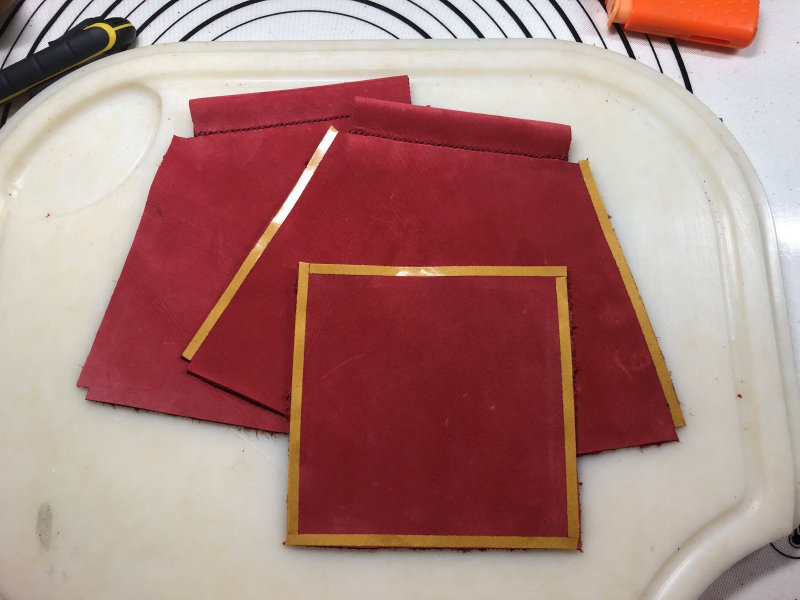
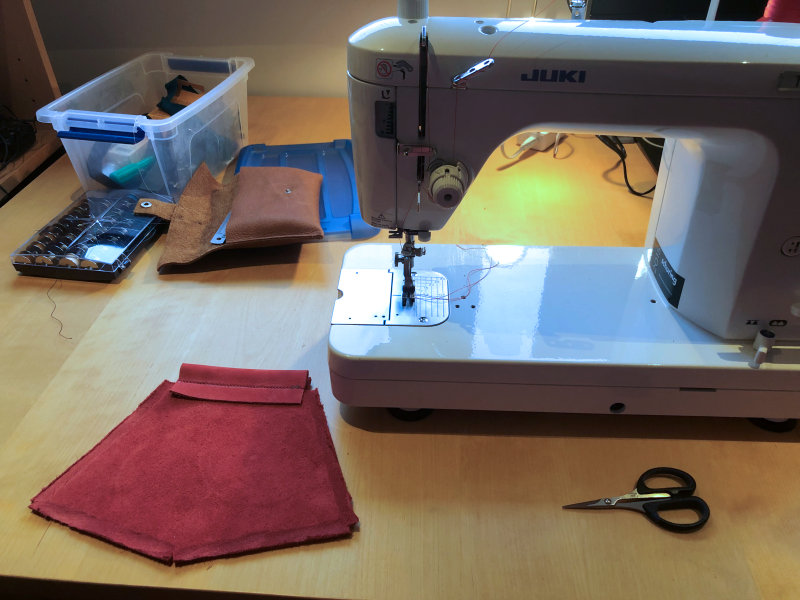
| Now that this is done, the pouch itself can be assembled. Here too, we use thin double-sided tape to keep the parts neatly together. Apply tape to the side seams on one of the 2 panels, and to all side seams of the bottom. Apply the tape to the right side of the leather. You can see what your parts should look like next to it. |
| Remove the tape from the pattern part that is NOT the bottom, and stick both pattern parts together with the right sides together. Leave the tape on the bottom part for now. Now stitch the left and right seams. You can do this by hand, but if you have a sewing machine suitable for stitching leather, you can also use that. Make sure to take the seam wide enough so that the tape falls on the outside of the seam. If you stitch a seam too small, you'll see the tape after turning, which is very ugly, and fluff will stick to it. |
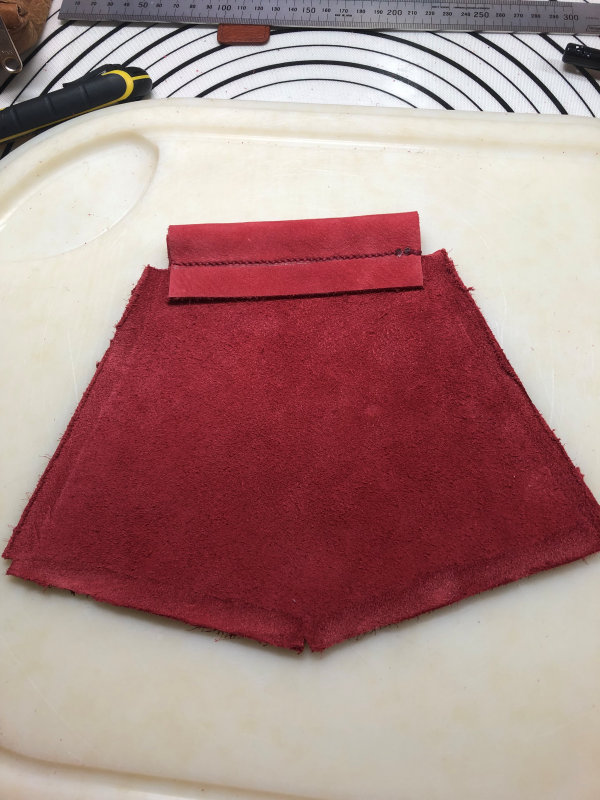
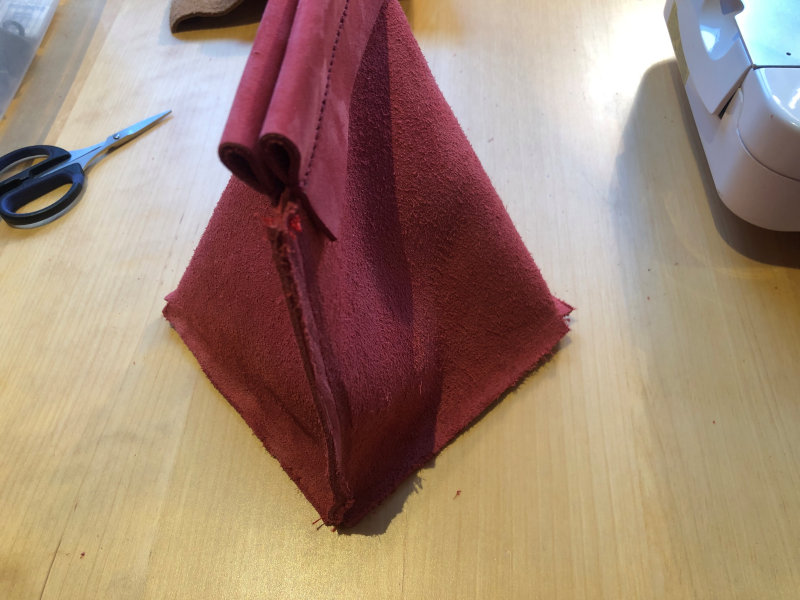
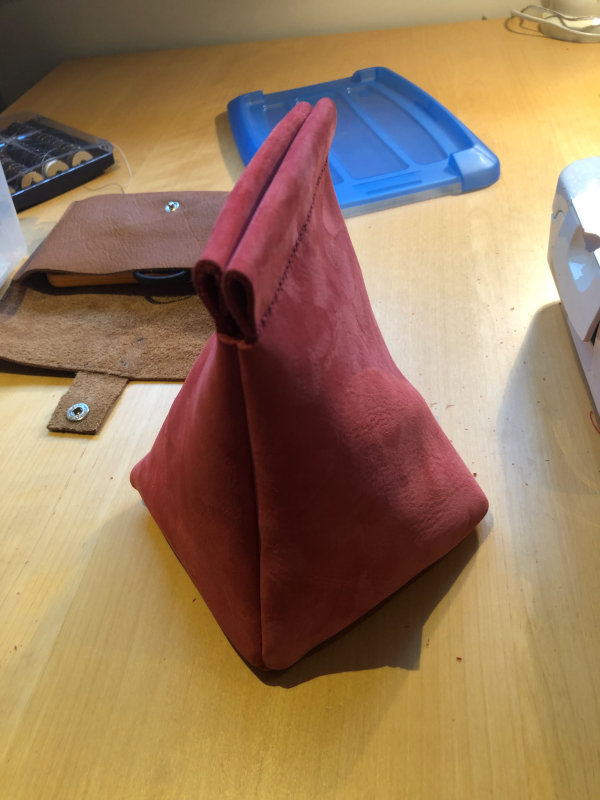
| When the seams are stitched, remove the tape from the bottom part. Don't turn your pouch inside out yet. Now stick the part you just sewed onto the bottom. Press it down firmly and use some clamps if necessary if it won't stay in place. Stitch all four seams. Here too, make the seam wide enough so that the tape won't be visible on the front later. This stitching can also be done by machine or by hand. When you've done this, you can carefully turn your pouch inside out. Push the corners out well with something not too sharp. |
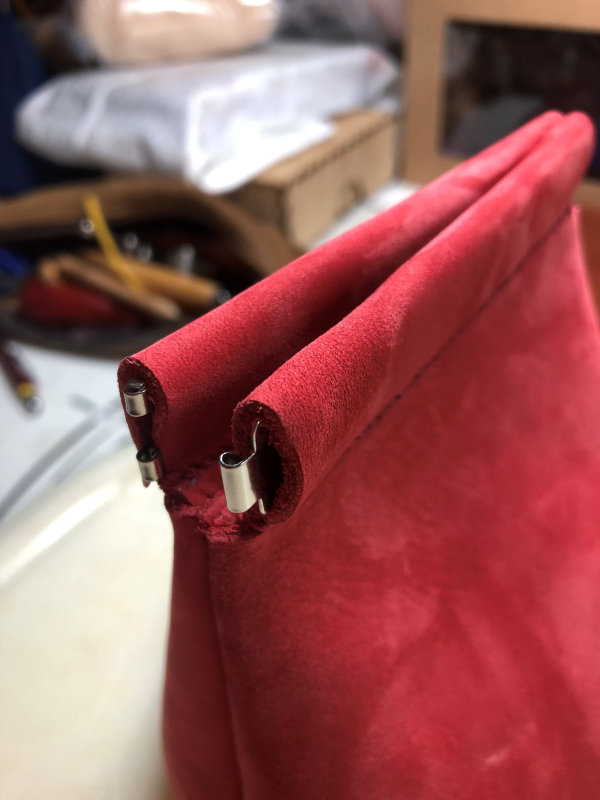
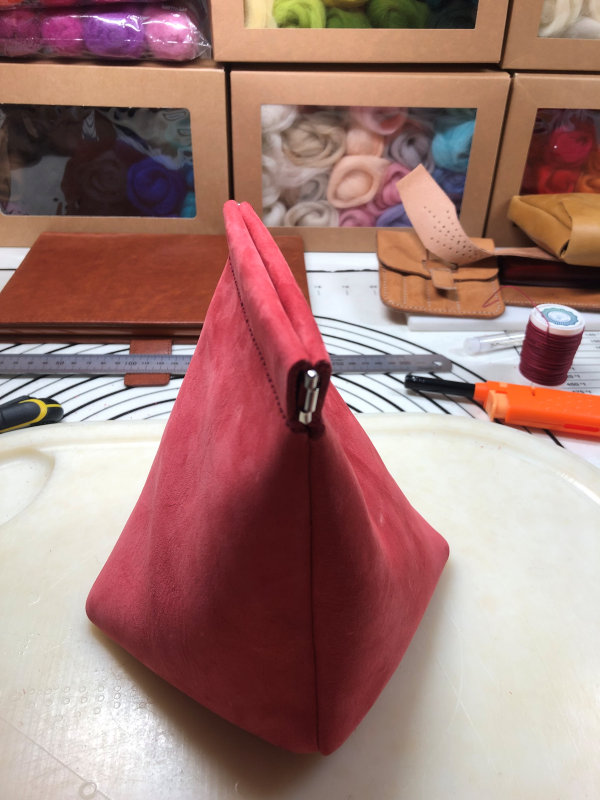
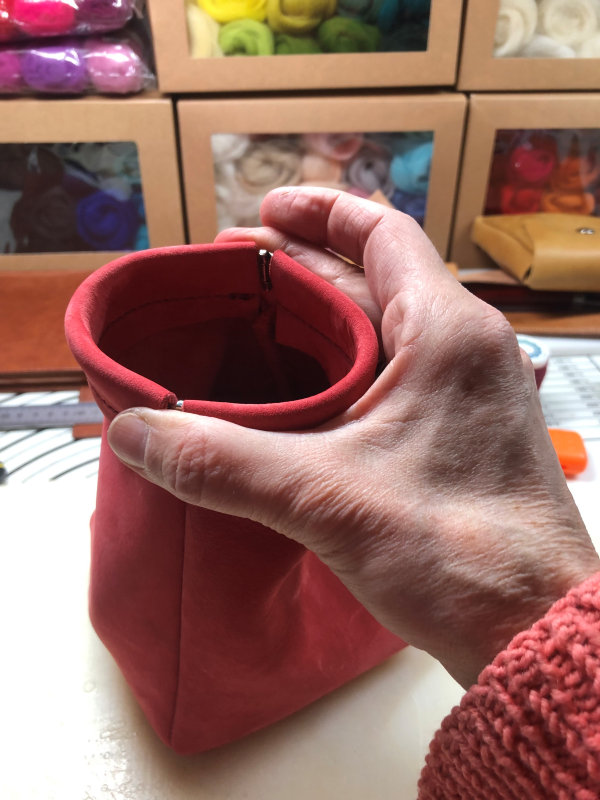
| Now that the pouch is assembled, you can slide the clip into it. This can sometimes be a bit tricky. Stretching the entrance of the tunnel a bit can sometimes help. Once the clip is in the tunnels, you can push the two parts of the clip together and secure them with the accompanying pin. Don't forget to push the tab down so the pin stays in place. |
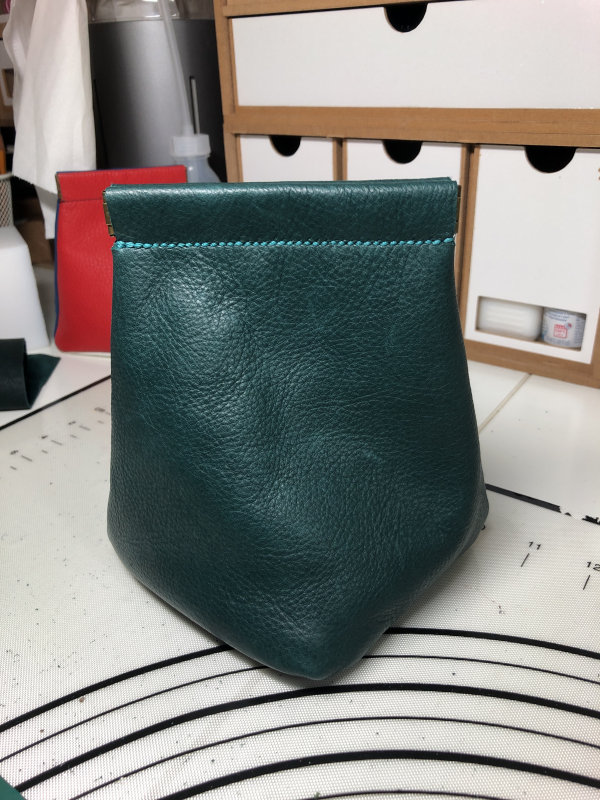
| The pouch is finished |
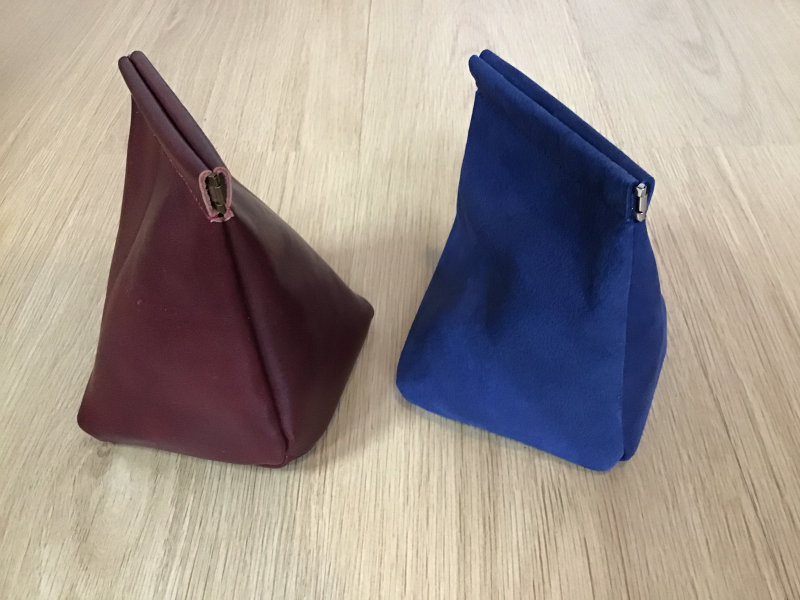
Here you can see the pouch in a few other colors.
|


