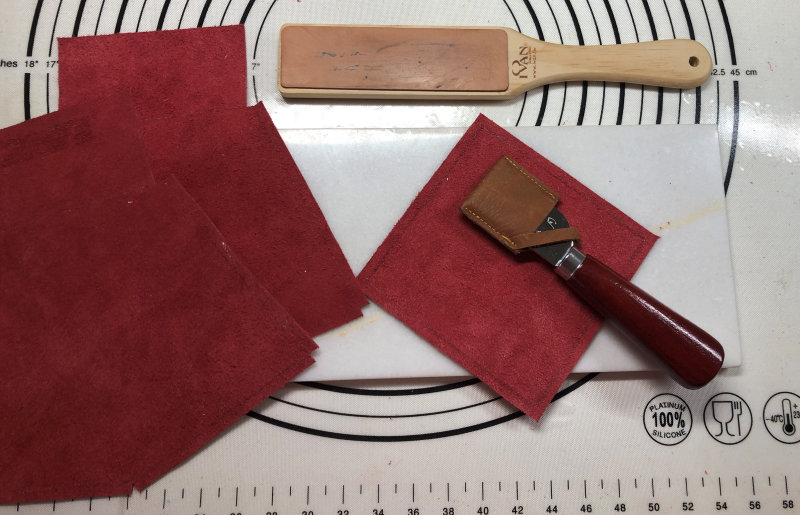
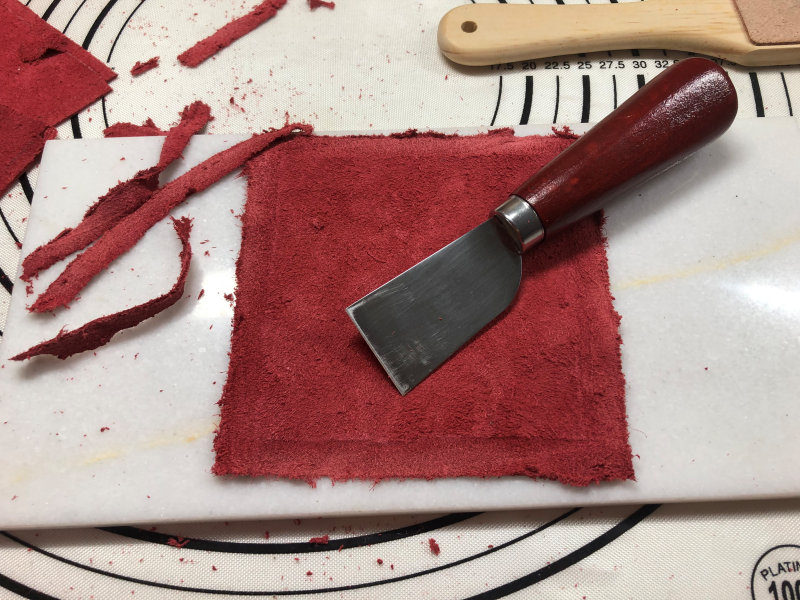
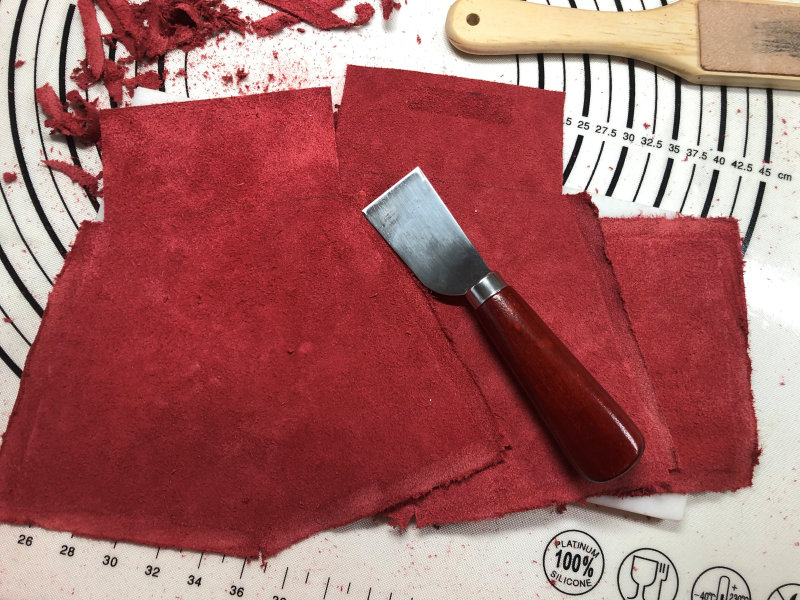
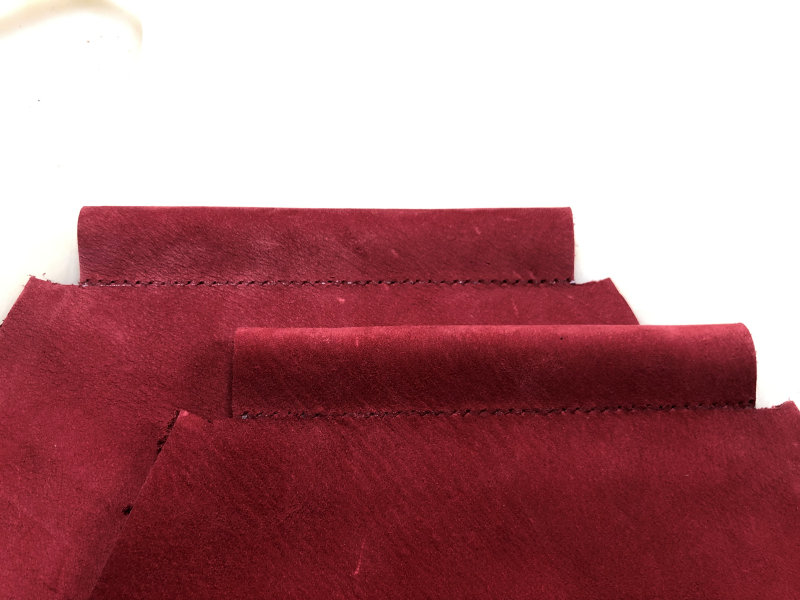
| Now I'm going to trim the edges that need to be stitched together to make the seam less stiff. This is called chamfering. You do this very carefully with a razor-sharp chamfering knife. There are different versions of this knife available. If you want to know exactly how to do this, you can find many instructional videos on the internet. On the right, you can see how the bottom of the pouch looks on the inside after chamfering. |
| I chamfer all edges that are going to be stitched together except for the stitching edge for the clip tunnel. The clip tunnel doesn't need to be folded over, and it's actually nice if the leather there is a bit sturdier, so the clip stands upright on the pouch. |
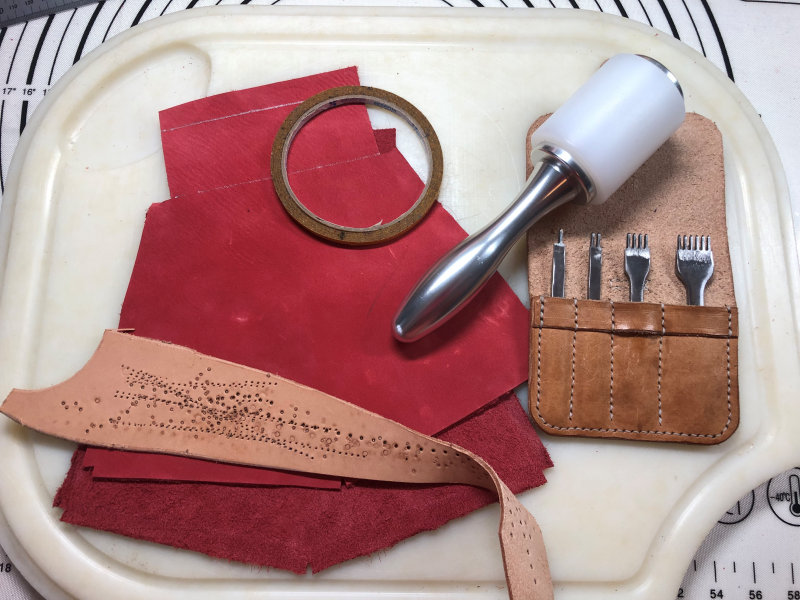
| Now I can start stitching. I do this for the visible parts by hand. For this, I need thin double-sided tape, a plastic hammer, a set of stitching prongs, and a sturdy plastic plate.. |
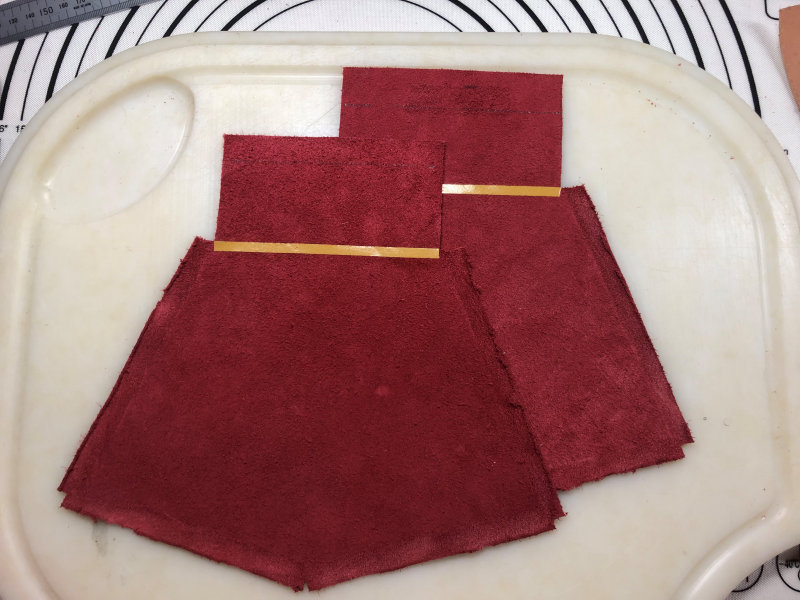
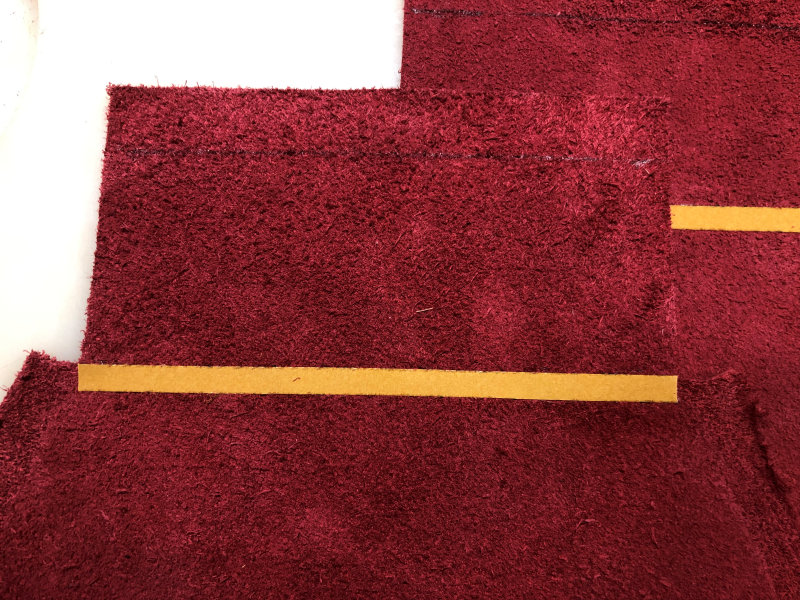
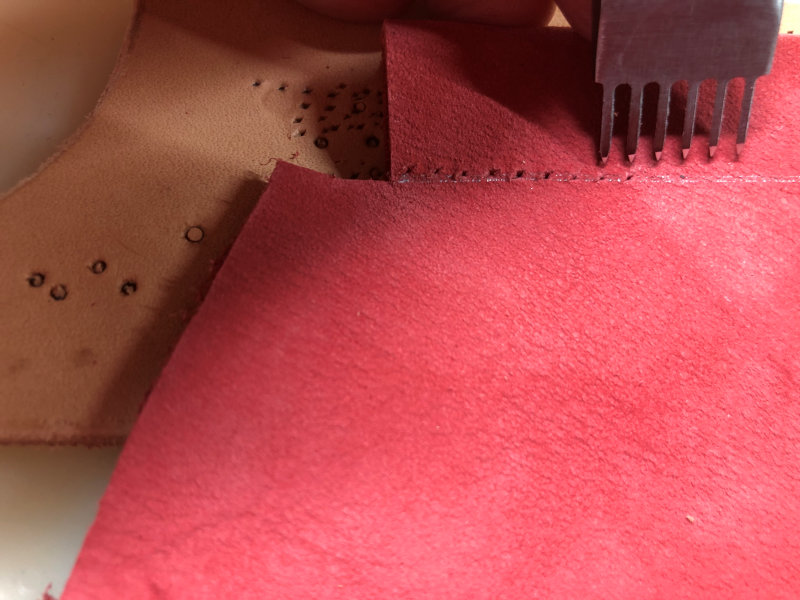
| To ensure that the leather doesn't shift when I punch holes with the stitching prongs and the plastic hammer, I stick the seams I want to prepare for sewing together with double-sided tape. You can see where the tape should go well in the photos. |
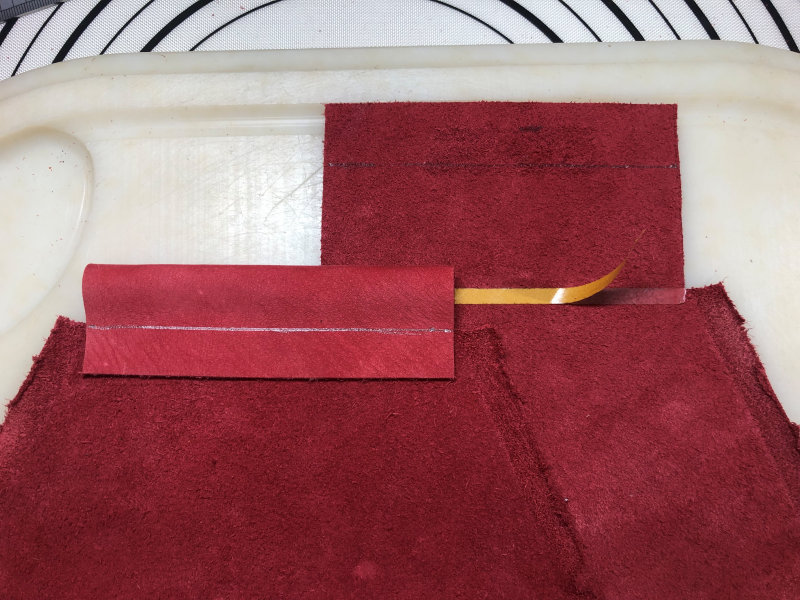
| I fold the leather that needs to form the clip tunnel neatly in half, so the line where I need to stitch is exactly aligned with the top edge of the tape. If the tape is too high, your tunnel will be too small, and you won't be able to get your clip through. |
| When the leather is securely taped in the right place, I turn it over. I hammer the holes where the thread needs to go through from the right side of the leather. I also made a thin marking with a silver pen on this side. You won't see this later if you work neatly. When hammering the holes, I always put the first two stitching prongs in the last two. This ensures that my stitching line remains straight. At the same time, I also check each time if I'm on the thin drawn line. |
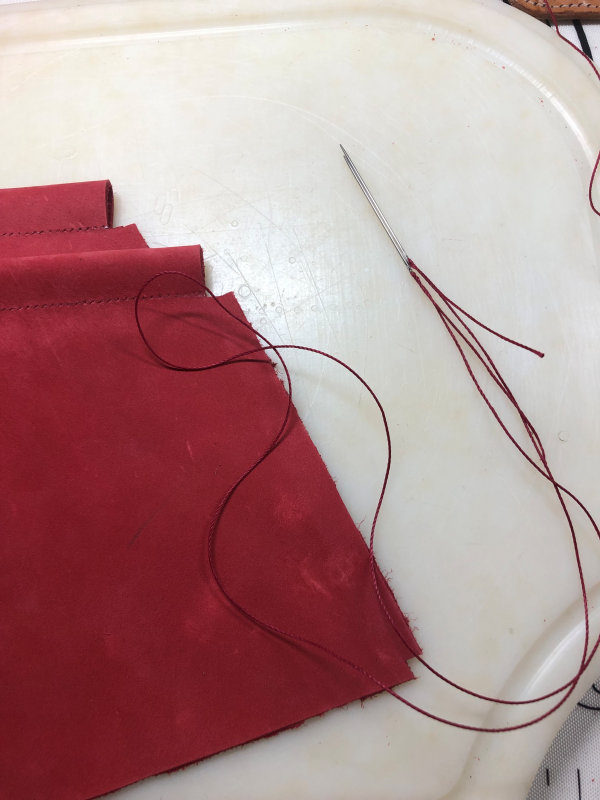
| Everything is now ready for stitching. For stitching, I need 2 needles and a piece of waxed thread that is about 5 times as long as the seam needed. My thread is 0.6mm thick. I prefer to have a bit too much thread rather than too little. Attach a leather needle to both ends of the thread. |


