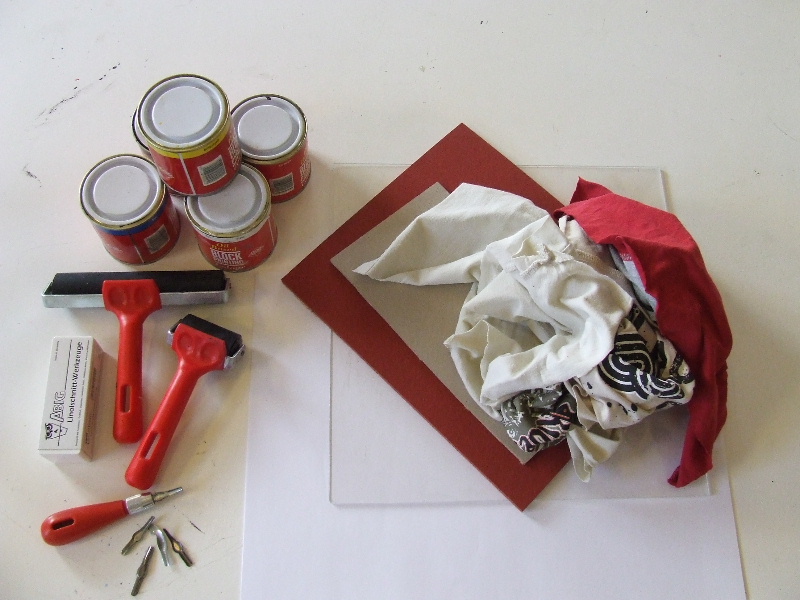
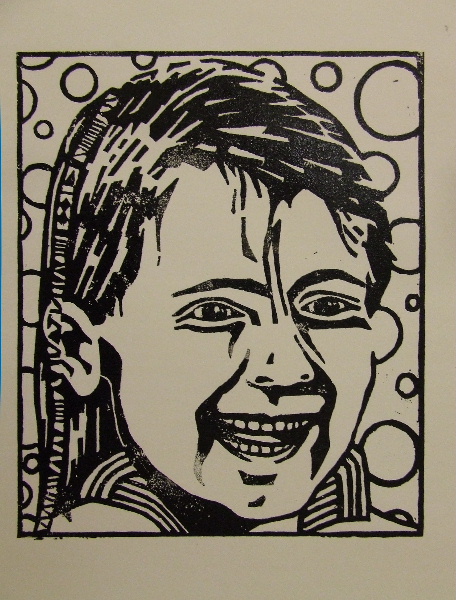
| Now that the design is complete and cut out, we can start with the actual printing. For printing, we need paper and ink. I use oil-based block printing ink. It dries a bit slower, allowing you to work more leisurely. Additionally, some wiping cloths are handy. Sometimes, after the first print, you realize that not enough linoleum has been cut away, so keep your cutters at hand. To apply ink to the linoleum, I use a narrow roller and a glass plate, and to transfer the print to the paper, a wider roller. Of course, we also need the cut-out linoleum. |
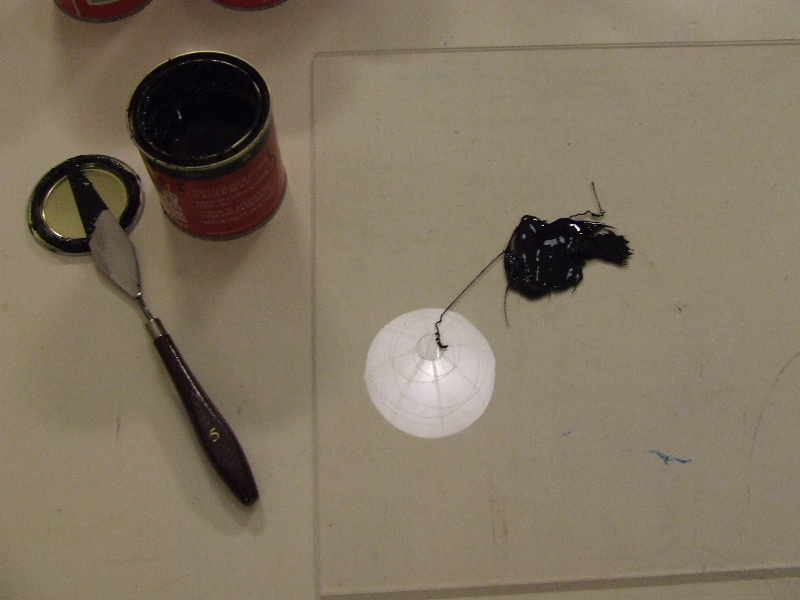
| Apply a blob of ink to the glass plate. Here, I used black, but you can mix colors or apply different colors to your print. |
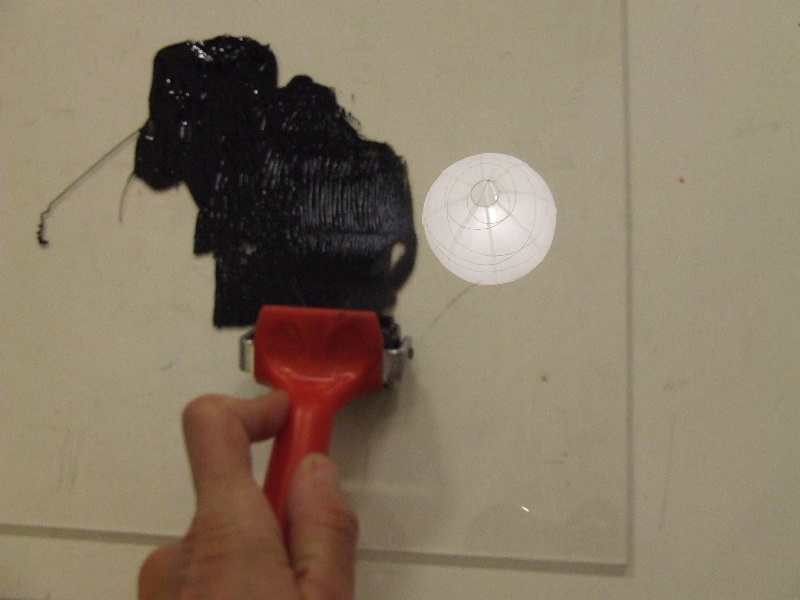
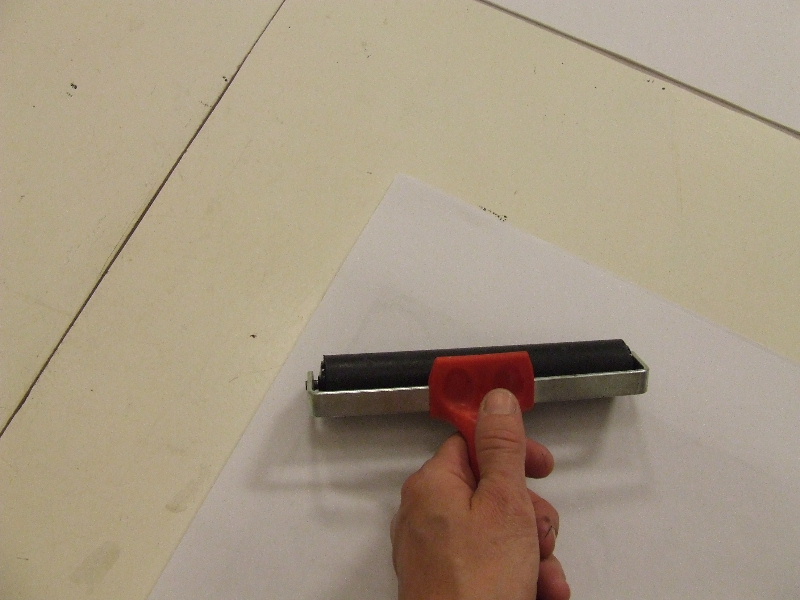
| After applying the ink to the glass plate, I will roll the roller over the glass plate. Now, a nice even layer forms on the roller. And I will transfer this layer back onto the linoleum. |
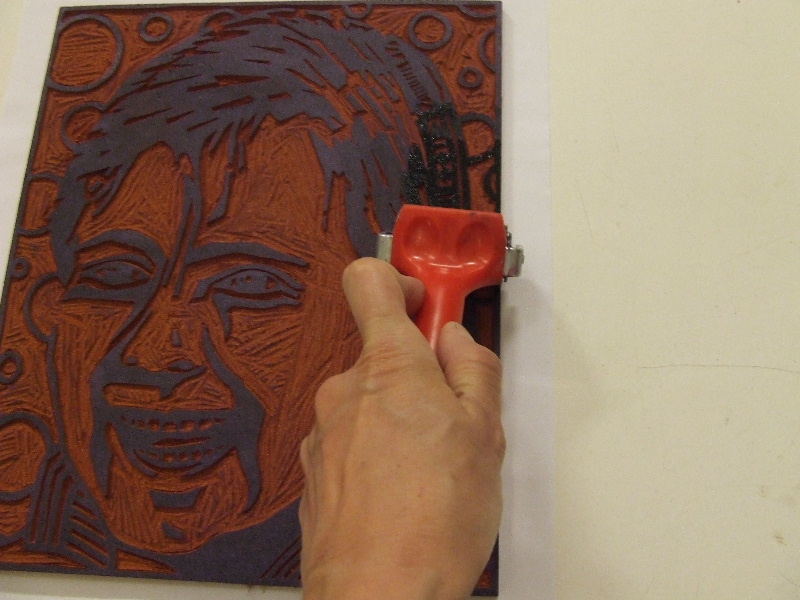
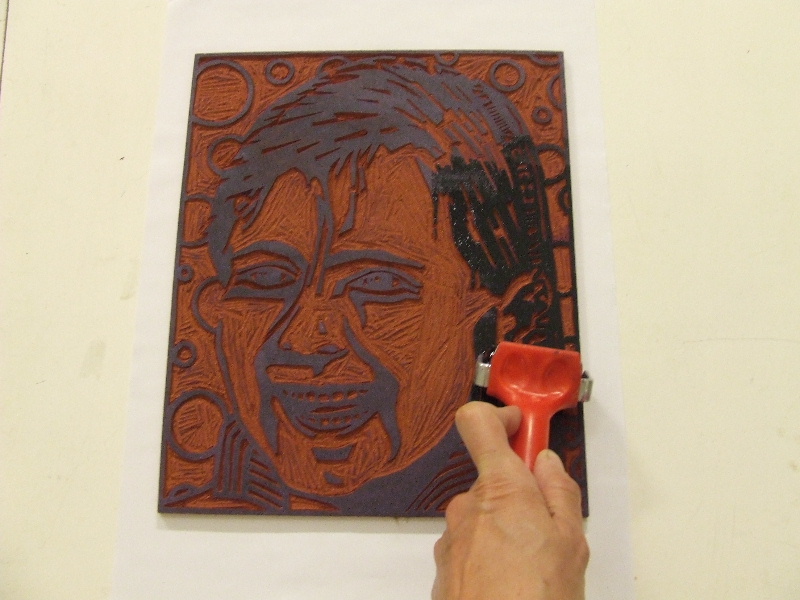
| Now gently roll the inked roller over the linoleum. Keep the roller nice and flat, especially avoiding touching the cut-out part of the linoleum on larger areas. The roller needs to be inked again regularly. |
| Make sure to also cover the edges of your design well. By looking slightly askew over your linoleum, you can tell from the shine of the ink whether you have applied enough ink everywhere. The shine should be consistent everywhere. Duller areas are not sufficiently inked. By the way, I'm simply using A3 printer paper for printing. |
| If everything is properly inked, you can carefully place the paper on the linoleum. Place the paper on it at once, and then do not move it anymore. With the wider roller, now roll over the paper in various directions. Press firmly, but try to keep the roller flat and avoid pushing into the cut-out parts. Really go over all the pieces in multiple directions. |
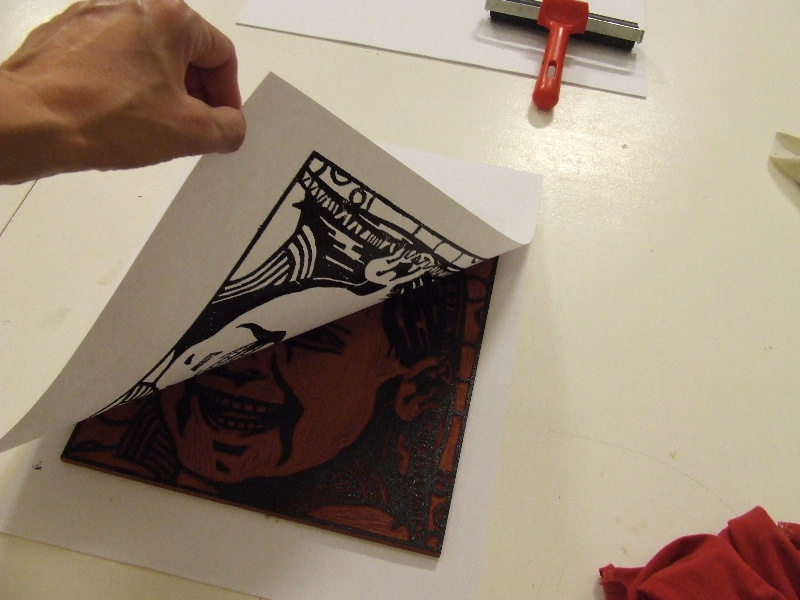
| Once you have pressed the paper everywhere, remove it from the linoleum in one motion. Start at one of the points and pull it up carefully. Oil-based block printing ink dries slowly, so do not touch the print yet. |
| Well, there's the first print. A nice result. Evaluate your print and see if you might need to cut away some more linoleum somewhere, and where you might need to press the paper better next time. For each print, you need to ink the linoleum again. |
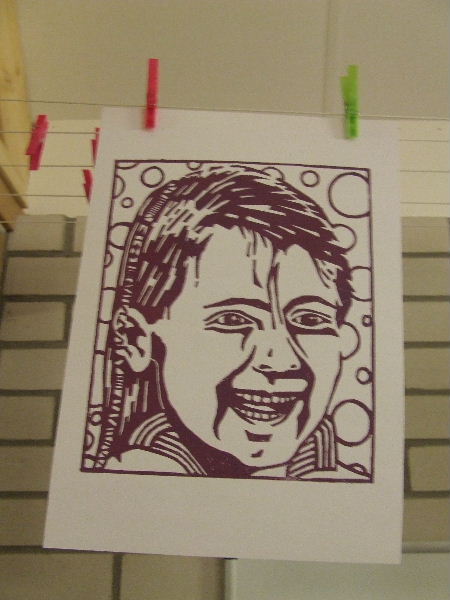
If you don't have much space at home, a clothesline is an ideal place to let your prints dry. Preferably use plastic clothespins, and let the print hang quietly for a day. After you're done, all materials with ink on them should be cleaned thoroughly. The best way to do this is with odorless turpentine. It smells the least and is also the least harmful to your health and the environment. If you want to make more prints later, you can. Just start again on page 3 of this article.
Have fun. |


