| Now that the design is done, it needs to be transferred to the linoleum. You can easily do this with old-fashioned carbon paper. To ensure that your design doesn't slide on the linoleum during transfer, you can pin it down with thumbtacks. Just push the thumbtacks through your design and the carbon paper. Be sure to place the thumbtacks on points that will be cut away. Those are the white parts in your design. |
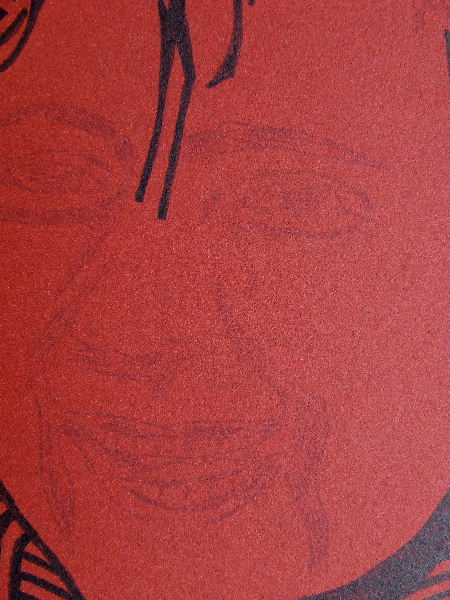
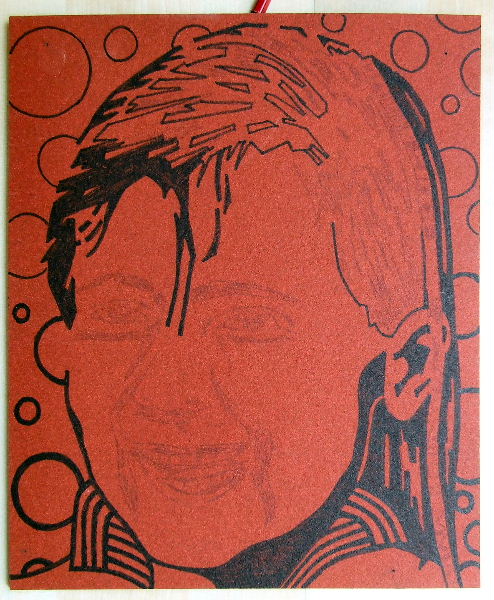
| The design has been transferred to the linoleum using carbon paper, but as you can see, those lines don't have much contrast. Therefore, you need to trace the lines again with a waterproof marker in a good contrasting color. Here, I used a black marker. |
| While tracing with a black marker, I also fill in the areas that are black in my design. All black parts will be left, and the red parts will be cut away with a linoleum cutter. By clearly marking the parts that should remain, I reduce the risk of mistakes later.. |
| Once I'm done, I double-check to ensure I haven't forgotten any parts to make black. The red parts will be cut away, and once cut, they cannot be restored. So, it's essential to carefully check if the image is as I want it to be. |
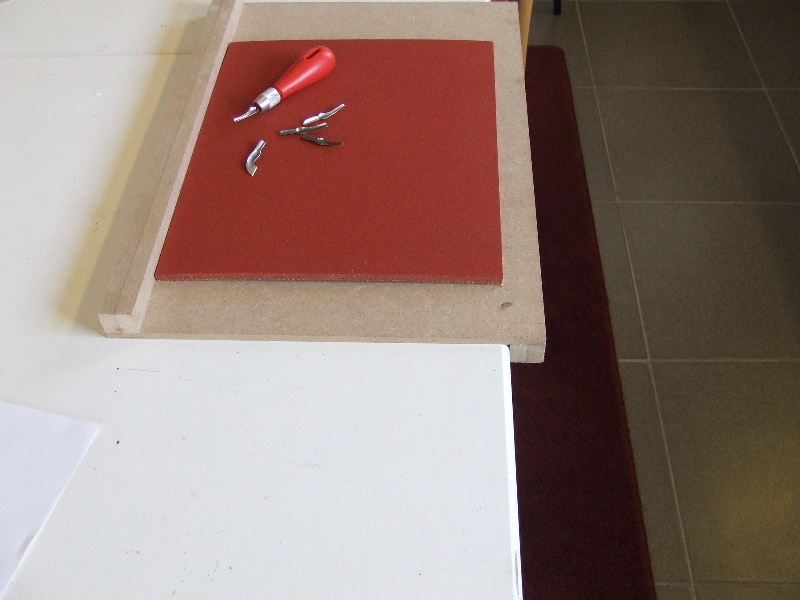
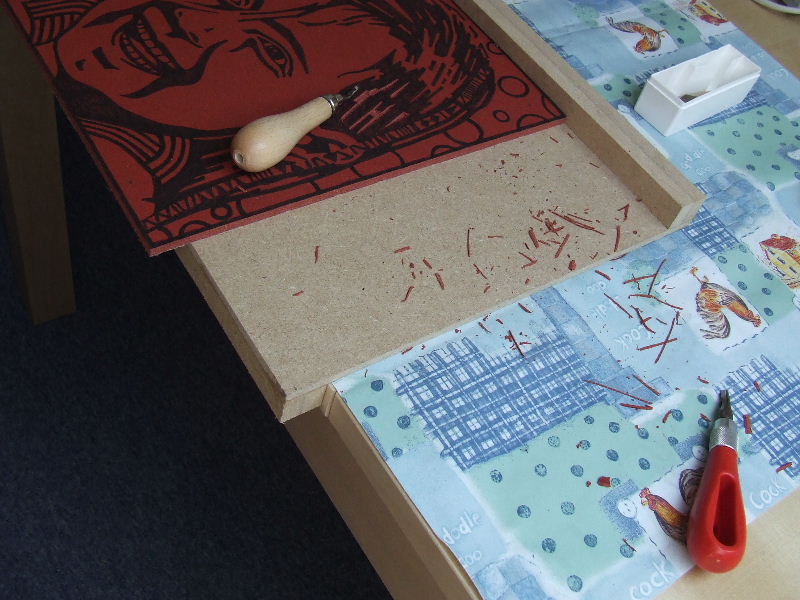
| When carving linoleum, you need to exert some force at times. At the same time, it's important not to lose control of your cutting hand and not to cut too far. Always cut away from yourself when linoleum cutting. So, you cut away from yourself and not towards yourself. Linocutters are very sharp, and you can injure yourself badly if you cut into your hand or arm. To work more easily and safely, linoleum cutting boards are available. You can see I have my linoleum on one here. I made my cutting board myself, which is straightforward. On a plank of a handy size, you make two slats horizontally, one at the top and one at the bottom of the plank. The bottom slat rests against the edge of the table, and your linoleum rests against the top slat. Now you can exert controlled force without your linoleum sliding. |
| Carving is quite time-consuming. Most linocutters come in sets with a holder and 5 different-sized blades. Choose small cutters for precise work and larger ones for larger areas. Ensure good lighting and only cut away the uncolored areas. In my case, those are the red areas. It's sometimes helpful to rotate your linoleum on the board. That's not a problem. Always choose the position that allows you to cut away from yourself most effectively. |


