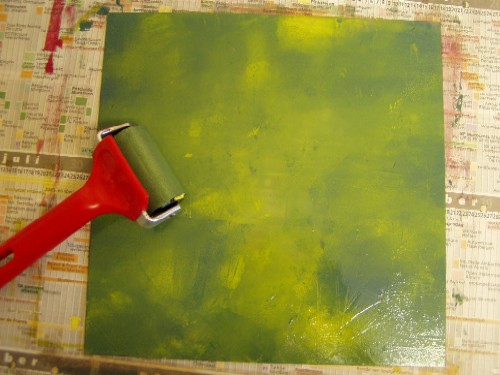
| Everything is ready, let's get started... First, a nice green is mixed from blue and yellow. I apply the mixing color, where you can still see some spots of yellow and blue, onto the glass plate. I don't want the plate to be completely uniform in color. |
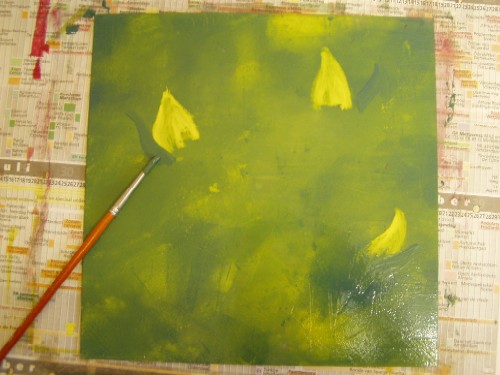
| With a brush, I apply some spots of thicker paint. When the paint is thicker, you can make more prints, and the prints will also have better coverage. |
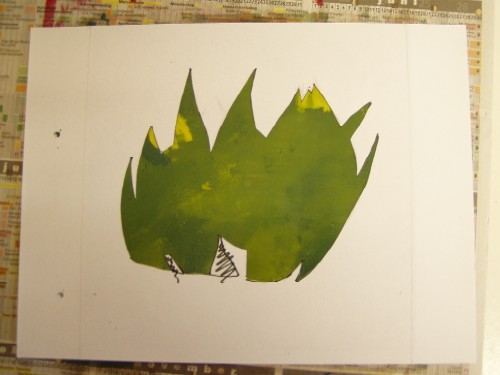
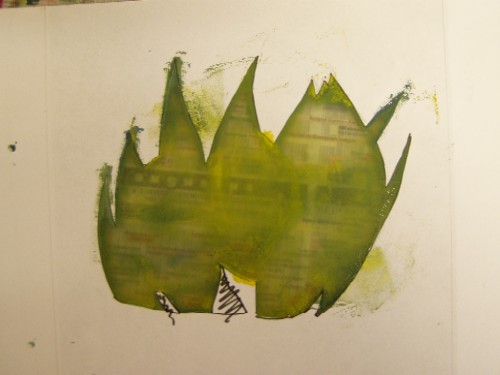
| Now I carefully place the sheet of paper where I cut out my design over the rolled plate. The paper is as high as the plate, so I have to aim well to neatly align the edges. |
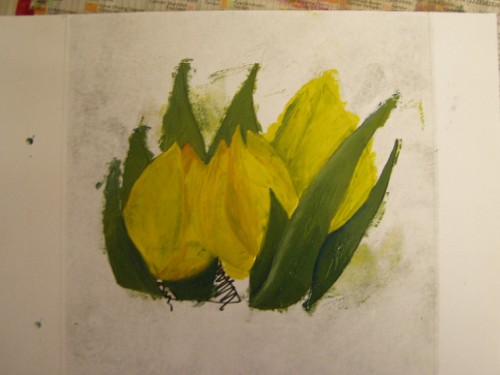
| From the part that is still visible, I dab away the ink. I do this by placing several pieces of newspaper over it and rubbing well on the paper. I dab this ink so that I can make a slightly greasier and more detailed representation with a brush. |
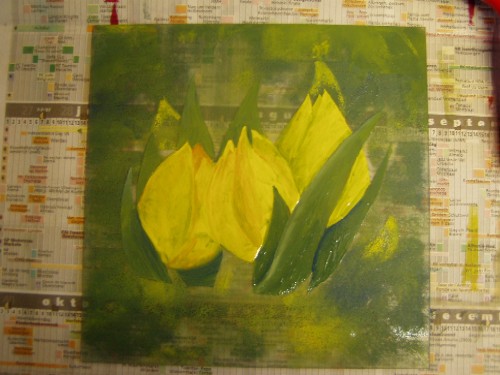
| I just leave the large piece of paper lying there and work on my image in the middle with a brush and ink. The paint has a slightly different consistency than normal oil paint. Applying real details is therefore difficult. But that's okay. Occasionally, I hold the whole thing against the light. This way, I can see where there is not enough ink on the plate and touch it up. |
| When the image is ready, the paper is carefully peeled off the plate. You can see that the paper has taken away a large part of the ink. The representation in the middle is still very bold. I gently apply some new paint along the edges of the plate with a roller. |
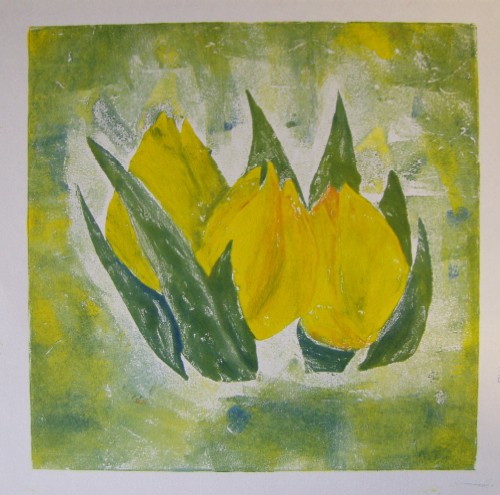
| When I'm satisfied, I place a clean piece of paper on it and make the impression. The impression turned out nice. As you can see, the print is mirrored. That's one of the characteristics of monotype. |
Materials Used:
Blockprint by Daler Rowney. Colors:
- 607 - brilliant yellow
- 100 - blue
- 513 - Crimson red
- 011 - white
White drawing paper, Fabriano 120 grs for the impression
Simple white typewriter paper for the stencil
It was something very different from usual. The monotype technique takes a lot of time, but I really like the results myself. |


