Welcome at To be defined

Welcome at To be defined, a website filled with creativity. Here you will find numerous manuals in words and images on various subjects. On this page you can only see a selection. Choose from the menu on the left for more articles on your favorite topic.
TulipsClay is a very versatile material. Currently, in my course, we are working with a theme for experimentation. Based on this theme, everyone builds their own ceramic collection. My theme is "Tulips." I chose this theme because I am very attracted to the shape of tulips. On one hand, they are sleek, symmetrical, and geometric, but on the other hand, they are also free and dynamic. One idea I want to develop is a collage of three spherical forms based on the shape of the tulip bulb.

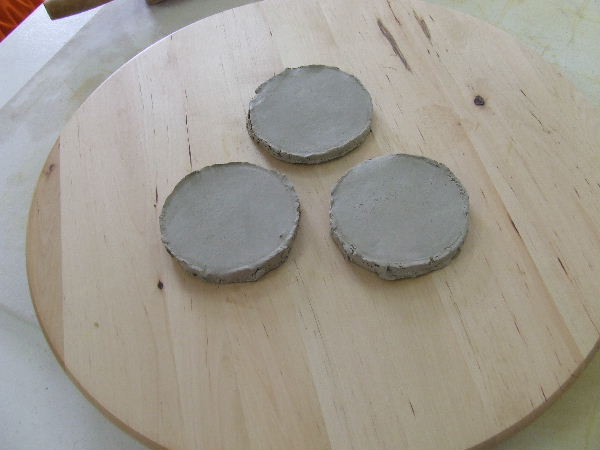
three round base shapesI want to create three forms joined together. As a base, I cut a round slab from a large clay sheet for each form. The slabs all have roughly the same diameter. To get nice round shapes, you can use a vase or a pot as a template for cutting.
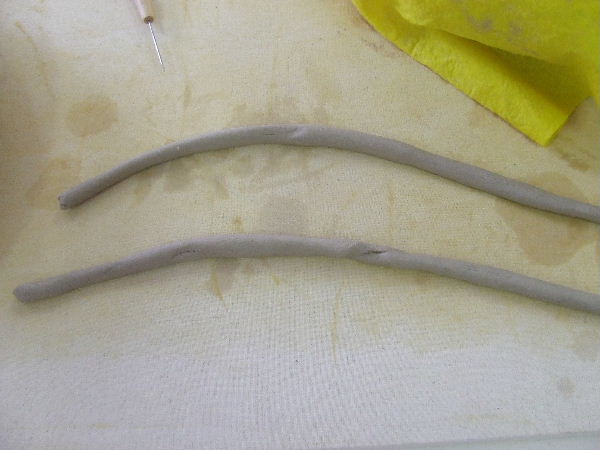
clay rollsI will build the forms out of rolls. Therefore, I prepare some rolls with a diameter of about one centimeter. The length of the rolls is not so important; you just continue with a new roll where the previous one ended.
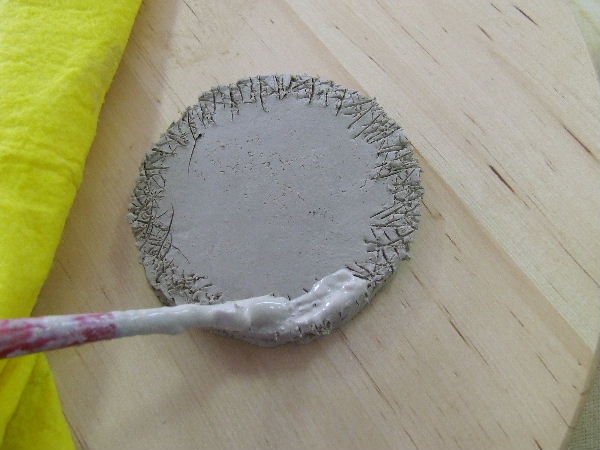
scratching the basesing a scoring tool, I make small scratches in the base plate where I will place the rolls. Scoring ensures that the slip applied between the base plate and the rolls adheres well.
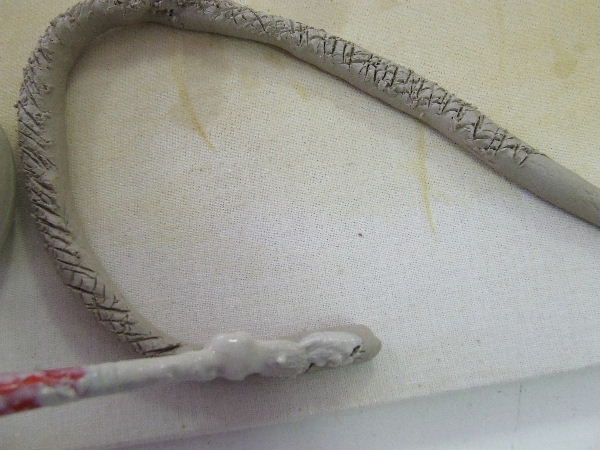
scratching the rollsI also score one side of the rolls. After scoring, I apply slip with a brush to both the scores on the rolls and the base plate. I usually have a pot of slip ready, so I always have it on hand. I prefer using a brush to apply the slip, but you can also use your fingers.
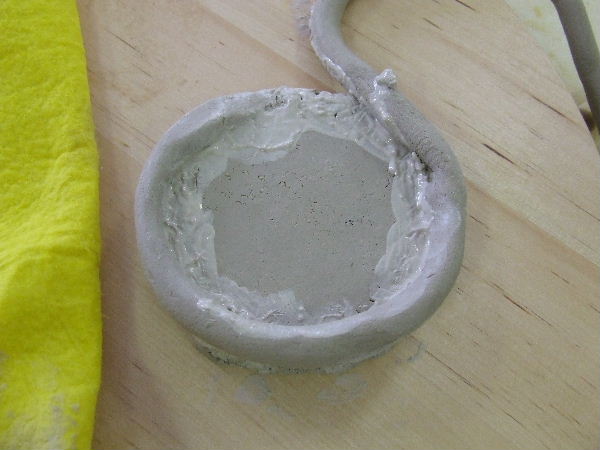
rolls on the baseNow, I place the clay rolls on the base plate, neatly along the edge, with the curve of the rolls slightly over the edge. Press the rolls firmly; the slip should create a vacuum between the rolls and the base plate.
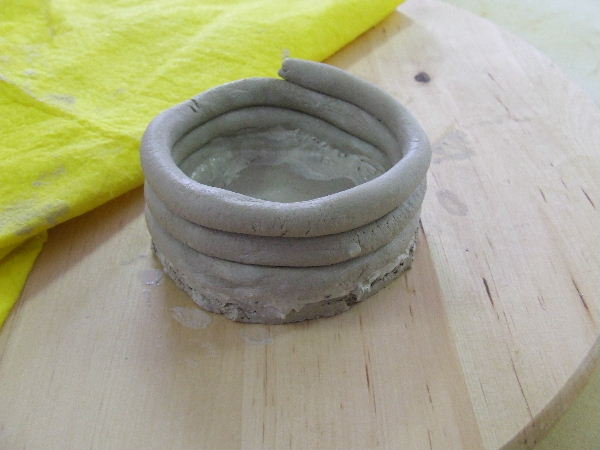
three layersI build up about three layers with rolls. The neater you do this, the easier it will be to smooth out later. The form will also become more refined. It’s worth being precise here, especially with the first layers, as they determine the shape. Only the first layer needs to be scored and slipped. This is unnecessary for the subsequent layers.
smoothingSmooth the rolls together by moving your finger up and down vertically over the rolls. Do this on both the outside and inside. The clay should be evenly pushed into the grooves between the rolls. You can further refine the sides with a rib tool.
continue with more rollsIf you are satisfied, continue building up. Sometimes the edge becomes uneven in height. You can carefully cut it to the same height with a knife before continuing to build.
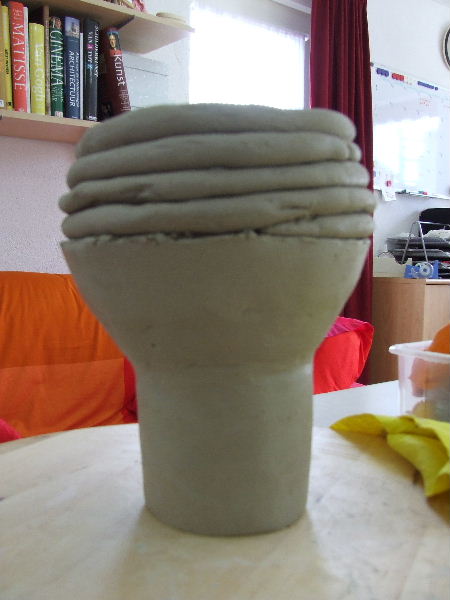
making a bulgeThe shape needs a bulge. Therefore, I place the rolls progressively further outward on the underlying layer. The further outward, the wider the form becomes. Sometimes you need to make the rolls slightly thicker to maintain the form’s stability.

smoothing againAfter building up a few more layers, I smooth the rolls again. Since I am creating a bulge, I need to constantly check the form. While forming the bulge, the top edge may become uneven in height.
cutting and building with rolls againI cut the top edge evenly again and continue building. The thickest part of the bulge is complete, and you can see that the top rolls are placed slightly further inward. I smooth these rolls again.
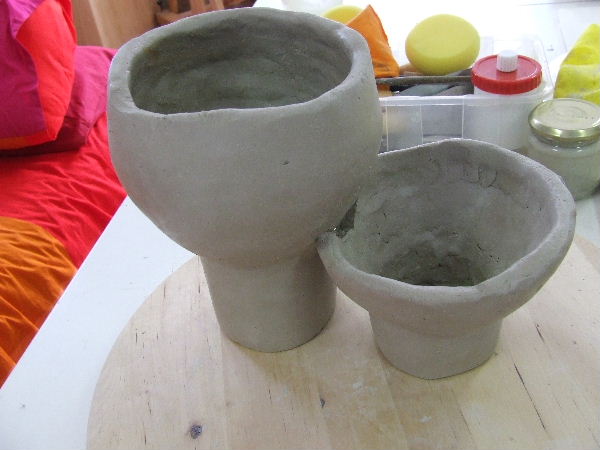
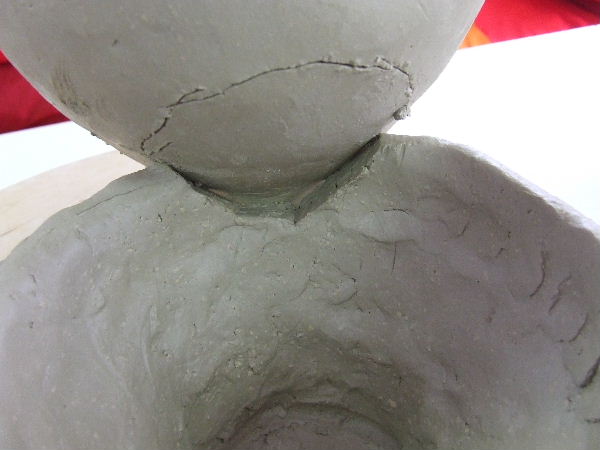
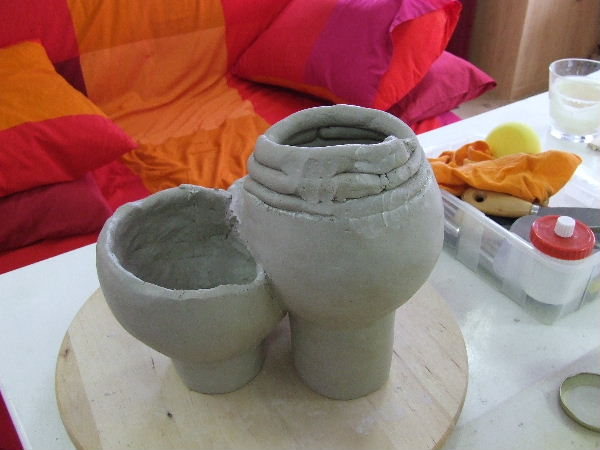
combining partsAfter finishing most of the first form, I start the second form. I want to interlock the forms, so I need to cut a section from the second form to fit.
Defining where to cutA section must also be removed from the other form, as I want the inside of the form to be completely hollow. It’s a bit of a puzzle, and before joining the forms, I fit them several times until I am completely satisfied.
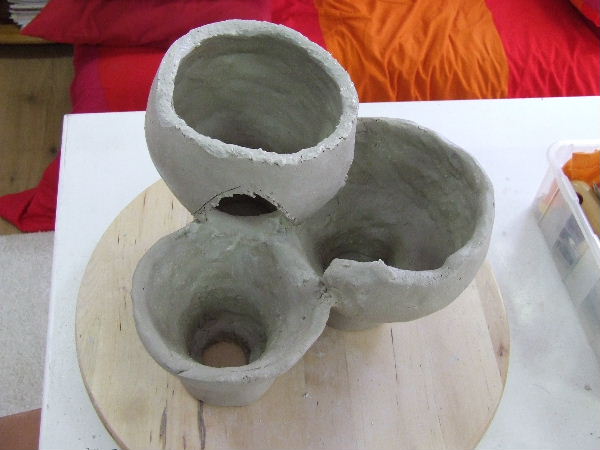
the three shapes connectedSimilarly, I fit the third form into the structure. You can see how everything fits together well.
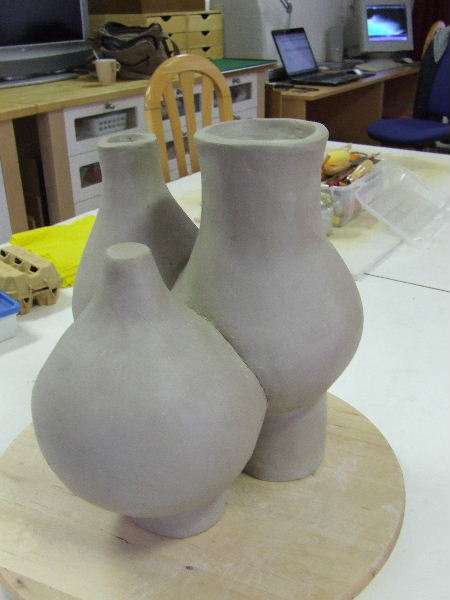
building with rollsOnce the three parts are joined, I continue building up the forms. Sometimes the rolls now span two parts, making the structure very sturdy. In the end, the three forms are separated again, and I finish them one by one.
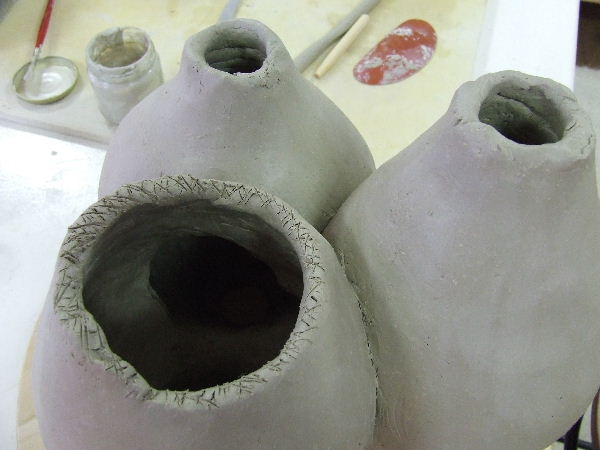
scratching againThe entire project takes quite some time. If I take a break, I need to score the first layer I attach to the piece again. Of course, I apply slip to the scores as well. You can see this here too.
Ready for bakingThe piece is now ready for the first firing, or bisque firing. If I have assembled everything neatly without air bubbles, the piece will remain intact in the kiln. It’s always a tense moment, as sometimes something breaks, and all your work is for nothing.
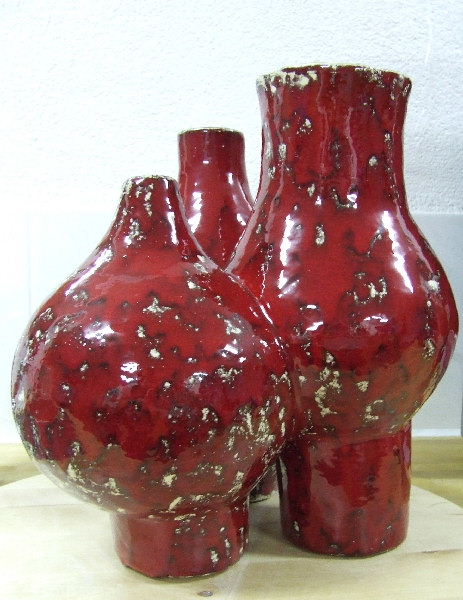
the resultFortunately, the piece has remained intact. It can now be glazed and fired again at a higher temperature so that the glaze adheres well. This is also a tense process, as something can still go wrong. But when the piece finally comes out of the kiln, I am very satisfied.