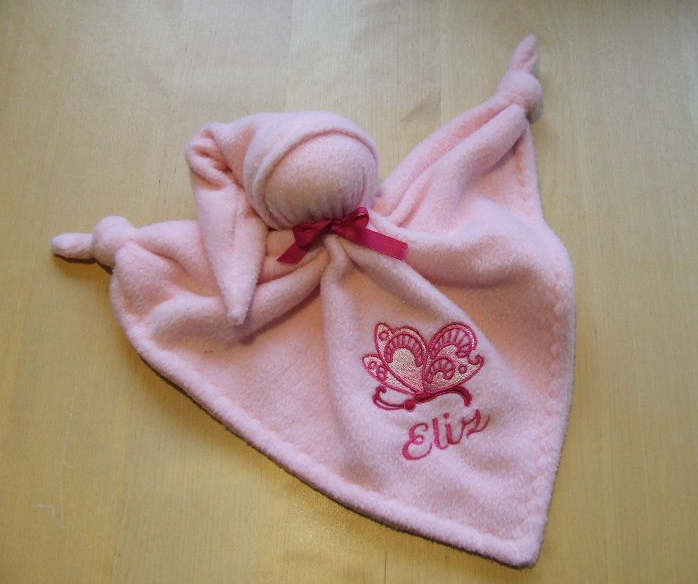
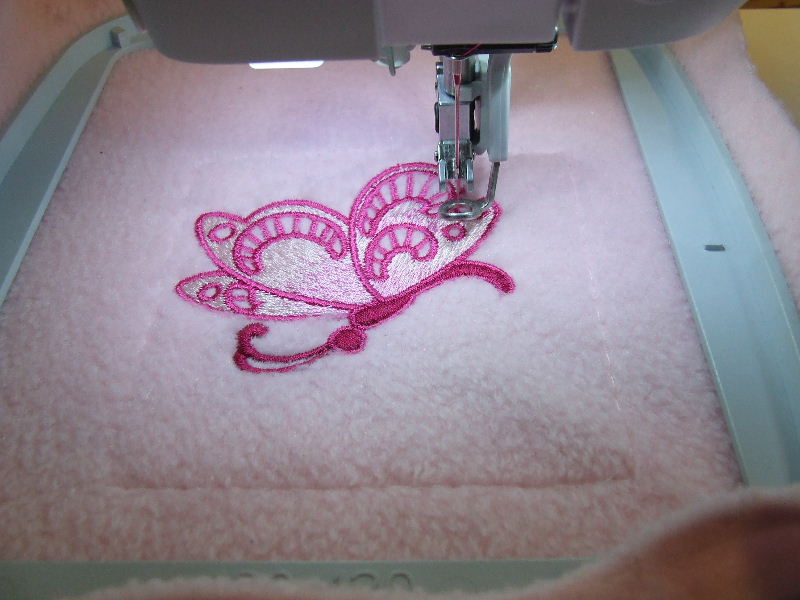
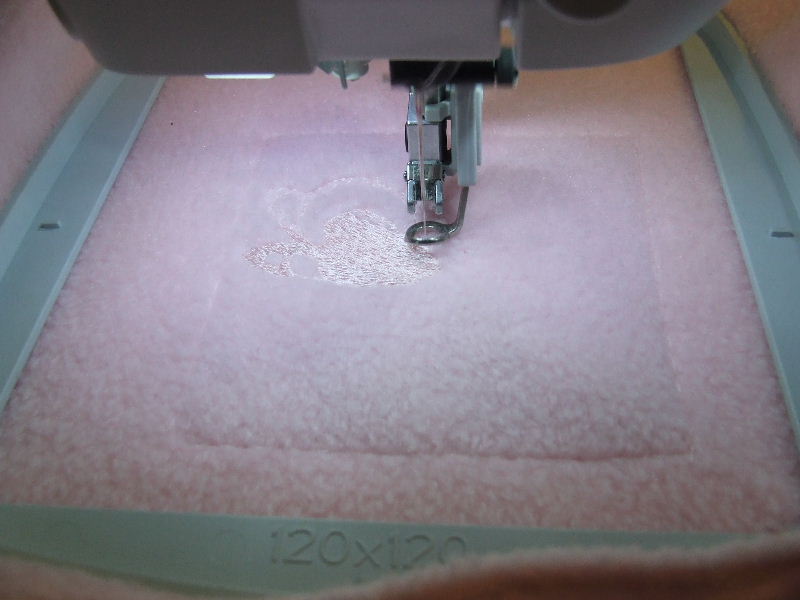
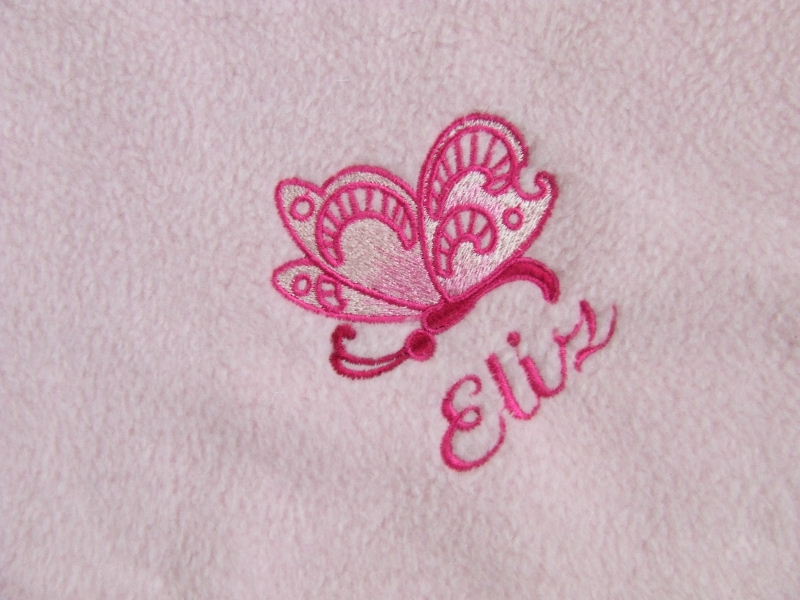
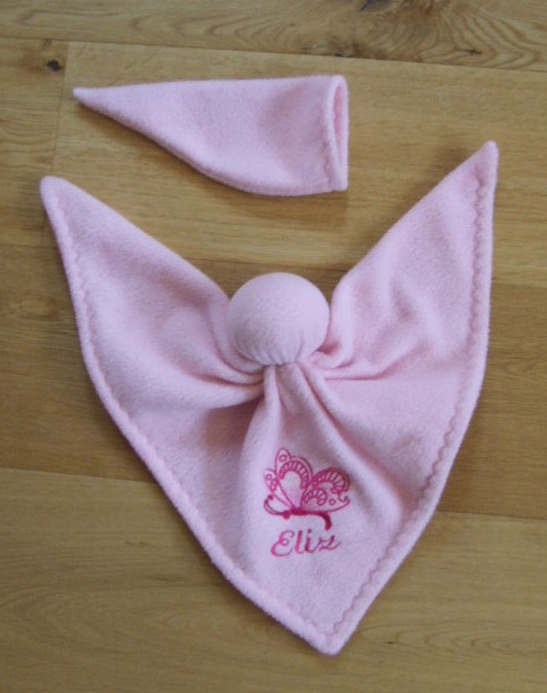
For the doll itself, I use a piece of soft fleece. I stretch the fabric in my embroidery hoop, and the embroidery machine creates a beautiful butterfly on it. You can order patterns online or design them yourself using embroidery software. I have a large collection of embroidery patterns, which I combine to create new ones. Sometimes, I make my own designs.
|
| The name can easily be added using the software. If you don’t have an embroidery machine, you can embroider the name on the doll with cross stitches and use an iron-on embroidery motif. |
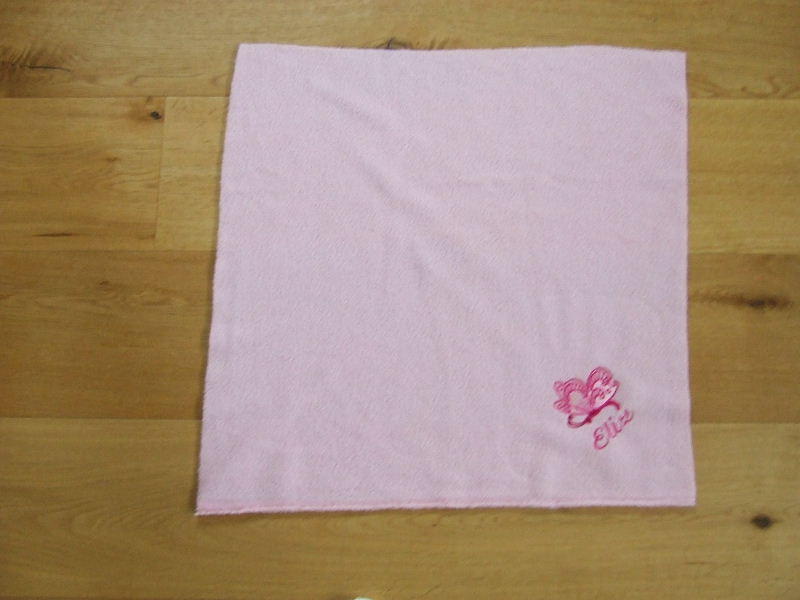
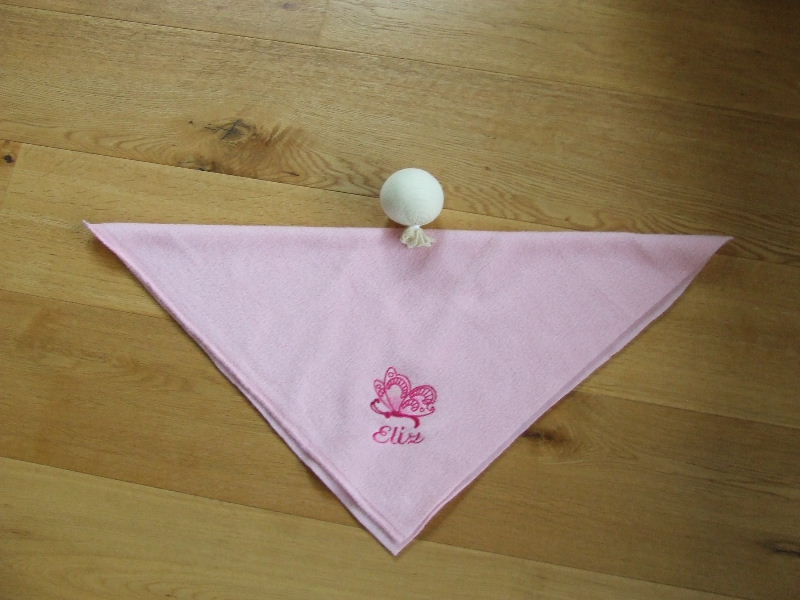
I use fleece because it gives a very nice result when embroidering, washes well, and also feels wonderful. For these kinds of crafts, I have a whole stash of inexpensive fleece blankets in fun colors. You can find them everywhere and they are usually not expensive. The "body" of the doll is made from a piece of fabric about 50 by 50 cm. The exact size isn’t critical, as long as the size of the head is proportionate to the body. As you can see, the embroidery goes in the bottom right corner.
|
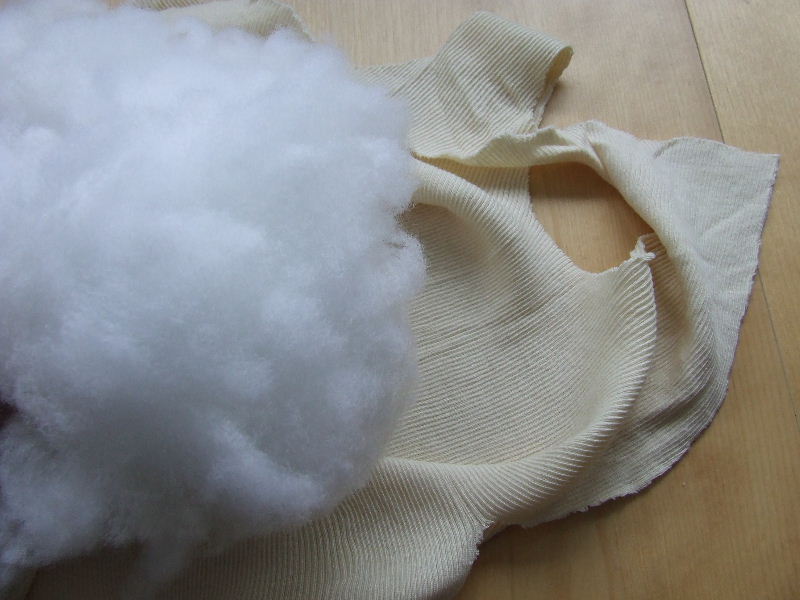
| The head is made from a piece of elastic fabric filled with fiberfill. I use a kind of elastic bandage fabric. It doesn’t matter much what kind of fabric you use, as long as it is somewhat elastic. |
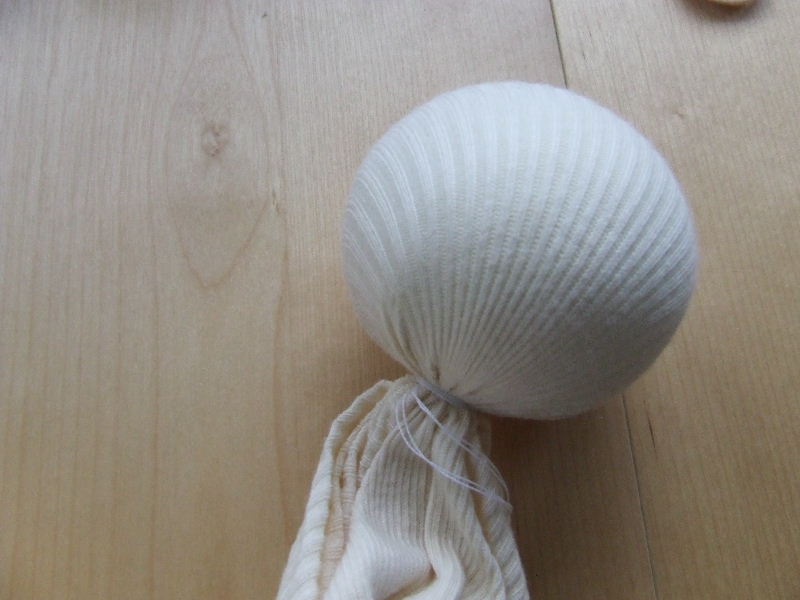
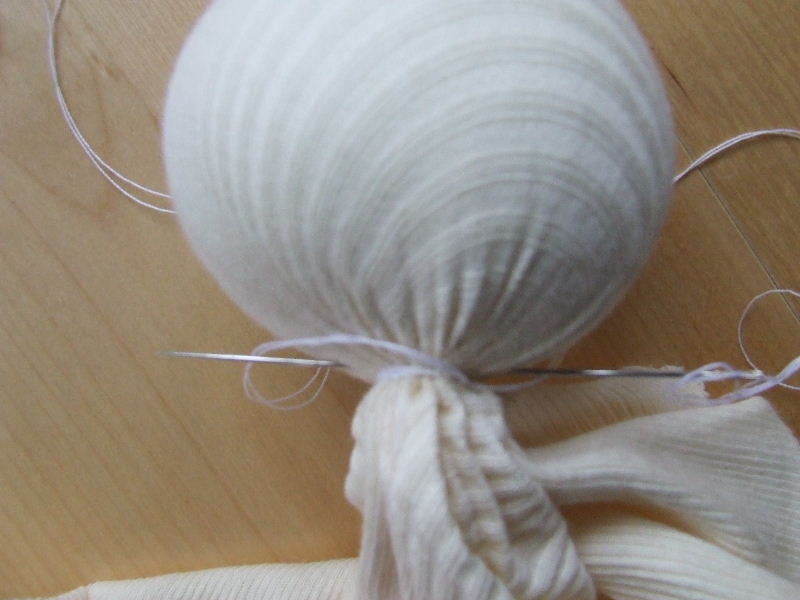
| Pull the elastic fabric as tightly as possible around the fiberfill to create a nice ball. Wrap strong thread several times around the bottom of the ball to prevent the fabric from slipping up. The circumference of the ball is about 22 cm. |
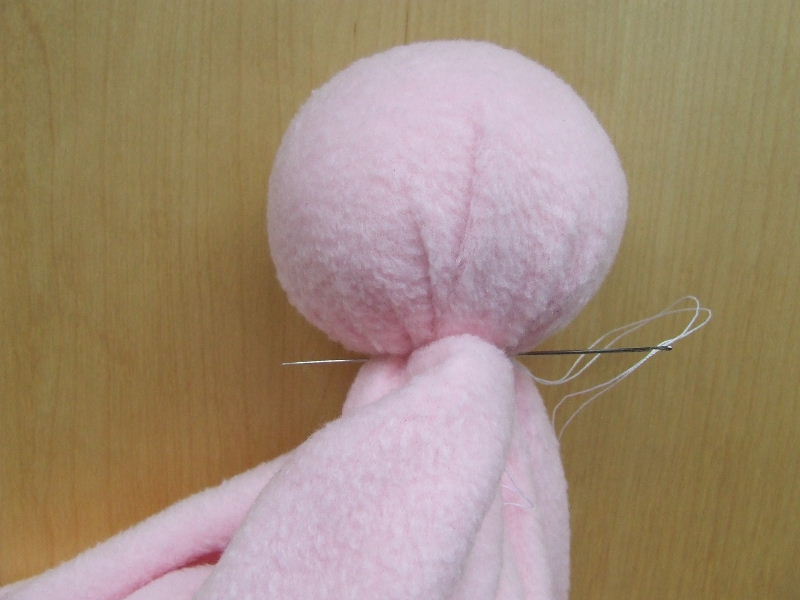
| Using a strong, long needle, stitch the thread several times through the fabric just above the thread wrap. This prevents the fabric from coming loose and the ball from losing its shape. Once the fabric is secured, you can cut it about 2 cm below the ball. |
| Make sure that the body and the ball are proportionate in size. Here, a square piece of fabric 50x50 cm and a ball with a circumference of 22 cm. The fabric will be hemmed, so it will become a bit smaller. |
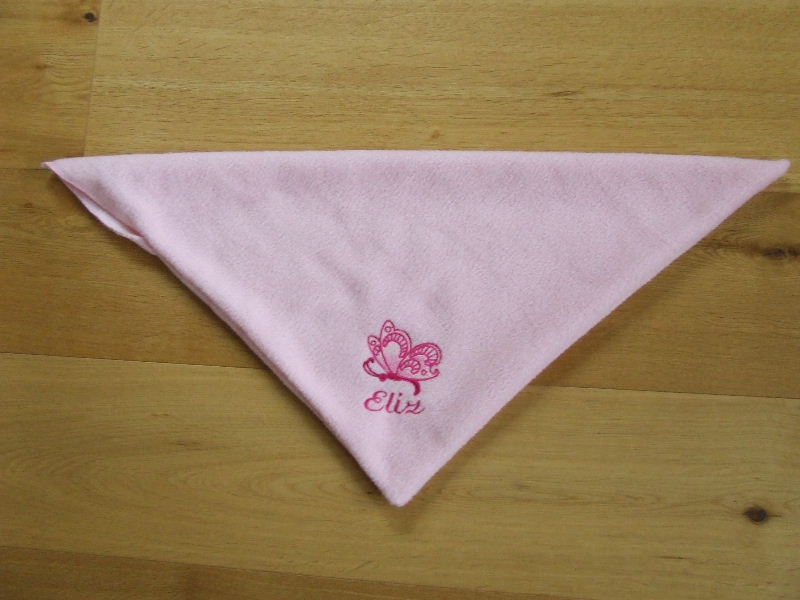
| Fold the square piece of fabric in half with the right side inside. Ensure that the embroidery stays in the bottom point. The embroidery should not be folded. Sew the fabric together. If using elastic fabric, sew with a stretch stitch or a narrow zigzag stitch. Start about 10 cm from the right point, sew to the corner with the embroidery, and then all the way to the left point. Turn the fabric through the opening. The ball should come through the opening right in the center of the fabric. |
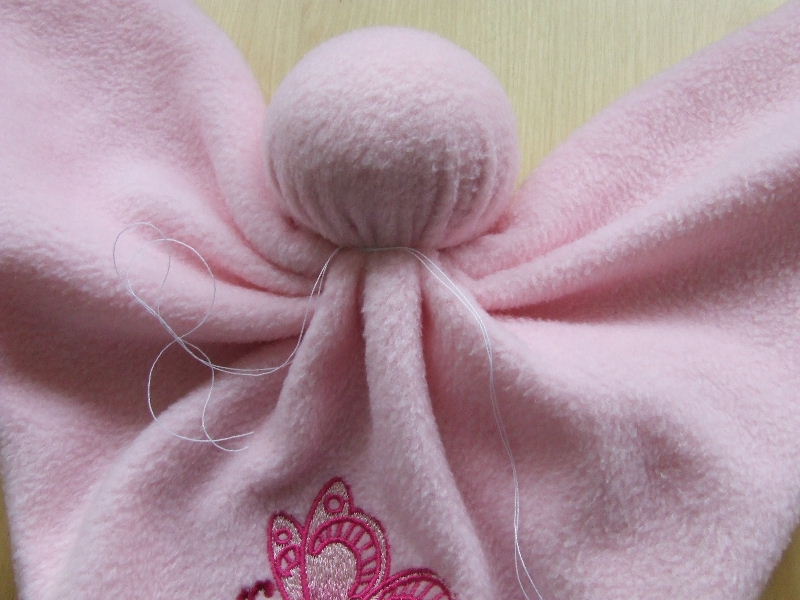
| Pull the fabric tight around the ball. Make sure there are no annoying folds, especially on the front, the side with the embroidery. Secure the fabric around the ball with a strong piece of thread. |
Again, stitch the thread several times through the neck of the doll to prevent the fabric from coming loose. Tie the threads securely and tuck them in. Trim any excess. Also, sew the opening through which you inserted the ball with small, invisible stitches.
|
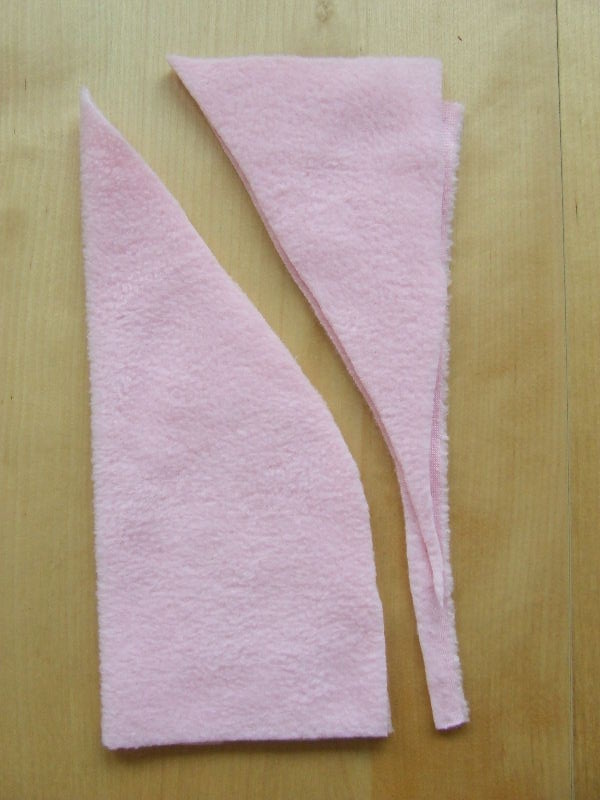
| Take a piece of fleece about 25 by 28 cm and fold it in half lengthwise. Cut out a hat shape, making sure not to cut along the folded edge. The first part of the hat is straight, then it tapers to a point. |
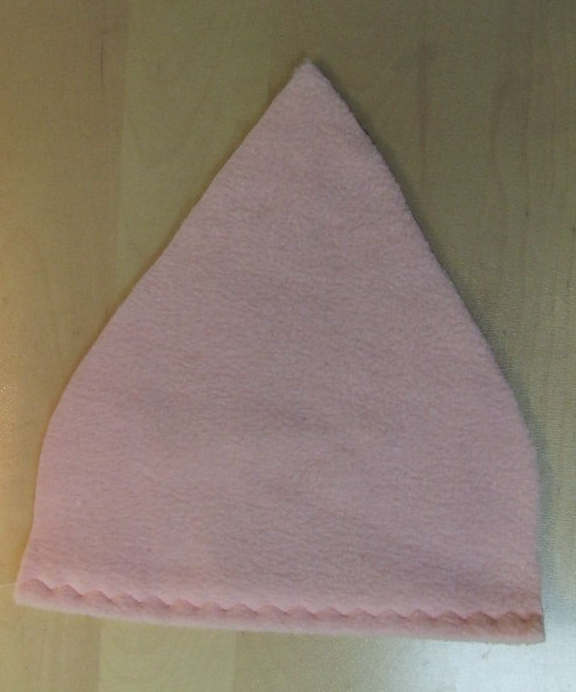
| Fold the bottom edge of the hat inward and sew it with a decorative stitch on the right side. I used a kind of zigzag stitch here. This gives a very nice effect with fleece. Now sew the side seam of the pointed hat with the right sides of the fabric together. Turn the hat and make sure the point is neat. |
| Using the same stitch, make a decorative edge along the seam of the body. You can also sew a ribbon here and on the hat. Sew the hat onto the head by hand with small stitches, ensuring the seam of the hat is centered at the back. |
Tie knots in the points as hands. Attach a nice matching ribbon around the neck, ensuring it is tied securely so it doesn’t come loose. You can further decorate the doll with bells, pom-poms, etc. Just make sure everything is very securely attached. Bells and pom-poms can be dangerous for young children.
Your cuddle doll is now ready! A unique and personal gift for a baby shower.
|


