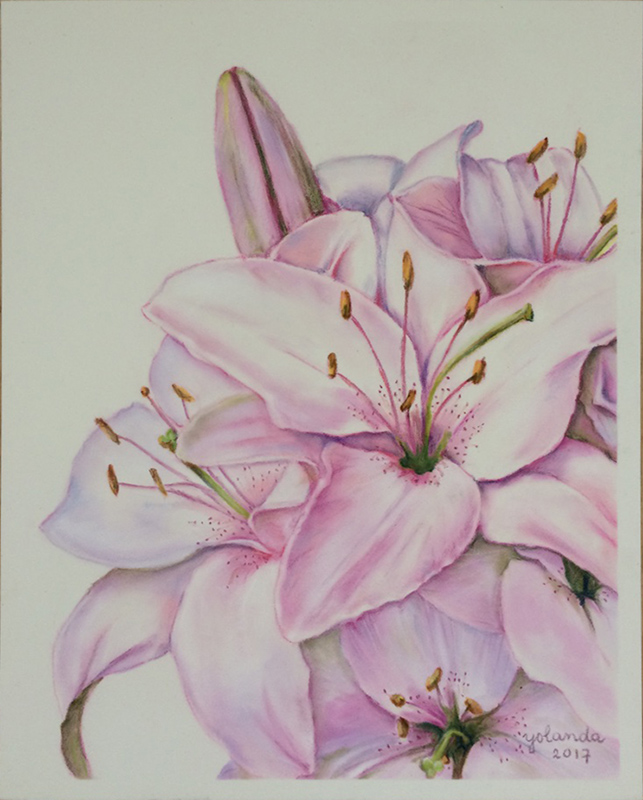
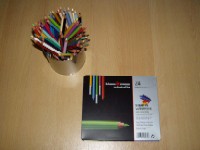
 What are pastel pencils? Pastel chalk is made of color pigment, gypsum or pipe clay, and Arabic gum as a binder. These three are pressed into a mold and dried. Good quality pastels have bright and sparkling colors and break apart easily. This makes it a fragile material. Although pastel pencils seem slightly less fragile than chalk, due to the wooden casing, you still need to handle them very carefully. What are pastel pencils? Pastel chalk is made of color pigment, gypsum or pipe clay, and Arabic gum as a binder. These three are pressed into a mold and dried. Good quality pastels have bright and sparkling colors and break apart easily. This makes it a fragile material. Although pastel pencils seem slightly less fragile than chalk, due to the wooden casing, you still need to handle them very carefully. |
| The pencil lead breaks easily. When sharpening, the tip may keep falling out of the wooden casing, rendering it unusable. The chalk in the pigment causes the colors to become less sparkling when mixed. Fortunately, the range of pastel chalk is extensive, and you can often make do with the available colors or limited mixes. Pastel pencils are generally slightly harder than pastel chalk. Some techniques such as blending may therefore have a slightly less effective outcome. |
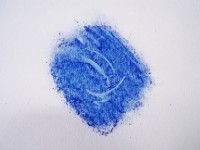 Combining Pastel Pencils: Combining Pastel Pencils:Pastel pencils can be combined with other types of pencils such as "normal" or wax pencils and watercolor pencils. They are also often used in combination with pastel chalks, often to indicate details. With pastel pencils, you generally work from dark to light, although the opposite is also possible. Unlike normal pencils, white pastel pencil can be applied in an opaque manner. |
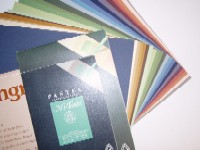 Supports for Pastel Pencils: Supports for Pastel Pencils:Pastel pencils are usually used on paper, although you can also use them on a surface treated with gesso. Make sure the surface has a somewhat grainy texture; otherwise, the pigment will not adhere. You can work on both white and colored paper. The binder in pastel pencils is Arabic gum. This is soluble in water, and pastel chalk is too, although to a lesser extent than watercolor pencils. If you want to combine pastel chalk with wet techniques, use paper of at least 300gsm or stretch the paper. This gives a much better result. |
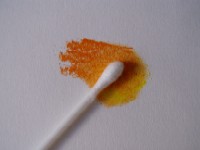 Special Pastel Pencil Techniques: Special Pastel Pencil Techniques:Blending Pastel Pencils: Pastel pencils can be easily blended with a finger, a cotton swab, or a blending stump. You can also use a clean cloth for this purpose. |
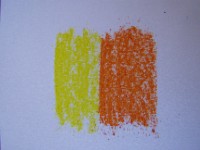 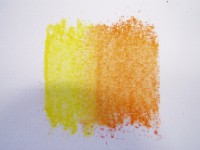 Blending Solid Colors: To blend solid colors, first fill in the different color areas solidly. Then soften the transitions by working them with a blending stump, a cotton swab, or your finger. This is easier with softer pencils. Blending Solid Colors: To blend solid colors, first fill in the different color areas solidly. Then soften the transitions by working them with a blending stump, a cotton swab, or your finger. This is easier with softer pencils. |
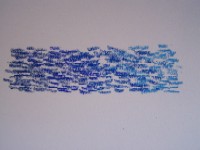 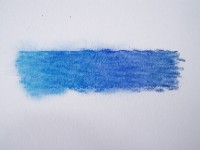 Color Gradients with Pastel Pencils: Color gradients can also be easily achieved with pastel chalk. Apply different colors using a hatching technique, for example, "feathers," and then gently rub them out. If you need to color large areas, it's better to use pastel chalks. Color Gradients with Pastel Pencils: Color gradients can also be easily achieved with pastel chalk. Apply different colors using a hatching technique, for example, "feathers," and then gently rub them out. If you need to color large areas, it's better to use pastel chalks. |
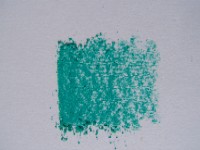 Color Gradation: You can create gradations of 1 shade by pressing harder or softer on the pastel pencil. Don't press too hard, as this may cause the tip to break. Color Gradation: You can create gradations of 1 shade by pressing harder or softer on the pastel pencil. Don't press too hard, as this may cause the tip to break. |
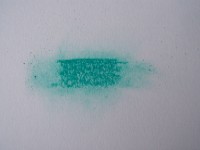 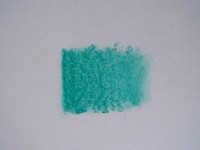 Fanning out and Blurring Colors: With a so-called fan brush, you can easily blur or blend colors. Do not press too hard on the paper, and make sure the brush is clean and dry before using it. By combining this with the above technique, you get extra beautiful transitions. Fanning out and Blurring Colors: With a so-called fan brush, you can easily blur or blend colors. Do not press too hard on the paper, and make sure the brush is clean and dry before using it. By combining this with the above technique, you get extra beautiful transitions. |
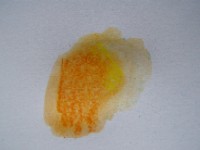 Moistened Pastel Pencil: Pastel chalk dissolves somewhat in water. You can use this to blend colors, blur lines, or create a wash. Use different sizes of watercolor brushes for this purpose. Moistened Pastel Pencil: Pastel chalk dissolves somewhat in water. You can use this to blend colors, blur lines, or create a wash. Use different sizes of watercolor brushes for this purpose. |
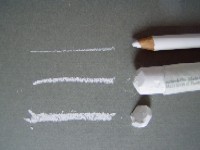 Details; Pastel pencils are especially suitable for adding details to pastel chalk drawings. Chalk is very soft, and a point quickly becomes a flat surface. Pastel pencils are slightly harder, and the shape of the lead is naturally different. This allows you to add details and lines more effectively. Details; Pastel pencils are especially suitable for adding details to pastel chalk drawings. Chalk is very soft, and a point quickly becomes a flat surface. Pastel pencils are slightly harder, and the shape of the lead is naturally different. This allows you to add details and lines more effectively. |
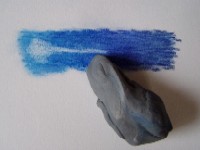 Highlighting with a Kneaded Eraser: You can lighten areas where there is too much pigment with a kneaded eraser. Do not rub with a kneaded eraser but dab gently. You can also gently remove stains with a kneaded eraser. Highlighting with a Kneaded Eraser: You can lighten areas where there is too much pigment with a kneaded eraser. Do not rub with a kneaded eraser but dab gently. You can also gently remove stains with a kneaded eraser. |
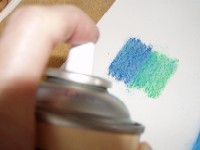 Fixing Artworks: To prevent excessive mixing of upper layers with lower layers and to protect your work in between, you can fix them regularly. Do not use too much, as it will cause drops on your work, which is not beautiful. Bring the can to room temperature and shake well before use. Spray the drawing from a distance of about 30cm with a thin layer of fixative; you can apply multiple thin layers. The final layer is generally not fixed to preserve the special soft appearance. Fixing Artworks: To prevent excessive mixing of upper layers with lower layers and to protect your work in between, you can fix them regularly. Do not use too much, as it will cause drops on your work, which is not beautiful. Bring the can to room temperature and shake well before use. Spray the drawing from a distance of about 30cm with a thin layer of fixative; you can apply multiple thin layers. The final layer is generally not fixed to preserve the special soft appearance. |
Storing and Protecting Artworks:
|


