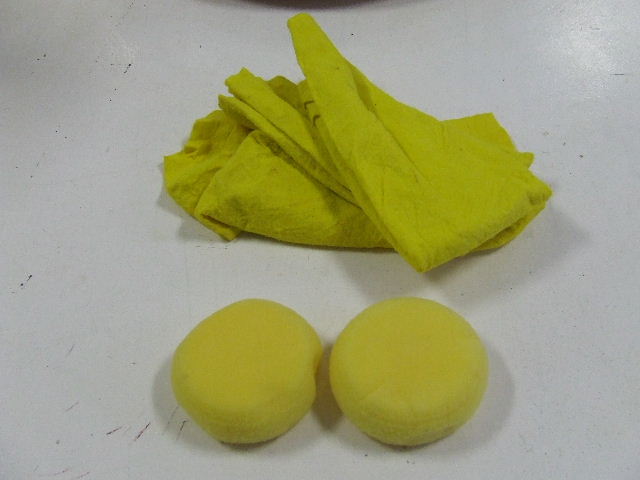
You need some cheap household cloths to keep clay pieces or parts moist while modeling. Sponges can also be handy at times.
|
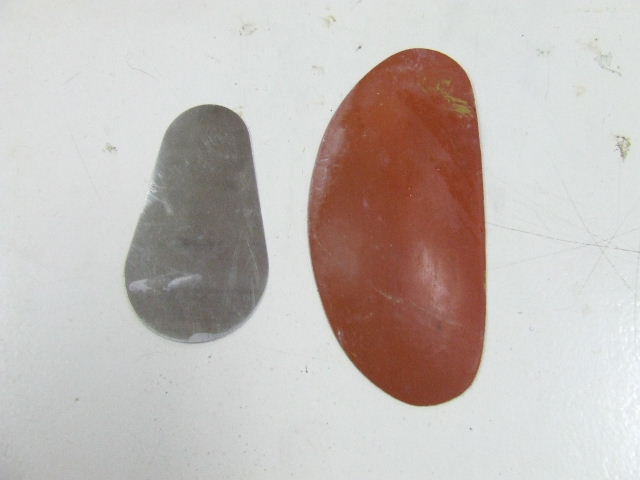
For smooth finishing of surfaces, use a rib. These come in various materials, including metal, wood, and plastic. Which material you prefer is very personal. Just try a few out.
|
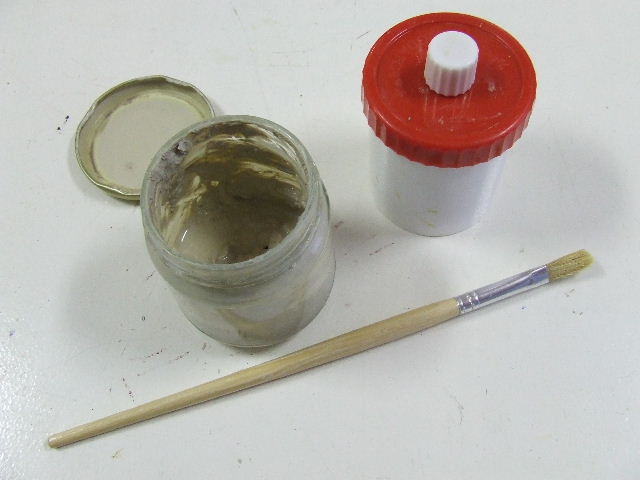
Clay slip for attaching clay slabs can be easily made yourself. Since you’ll use this frequently, it’s convenient to always have a jar ready. Make sure to use the correct clay slip for your piece. So, use red-firing clay slip with red-firing clay. You can still see the color after firing. However, interesting effects can be achieved by doing this differently. You can apply the slip with a finger or a cheap brush.
|
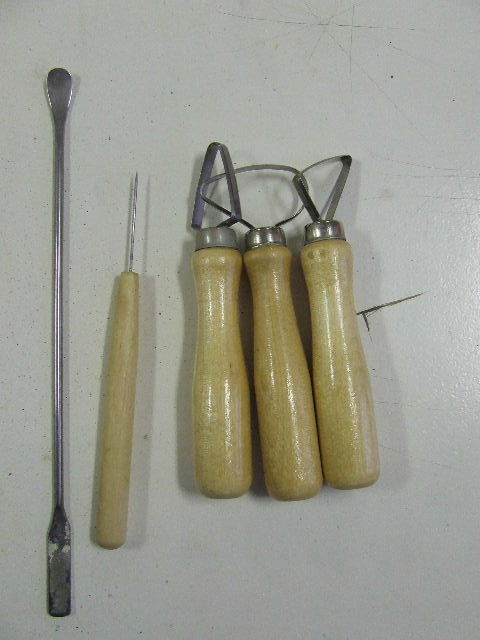
| From left to right, you see a long narrow metal spatula, useful for hard-to-reach places. Next, a scratching tool for scoring the clay before applying slip. You can also use it to carve patterns on the surface. Finally, there are three loop tools. These tools are used to scrape off parts of the clay to shape your piece. |
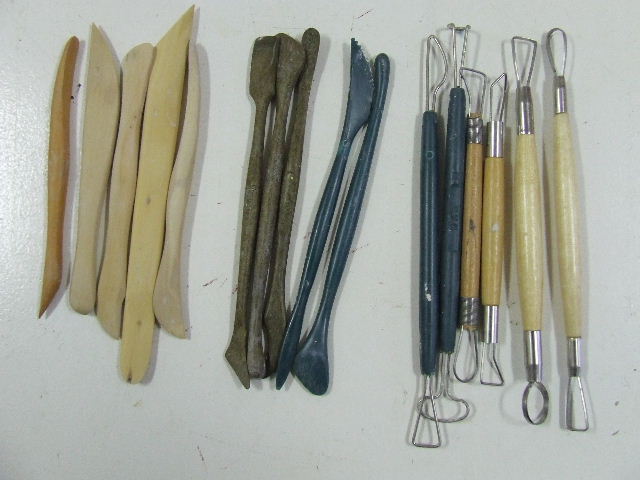
| Here are more spatulas and loop tools. There’s a wide range in price and shape. Start with a limited number because you won’t use them all. Over time, you’ll build your own set of tools. |
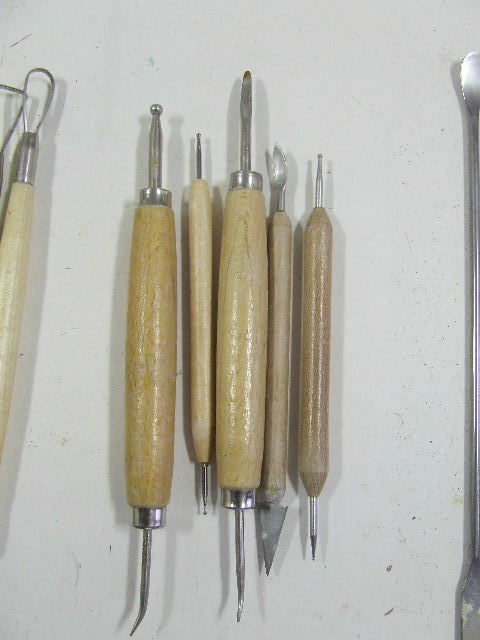
Sometimes, I find tools not specifically meant for modeling but interesting to experiment with. They all end up in my clay tool drawer.
|
| This overview is, of course, far from complete. Nothing has been mentioned about glazing or engobing. But it’s enough to start modeling. Although the article is written with chamotte in mind, most tools can also be used for other types of clay. |


