Finally, you can also create your sculpture by cutting or scraping parts from a large lump of clay. This technique won't be discussed here. Of course, you can always combine different techniques, which is often the case in practice. Here, I'll start by rolling out a clay slab to create the base of my sculpture.
|
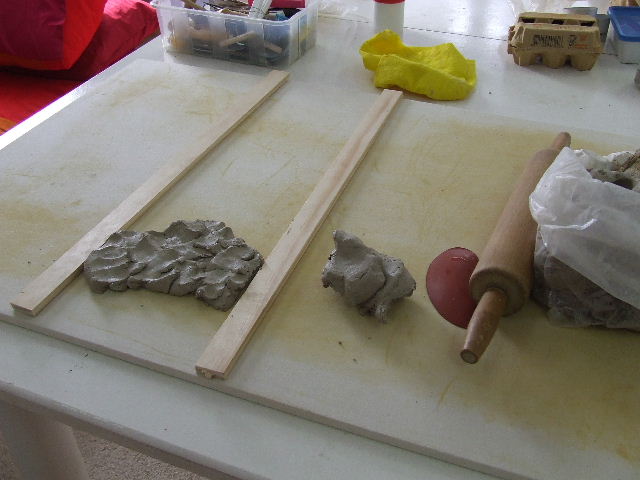
To make a clay slab, you'll need 2 equally thick strips of wood. The length of the strips depends on how large you want the slab to be, but usually around 40 cm is enough. You'll also need a roller, which could be a rolling pin, a piece of broom handle, or thick round wood. A length of about 30 cm is usually sufficient for this purpose.
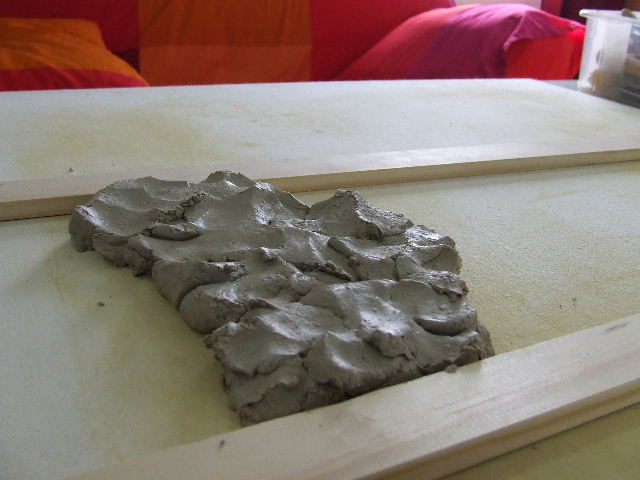
Start by placing the strips of wood apart from each other. Place them as far apart as necessary for the size you want to make. Here, I've placed them about 20 cm apart. Fill the space between the strips with small pieces of clay and press them firmly. Make sure the clay is slightly above the level of the strips..
|
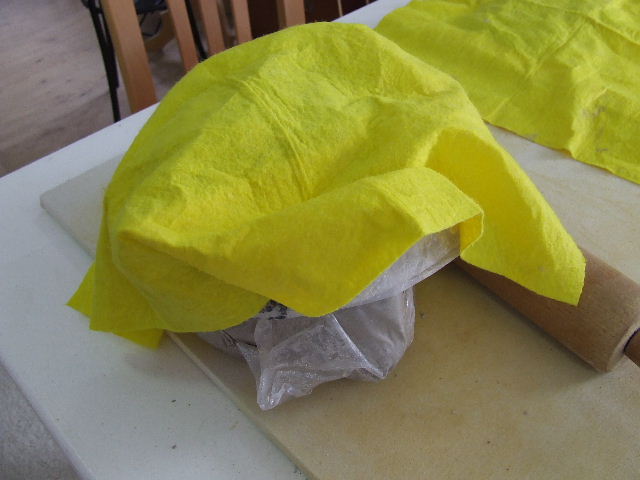
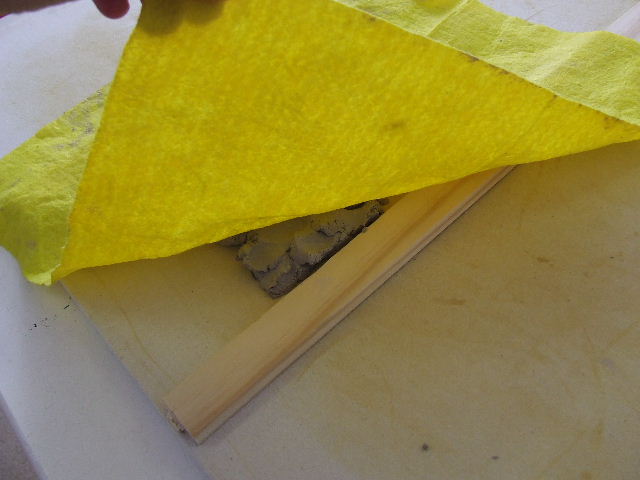
Clay dries out very quickly and becomes less pleasant to work with. Therefore, cover the clay you're not using with a damp cloth. I personally use those inexpensive yellow plastic cloths for this purpose. They have a good size, and when they get very dirty, you can wash them or replace them easily.
|
You can also cover your workpiece with such a cloth if you need to take a break in between. This ensures that your clay remains soft and easy to work with. Just make sure the cloth is not too wet. Damp is enough.
|
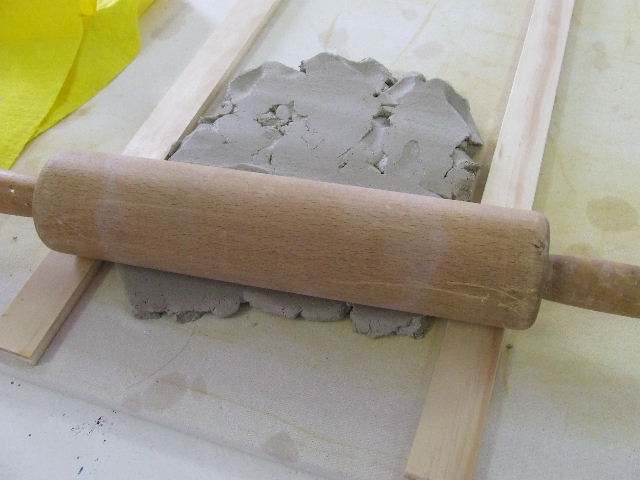
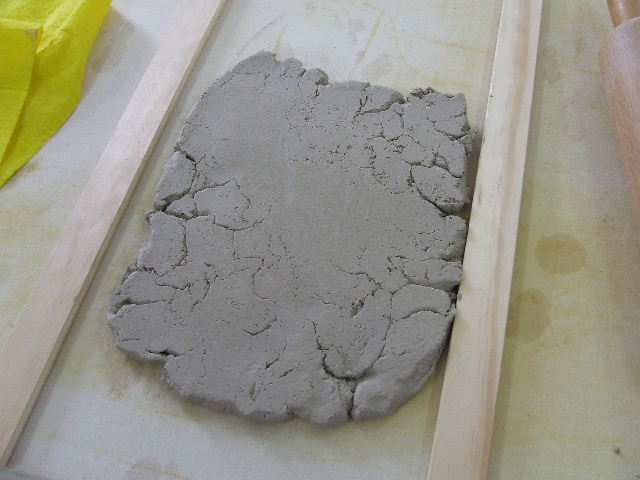
Once the slab is large enough, flatten the pieces with the rolling pin or round stick. Make sure the rolling pin rolls over the laths at the sides, ensuring that your slab is evenly thick everywhere. Don't roll too hard yet; it's best if the slab remains slightly thicker than the laths.
|
Carefully lift the slab from the surface and flip it over. You'll notice that the underside still has some hollows. Use the rolling pin to flatten this side as well, ensuring there are no air pockets trapped in the clay.
|
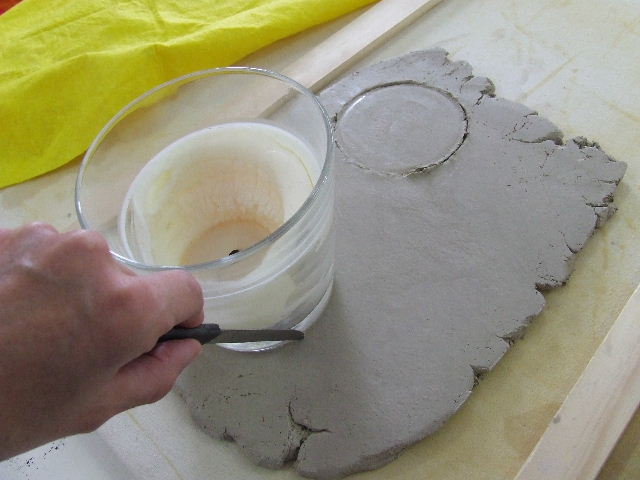
The clay slab is finished, and I need three round shapes as the bottom plates for my project. I cut the round shapes using a knife along a template. I'm using a glass as a template here, but you can also use a drum or a vase. You can cut out other shapes from the clay slabs in the same way.
|


